How to

Update your bathroom by painting the tiles and grout

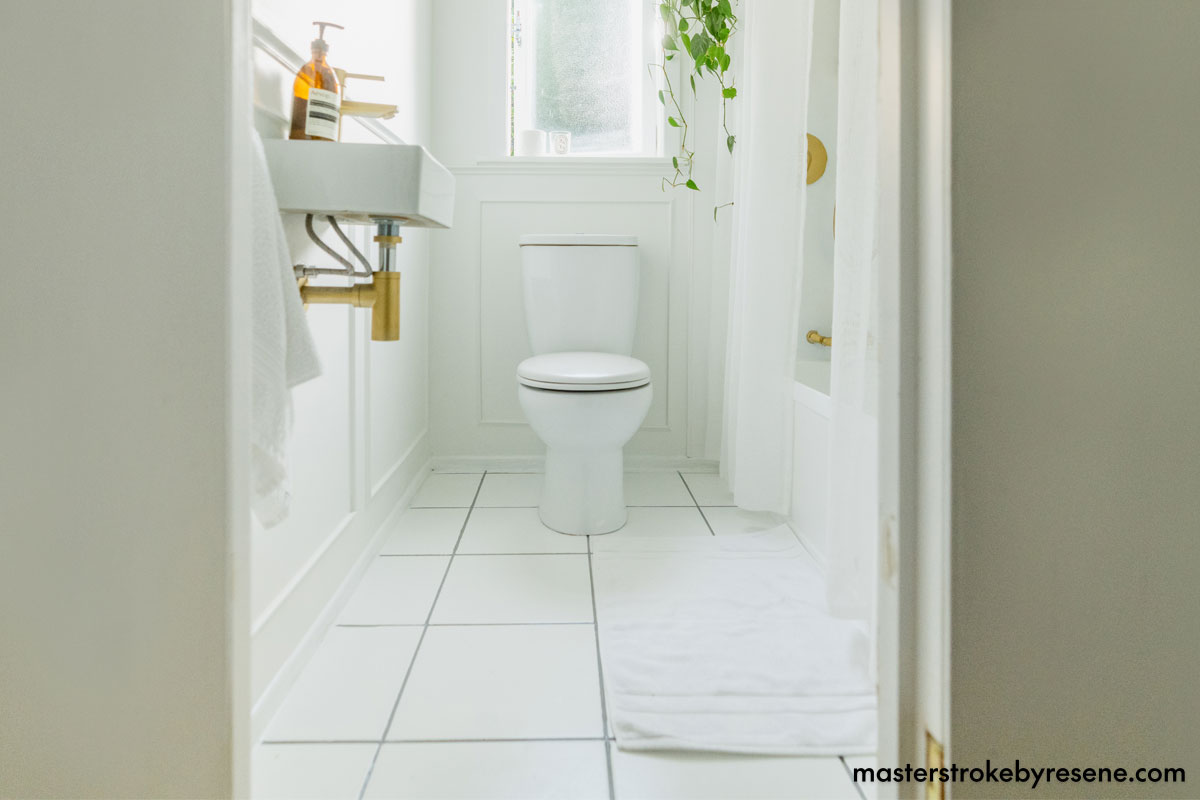
Ripping up and replacing tiles can be a costly and time-consuming exercise, but did you know that you can update your bathroom instantly and affordably by simply painting them instead? Refreshing wall and floor tiles with a stylish modern Resene colour will transform and lift the space and, with the right hue, can even make it appear significantly bigger – we have used cool and modern Resene Alabaster, which opens up the room and completely reimagines the dated tiles. This is also a great makeover option if you’re planning a major home renovation sometime in the future but can’t stand the look of your current tiles any longer!

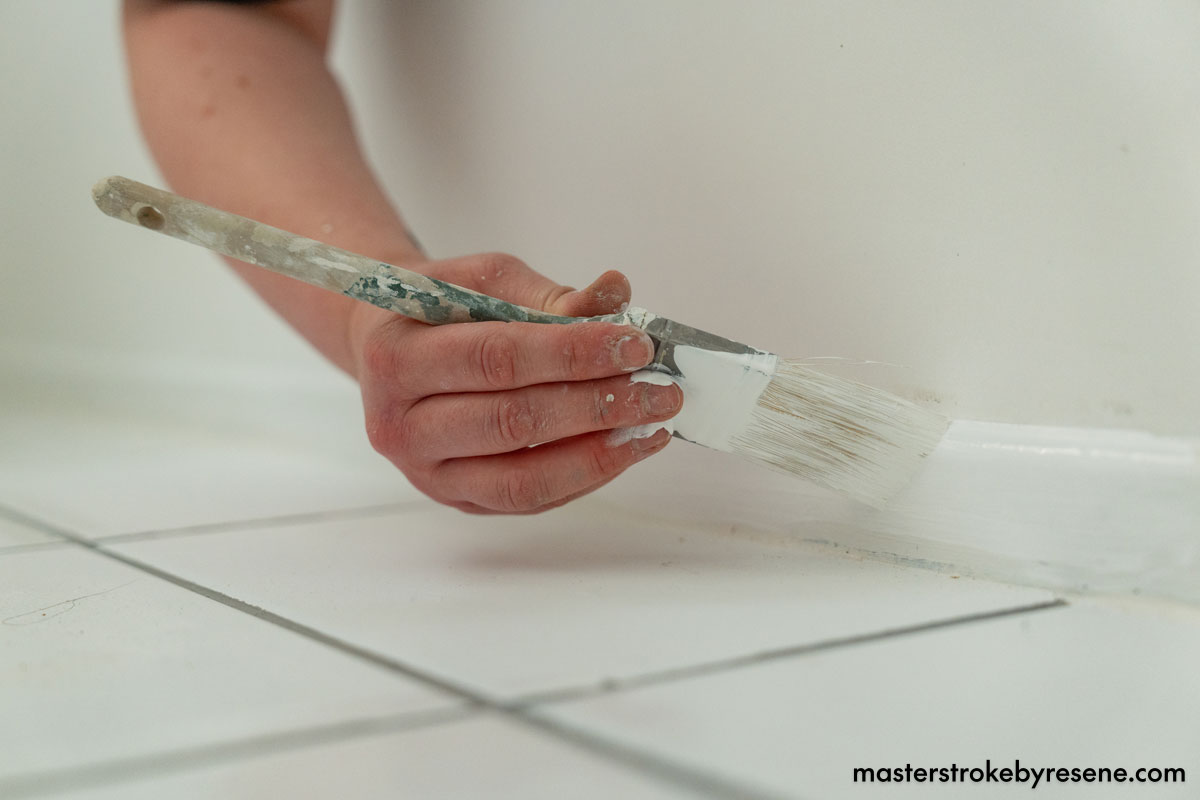
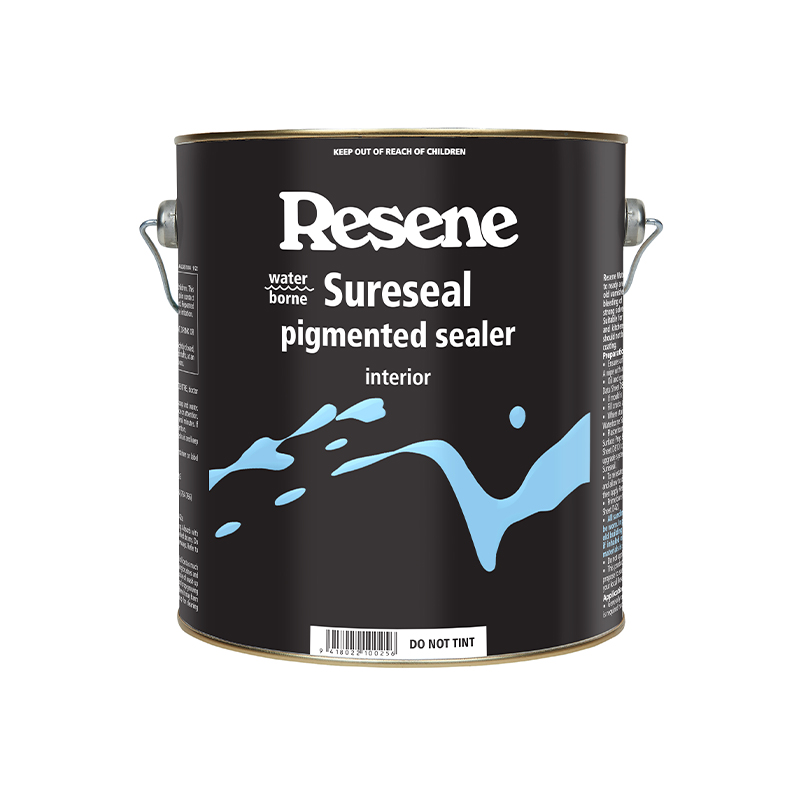
Although this is a paint project that can be undertaken by DIYers and painters of all skill levels, wet areas and tiles do need special treatment. Following the correct preparation steps will ensure your paint sticks to the tiles, and Resene Waterborne Sureseal pigmented sealer is an excellent adhesion primer. 

A point to note is that you do need to avoid letting the Resene Waterborne Sureseal get wet or splashed while it’s exposed. Also a reminder that the system is susceptible to scratches and damage in the first seven days, as it begins its initial cure, so take care with your freshly applied paint finish.

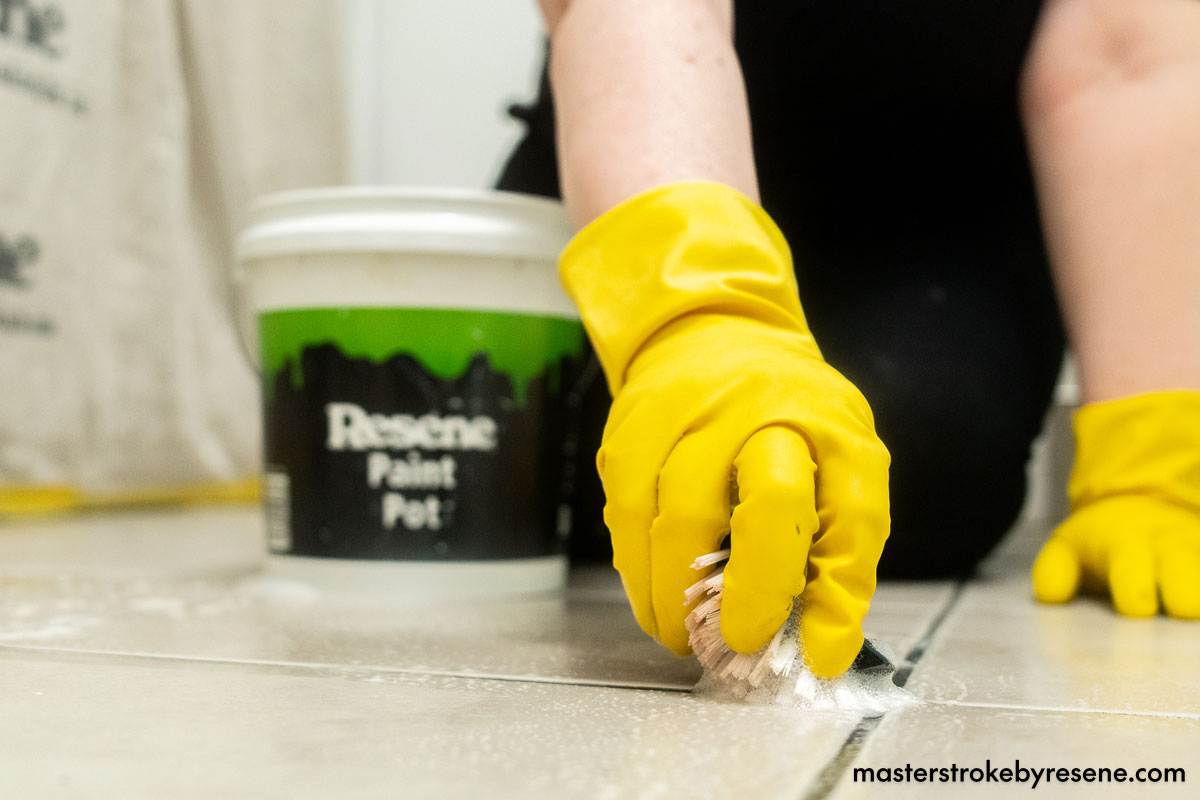
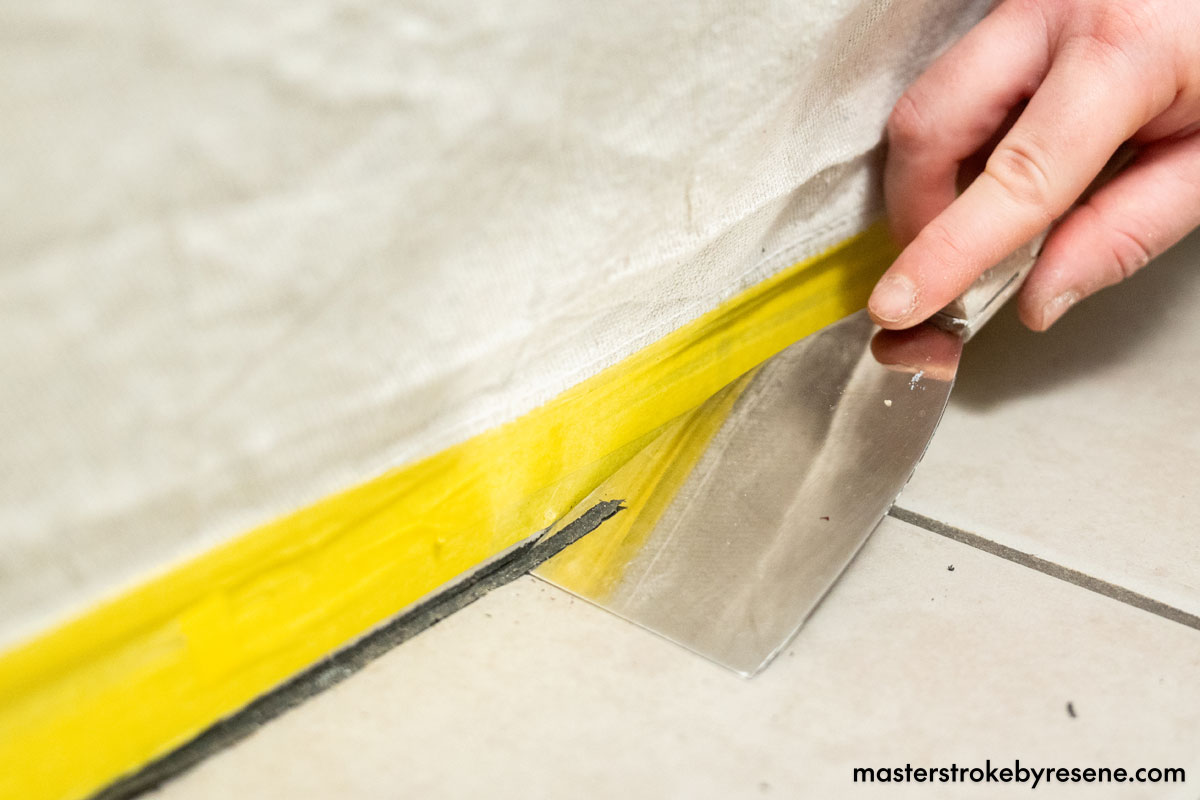
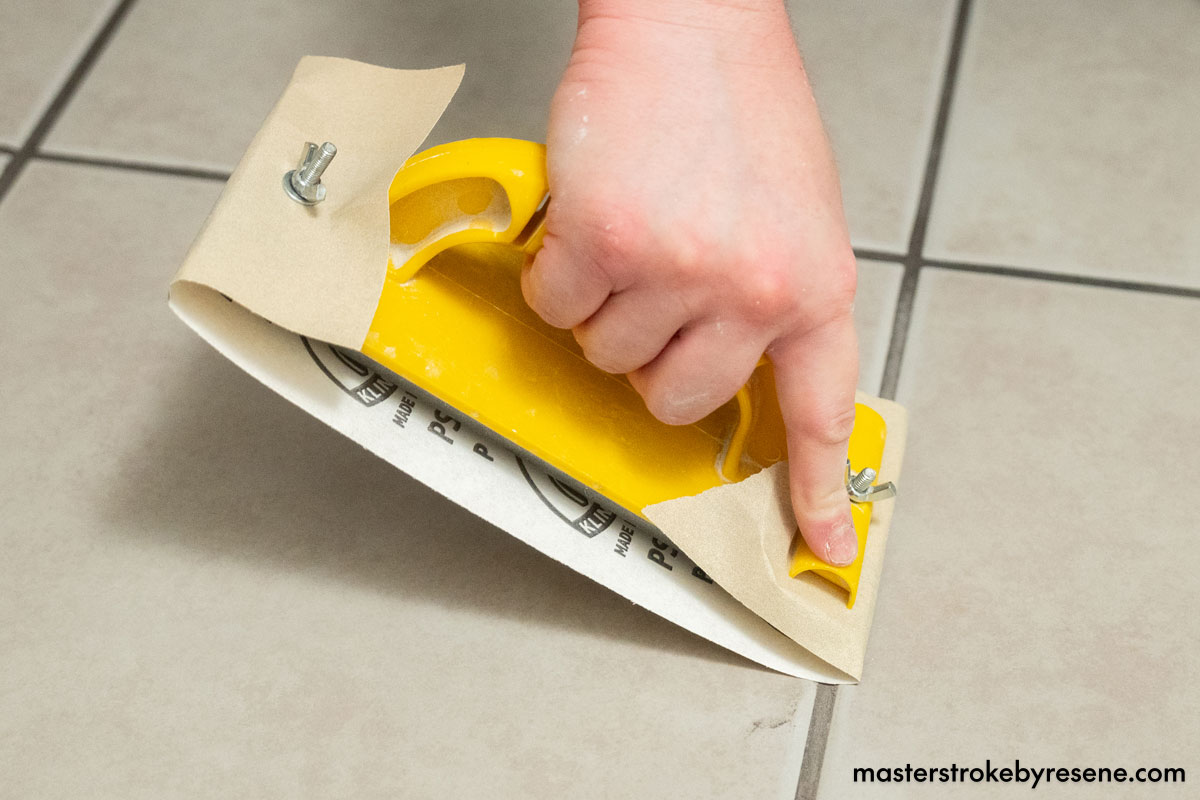
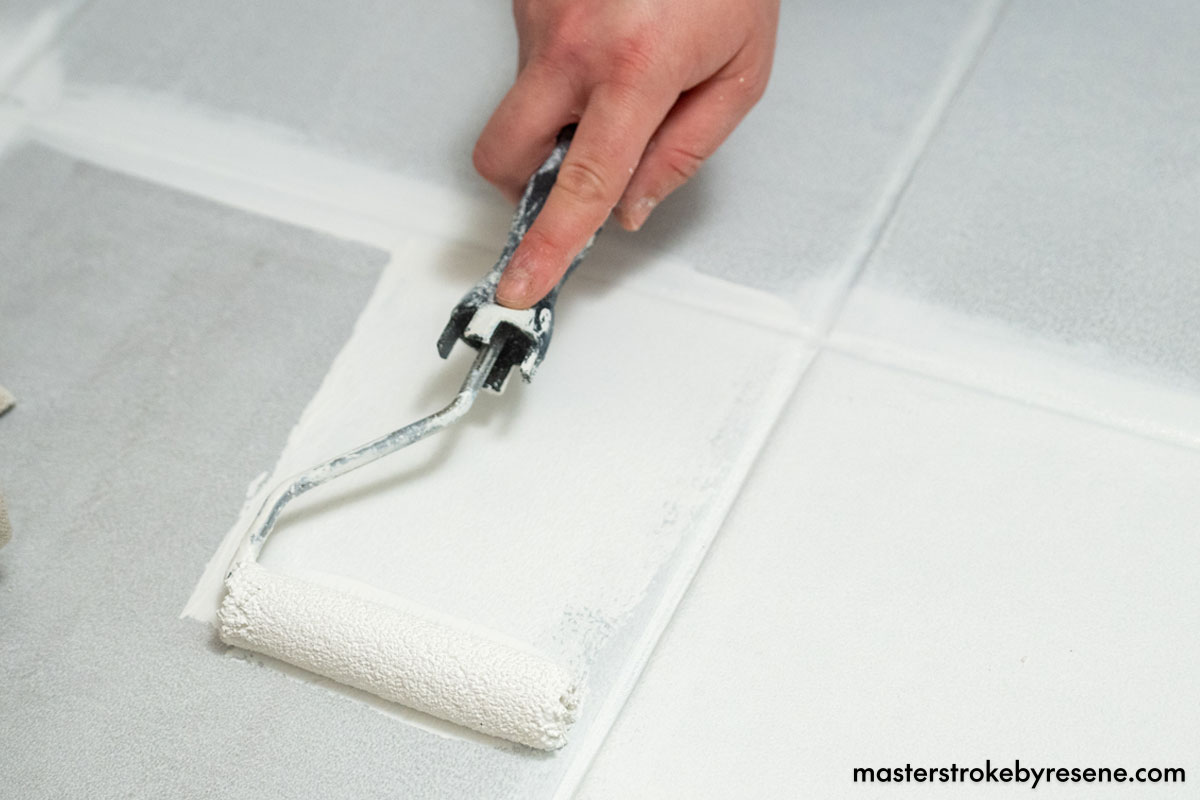
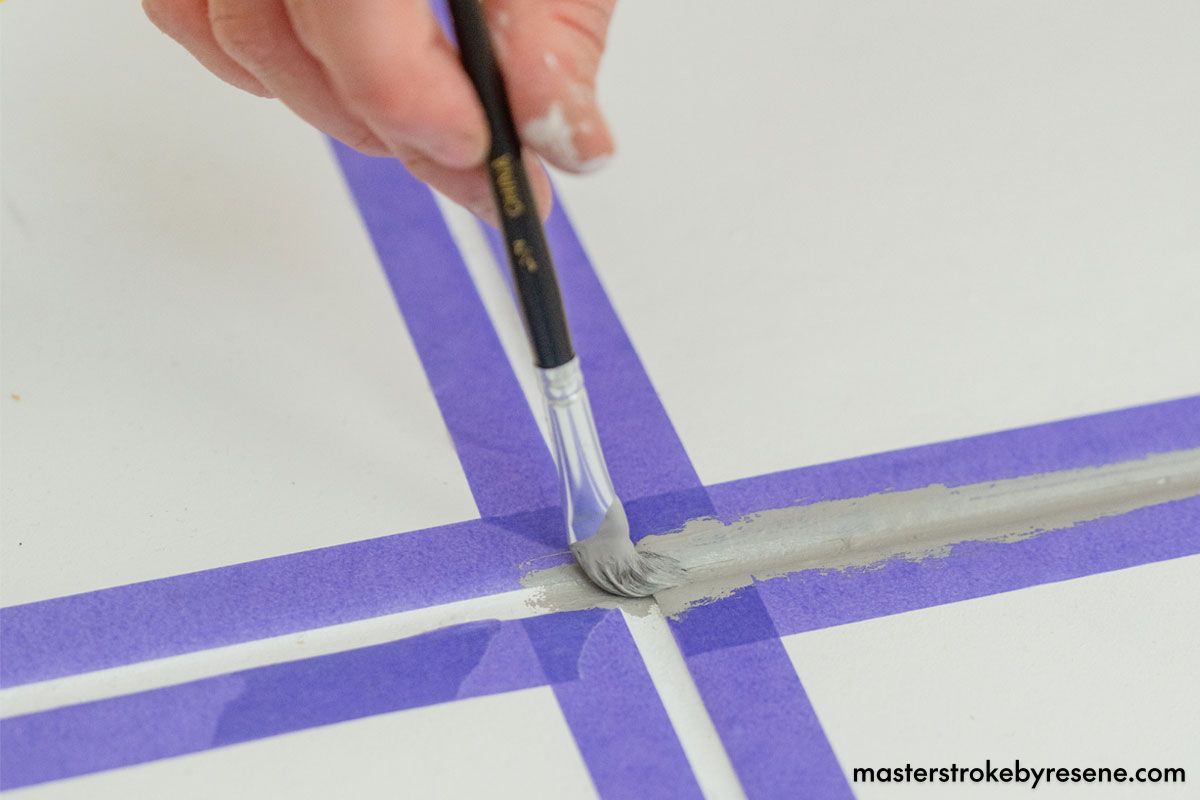
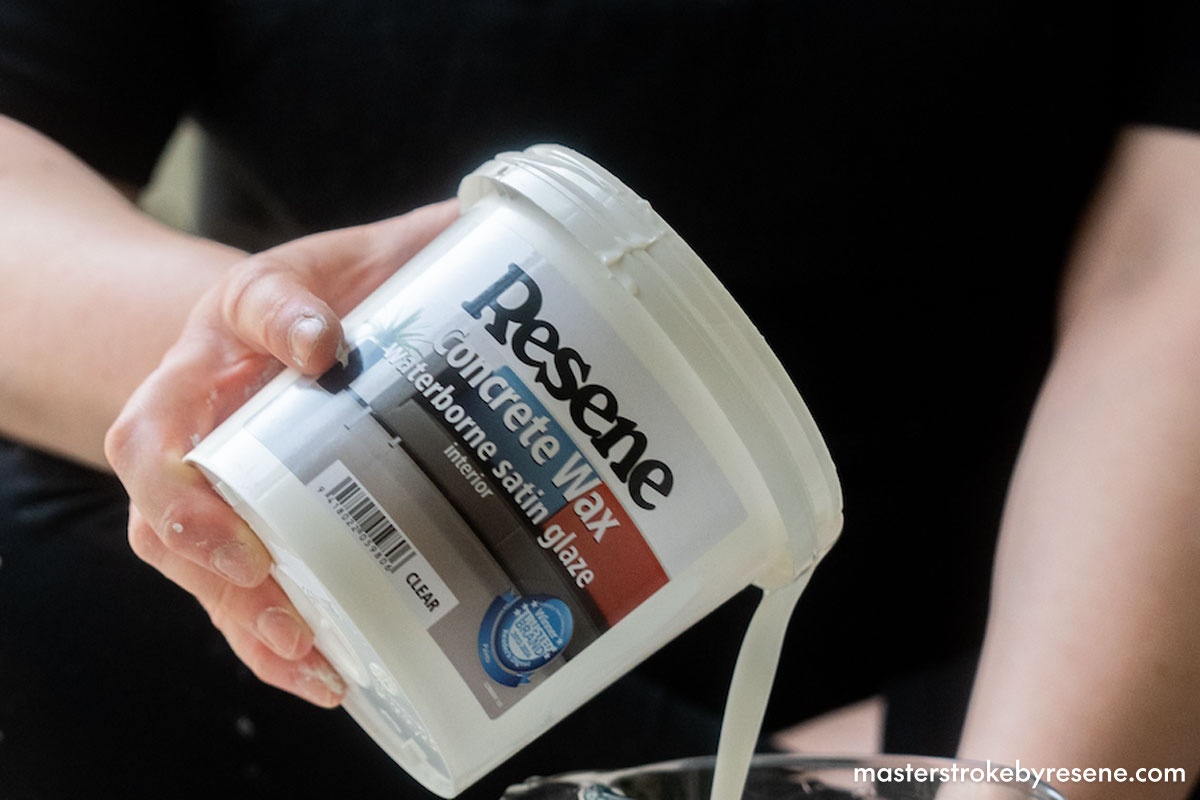
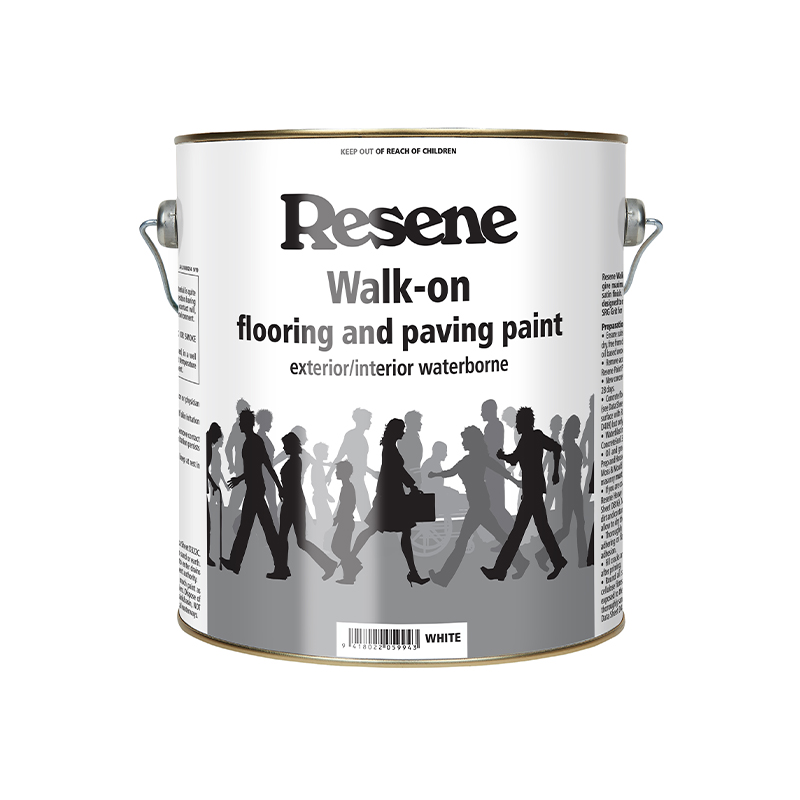
After thoroughly cleaning, lightly sanding and wiping away all dust, apply one coat of Resene Waterborne Sureseal and leave to dry. Follow with two coats of Resene Walk-on flooring and paving paint to the grout and tiles and allow to dry between coats. Once dry, mask off the grout and use an artist’s brush to paint the grout lines with Resene Walk-on in a contrasting colour. To finish and protect your floor, seal with Resene Concrete Wax waterborne satin glaze, a tough, durable added layer of protection that is very easy to maintain. Read on for the steps to follow when painting your tiles and grout. 

Top tip: We have painted the entire floor here, but you can also simply just paint your old grout for a quick refresh if you’re happy with your tile colour

  • Safety gear 
  • Drop sheet
  • Sprayer 
  • Clean cloths or rags 
  • Snap-off knife
  • Scraper 
  • Putty knife
  • Painter’s tape (standard and low tack) 
  • Hand sander
  • Dusting brush
  • Paint stirrers
  • Paint pots 
  • Caulking gun

1

Treat mould

Put on your safety gear – gloves, mask and glasses – and use Resene Moss & Mould Killer to treat any mould on the bathroom floor and in the grout. Leave on for 24 hours then scrub clean using detergent and warm soapy water. Scrub the grout vigorously and repeat the cleaning process if you need to. Once you’re happy, wipe with a clean rag.

2

Scrape and mask

Use a snap-off knife, scraper and putty knife to remove any existing silicone, then use painter’s tape to mask off any areas that you don’t want to get paint on

3

Sanding and dusting

Lightly sand the tiles and grout with 180 grit sandpaper. Most tiles are glossy, so doing this will ensure your primer and paint will adhere properly.

Brush or vacuum off any sanding dust as this will affect how your primer goes on if there is still surface dust.

Finish with a spray and wipe of Resene Interior Paintwork Cleaner.

4

Prime time

Give your Resene Waterborne Sureseal pigmented sealer a good stir and pour it into a paint tray. Apply one coat to the tiles and grout and leave it to dry. To make the job as easy as possible, use a cutting in brush for the edges and grout, then a roller for the tiles.

5

Paint the floor

Pour your Resene Walk-on paint into your tray, then use the same brush-and-roller method to apply two coats to the tiles and grout. Make sure you wait the appropriate drying time between coats. We used Resene Alabaster.

6

Paint the grout

Use low tack painter’s tape to mask off the grout lines, then use an artist’s brush to paint on Resene Walk-on in your second Resene colour. We used Resene Jumbo as a crisp contrast to the bright white Resene Alabaster. Once dry, remove the painters tape.

7

Seal

Stir your Resene Concrete Wax waterborne satin glaze and follow the instructions on the label. Apply two to three coats of the wax to the tiles and grout as an added layer of protection.

8

Finishing touches

Touch up your skirting boards if required – we used Resene Lustacryl in Resene White – then apply new silicone around the edges of the tiles. This will finish the job and ensure it’s waterproof.

9

You’re done!

Take a bow and admire the amazing transformation of your bathroom in just a few easy steps.

Top tips: 

  • If you need to paint your wall and your floor tiles, do your walls first. That way you won’t drip paint on an already finished floor.
  • There’s a huge range of colours to choose from. If you have small children or pets, it’s often best to pick a light to mid-range colour to help hide pet hair and marks rather than something too dark or light. Very dark and very light finishes will tend to show the dust more.
  • If you find your paint is drying a little too fast when you are applying the grout lines, add Resene Hot Weather Additive. This will slow down the dry time so you have more time to get a nice smooth finish.
  • When you are waiting for the coat to dry, wrap your brush in a reusable plastic bag. This will keep your paint moist so you can pick back up where you left off.
  • Look for other areas around your home where you can freshen up the tiles, such as entrance areas. Even if you just mask and repaint the grout lines your tiles will look refreshed.

About MasterStroke by Resene
MasterStroke by Resene is here to help you master your paint and decorating projects. Brush up on your skills with advice, tips and ideas from our trusted experts.

Check out the latest how-to videos on our YouTube channel.