How to

How to touch up a nick in your paint finish

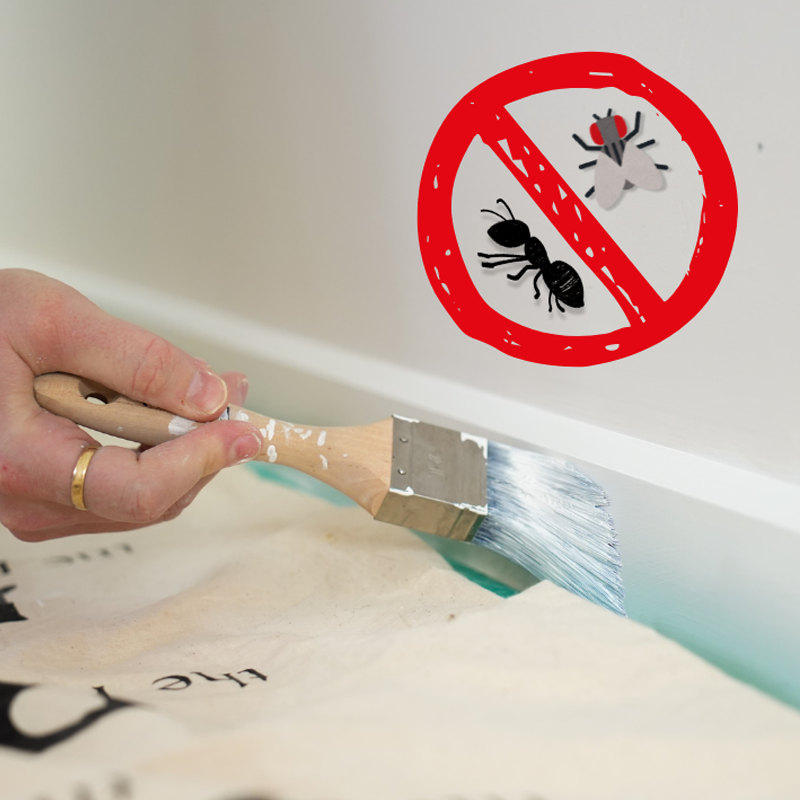
It’s a fact of life that our homes are subjected to all kinds of wear and tear daily – especially for anyone with kids and animals! Walls, doors and their frames can be nicked and scraped, which creates unsightly blemishes on your lovely paintwork. Moving furniture, lugging suitcases and general clumsiness can cause small but frustrating damage.

While you may end up getting used to these imperfections over time, it’s important to keep on top of them and so that your home looks its best. While you’re cleaning the outside of your house in preparation for the summer months, why not take time to spruce up the inside and deal with any interior issues you may have been putting off? With a bit of know-how, you can repair and paint over any marks so that they’re completely invisible and blend beautifully with the rest of your wall or door. 

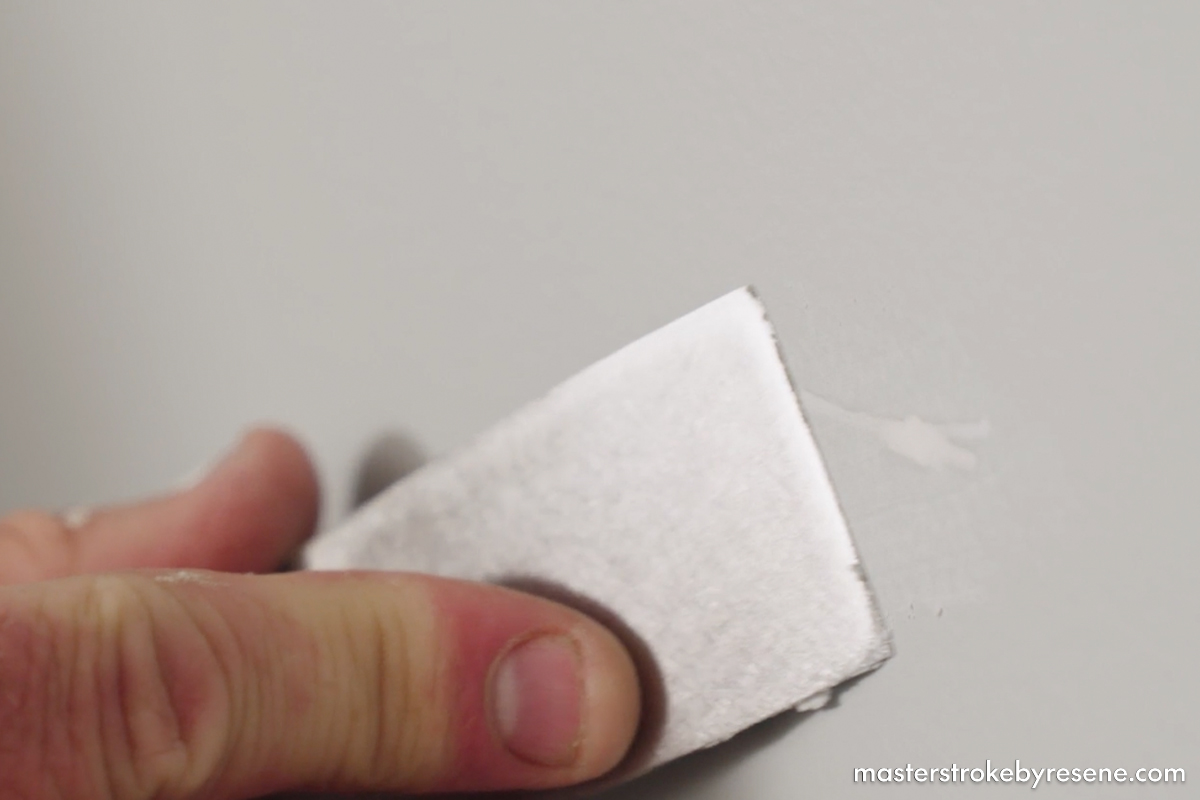
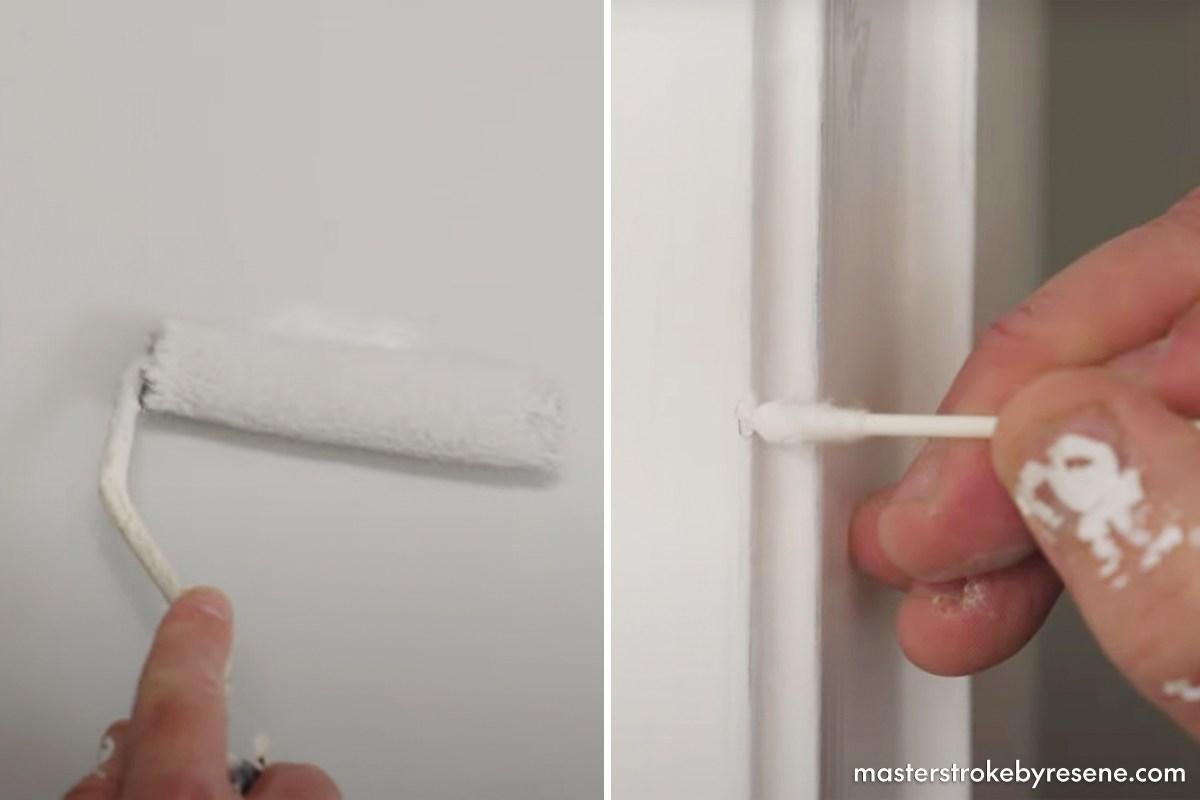
It’s important to note that for the very best results, Resene recommends repainting the entire wall once you have repaired the nick. However, in this Paint Like Pro video, Resene Paint Expert Murdo Shaw shows that it’s possible to touch up a nick in a simple step-by-step process. If you do want to try touching up just a small nick, make sure you use the same paint and application technique as the original paint job to help your touch-up blend in.

Touch-ups are usually easiest in shaded areas and on textured surfaces. The smoother and glossier the surface the harder it can be to fix without seeing the difference between the old paint and the touch-up.

1

Fill the nick

Apply a small amount of Resene EzyFill Quick over the nick with a putty knife. Smooth it off firmly and as evenly as possible.

The beauty of Resene EzyFill Quick is that it’s already mixed so it just has to be applied where you need it – plus it dries in 30 minutes so won’t hold up the painting process.

Use a damp cloth to remove any excess filler from your existing paintwork.

2

Mask it off

Take some painter’s tape and tear off four pieces, sticking them around the nick to create a protective border. Doing this means that you won’t accidentally sand any undamaged parts of the wall, and won’t end up needing to paint a bigger patch than you planned.

3

Sand

Use a small piece of 240 grit sandpaper to sand down the dried filler very gently, smoothing it out and preparing the surface for painting. Wipe away the dust with a cloth or use a brush to sweep it away once you’re done, then remove the tape.

4

Prime and thin your paint

Use a very small brush to spot prime your nick with Resene Quick Dry. Even though it’s a tiny area, it still needs the same thorough prep work as a larger section if you want a seamless finish that lasts. 

Murdo shares another great repair hack here. “Always thin your touch-up paint with around 10-15% water,” he says. This takes the gloss out of it, so that when you touch up your wall, it’s going to blend in more. This goes for a brand-new can of Resene paint, or the original can you’ve had stored away in your garage for situations just like this. It’s always best to use the original can of paint for the best chance to get a seamless touch up.

5

Paint

Put down your drop cloth to protect your floors from spills and splatters and pour your thinned paint into a tray. Don’t use too much paint – reduce the amount on your roller by rolling it off onto some cardboard until there’s a tiny amount left.

For a medium-sized nick, using a mini roller is the best option as you’ll get the same texture as the rest of the wall and brushstrokes may be visible.

If the nick is tiny, try using a Resene artist brush or even a cotton bud as a precision tip, dabbing the paint on to gently cover the area. 

Dos and don’ts for touch-ups

Dos:

  • Use the same original container of paint to touch-up if possible – this is the best way of getting a good repair.  
  • If you end up using all of the original paint, keep a piece of card or paper with the details and a dab of the colour for matching in case it is needed in future.
  • Thin your touch-up paint with 10-15% water and apply with a nook and cranny roller or similar. 
  • Feather the edges of the damaged area or use filler if the nick is deeper than two coats of paint.
  • Always check an inconspicuous area first to see if there are any colour/gloss differences.
  • Always mix and box different batches of paint together before use.
  • If you find your touch-up is still visible once the paint has fully dried, it’s time to paint the wall.

Don’ts:

  • Do not change the batch of paint or container of paint in the middle of a wall.
  • Do not touch up with a different batch of paint.
  • Don’t touch up without thinning your paint and don’t apply in large blobs – you’re trying to merge in an invisible mend.
  • Sheen paints tend not to be suitable for touch-ups.  They usually show a sheen difference, in which case the full wall should be painted.

About MasterStroke by Resene
MasterStroke by Resene is here to help you master your paint and decorating DIY projects. Brush up on your skills with advice, tips and ideas from our trusted experts.

Check out the latest how-to videos on our YouTube channel.