How to

How to paint a feature wall

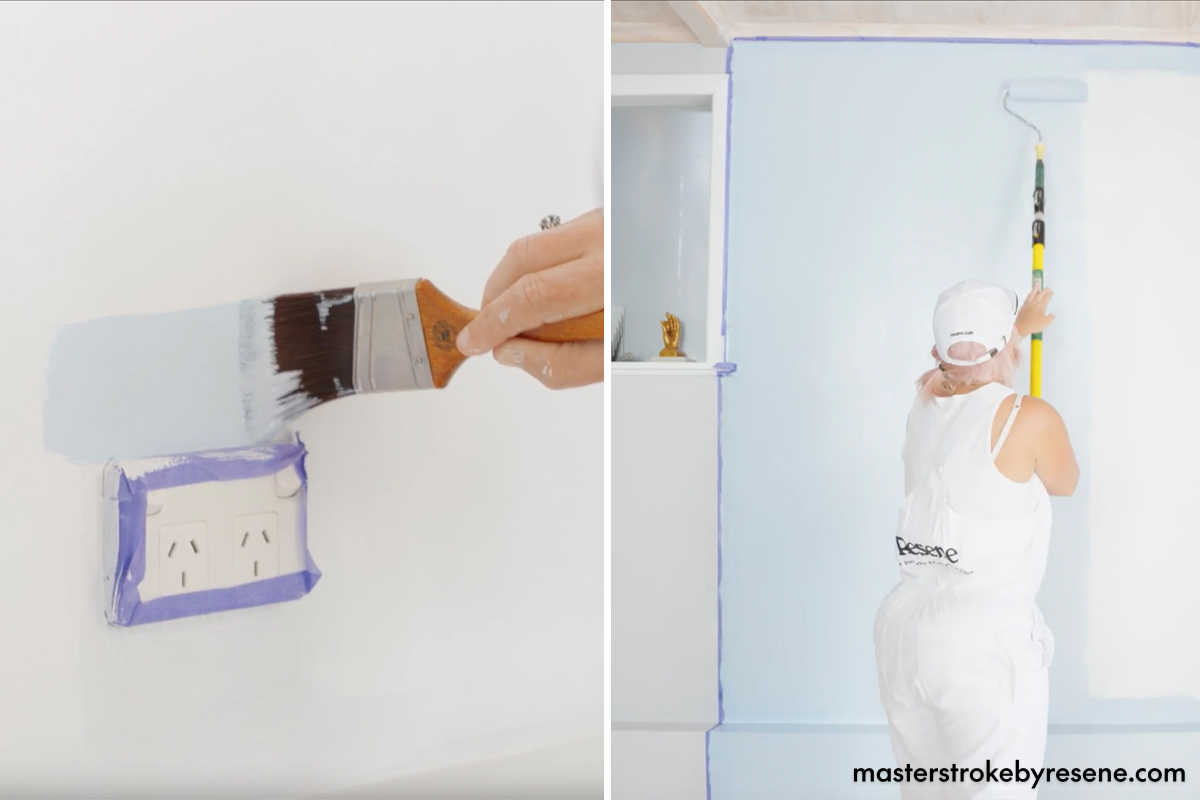
Choosing to paint a wall in a feature colour is one of the most low-cost, high-impact ways you can make a change to your home. If you’re painting in spring or summer, throw open the doors and windows for ventilation and to speed up your drying time. Or if you’re decorating in autumn and winter, make sure you heat the room and open the windows to help your paint dry faster. As always, proper preparation is key to getting the best, most-professional looking results. In terms of colour, remember that it is your home so you can be as bold and daring as you like! The beauty of a feature wall is that an impactful colour won’t completely overwhelm the space. 

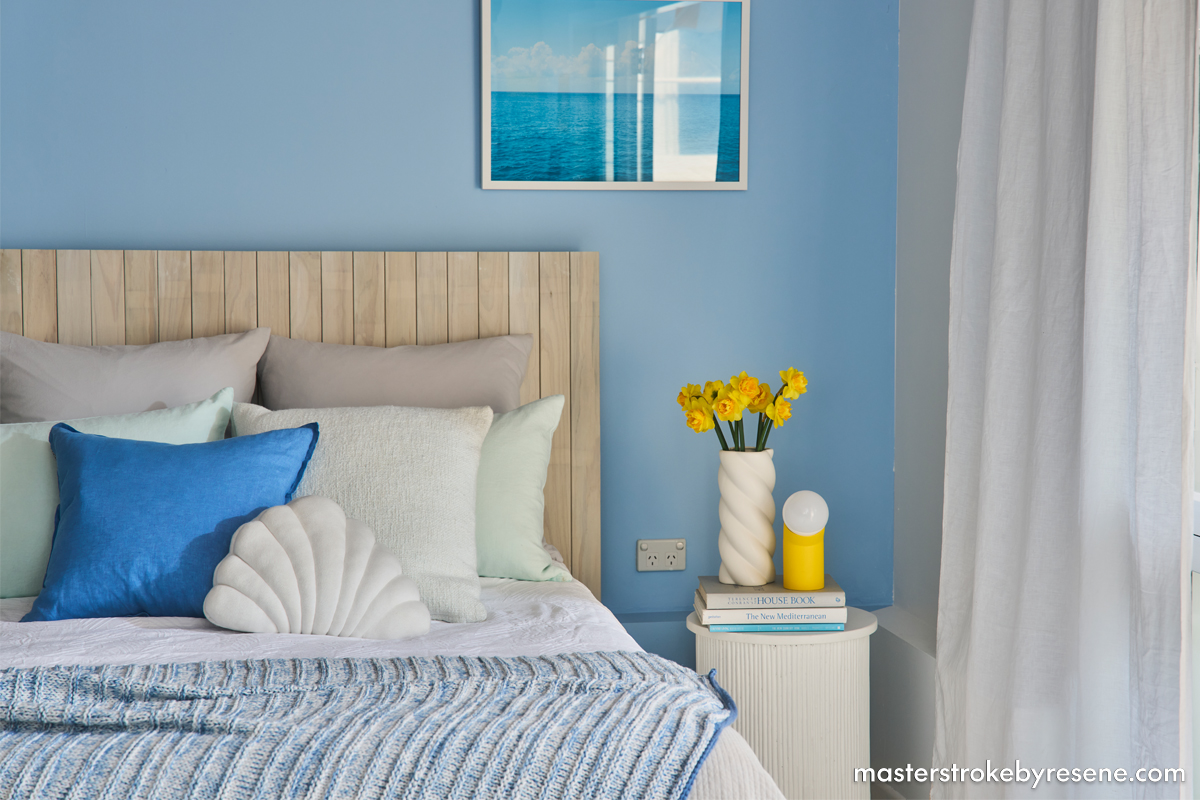
Specific colours can create a different vibe and ambiance to a room. Blue is one of the most popular choices for bedrooms. It’s associated with feelings of calm and serenity and research shows that it can reduce the heart rate, which is helpful when it comes to drifting off to sleep. While all shades of blue get the ‘helps with sleep’ tick, lighter shades work particularly well. We have painted this bedroom below in Resene Dream Big, a restful, sky blue. If, however, you’d prefer a darker blue, try a shade like Resene Coast which can help create a more relaxing and deeply cocooning ambiance, without being too overstimulating, which darker colours sometimes can be.

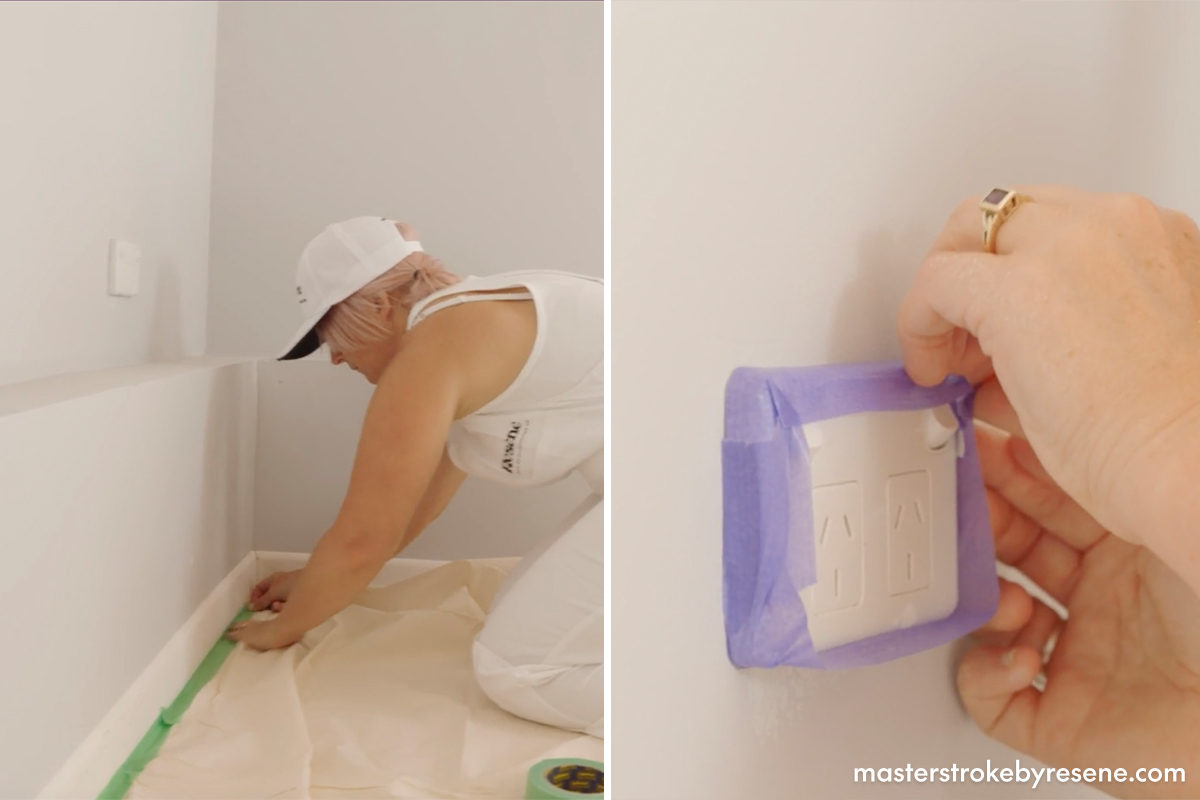
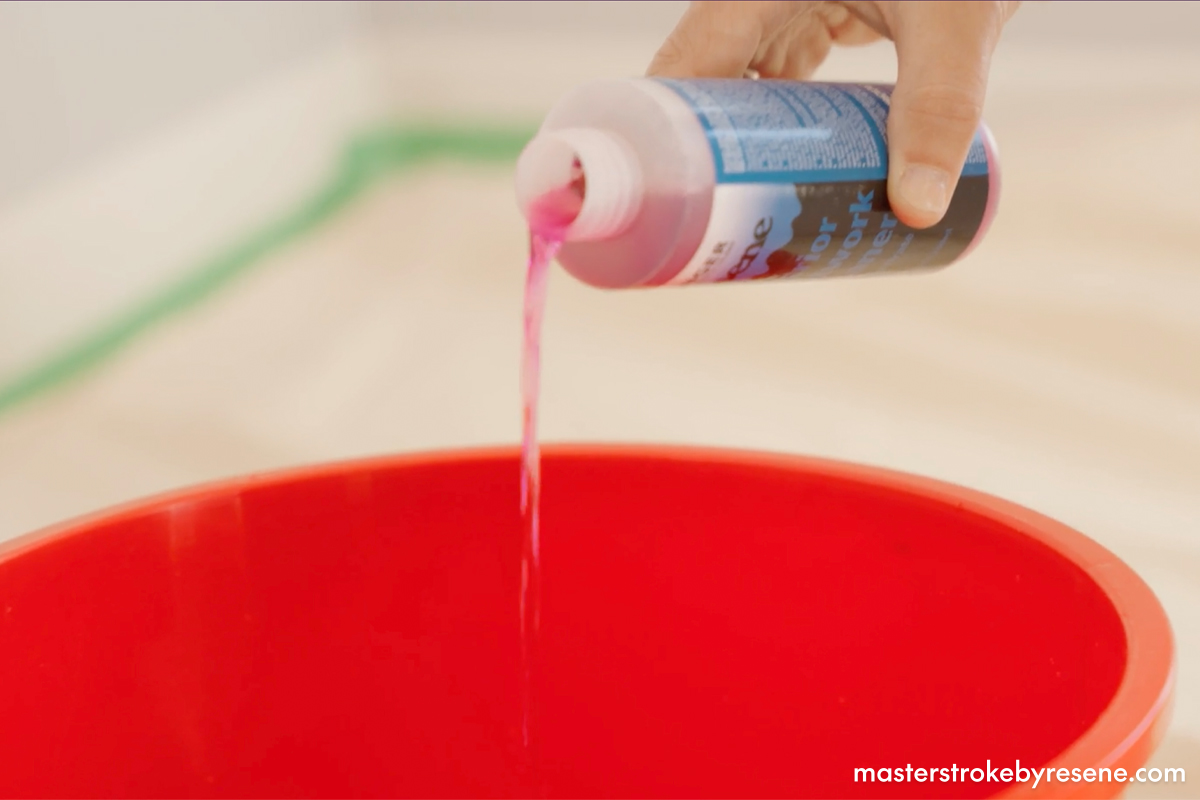
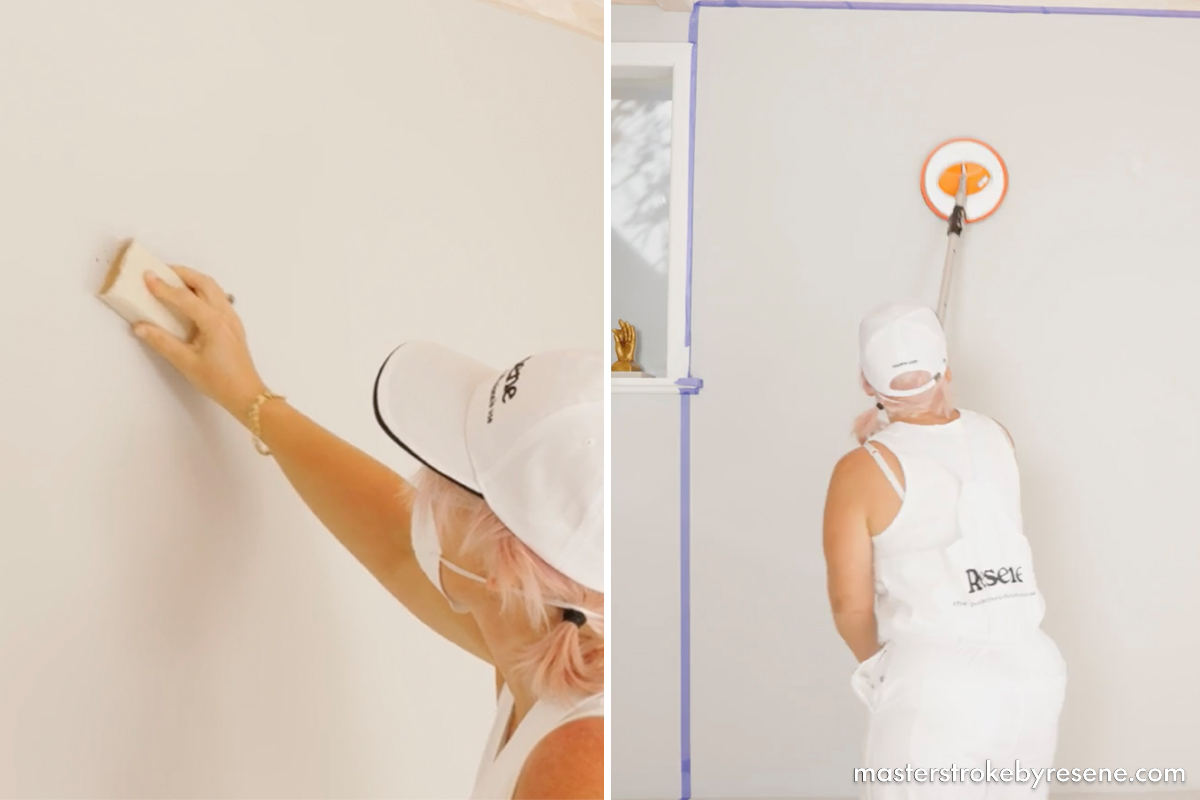
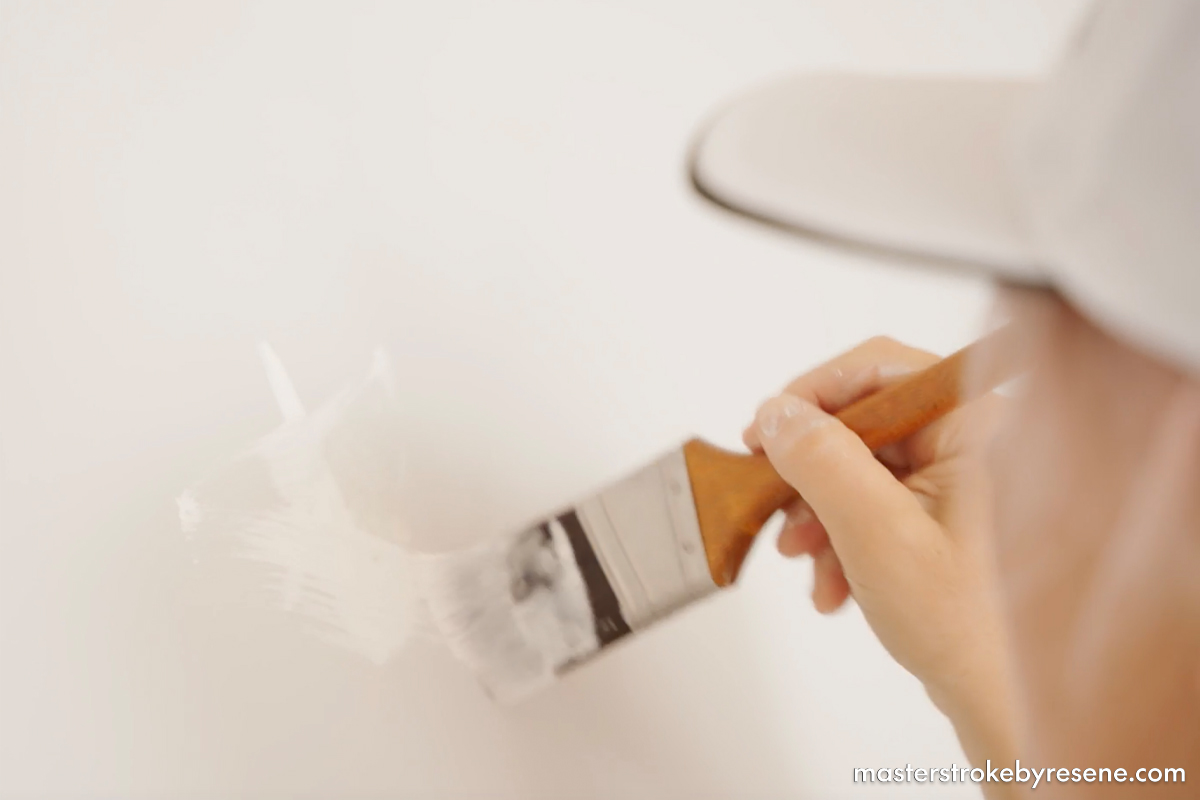
Follow these steps to add some colour to your space with a painted feature wall.

Top tip: So you’ve decided to paint a feature wall, but how do you know which wall is going to work best? Consider a room’s existing features and look for its natural focal point. For instance, in a bedroom, the wall at the head of your bed is often a good option.

1

Protect your space

Move your furniture as far away from the wall as you can to ensure you have enough room to work, as well as keeping it away from paint splatters. Place a drop cloth down and secure it with painter’s tape for extra protection. 

Use painter’s tape to mask off the areas that you want to keep paint free, such as skirtings, architraves, window frames or light fittings, as well as down the length of the wall where your feature wall meets the adjacent wall.

2

Clean it up

Spray the wall with Resene Interior Paintwork Cleaner and wipe it down with a microfibre cloth. This removes any marks and dirt and helps to create the ideal surface for priming and painting. You can either use the concentrated version and dilute it or use the ready to use version.

3

Fill and fix

Use Resene EzyFill Quick to fill any holes and small dents in the wall and wait for it to dry. Sand the filled areas, then lightly sand the entire wall surface. Make sure to wipe or brush away any sanding dust with a damp lint-free cloth.

4

Prime time

For the areas that were filled, spot prime with Resene Quick Dry and allow it to dry. Then on the entirety of the wall, apply Resene Acrylic Undercoat in Varishade 2 – we’ve done this because we’re painting a light colour over a darker colour.

If you’re using similar hues, this extra step isn’t required and you can either paint your new topcoats directly over the old colour or prime the entire wall with Resene Quick Dry first if you prefer, then topcoat.

5

Paint

Give your Resene SpaceCote Low Sheen a good stir then pour into your paint tray and apply the first coat using a roller and extension pole. Wait the recommended drying time before applying your second coat. Decanting your paint into a tray or paint pot not only makes the job easier, but it also means that any dirt or fibres from your paintbrush or roller won’t get into the main tin and potentially contaminate the paint. 

When you take a break between coats, wrap your roller sleeve and the roller tray in a reusable plastic bag. This will help keep the paint moist so you can get straight into the next coat.

6

Done!

Once your wall has dried, move your furniture back into place and consider taking your bedroom to another level by treating yourself to a new duvet from the Resene Living range, which are inspired by Resene paint colours and available at Briscoes.

Feature wall painted in Resene Dream Big, headboard in Resene Colorwood Whitewash, other wall in Resene Half Black White, trims in Resene Eighth Black White, side table and vase in Resene Rice Cake and lamp in Resene Turbo

Click here to build your own custom timber headboard, and here to make a funky PVC pipe lamp.

How much paint will you need?

Top tip: If you need help deciding your feature wall colour, visit your local Resene ColorShop, ask a Resene Colour Expert free online or book a Resene Colour Consultation.

If you change data entered into the fields below, ensure you press the calculate button again to re-run the equations and get the new answers.
Calculated result: 0 Litres in total
To find the spreading rate of your Resene product, click here.
NB: Porous surfaces and shapes (ie corrugated iron) will require more paint.

Colours mentioned in this article

About MasterStroke by Resene
MasterStroke by Resene is here to help you master your paint and decorating DIY projects. Brush up on your skills with advice, tips and ideas from our trusted experts.

Check out the latest how-to videos on our YouTube channel.