How to

How to stop a freshly painted window from sticking

One of the things that differentiates paint professionals and proficient DIYers from beginners is not only their refined techniques, it’s the arsenal of handy tips, tricks and hacks they have accumulated over the years. If you’re planning a window painting project, Resene Paint Expert Murdo Shaw has a great hack for freshly painted windows to stop them sticking. 

Stick ‘em up

Resene Paint Expert Murdo Shaw has plenty of paint hacks including a particularly crafty hack that will stop your freshly painted windows sticking overnight. If you shut windows when the paint isn’t dry, it will unfortunately end up drying like glue and fusing them together. 

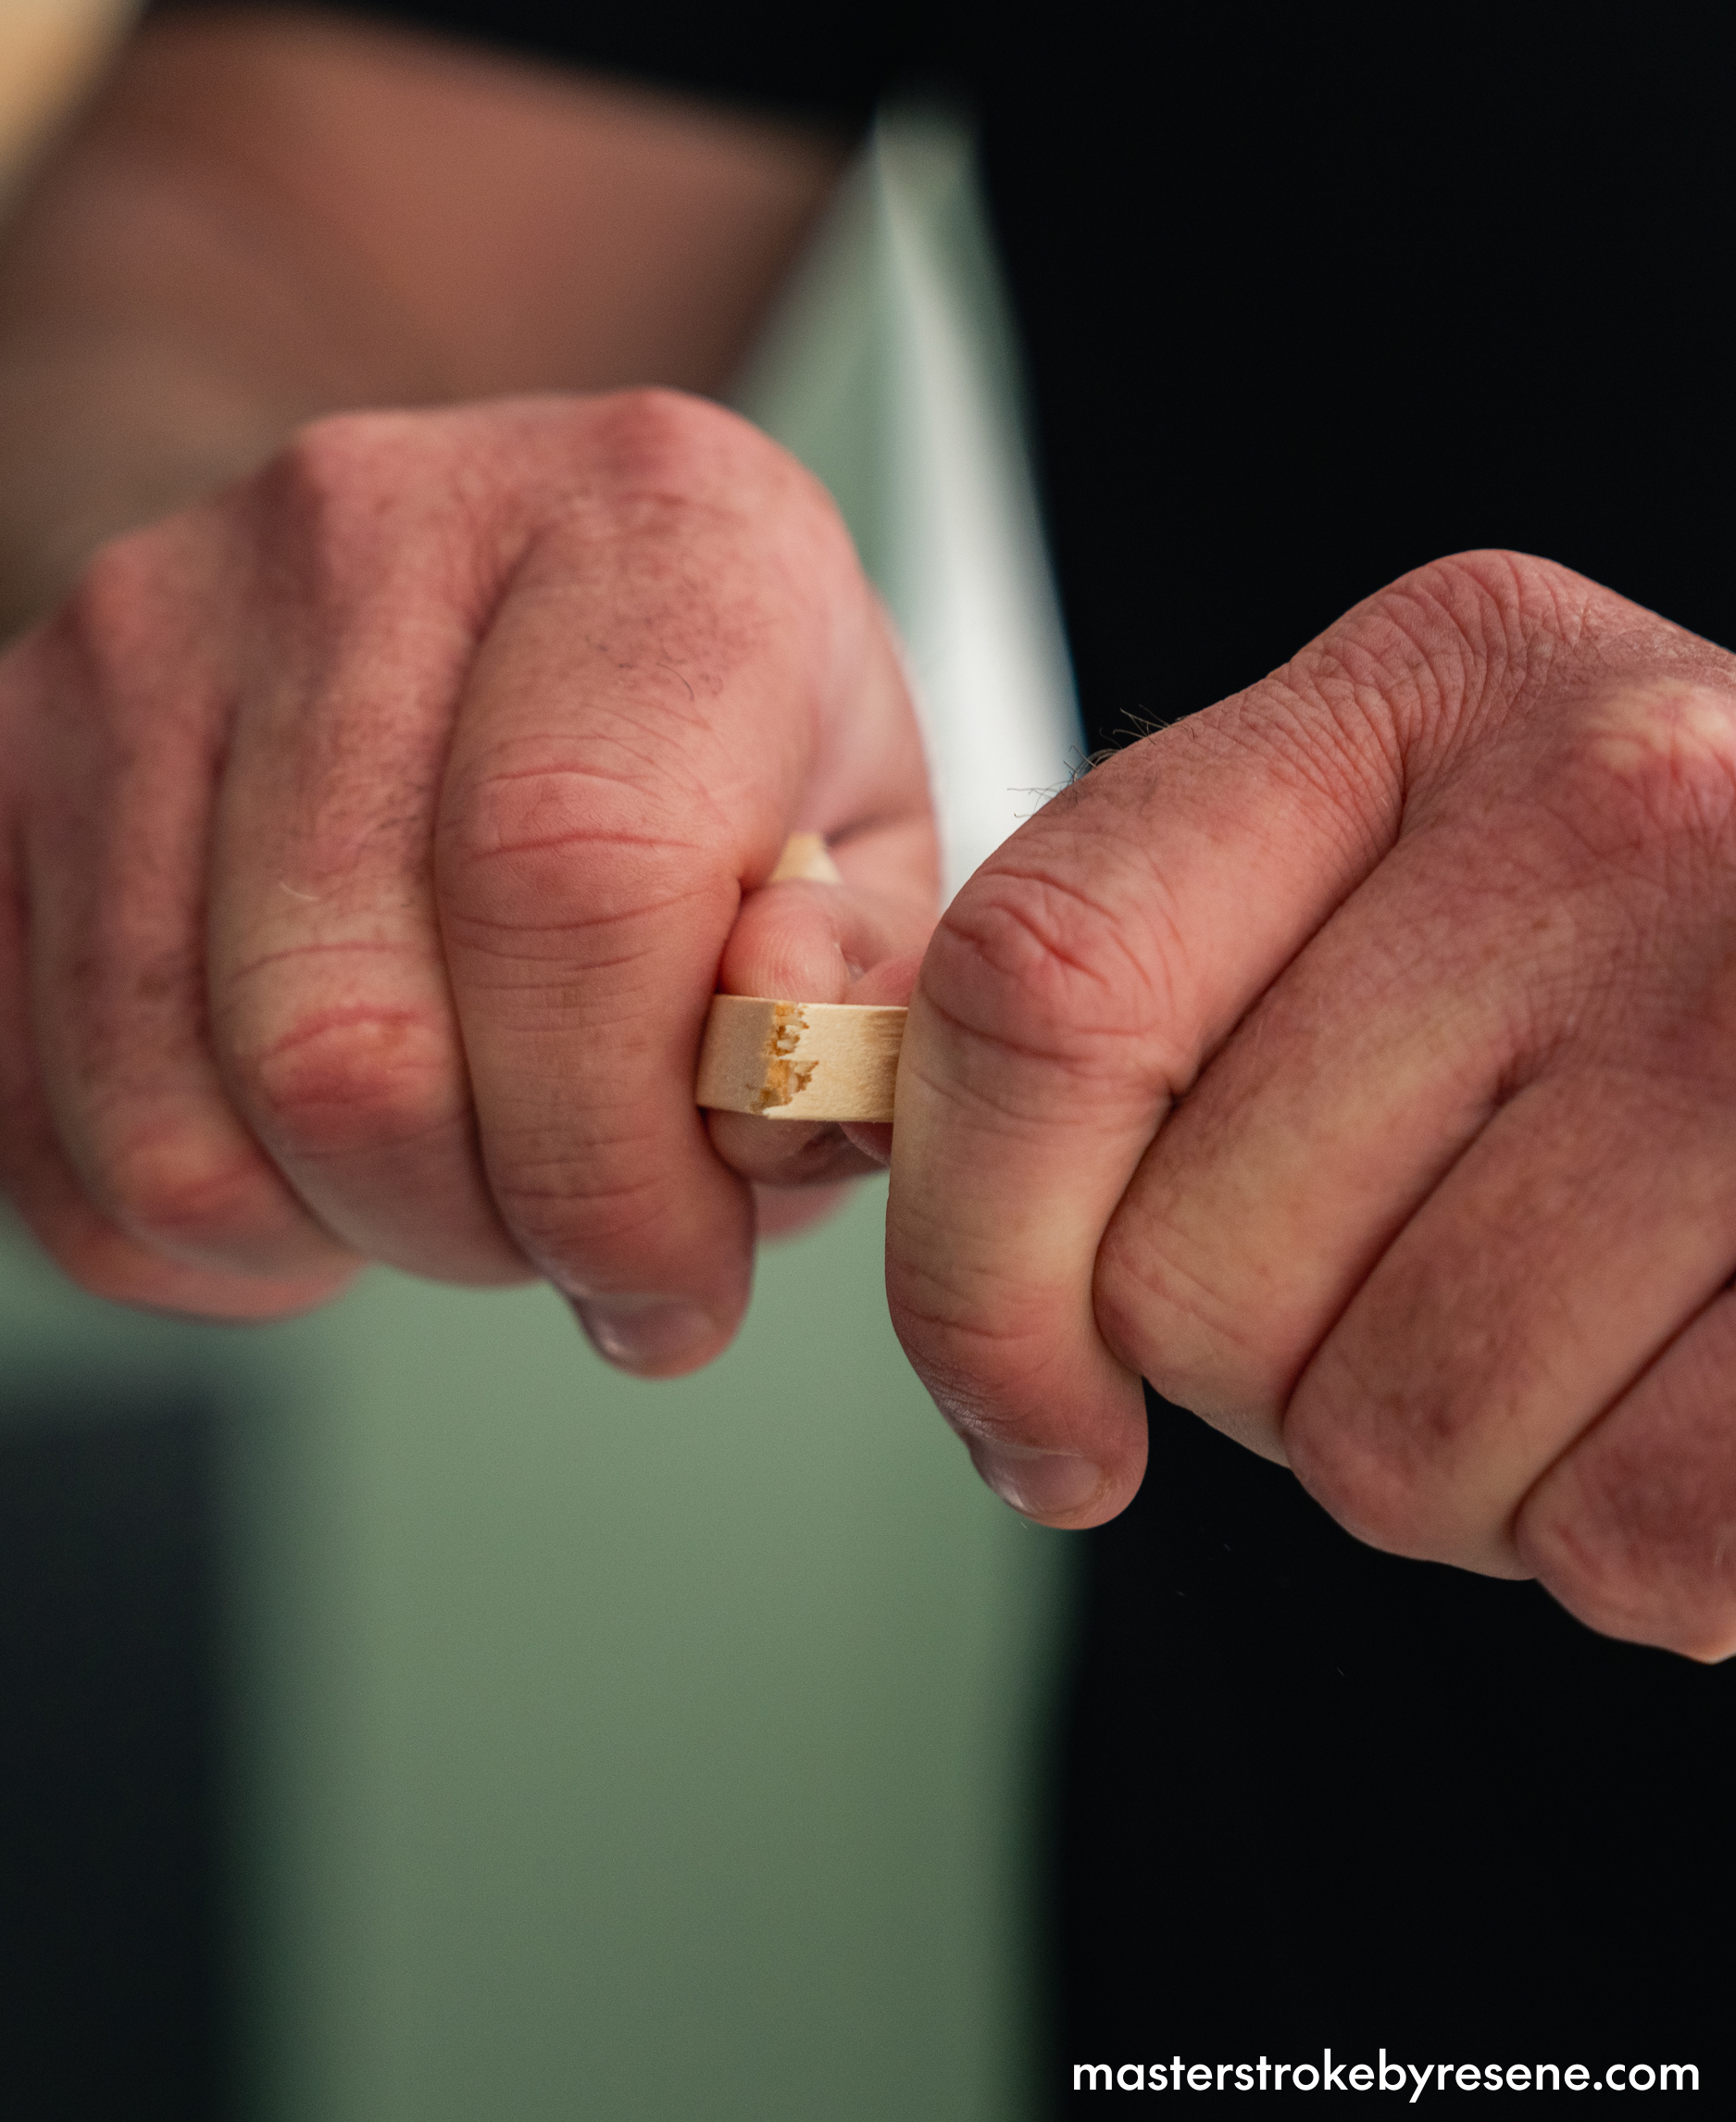
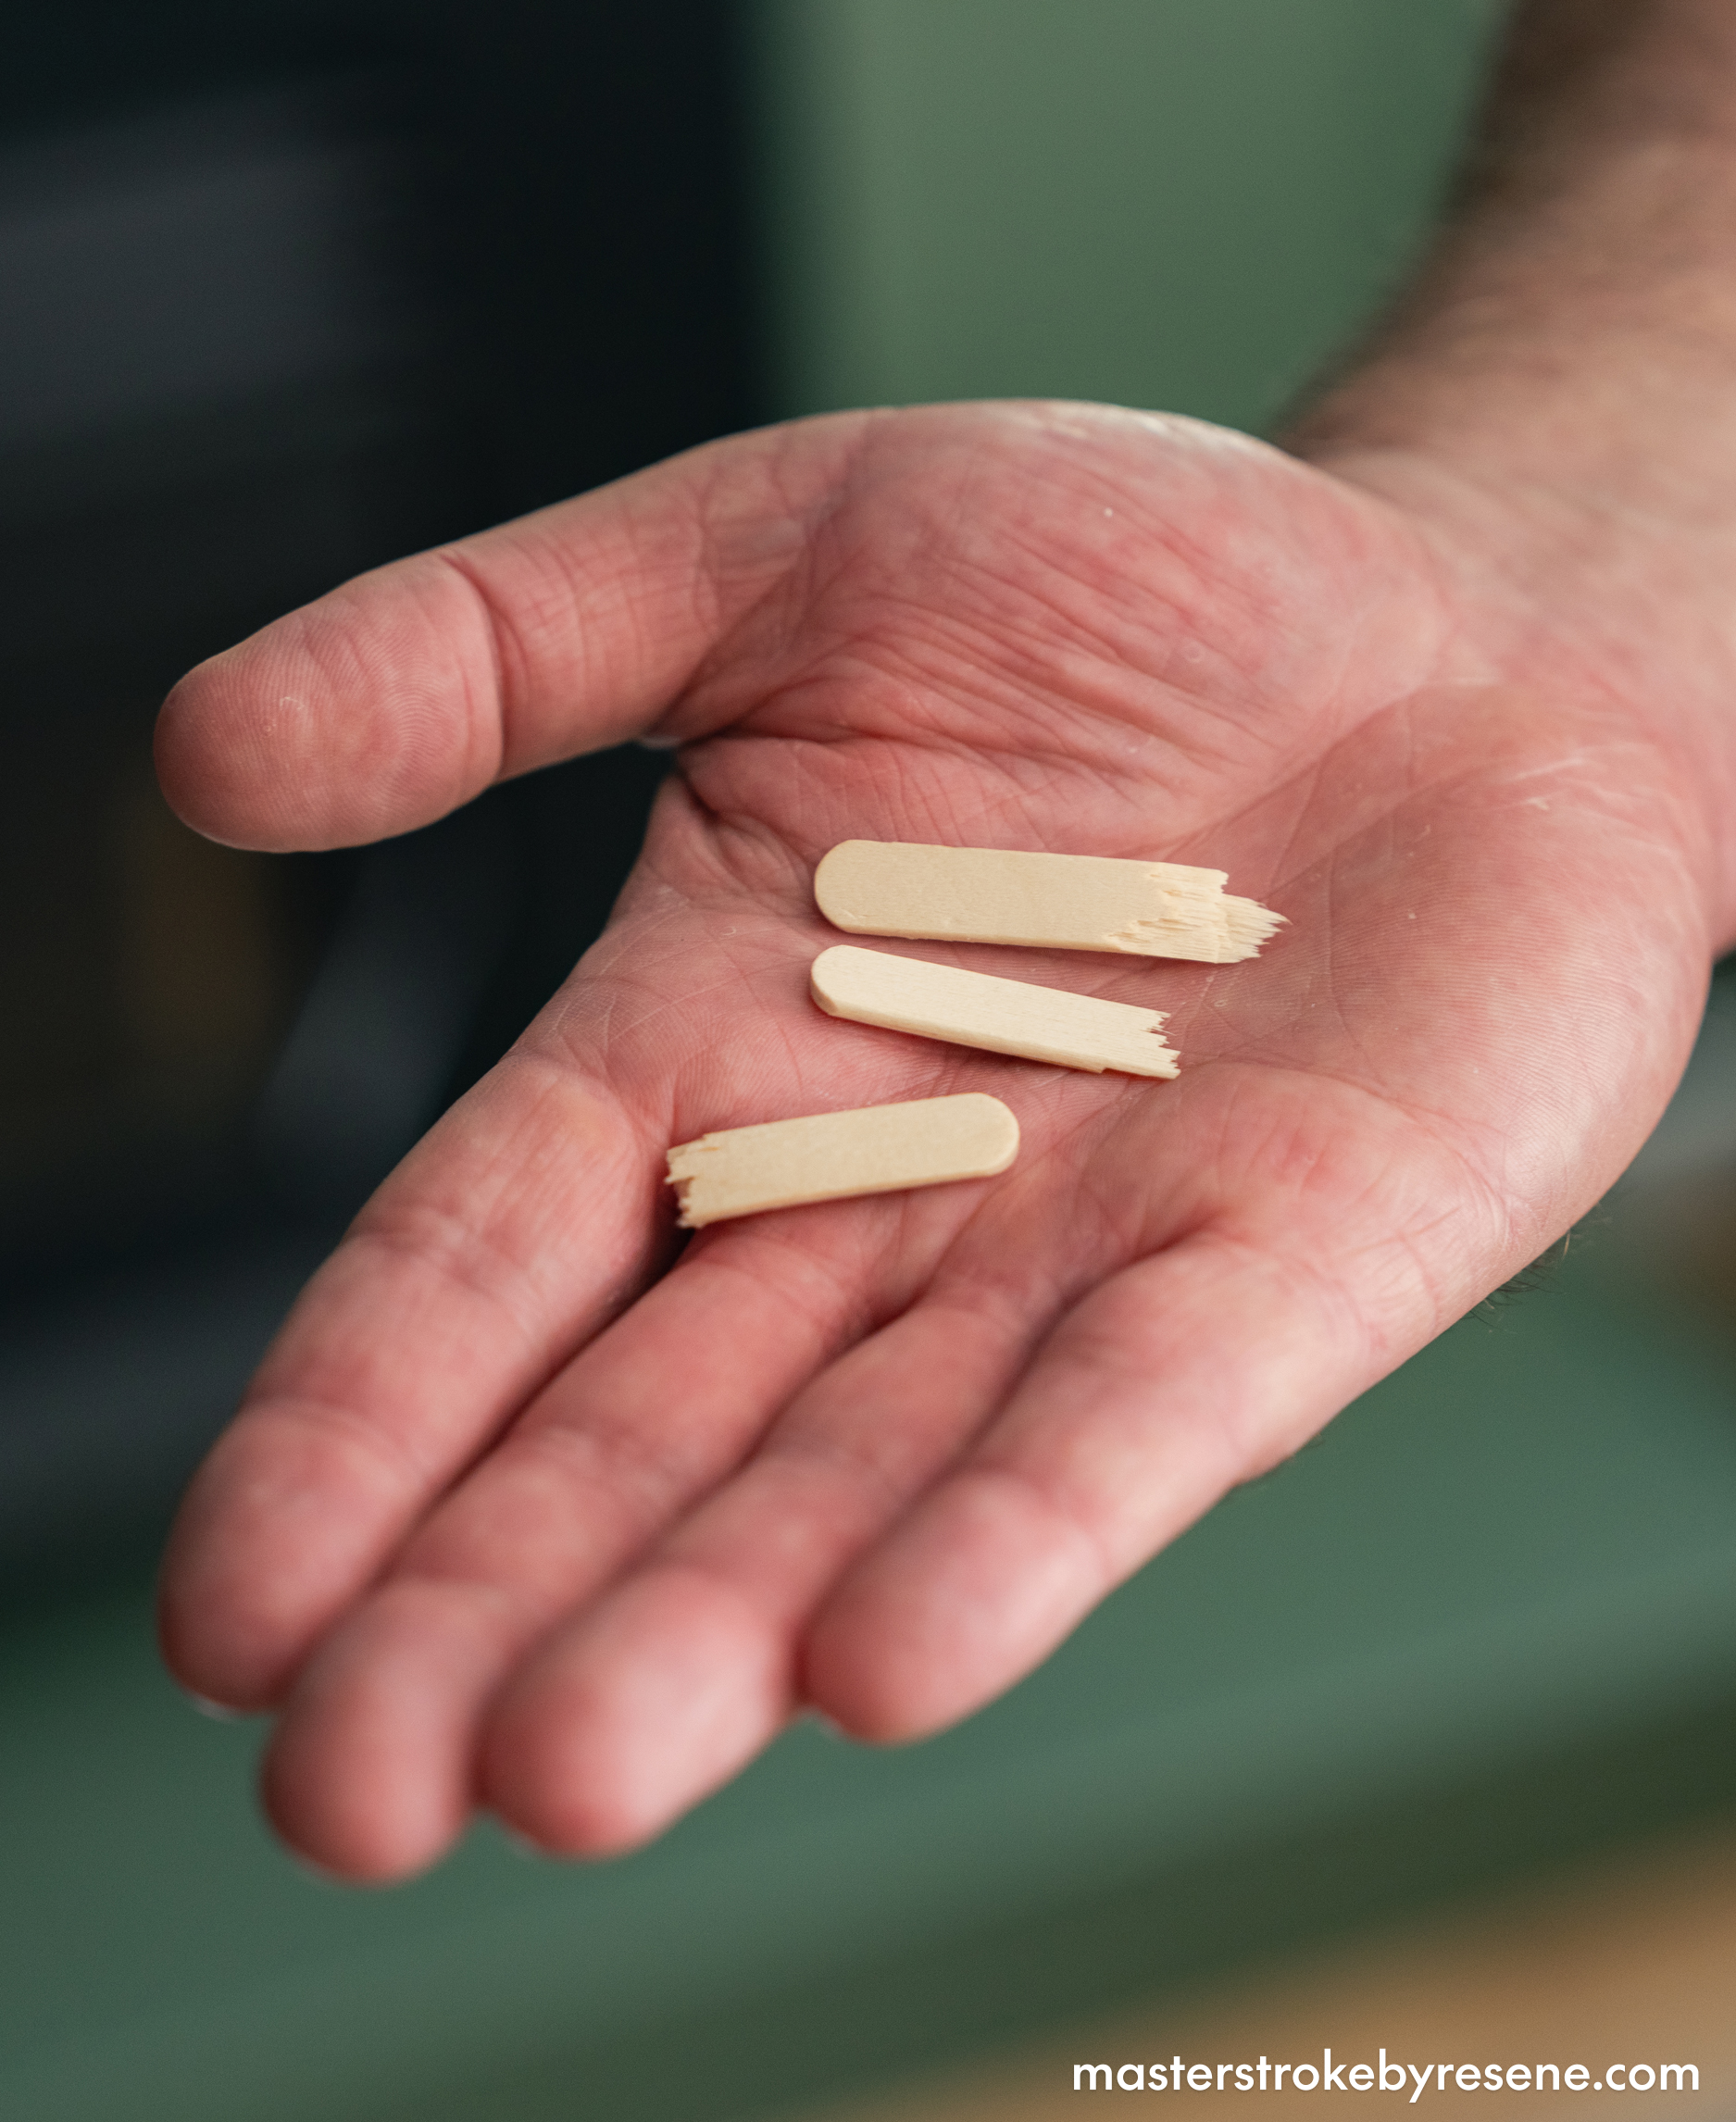
Make sure windows are dry to the touch first, then all you need is some wooden ice block sticks. Simply snap them in half and use them to insert into your painted windows. This leaves enough of a gap to ensure your windows won’t stick together overnight.

Ensure your windows don’t stick once you’ve freshly painted them by using this handy ice block stick. All you need for this genius paint hack is a pack of ice block sticks from the supermarket. Wall painted in Resene SpaceCote Low Sheen waterborne enamel in Resene Cabbage Pont. Trims painted in Resene Lustacryl semi-gloss waterborne enamel in Resene Half Black White.
Snap a few in half to make them easier to work with. Wall painted in Resene SpaceCote Low Sheen waterborne enamel in Resene Cabbage Pont.
Once your windows are touch dry, slot the small pieces into the joins so that the paint won’t dry and stick together. Wall painted in Resene SpaceCote Low Sheen waterborne enamel in Resene Cabbage Pont.
The tiny gap allows the paint to dry, while the windows are safely shut for the evening. Window joinery painted in Resene Lustacryl semi-gloss waterborne enamel in Resene Half Black White.

Advice on painting and repairing windows at your place


How to paint a window

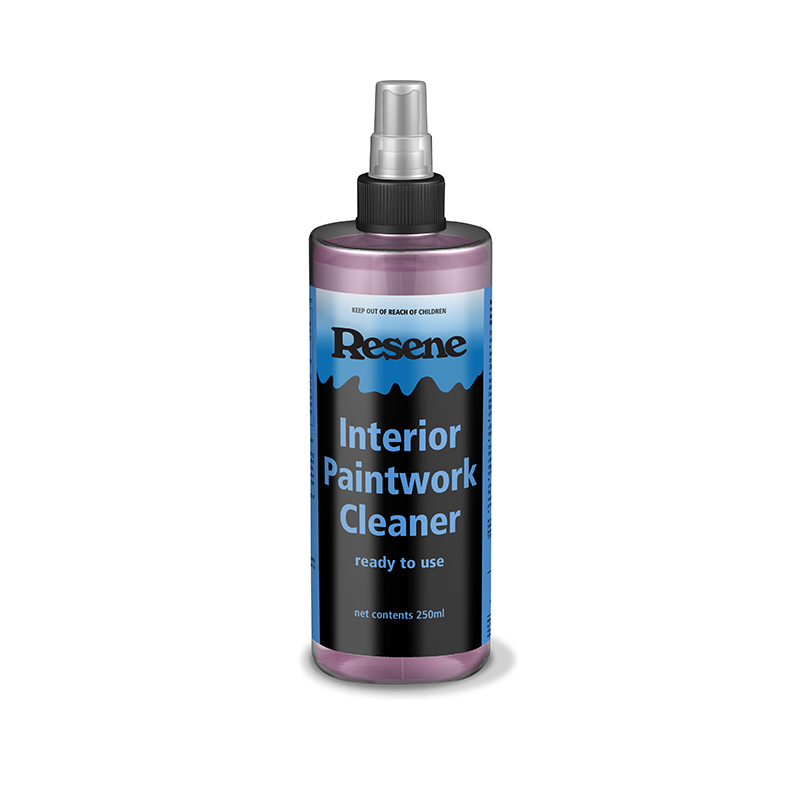
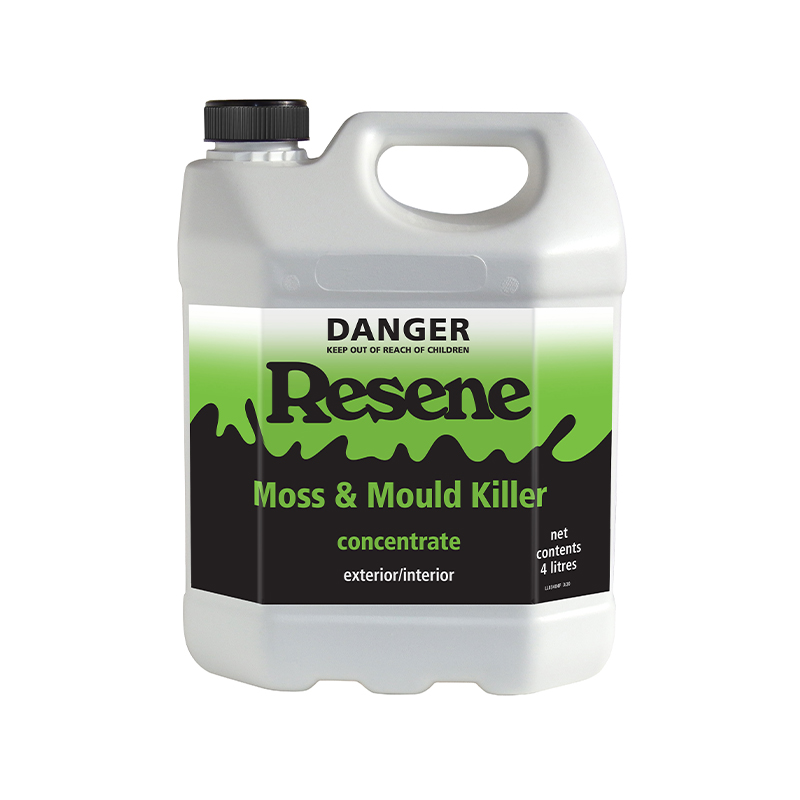
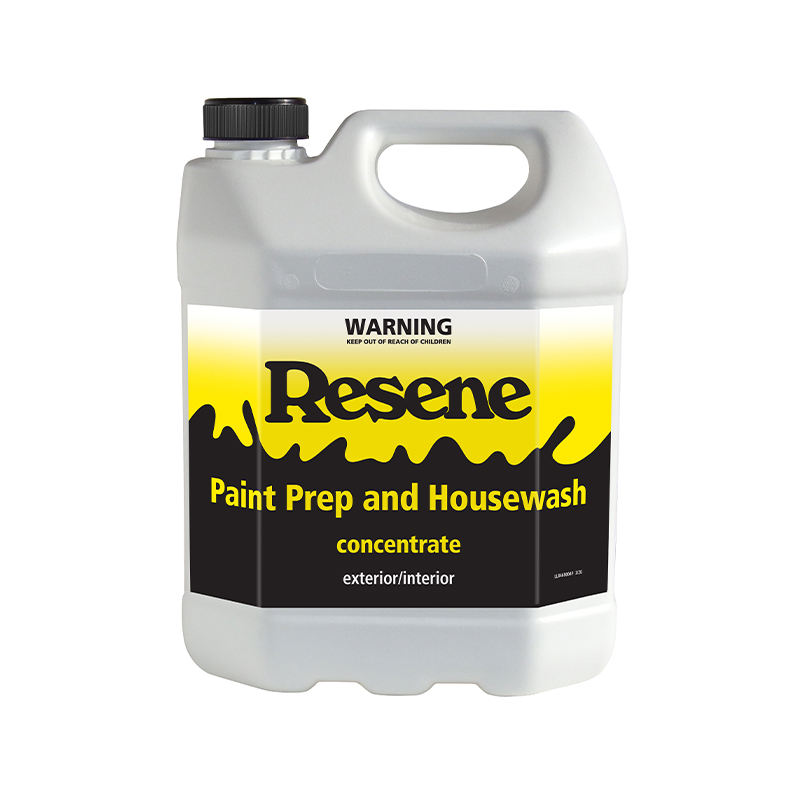
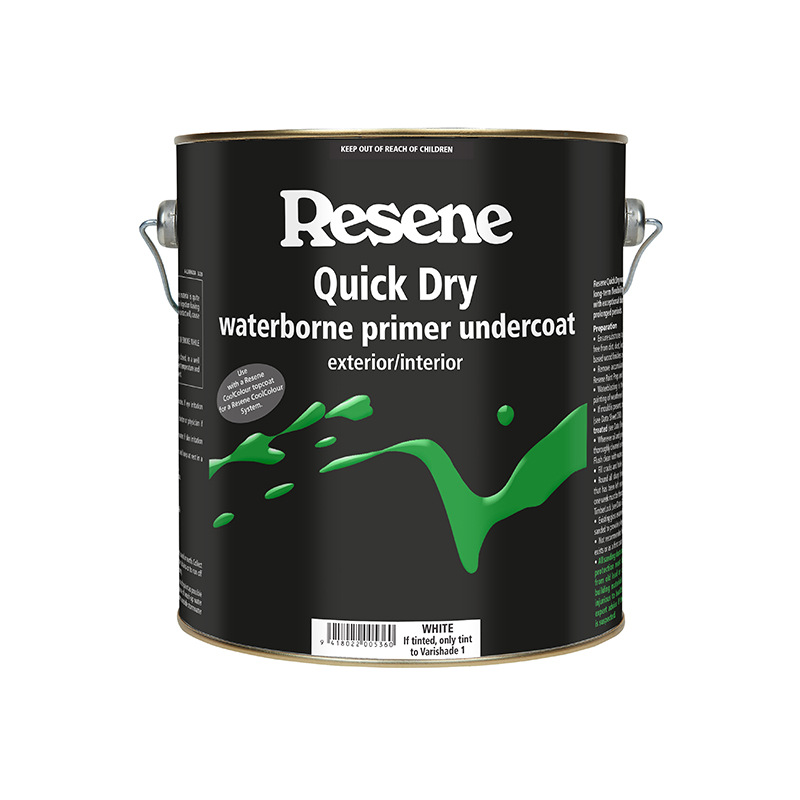
Painting your timber windows inside and out is not only an essential part of home maintenance, you’ll be surprised at the impact this relatively simple DIY job has. While the process is very similar, the exterior will require a little more prep work. Clean with Interior Paintwork Cleaner, prime, fill any holes, sand and dust off, prime with Resene Quick Dry and then topcoat with Resene Lustacryl. Outside, clean first with Resene Moss & Mould Killer and Resene Paint Prep and Housewash, then follow the same painting steps. 

For full step-by-step instructions for painting your windows, click here 

Repair a rotting window

With a little know-how, you can repair rotting timber windows and the secret weapon is Repair Care Dry Fix, available from Resene ColorShops. It’s a specialised product but you don’t have to have specialised skills to use it. Don’t be tempted to use builder’s bog, because while it’s cheap and easy to use, it sets like a rock. Timber naturally shrinks and expands, so eventually will separate away from your repair. The bog will crack away from the timber, not a good look, plus it lets the water in causing the rot to start again.  Using Repair Care will ensure you achieve a quality repair that looks good and will last for a very long time. Before you begin, always test the paint for lead. This is very quick and easy to do with an iQuip Instant Lead Test kit

For full step-by-step instructions for repairing your windows, click here

Fix a sticking window 

Firstly you need to identify exactly where your window is sticking. Once you’ve figured that out, put a pencil mark in the spot then use a measuring tool to draw a line down from the pencil mark – this will be the guide to show you exactly where you will use your plane. A planing tool is used to flatten, smooth and shape a wooden surface by shaving it down.  Window edges are not perfectly square, they have a relief angle, otherwise they wouldn’t shut at all. When you’re planing, identify that angle and try to follow it. Plane in an upwards motion and keep checking your progress by opening and closing the window to make sure you’re not taking too much off. It’s a fine line and you don’t want to cross it. Once you’re happy, sand, prime with Resene Quick Dry and topcoat with Resene Lustacryl semi-gloss waterborne enamel or Resene Enamacryl gloss waterborne enamel in your favourite Resene colour. 

For full step-by-step instructions for unsticking your windows, click here.

Window painting tips 

  • Resene Lustacryl semi-gloss and Resene Enamacryl gloss are recommended for both the interior and exterior of window frames. These waterborne enamels are designed with the same durability of traditional enamel paints, but the low-VOC (volatile organic compounds) formula makes them much more pleasant to use and better for the environment. They are both Eco Choice-approved products that are non-yellowing and fast-drying with easy water clean-up. They are ideal for painting window frames, doors, architraves and skirting boards.
  • If painting over linseed oil-based window putty, allow the putty to cure and develop a skin before priming with Resene Enamel Undercoat. Allow this to dry for 24 hours before priming with Resene Quick Dry. Make sure to paint over the top of the window putty. If left unpainted for a length of time, paint may not adhere in the future.
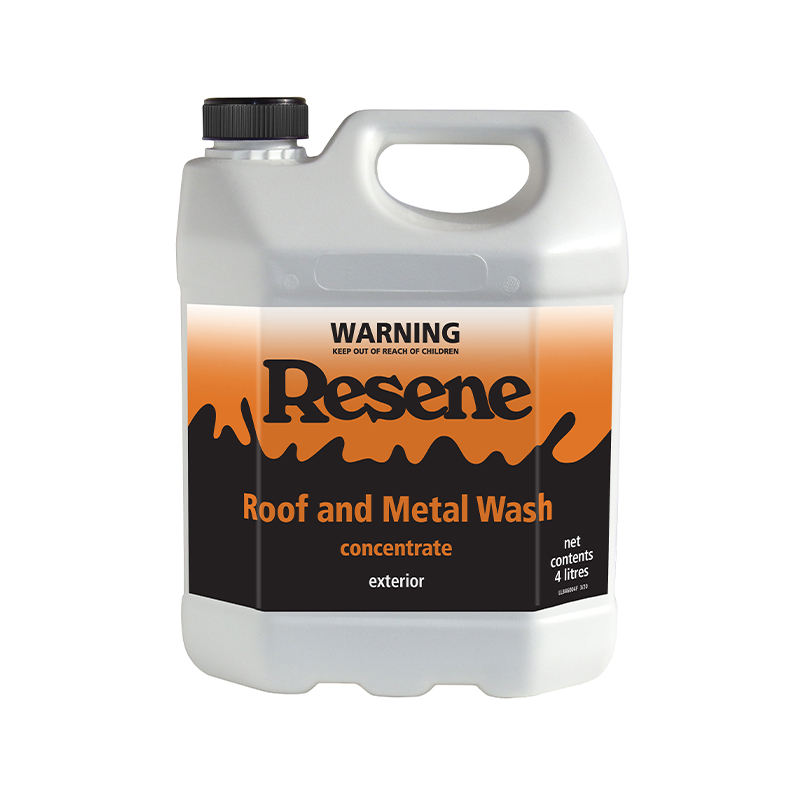
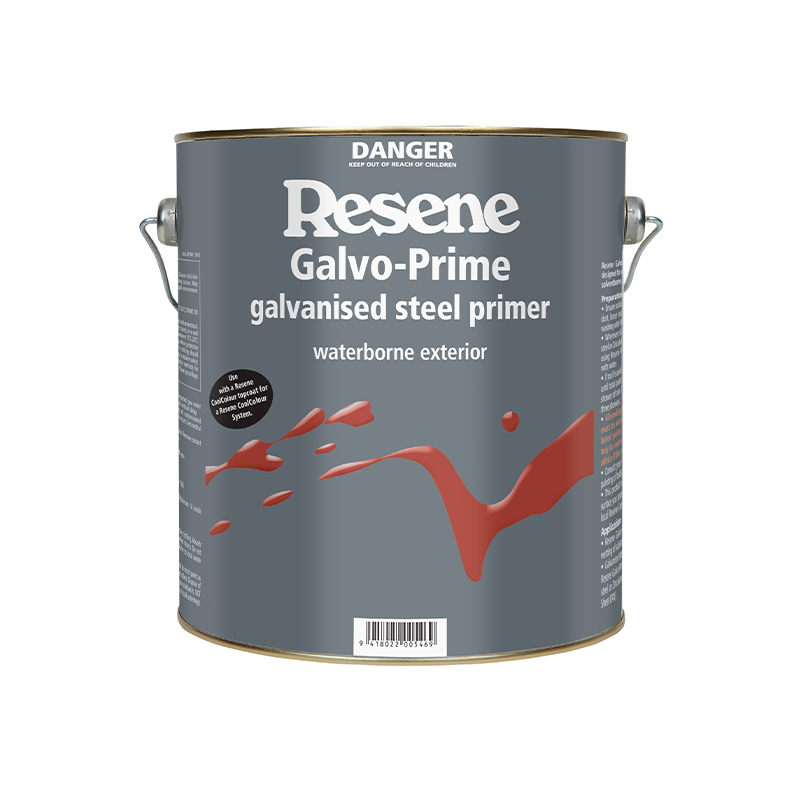
  • You can refresh old aluminium joinery too. If painting over old aluminium joinery, treat with Resene Moss & Mould Killer before cleaning thoroughly with Resene Roof and Metal Wash to remove any corrosive residue or chalky build-up. Rinse off well. Wet sand to avoid any corrosion, and then prime with Resene Galvo-Prime and finish with two coats of Resene Lustacryl semi-gloss or Resene Enamacryl gloss. Avoid painting any rubber seals.
  • If you’re planning to use a dark colour, use the Resene CoolColour version of your colour to help reflect more heat and keep your window joinery cooler.
  • If your window joinery has mould on it, make sure you treat it first with Resene Moss & Mould Killer before painting. Untreated mould can grow through new paint.

Visit your local Resene ColorShop for more help with all your prep and painting projects or Ask a Resene Paint Expert free online.

About MasterStroke by Resene
MasterStroke by Resene is here to help you master your paint and decorating DIY projects. Brush up on your skills with advice, tips and ideas from our trusted experts.

Check out the latest how-to videos on our YouTube channel.