How to

How to paint a deck

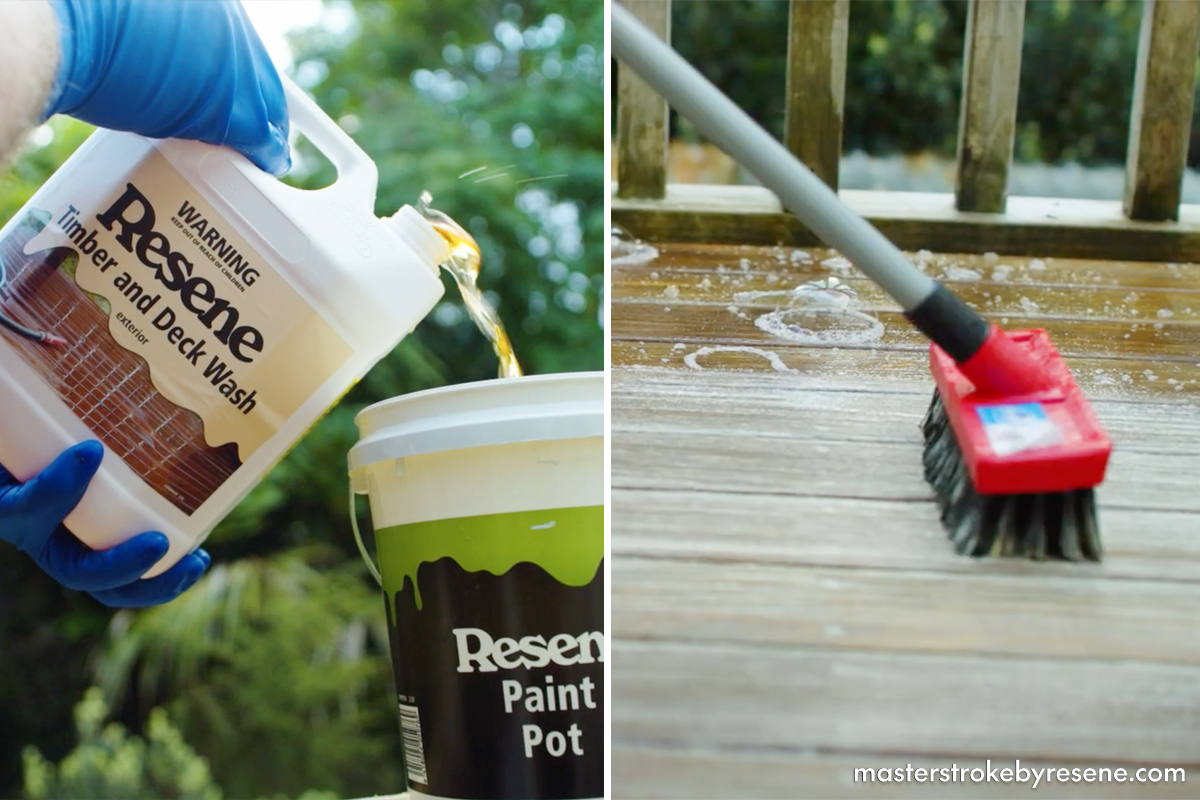
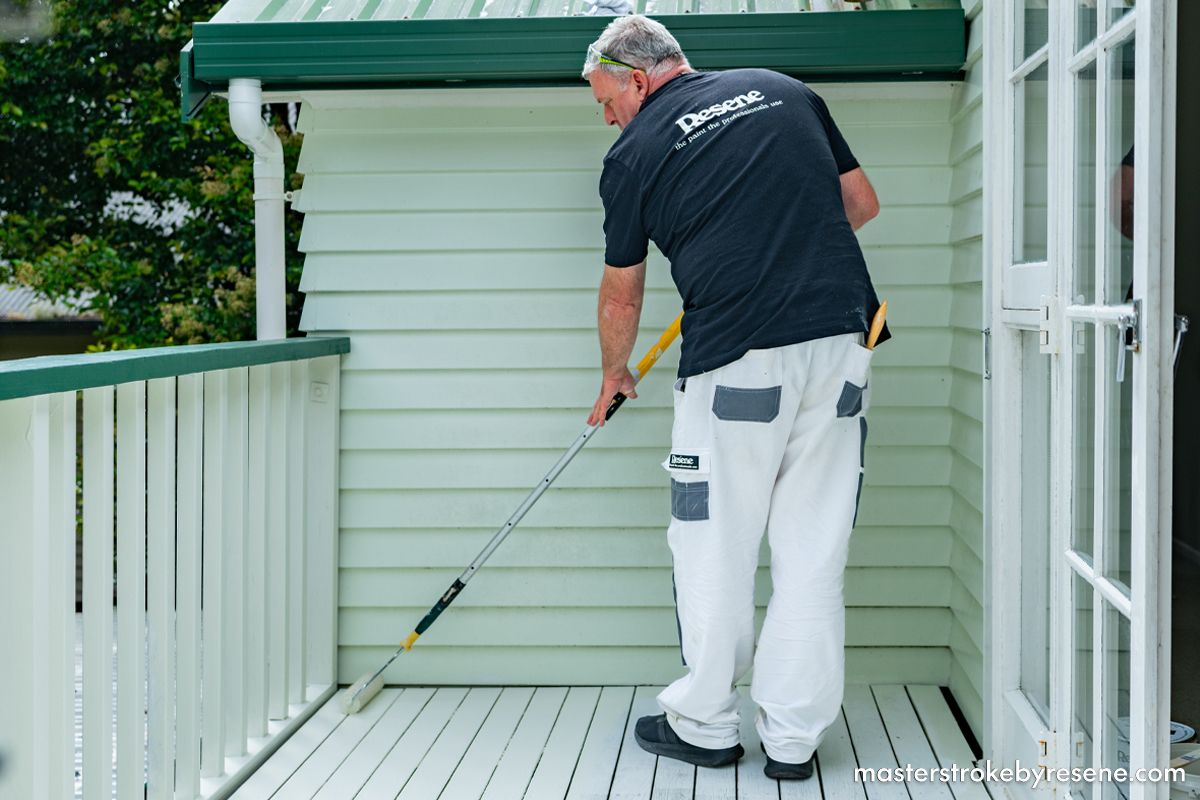
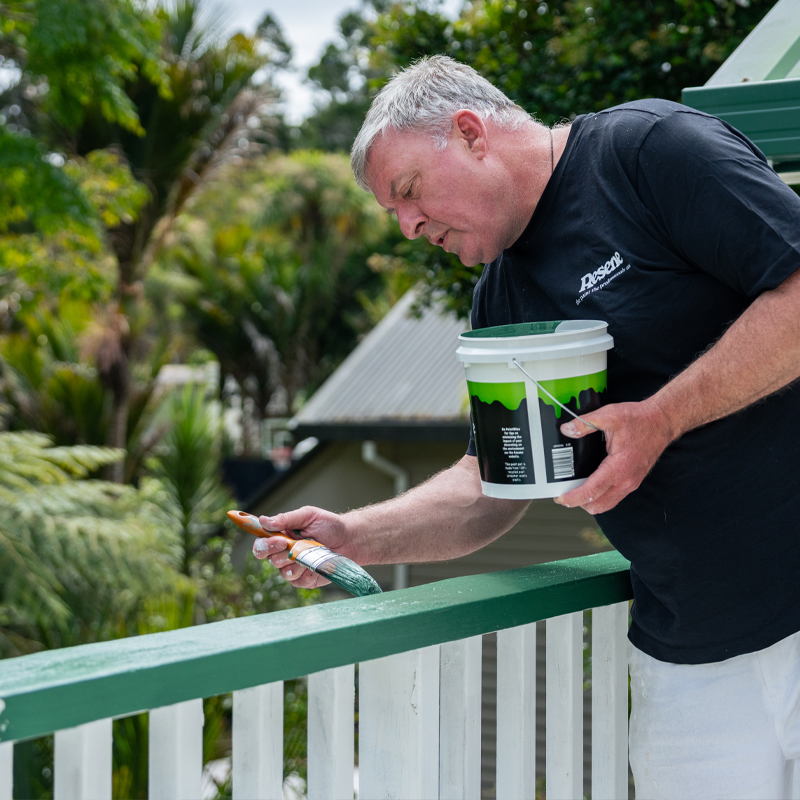
Timber decks endure a lot of wear and tear over the years – not just from use, but from the harsh environmental conditions we experience in our part of the world.  Resene Paint Expert Murdo Shaw is here to show us how to paint a deck and explains all the Resene products required and what order to use them in. This is an excellent job to do over a weekend or during the holidays. 

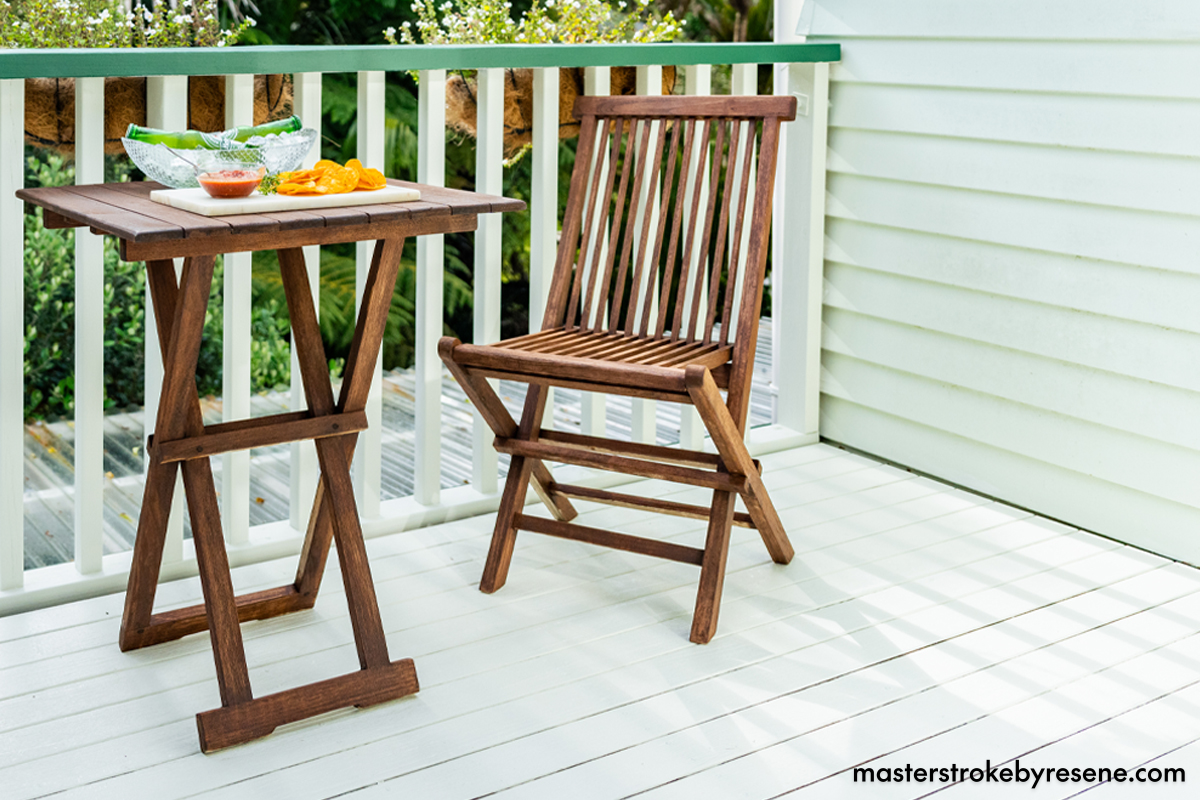
When it comes to coating your deck, you have two key options: paint or stain. There are a couple of factors to consider before making your decision. A paint finish is ideal to hide imperfections in the timber and will last longer, though when it’s time to repaint, more preparation will be needed compared to a wood stain. Wood stains allow the natural beauty of the timber to shine through but require more regular maintenance than paint. 

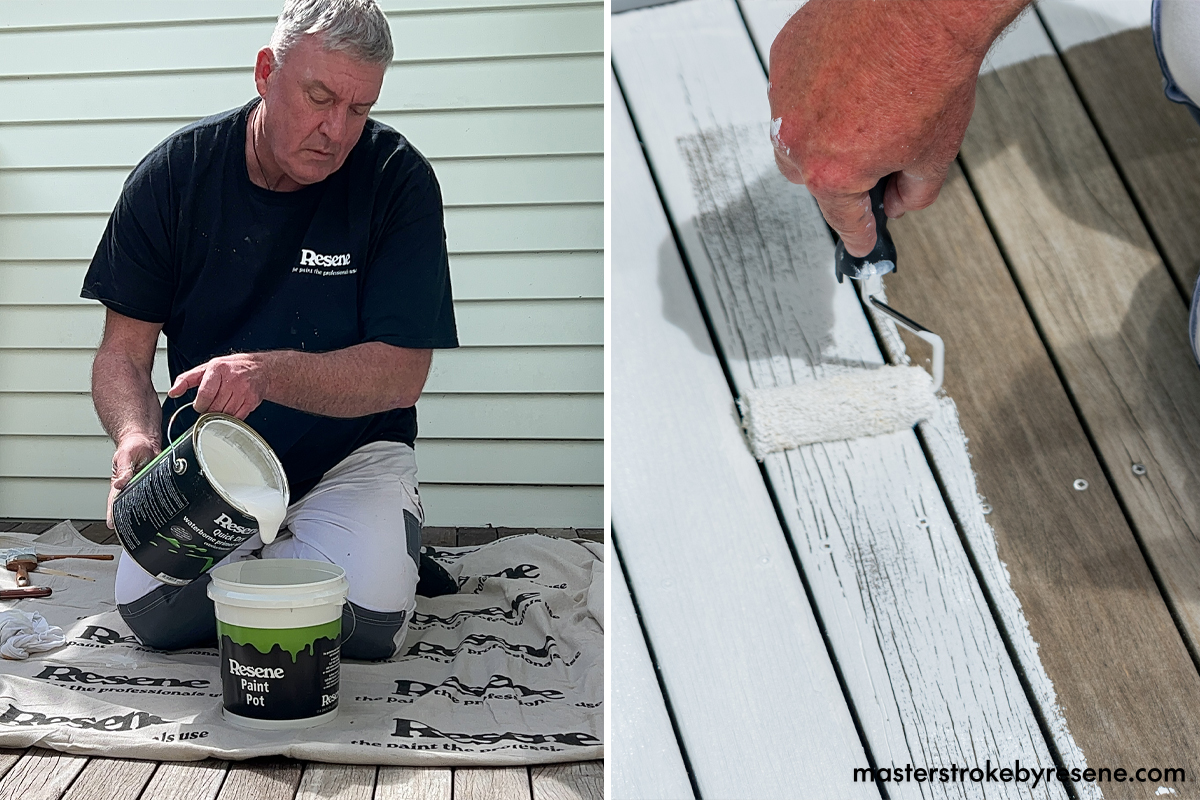
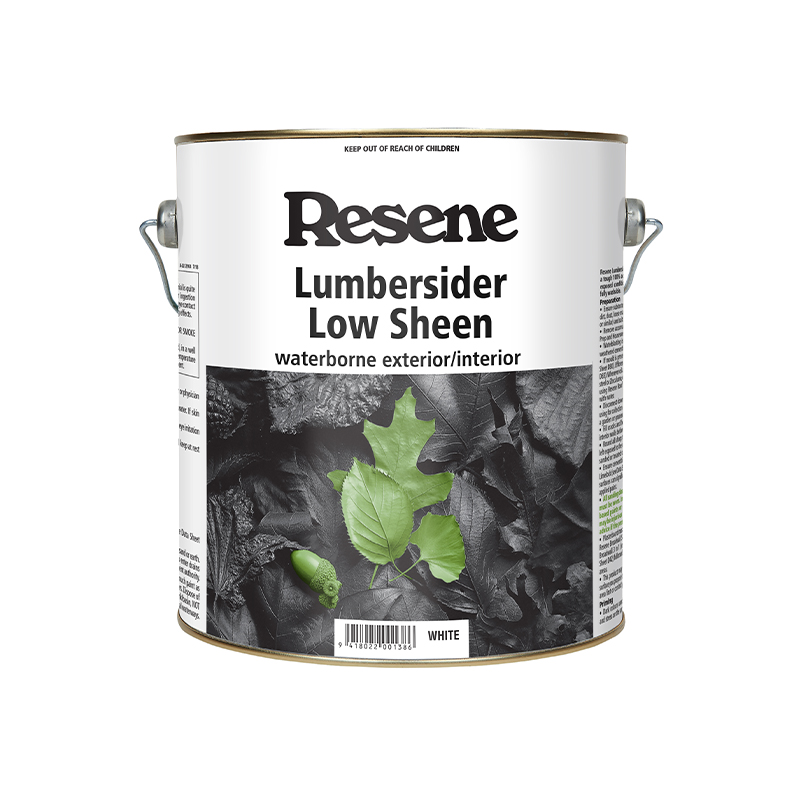
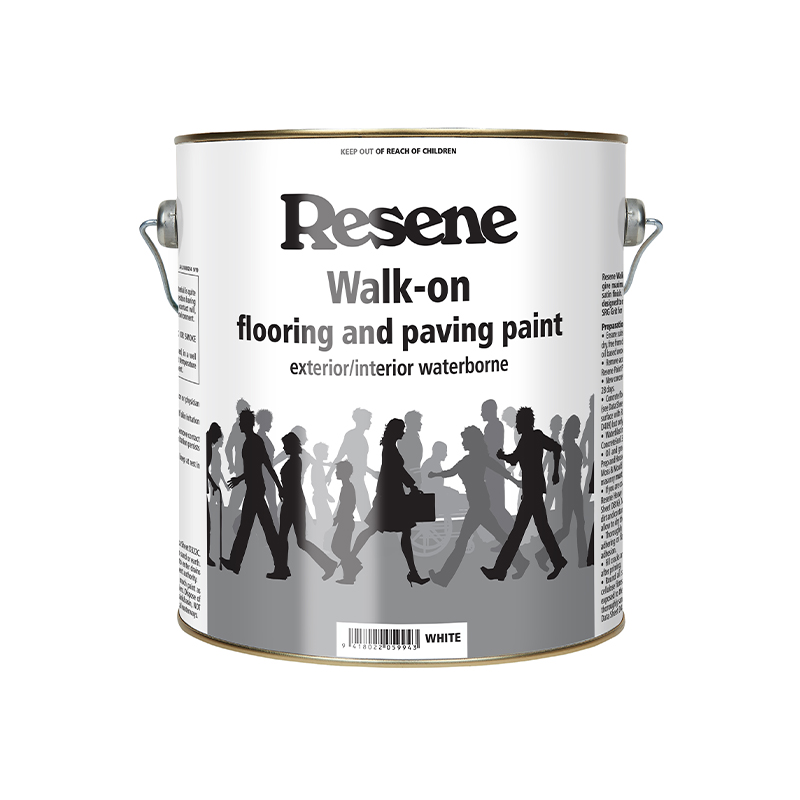
If you choose to paint, you can either opt for a finish such as Resene Lumbersider Low Sheen or Resene Walk-on flooring and paving paint. When painting most types of flooring in your home, you’ll want to use Resene Walk-on for a subtle non-slip finish. Resene Walk-on is a general purpose flooring paint with an attractive satin finish based on tough acrylic resins for durability and abrasion resistance. You can use it to create solid or patterned designs on floors, steps, decking, concrete, porches, primed timber and composite boards.

Once you have selected your formulation, then it’s time to choose colour. If it’s dark, getting the Resene CoolColour formula is recommended – it will look like a normal Resene colour but thanks to special pigment technology, it reflects more of the sun’s energy so it doesn’t get as hot as a standard formula would. Resene CoolColour works by reflecting energy in the near and far infra-red region of the spectrum even though they absorb strongly in the visible region. Resene CoolColour technology is available in a range of Resene premium paints and stains and is suitable for a wide range of exterior projects, especially where dark colours are planned. Ask your Resene ColorShop staff whether a Resene CoolColour finish is right for your project.

1

Prep is key

Preparation prior to painting is crucial for a perfect result. As decks are constantly exposed to the elements, it’s important to remove all the gunge and grime that can build up, particularly over winter. It’s not only unsightly but can be dangerous as it’s very slippery. 

Don your safety gear – mask, gloves and glasses – and pour your Resene Moss & Mould Killer into a spray pack for easy application. Dilute with water following the instructions on the back of the pack. Thoroughly drench the deck and leave for 12-24 hours for maximum spore kill.

2

Clean the timber

Dilute the Resene Timber and Deck Wash following the instructions on the pack, then apply to the timber and give it a good scrub with a stiff bristle broom. Rinse it off with the hose and leave it to dry.

3

Sand it down

Give the deck a good sand with a pole sander for speed and ease, then wipe or brush off the sanding dust.

4

Prime time

You have two choices here – if your deck is natural timber, prime it with Resene Quick Dry. If your deck has been previously stained, use Resene Wood Primer before applying paint. Pour your chosen primer into a tray and use a roller to apply.

5

Perfect the deck

Use filler to fill any nail holes or imperfections in the deck, then spot prime the filled areas with Resene Quick Dry. Once dry, lightly sand and give everything a good dust down. Remember to keep your mask on when you’re sanding and cleaning up sanding dust.

6

Get painting

Apply two coats of Resene Walk-on – Murdo is using Resene Green White. Cut in around the edges with a brush then use a roller to paint the rest of the deck. Allow to dry between coats.

If your deck is used a lot or gets slippery when wet, add Resene Anti-Slip Grip Additive to the first coat of Resene Walk-on to help protect against slips.

7

All decked out

Once the final coat is dry, it’s time to replace any furniture and enjoy relaxing on your refreshed deck.

Weatherboards and balustrade painted in Resene Lumbersider Low Sheen in Resene Green White and rail in Resene Lumbersider Low Sheen in Resene Permanent Green.

How much paint will you need?

If you change data entered into the fields below, ensure you press the calculate button again to re-run the equations and get the new answers.
Calculated result: 0 Litres in total
To find the spreading rate of your Resene product, click here.
NB: Porous surfaces and shapes (ie corrugated iron) will require more paint.

Top tips

  • Spray your deck every six to 12 months with Resene Deep Clean. It will work with the weather to help keep your deck clean – no scrubbing needed! If you have guests coming over and need a more instant clean, use Resene Paint Prep and Housewash.
  • Decks on the shady side of your home are more prone to moss and mould. Ask your Resene ColorShop team to add extra MoulDefender to your topcoat paint if you need extra mould protection. If mould does appear, treat it with Resene Moss & Mould Killer.
  • If your deck has stairs, paint the edges in white Resene Non-Skid Deck & Path paint or Resene Walk-on with added Resene Anti-Slip Grip Additive. This will make it easier to see the stair edges on rainy days and when there’s less light and make it easier for feet and shoes to grip onto the stairs without slipping.

About MasterStroke by Resene
MasterStroke by Resene is here to help you master your paint and decorating DIY projects. Brush up on your skills with advice, tips and ideas from our trusted experts.

Check out the latest how-to videos on our YouTube channel.