Get inspired

Refresh your outdoor entertaining area for summer

Block wall painted in Resene Lumbersider Low Sheen in Resene Alabaster and Resene Smooth Operator, pizza oven base in Resene Resitex Standard in Resene Smooth Operator, timber bench finished in Resene Furniture and Decking Oil, pavers in Resene Walk-on in Resene Kalgoorie Sands and plant pots in Resene Lumbersider Low Sheen in Resene Flax and Resene Gold Coast.

Entertaining al fresco is a given in our part of the world, but it needs to be done in a space you’re proud to host in. It’s amazing what you can do to uplift a weather-worn courtyard with the right preparation and the power of Resene paint and stain. Read on for advice on transforming your outdoor space into somewhere as functional as it is beautiful and a place to relax and entertain under the sun and stars. 

First things first

There is a huge amount of potential and value to be added when you take on an outdoor refresh, and you can theoretically add another space to your property without spending too much. Really consider your existing area and don’t rush the process. It can get overwhelming when there are so many options, so take the time to find solutions for your unique space and get a proper feel of how they could work for you. It will add so much function to your outdoors. 

Ask the experts

Before embarking on any new project, it’s always advised to head down to your local Resene ColorShop or reseller to not only talk colour, but also paint types and preparation products. There are different substrates in outdoor areas, like concrete blocks, pavers and timber, and each needs a slightly different treatment. Ask the team to talk you through each surface in the space, and how it should be prepared, primed and painted. 

Pave the way

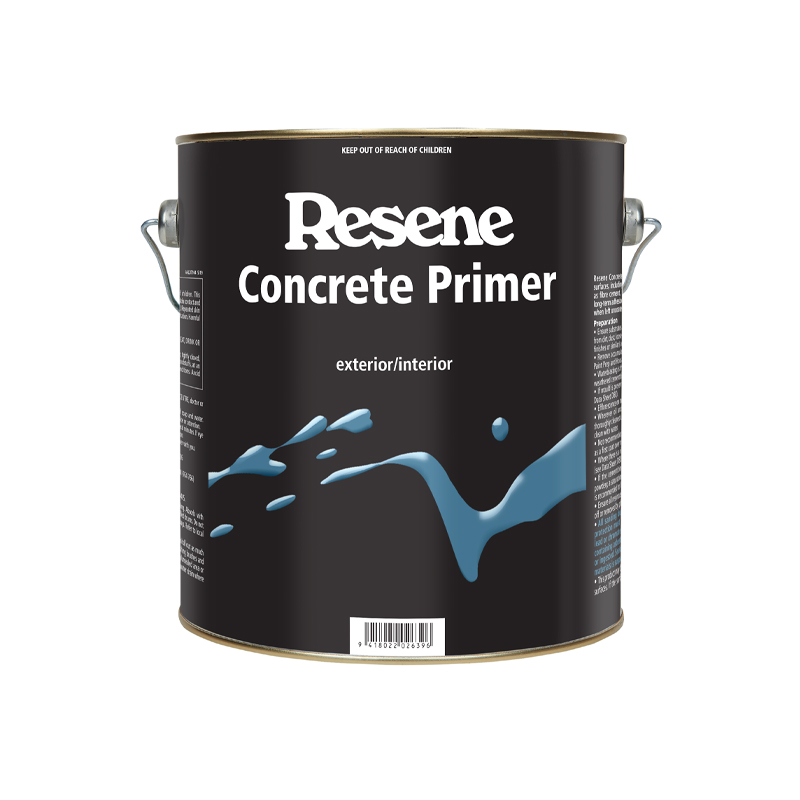
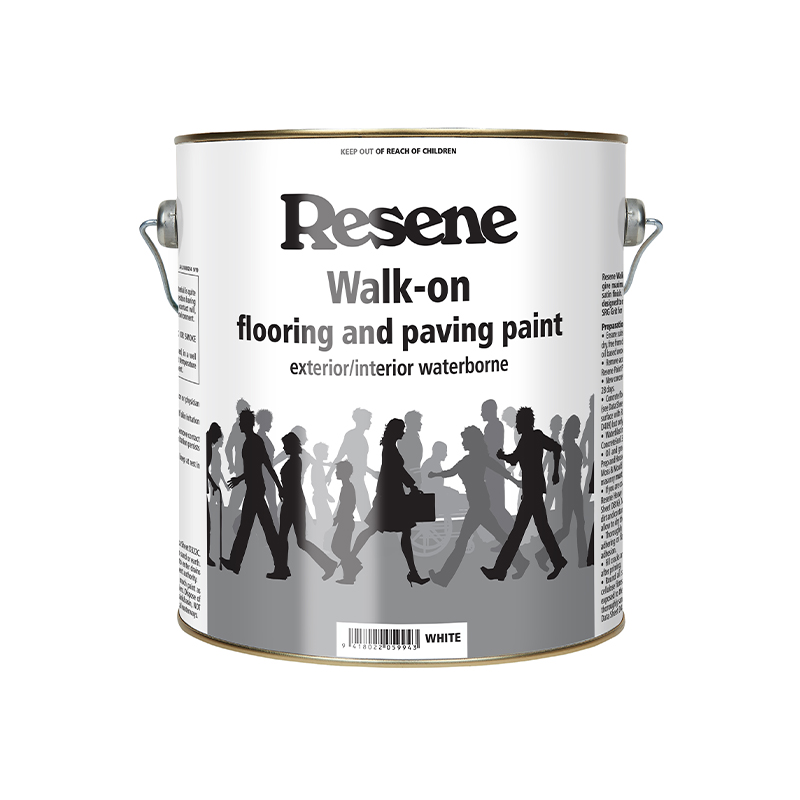
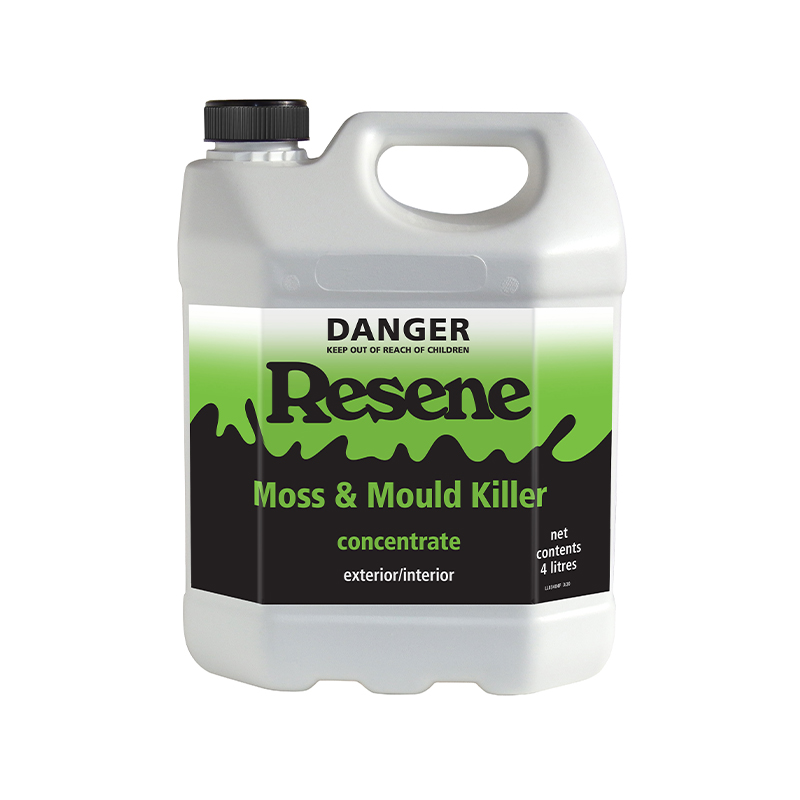
Replacing outdoor concrete pavers can be a hugely expensive process, so a good alternative is to paint them to create a fresh new look. Before you begin, it’s crucial to get rid of all the grime and dirt that has built up over time. Treat the entire area with Resene Moss & Mould Killer, which blitzes off all the mould and spores, plus removes all the grime so that the paint will adhere efficiently. Dilute it according to the instructions on the pack, then use a garden sprayer to saturate your pavers – remember to wear your safety gear when doing this. Leave for 24-48 hours to achieve a full kill, then rinse clean with fresh water. It’s common for heavy infestations to require a second treatment. Once, dry, prime all the pavers with Resene Concrete Primer, then topcoat with Resene Walk-on flooring and paving paint in your chosen colour. 

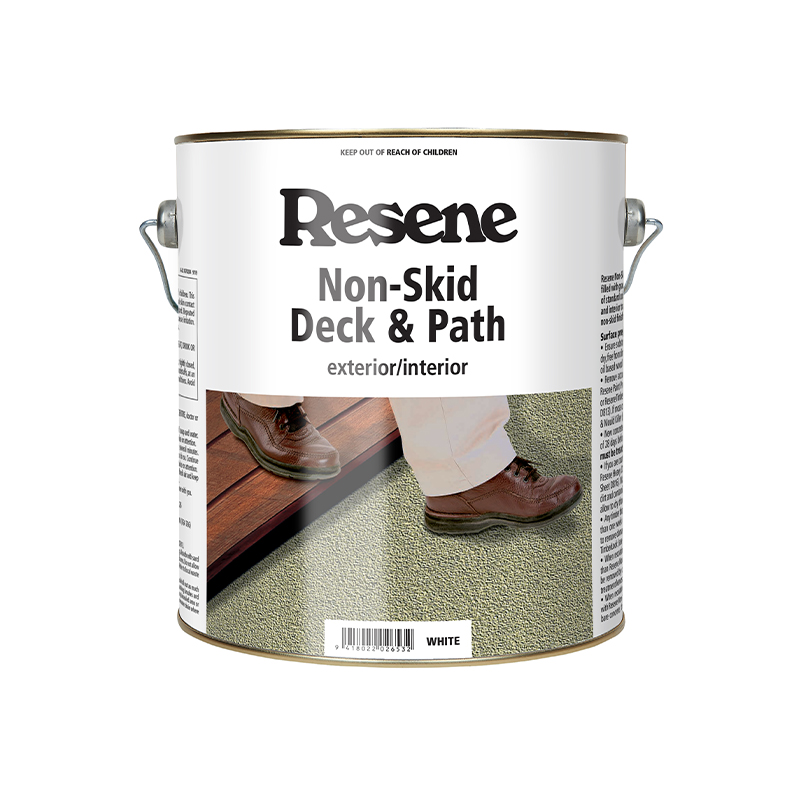
Top tip: If your outdoor area tends to get slippery, use Resene Non-Skid Deck & Path instead of Resene Walk-on. Both contain non-slip materials, but the gritty finish of Resene Non-Skid Deck & Path will provide extra protection on sloped or very slippery areas

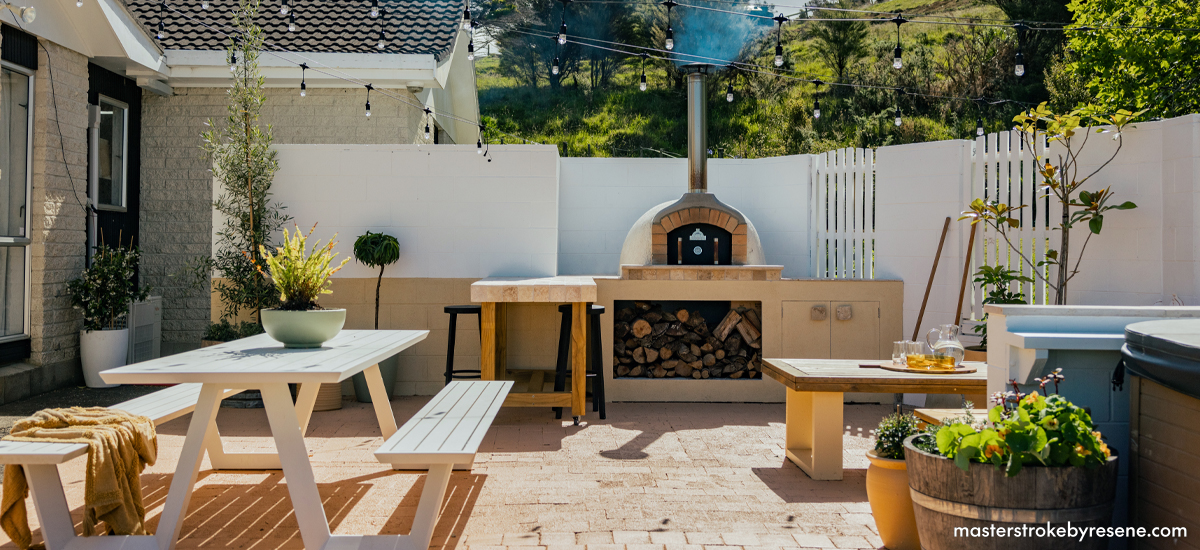
Pavers painted in Resene Walk-On in Resene Kalgoorie Sands.
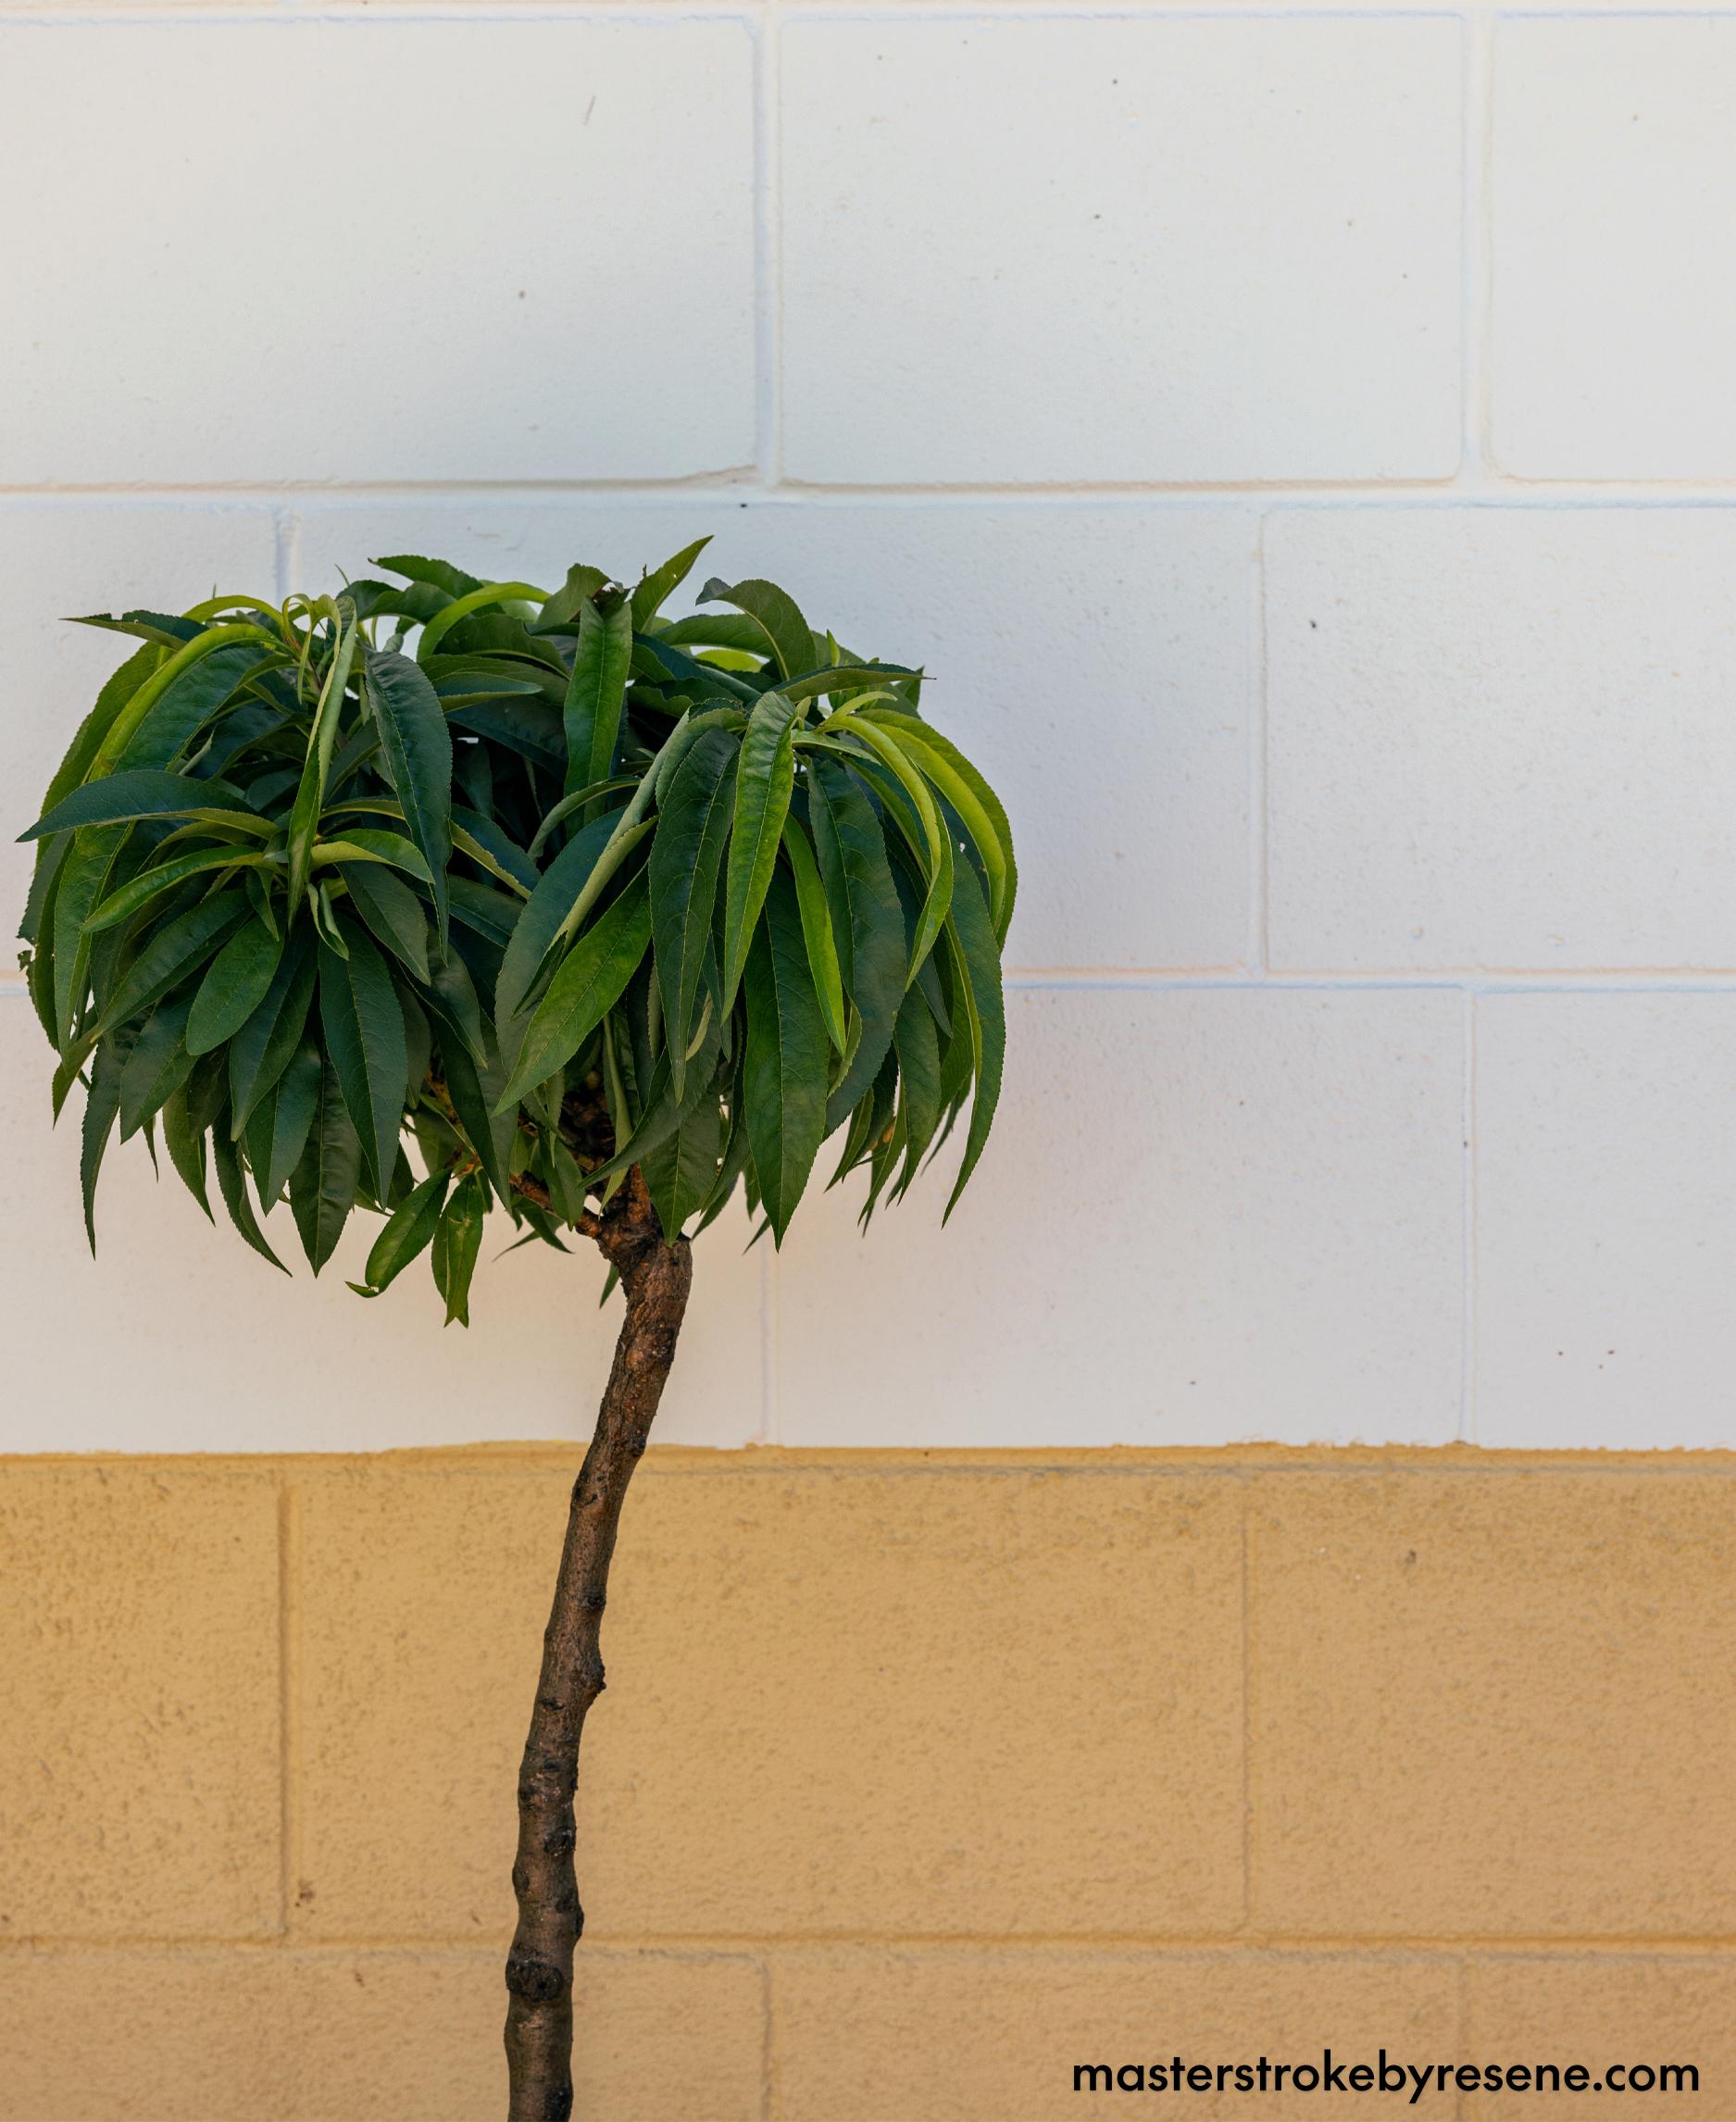
Block wall painted in Resene Lumbersider Low Sheen in Resene Alabaster (top) and Resene Smooth Operator (bottom).
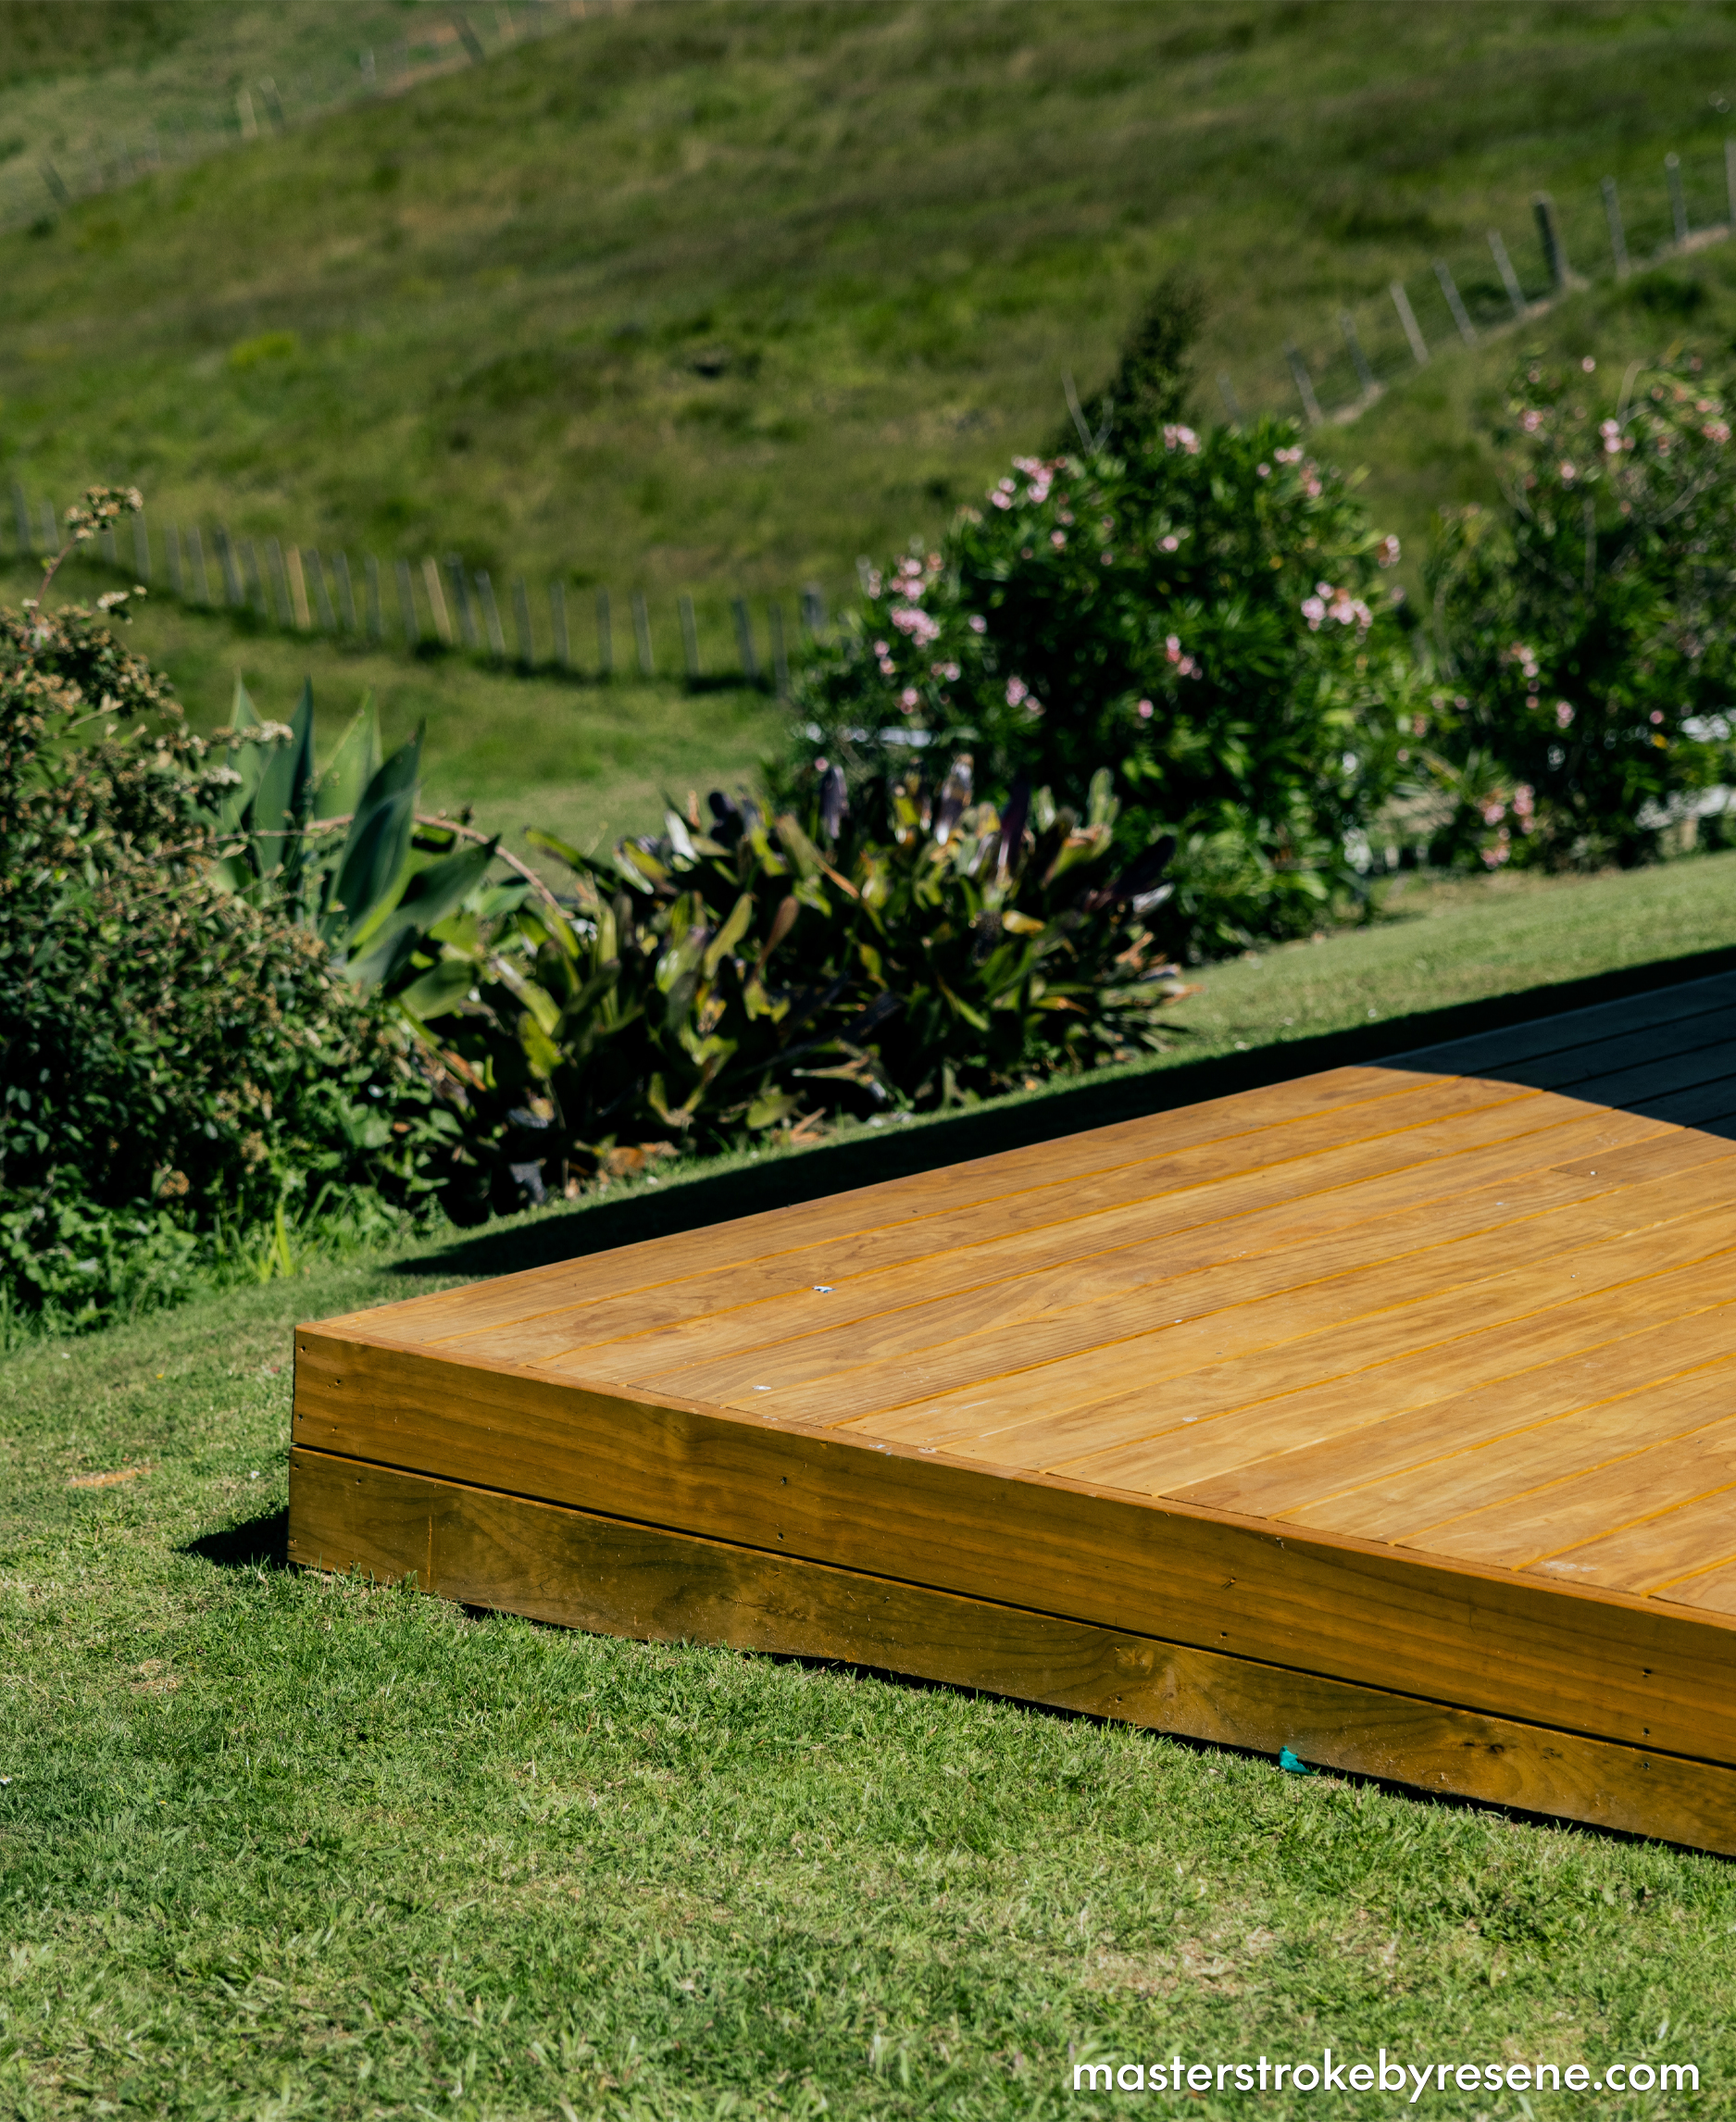
Deck finished with Resene Furniture and Decking Oil.

Block party

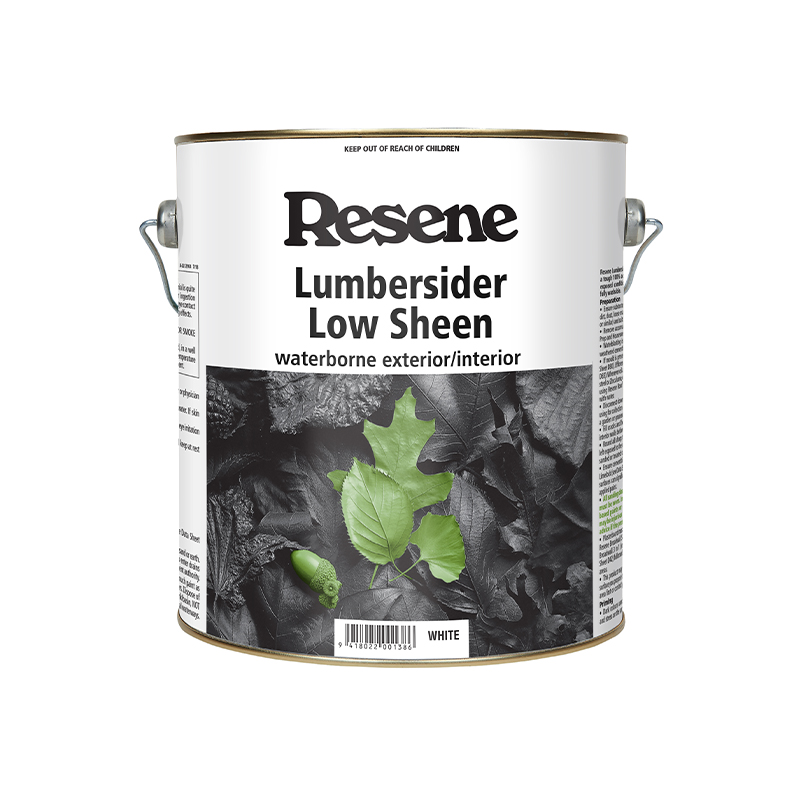
Sturdy exterior concrete block walls can often create great privacy and protection in your outdoor area, but when left in their original condition, painted in a dated colour or not maintained properly, they can unfortunately create much more of an eyesore than enhancer. The good news is that painting these concrete blocks is an instant way to absolutely transform the area and will have you wondering why you didn’t do it sooner! If mould is present, follow the same instructions as above and treat it with Resene Moss & Mould Killer. Once rinsed and dry, prime with Resene Concrete Primer and topcoat in your chosen Resene colour using Resene Lumbersider Low Sheen.

Top tip: To add definition, depth and visual interest to your wall, consider a two-toned effect with a lighter Resene colour on the top half.

The stain event

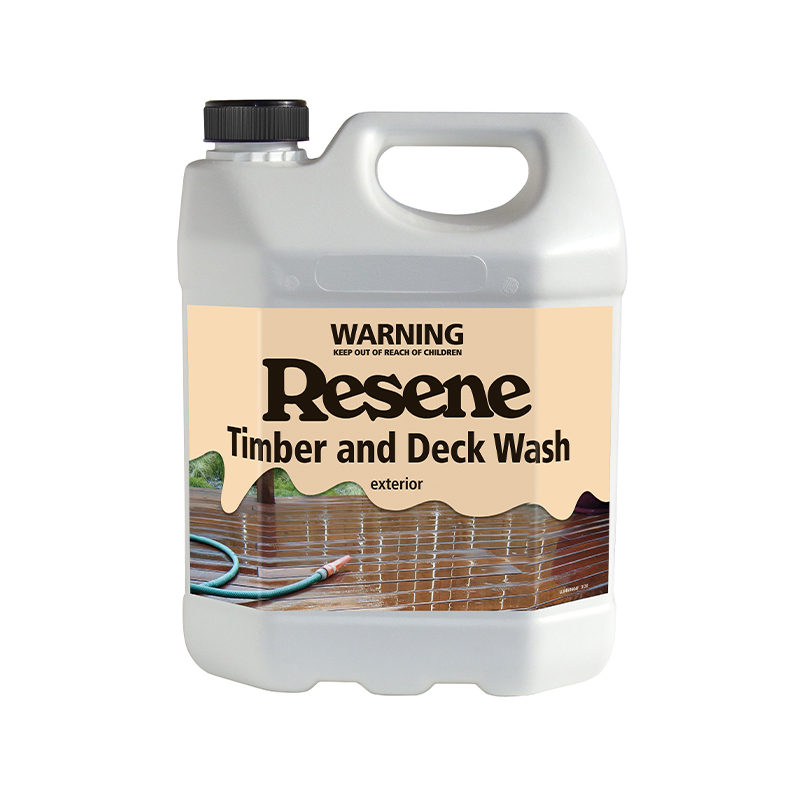
A nicely stained deck can make a huge difference to how your outdoor area looks and gives it a real polished, well-finished appearance. It can also help it to look its best for longer. Stains and oils help to protect decks from the weather, so they stay in better shape and will be less prone to drying out, splitting and causing splinters. New timber can be stained immediately with your chosen stain, but if your deck is older, first treat any mould with Resene Moss & Mould Killer. After that, clean with Resene Timber and Deck Wash and give it a good scrub. Rinse thoroughly, then apply two coats of stain, waiting at least 24 hours between each. 

Top tip: Deck stains generally need to be recoated every two to three summers

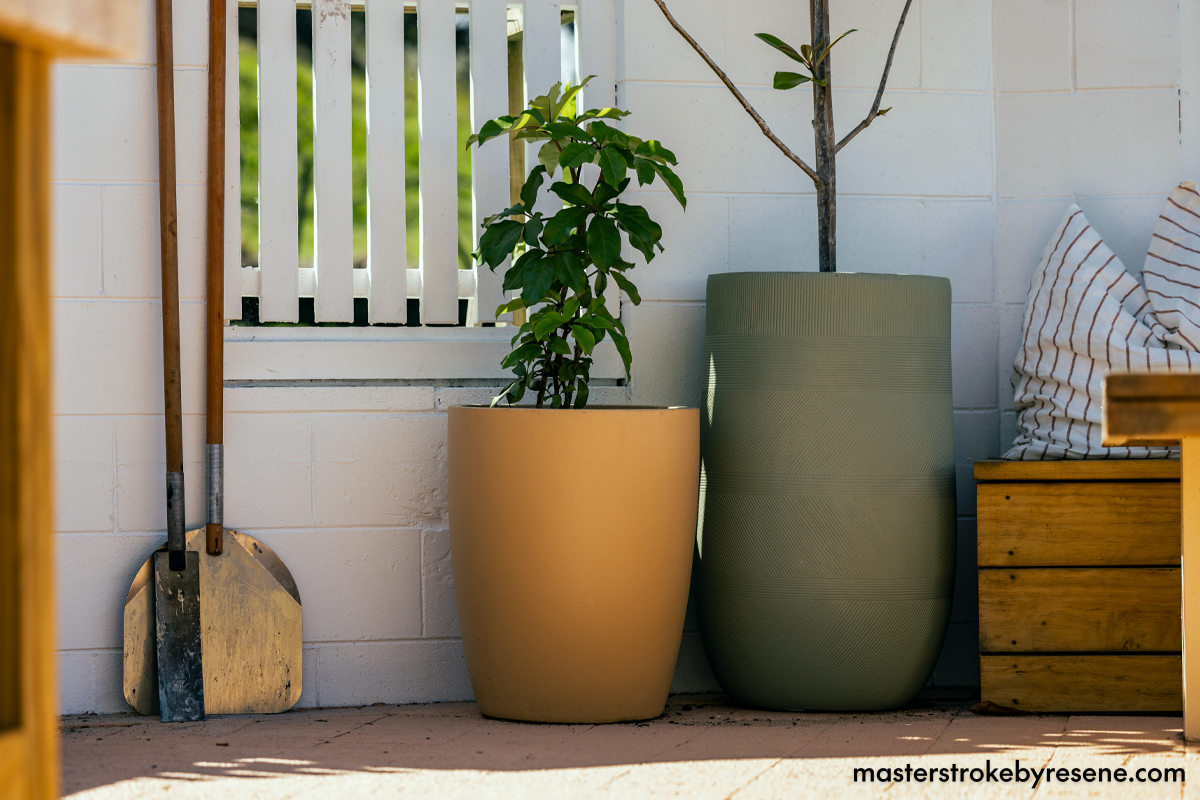
Plant pots painted in Resene Lumbersider Low Sheen in Resene Flax and Resene Gold Coast and wall in Resene Lumbersider Low Sheen in Resene Alabaster.
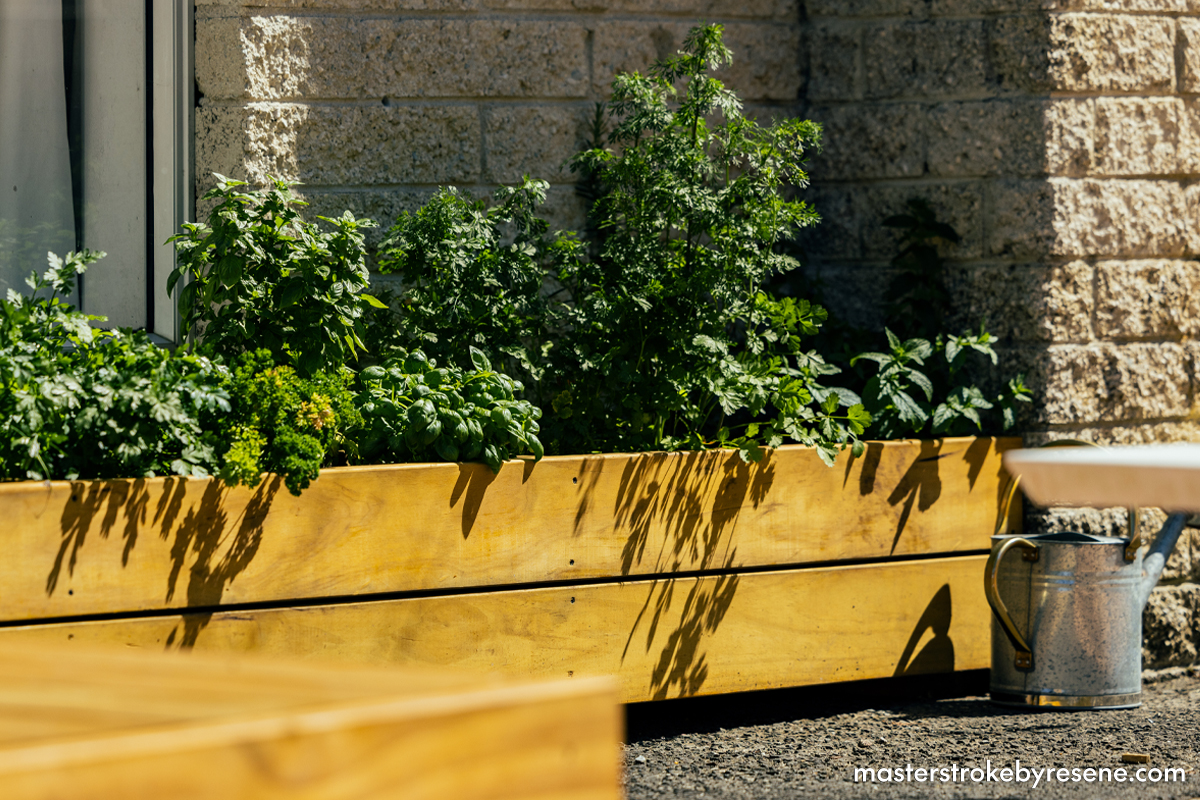
Planter boxes finished in Resene Furniture and Decking Oil.
Pizza oven base painted in Resene Resitex Standard in Resene Smooth Operator and block wall in Resene Lumbersider Low Sheen in Resene Alabaster.

Elevate your space

Even if you’re not in need of a major makeover, there are small, cost-effective and high impact changes you can make to lift the space. 

  • Go potty
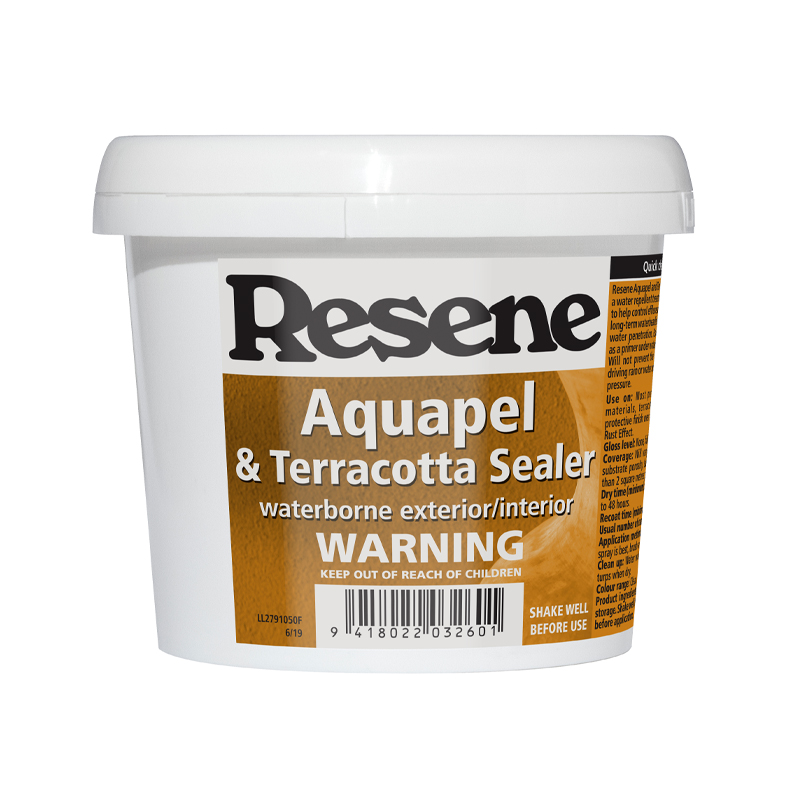
    Paint your terracotta pots in a new colour to match your updated colour scheme. The key is to paint the inside and out of the pots with Resene Aquapel & Terracotta Sealer, as this will prevent moisture coming through the pot and blistering off the paint on the other side. Then topcoat with Resene Lumbersider Low Sheen in your chosen Resene colour or use Resene Sandtex for added texture.
  • Planter power 
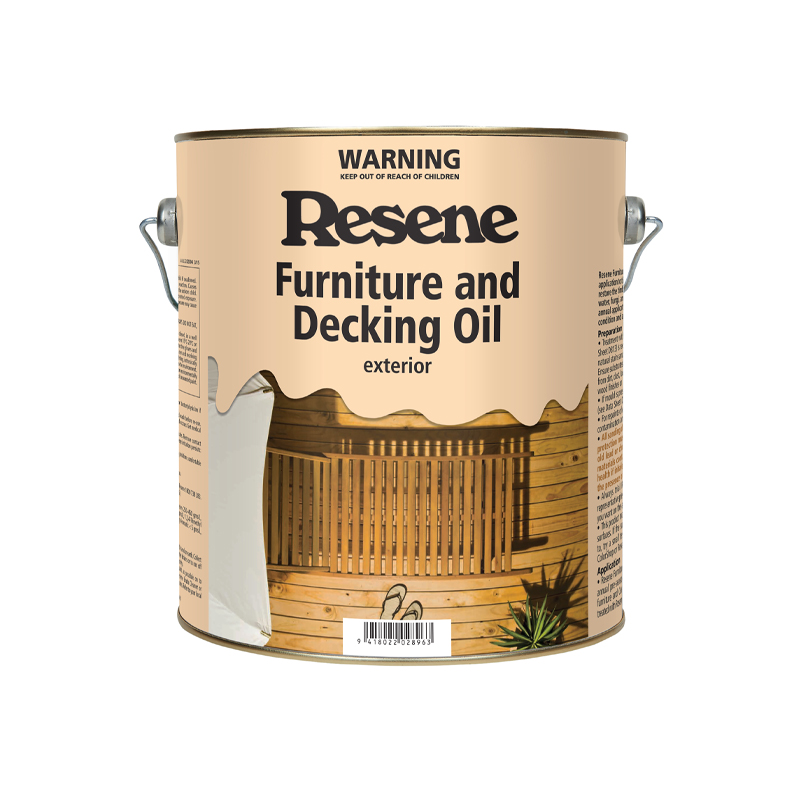
    If you have timber herb or vege planter boxes outside, a fresh coat of stain or oil will make them look as good as new, as well as protect the timber for years to come. Resene Furniture and Decking Oil gives a natural looking finish, that allows the beauty of the wood grain to shine through. It provides protection against water, fungi and U.V. light.  For a more coloured look, use Resene Waterborne Woodsman wood stain.
  • Pizza party
    If you’re lucky enough to have a pizza oven, painting it with Resene Resitex in your favourite Resene colour will give it an authentic, textured finish. Prime first with Resene Concrete Primer. When you are painting anything that gets hot, make sure if doesn’t get too hot before you paint. If you can’t hold your hand on the surface when it is at full heat don’t paint it.

For all the advice you need for your project inside or out, visit your local Resene ColorShop or Ask a Resene Paint Expert free online.

About MasterStroke by Resene
MasterStroke by Resene is here to help you master your paint and decorating DIY projects. Brush up on your skills with advice, tips and ideas from our trusted experts.

Check out the latest how-to videos on our YouTube channel.