Get inspired

Easy paint projects for kids to try in the school holidays

school-holidays-pinecone-birds-horizontal
Rainbow lorikeet painted in Resene Japanese Laurel, Resene Deep Koamaru, Resene Pursuit, Resene Black, Resene White and Resene Happy, kākāpō in in Resene Sushi, Resene Rebel, Resene Teak, Resene Half Blanc, Resene Black and Resene White, ruru stained in Resene Waterborne Woodsman Dark Oak and painted in Resene Lone Ranger and Resene Happy, wall in Resene Woodland and table in Resene Woodsman Dark Oak.. Project by Shani Luckman, image by Bryce Carleton.

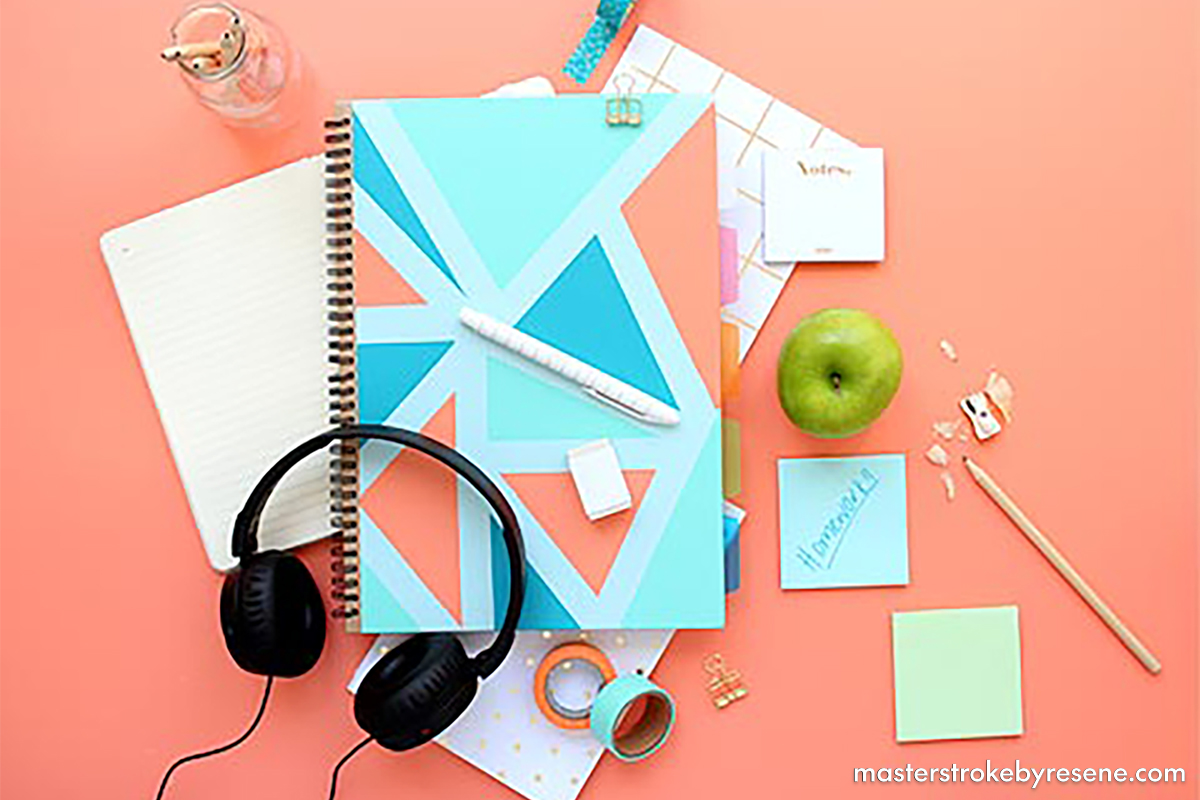
Got kids to entertain this school holidays? Get them off their screens and picking up paintbrushes and Resene paint instead. Many of these cool projects use Resene testpots, so take the kids into your local Resene ColorShop and let them choose their favourites. There’s a project here to suit most age levels – some may need a little more adult supervision than others. Keep in mind that these creations will also make fantastic gifts for relatives!

Feathered friends

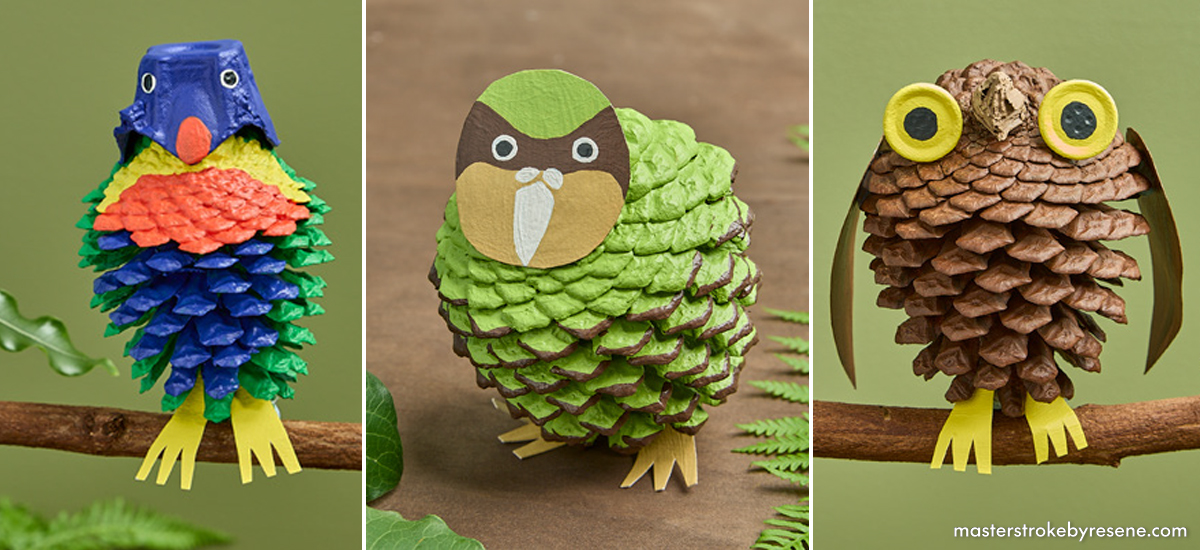
These kākāpō, rainbow lorikeet and ruru birds will be a hoot for the kids to make using pinecones and Resene testpots. Once you have painted their bodies, you can craftily cut out cardboard or everyday household items such as egg cartons to create their eyes and beaks. 

For full step-by-step instructions to make your own feathered friends, click here.
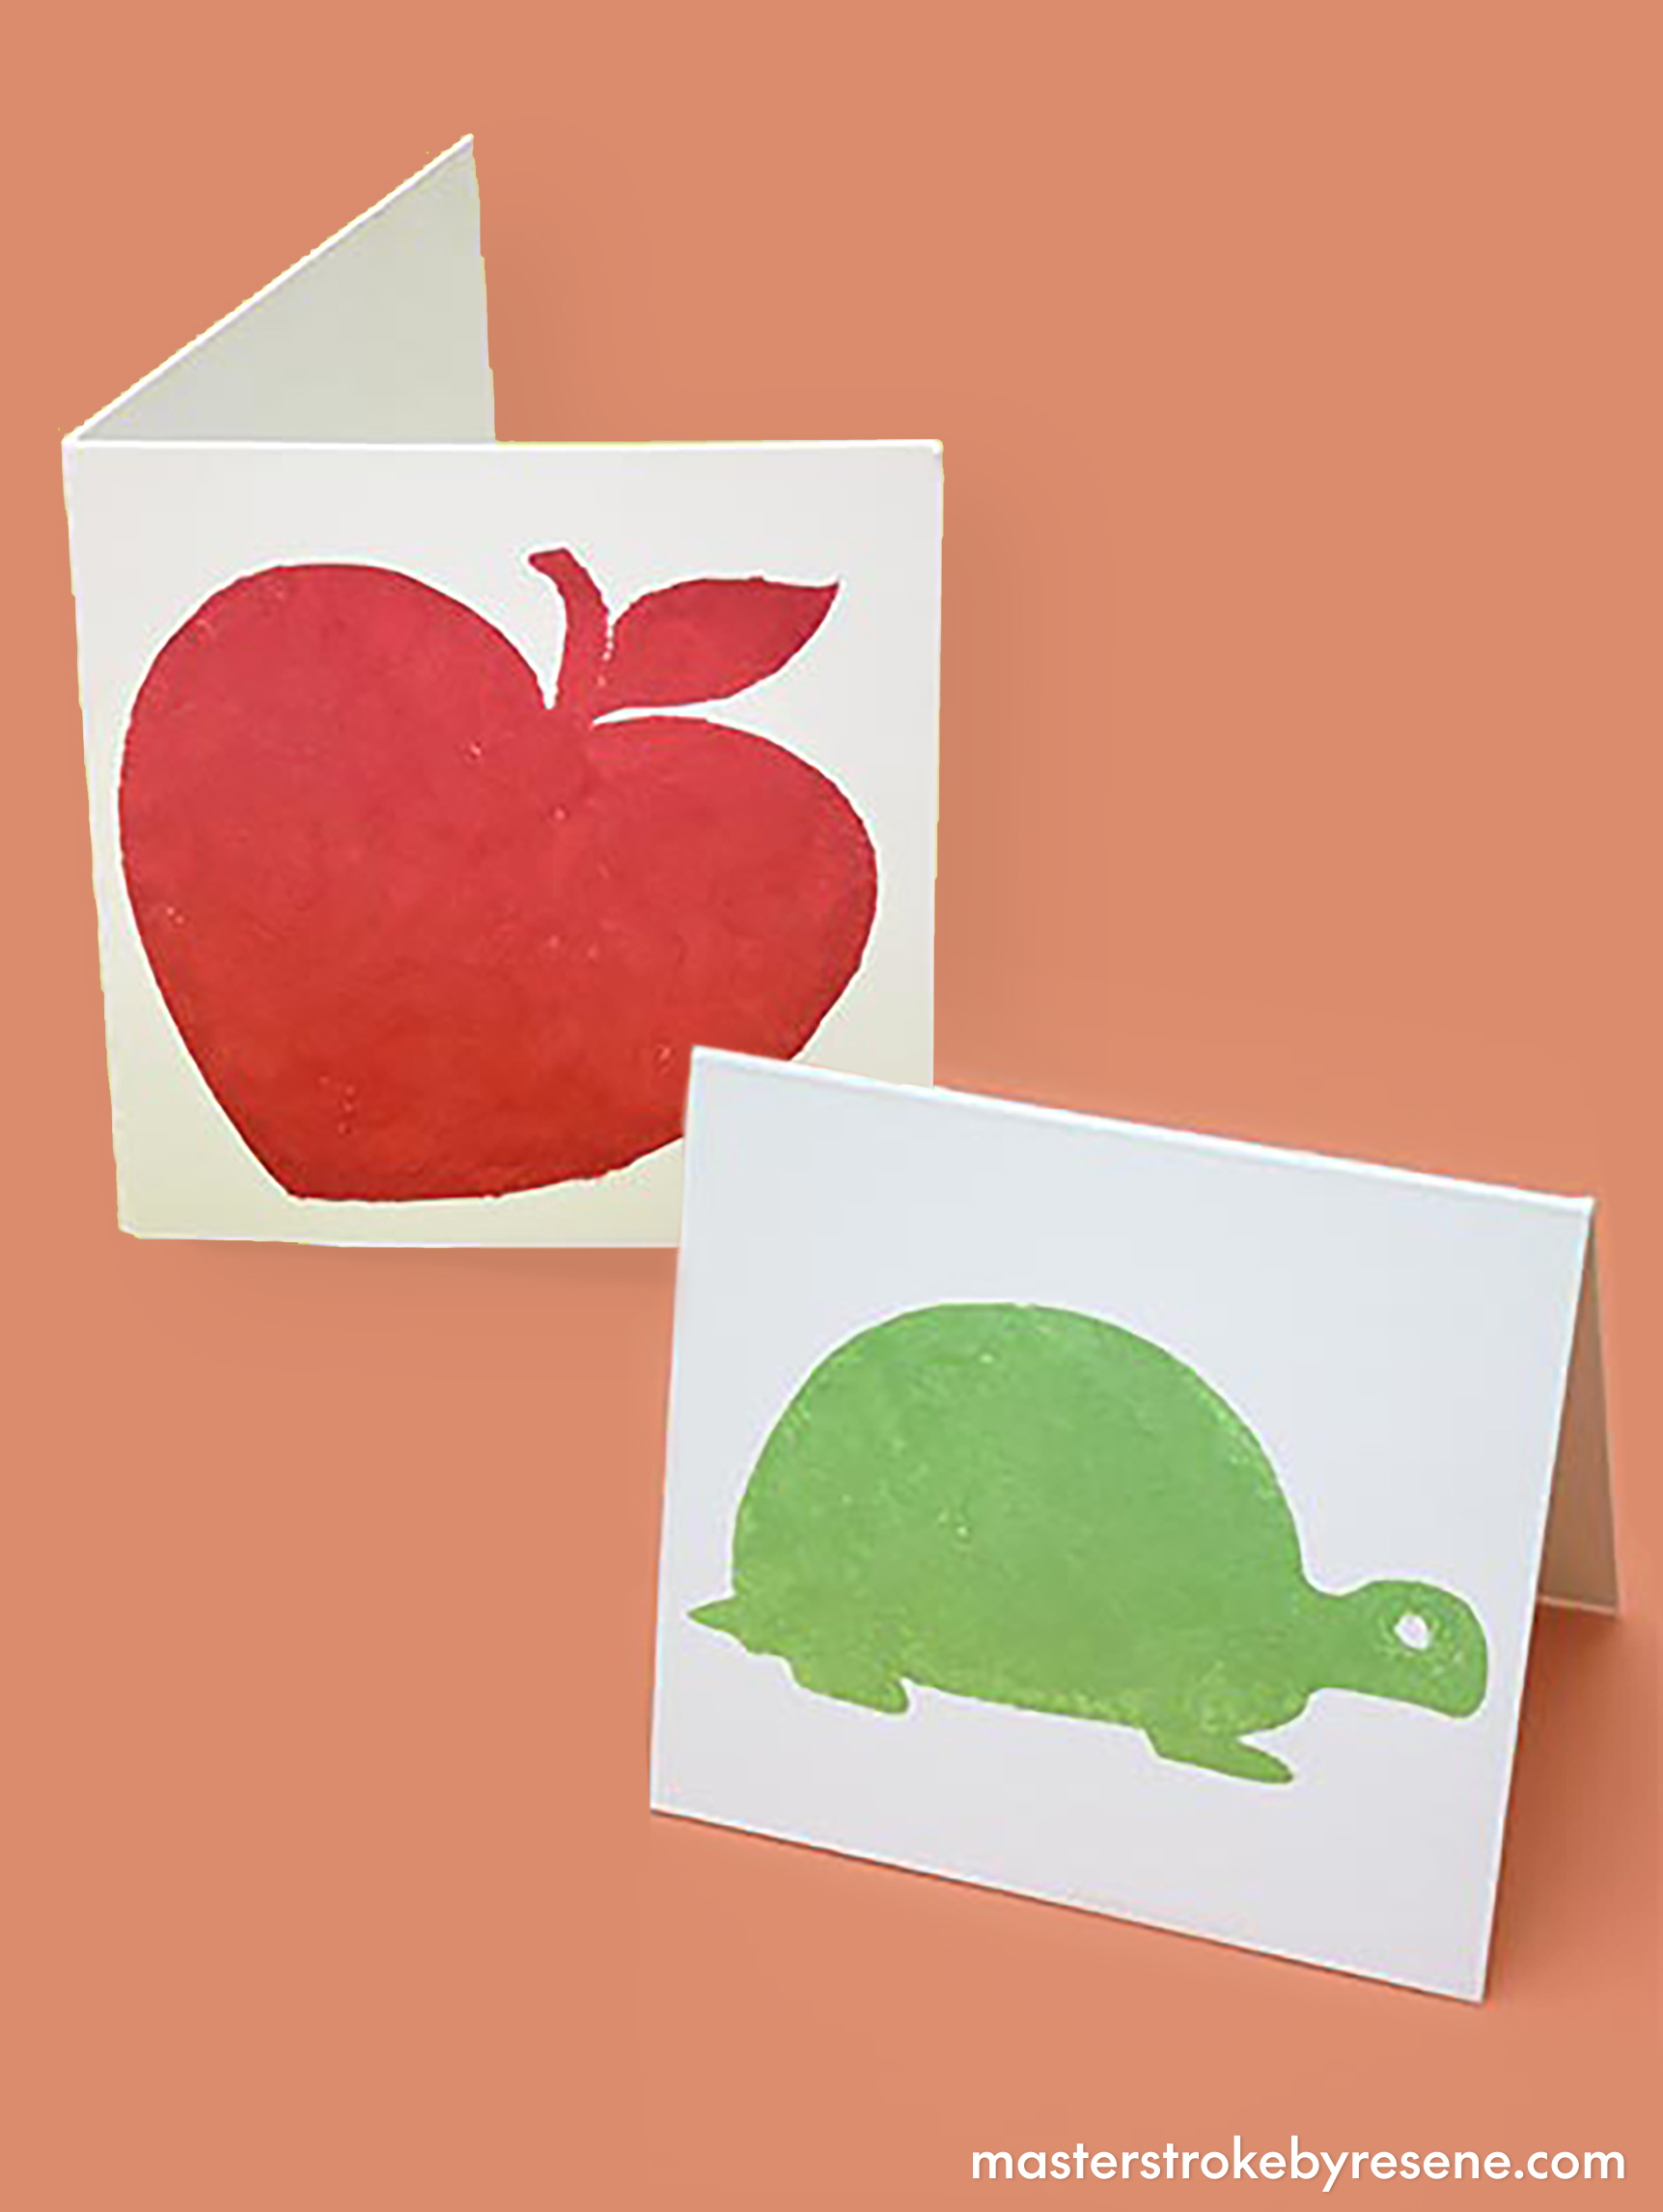
Crafty cards

It’s easy to use stencils and Resene testpots to create your own range of cool greeting cards. The stencils can be printed out from the Resene website, then you can paint the designs in your favourite Resene colours. For full instructions, click here

Top tip: You can also create your own stencil by drawing a shape onto a piece of paper and cutting it out.
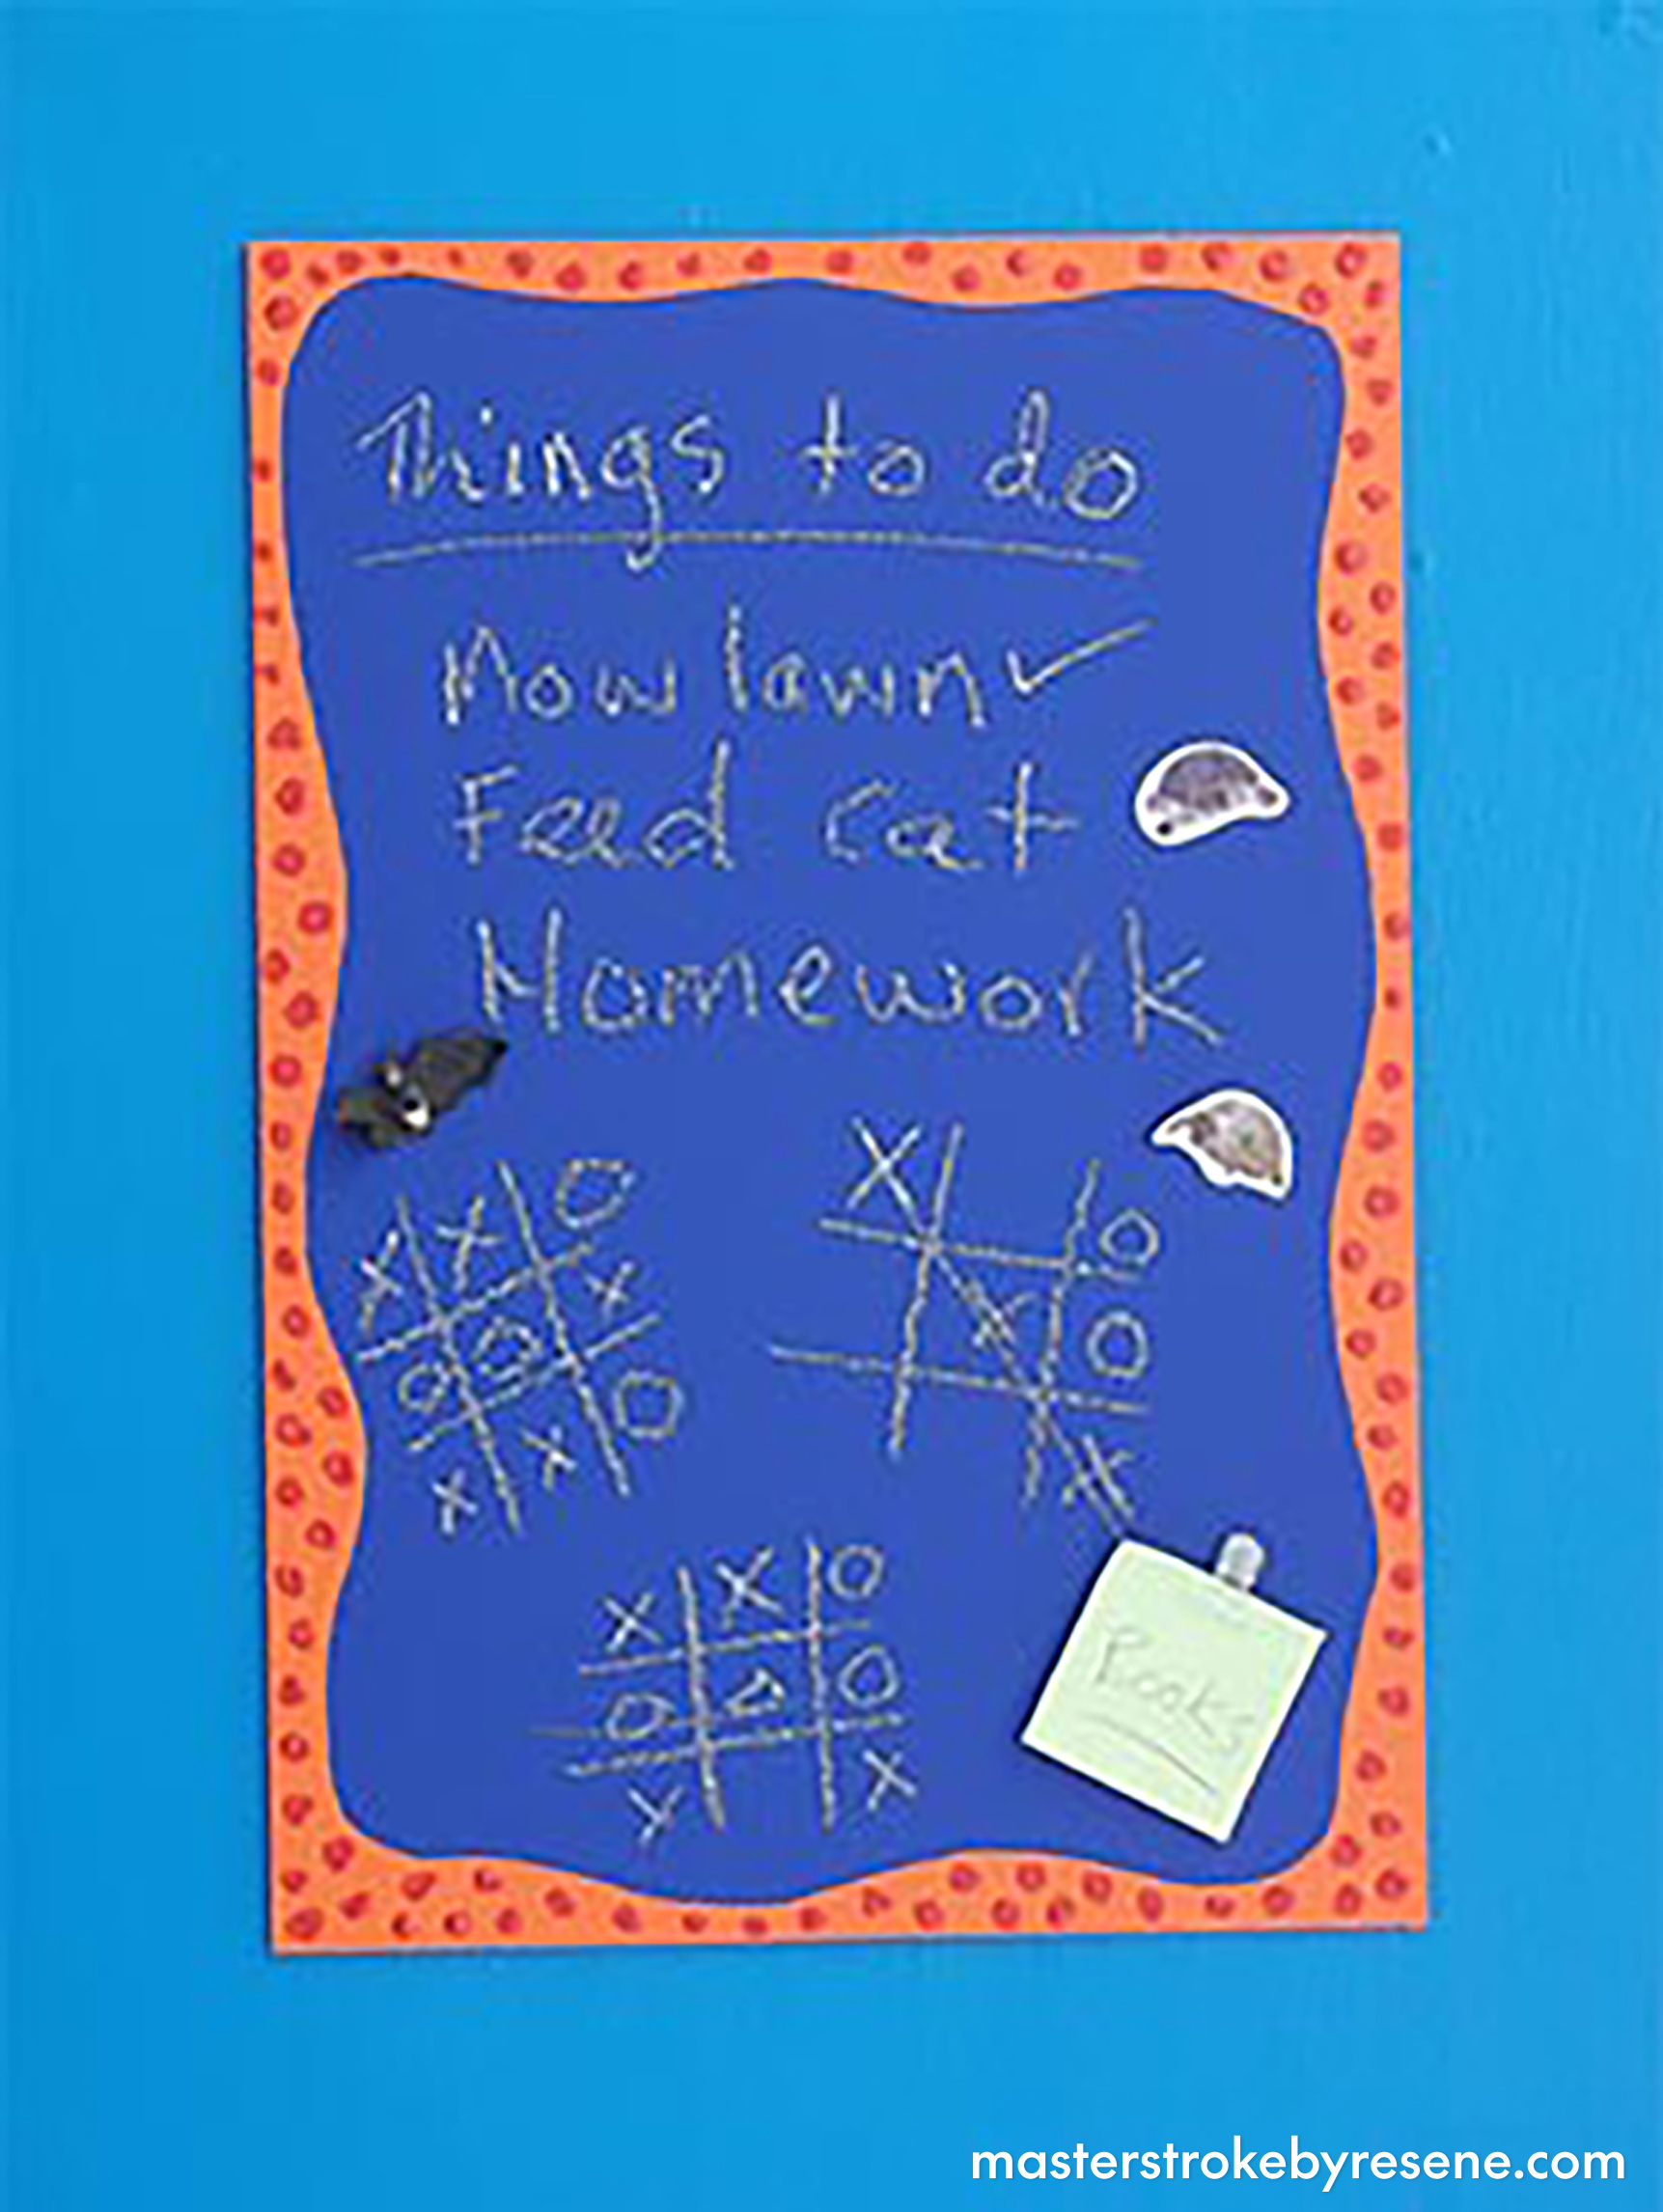
Magnetic chalkboard

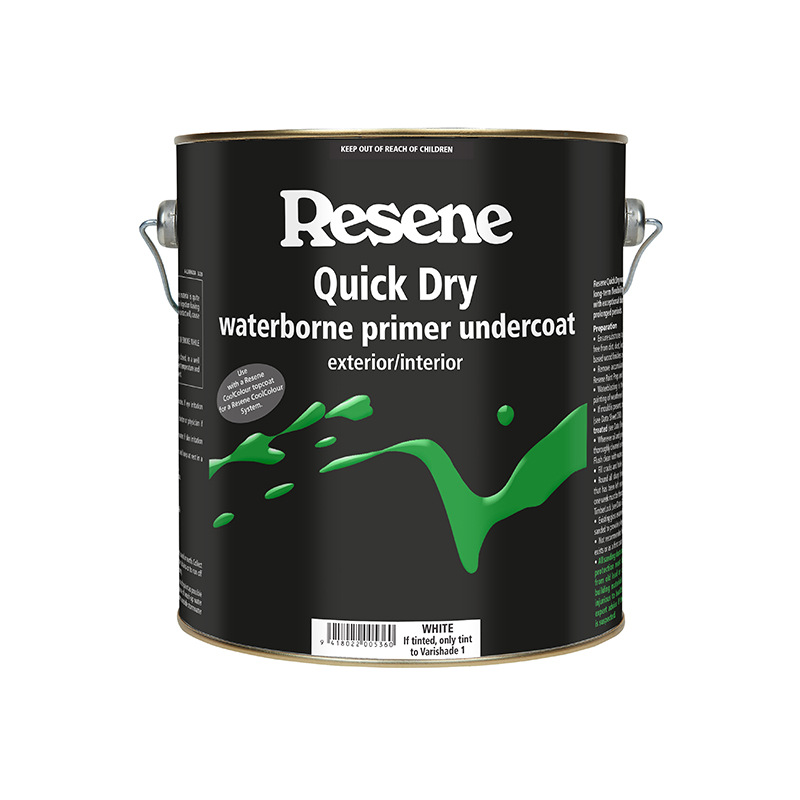
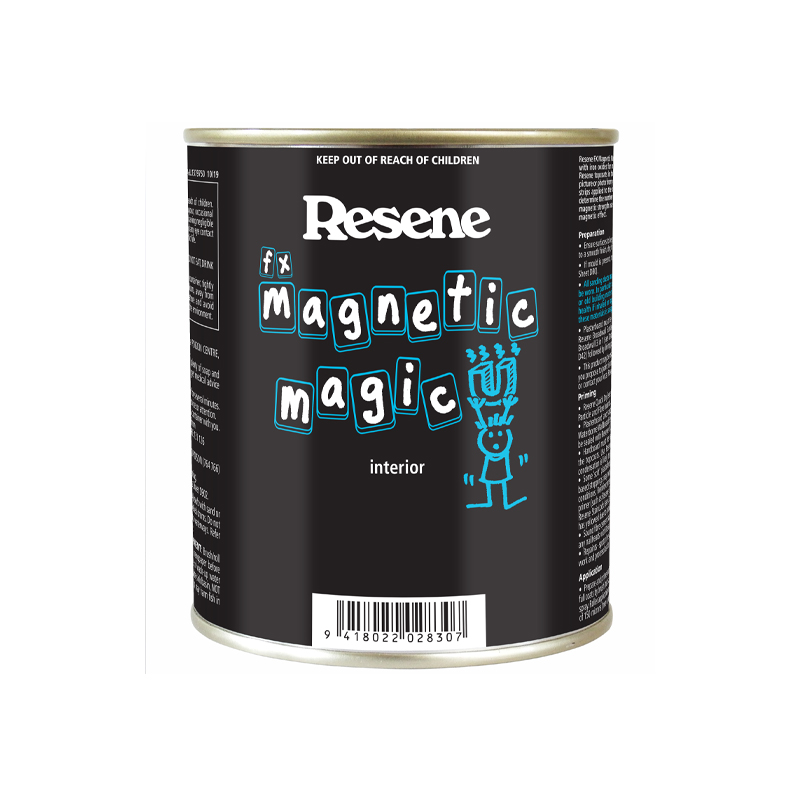
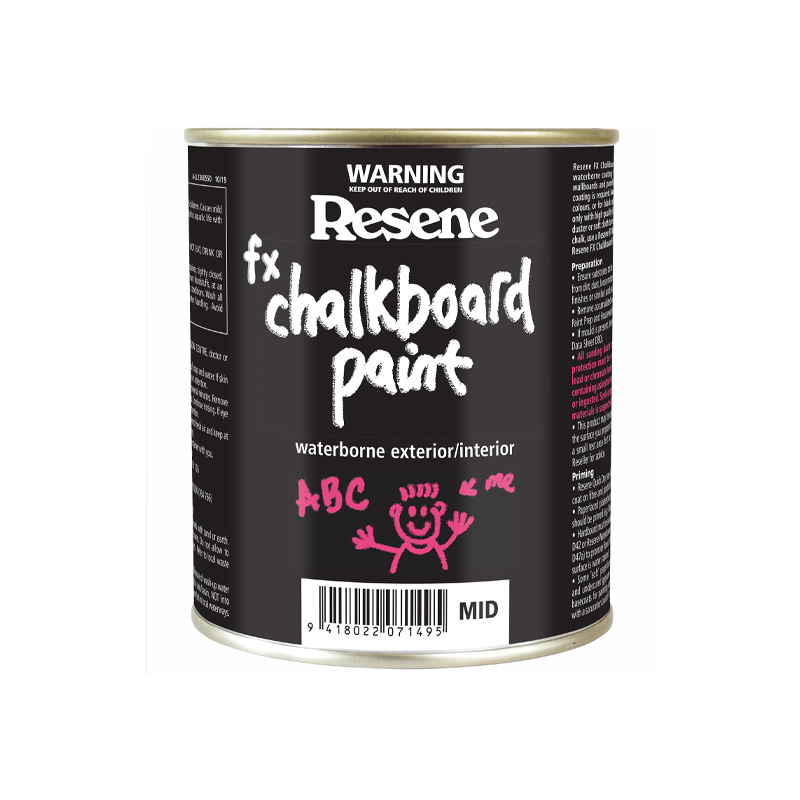
Create a fabulous magnetic blackboard from a simple piece of plywood with a little bit of help from Resene. Take a piece of plywood and prime it with a coat of Resene Quick Dry, then apply two coats of Resene FX Magnetic Magic. Once it’s dry, test that your magnets stick – if not, apply another coat of Resene FX Magnetic Magic. Finally, apply two topcoats of Resene FX Chalkboard Paint tinted to your favourite colour, then add a border with testpots like we have here. Click here for step-by-step instructions.

Top tip: Once you’ve finished drawing on your chalkboard, simply use a lint-free cloth or a slightly damp cloth to clean off any chalk marks.

school-holidays-stencil-cards
Apple painted in Resene Glitterbug and turtle in Resene Go Go Go. Project by Mark Rayner.
magnetic-chalkboard-school-holidays
Magnet board painted Resene FX Magnetic Magic and topcoated in Resene FX Chalkboard Paint tinted to Resene Resolution Blue, Resene Chaos and Resene Trinidad. Project by Mark Rayner.

Rock and roll

Even the littlest budding artist at your place will be able to have fun with this rock art project. All you need to do is find some interesting shaped, smooth rocks, clean them thoroughly then paint. To help the colours look their best, you can prime the rocks first with Resene Quick Dry – adults can do this ahead of time to make life easier – then the kids can topcoat with Resene testpots. Click here for instructions.

Jar lantern

Use an old jar to make this glow-in-the-dark lantern with your kids – perfect for fun after dark! Start by printing out some stars and make a stencil by cutting them out with a craft knife or scissors. Tape the stencils to the outside of the jar, then use a small piece of foam to dab on a thin layer of Resene Aviator to the stars. For best results, apply two layers of paint and use a hairdryer to speed up the drying time between coats. 

Once all the stars are dry, use a paintbrush to apply three coats of Resene FX Nightlight glow-in-the-dark paint to the inside of the jar, making sure that each layer is dry before applying the next. For full instructions, click here.

Geometric notebook

If you’ve got a plain notebook with a cardboard cover, take it to another level by painting a cool design onto the front. Start by painting the main colour and leave to dry. Mask off a geometric pattern using washi tape or low-tack painter’s tape. Lightly paint and fill in the pattern using your choice of Resene colours, then remove the tape before the paint dries. Click here for full instructions.

Top tip: If you’d prefer a striped design, simply paint your basecoat colour, allow to dry, then mask off your stripes before painting your contrasting stripe colour.

school-holidays-painted-rocks
Cow rock painted in Resene Alabaster, Resene Desperado and Resene Nero, and rock critter painted in Resene Alabaster, Resene Flamingo, Resene Havoc, Resene Nero, Resene Niagara and Resene Resolution Blue.
school-holidays-lantern-jar
Jar painted in Resene Aviator and Resene FX Nightlight. Project and images by Fleur Thorpe.
school-holidays-painted-notebook
Notebook painted in Resene Half Kumutoto, Resene Freelance, Resene Ruby Tuesday and Resene She'll Be Right. Project by Nikki Astwood.

About MasterStroke by Resene
MasterStroke by Resene is here to help you master your paint and decorating DIY projects. Brush up on your skills with advice, tips and ideas from our trusted experts.

Check out the latest how to videos on our YouTube channel.