Get inspired

Clint Roberts’ cosy DIY reading nook

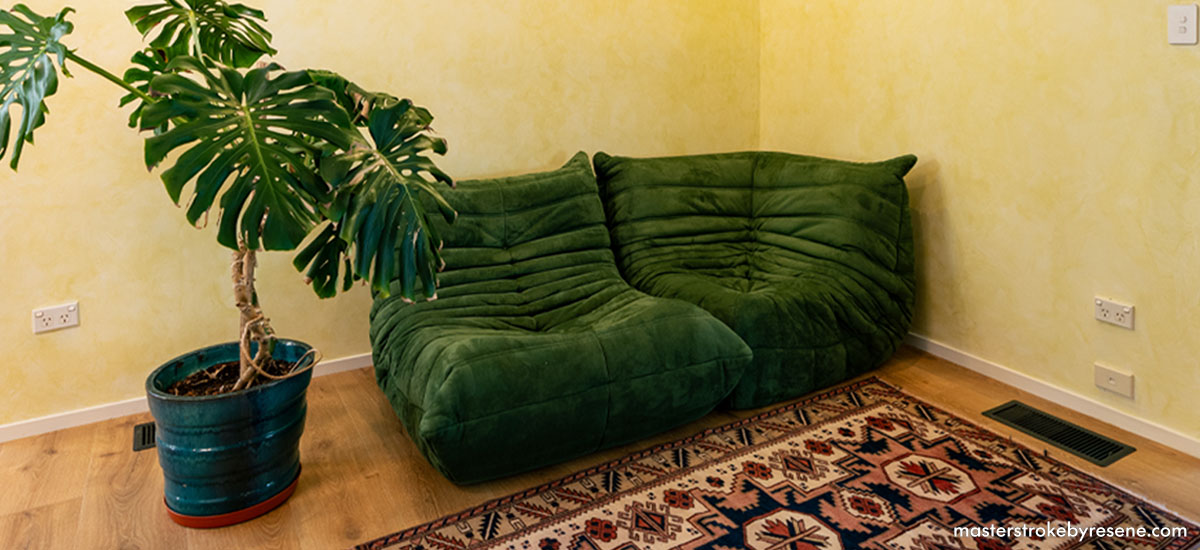
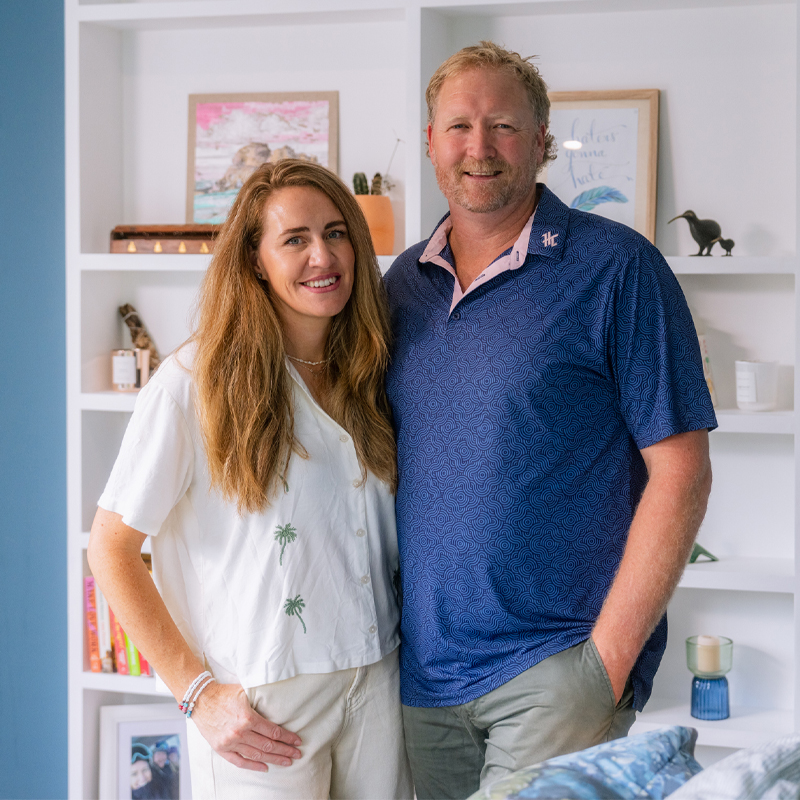
The home transformation continues for top-rated ZM host Clint Roberts, who lives with wife Lucy and two young daughters, Maggie and Tui, in an architecturally-designed 1970s pole house in Auckland’s Titirangi. 

So far, with the help of MasterStroke by Resene, they have reimagined and modernised their guest bathroom and painted the timber ceiling, but now Clint has his eyes on a cosy reading nook. 

“There was a funny space between the kitchen and the dining room which needed a purpose,” he explains. “With everything that we change, the goal is for it to not look too new. Our house is of an era – mid-century – and we want things to look like they were always there. The things we are changing first are the things that stand out for the wrong reasons.” 

For the reading nook, the aim was to create a space that was different to the rest of the living area. “Because of its location and proportions, it has the ability to be a breakout space without us spending too much money on renovating.” 

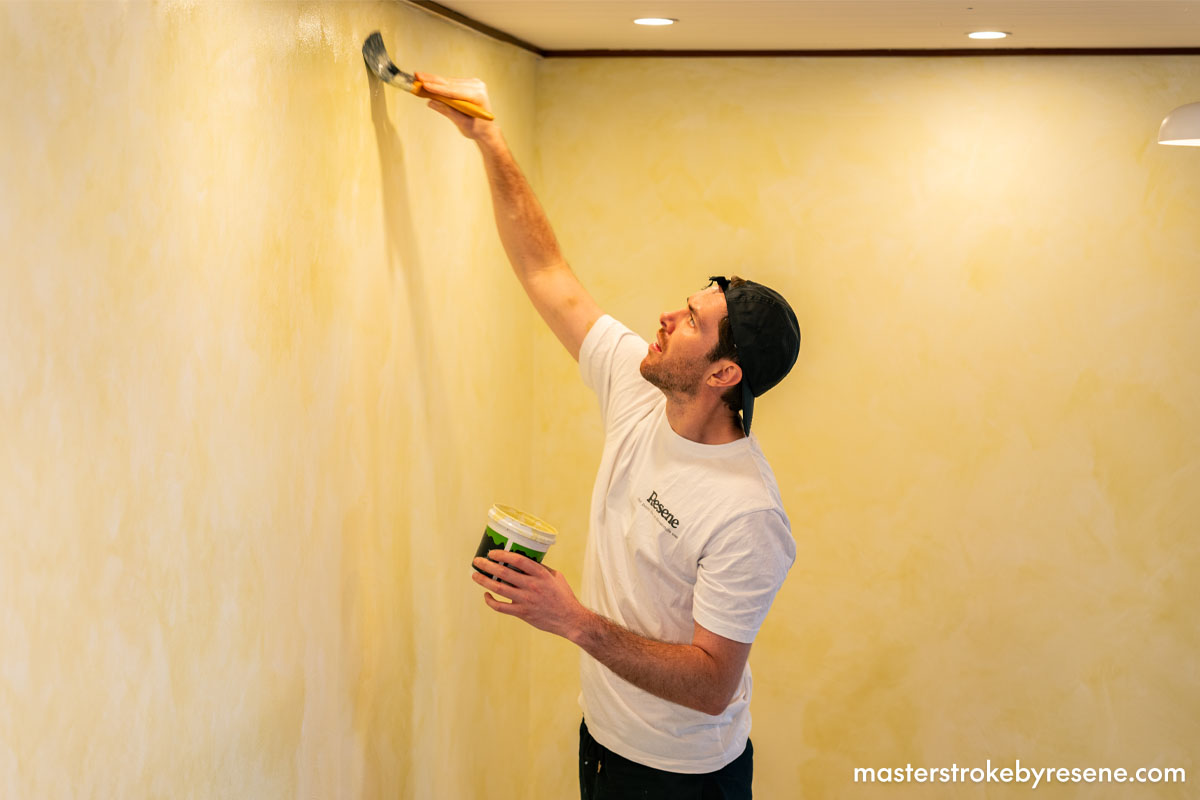
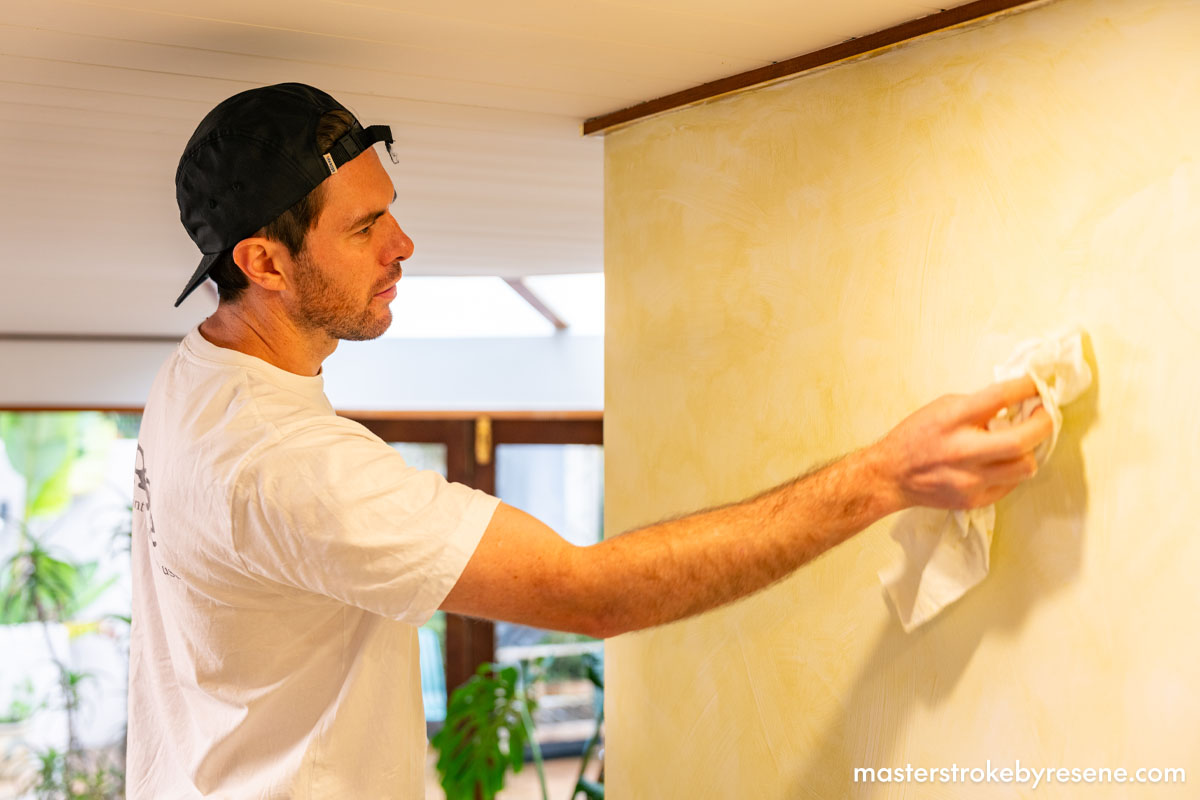
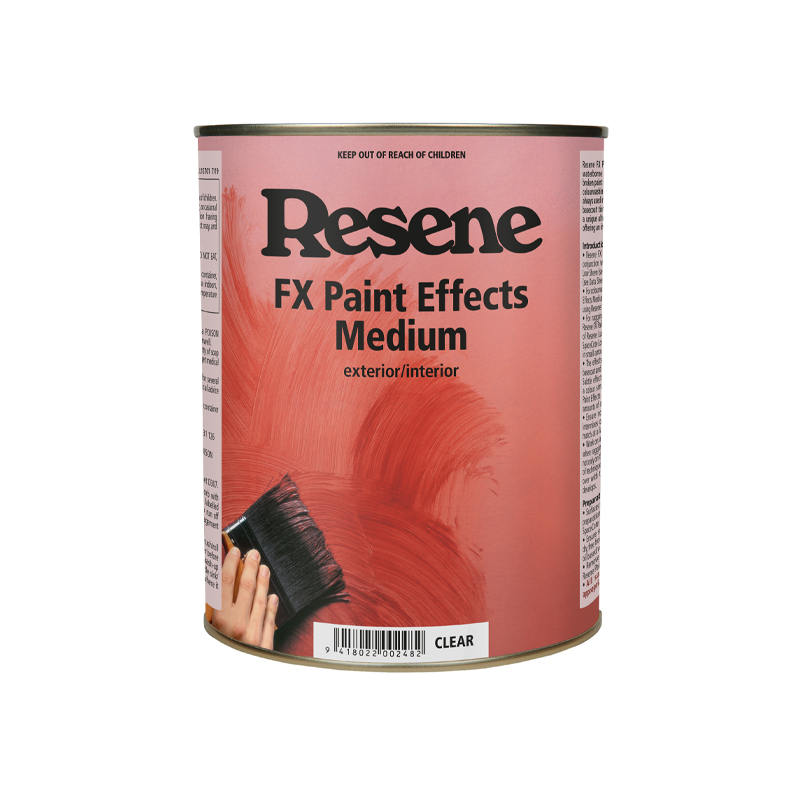
With a little confidence now under his belt, Clint has also decided to go out on a limb and attempt a limewash effect on the walls. 

“I wanted to do something that made the space feel enclosed, and I wanted something that made it seem like its own room, even though it’s just a corner.” He hoped that the texture would add interest and clear division from the spaces around it.

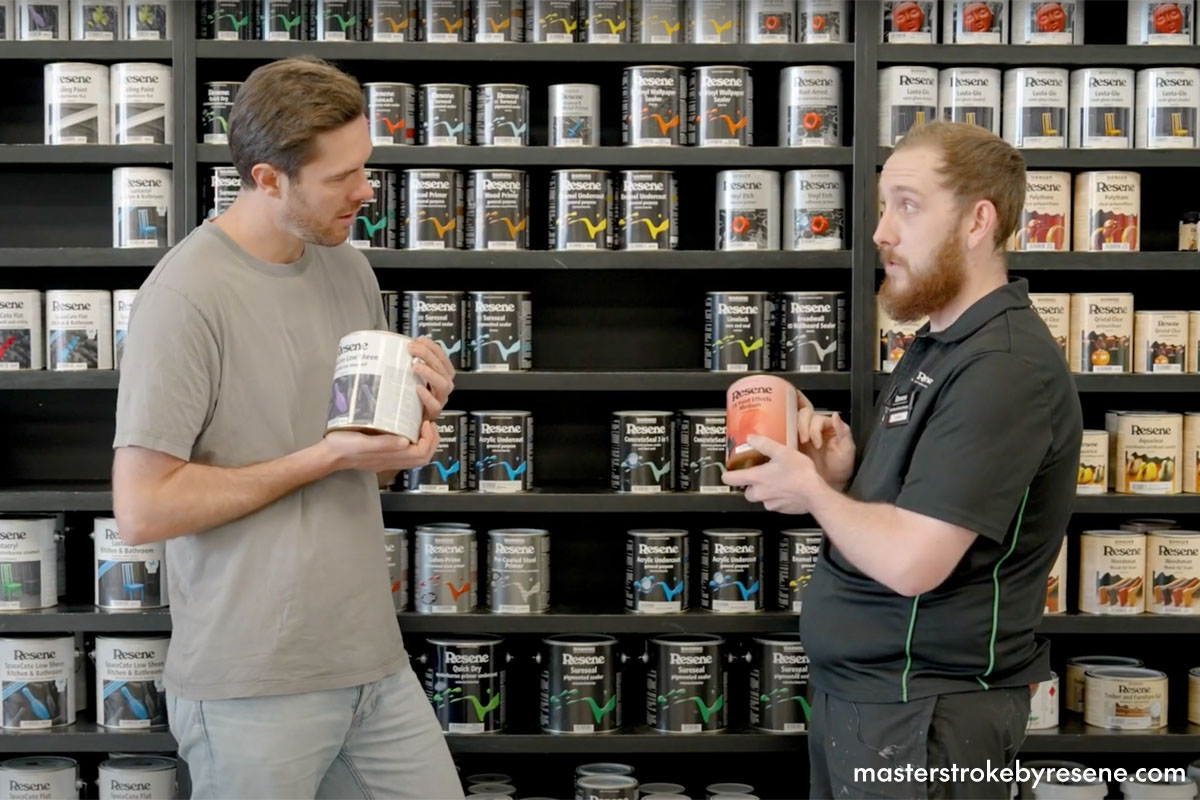
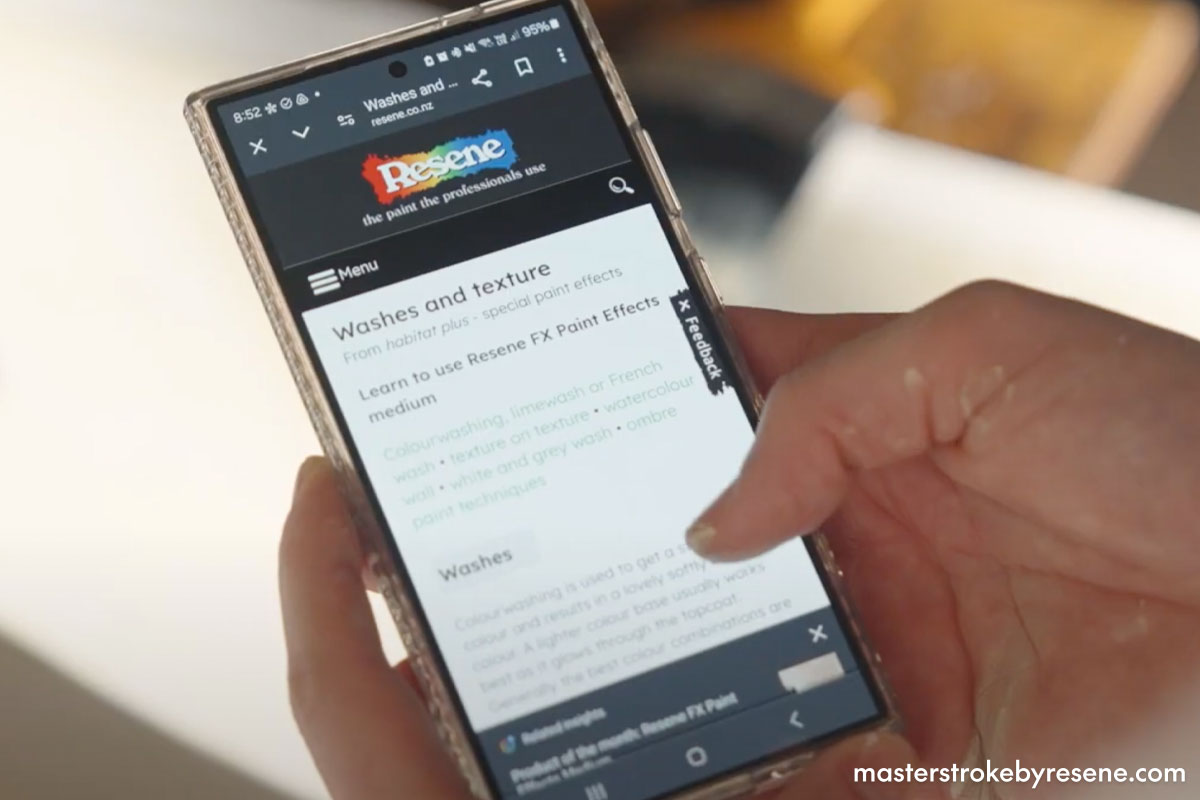
So, as always, his first port of call was his local Resene ColorShop, where Ayrton took him through exactly what he’d need to create the effect. He also loaded him up with gear and provided some great tips, such as trying out his limewashing technique on a sample card first before attempting it on the walls.

Clint got some good advice from Ayrton at his local Resene ColorShop, and stocked up on everything he needed to achieve a limewash effect.
He also headed to the Resene website to find out more about how to use Resene FX Paint Effects Medium.

When he was ready to start, Clint prepared the wall by filling in any small holes and sanding them down and giving the entire area a big wipe down with Resene Interior Paintwork Cleaner

After applying two coats of Resene SpaceCote Low Sheen in Resene White as a basecoat, Clint mixed a testpot of Resene Quarter Crisp Green in with the transparent Resene FX Paint Effects Medium, which was used to create a limewashing effect. As per Ayrton’s instructions, he used a paintbrush to create a criss-cross pattern across the walls, then used a rag to drag over the finish for an authentic textured effect. 

“Getting the texture right took some trial and error. The irregularity of the brushstrokes takes some getting used to, and the ragging process is also a skill. But once I got it, it was a lot of fun!” 

Clint is thrilled with the results. “The reading nook is somewhere we can relax and still keep an eye on the kids, or the kids can sit and play while we cook. It’s a small, cosy space that we didn’t have before,” he says. “The texture is so cool. From a distance it looks like clouds  it looks very organic. I think it came out great.”

He says that the Resene ColorShop team was the key to this project. “I had never used these products or painted in this style before. I knew I had the right gear and knowledge to pull it off. The Resene website was also very helpful to check throughout the process to check I was doing it right.”

Top tip: For added texture you can apply Resene Sandtex Mediterranean effect finish as your first coat, then use Resene FX Paint Effects Medium mixed with your colour for a limewash effect. Or for a multi-colour effect you can do two different colours as your effects coat.

Clint applied the mixture of Resene FX Paint Effects Medium and Resene Quarter Crisp Green to the wall in an imperfect criss-cross pattern to add texture.
He then used a rag to complete the limewash effect.

Before
After
Clint transformed an under-utilised space of the house into a cosy corner to read or relax in. Wall in Resene White and a mixture of Resene FX Paint Effects Medium and Resene Quarter Crisp Green.

More about the Resene FX range:

Resene FX Faux Rust Effect
Achieve a weathered steel-style finish for a fraction of the cost on a wide range of surfaces. This waterborne coating is designed to create a rust effect on exterior and interior surfaces.  Once applied, the rust look will continue to develop as the coating ages. Leave it as is for a living rust effect or protect it with a clear finish of diluted Resene Waterborne Aquapel.

Resene FX Paint Effects Medium 
Use this to create ambience and transform something very plain into something truly special. You can choose from a wide variety of techniques to achieve everything from colourwash and limewash effects to ragrolled finishes.

Resene FX Magnetic Magic
Loaded with iron oxides for maximum magnetic effect, this is a great way to display posters and brochures without damaging the walls. Resene FX Magnetic Magic is applied as a basecoat so you can apply whatever colour topcoats you like on top.

Resene FX Metallic
Filled with aluminium flakes, this product will transform and add extra dimension to a wide range of surfaces, from exterior concrete and steelwork through to interior feature walls, doors, joinery and furniture. It’s a great way to help reflect light around a room and to add a little extra glamour to spaces.

Resene FX Blackboard Paint / Resene FX Chalkboard Paint
Turn your wall into a chalkboard! For areas where space is limited this can be applied over the top of the Resene FX Magnetic Magic to create a magnetic chalkboard. Resene FX Chalkboard Paint can be tinted to a range of Resene colours or for a classic blackboard, use Resene FX Blackboard Paint.

Resene FX Pearl Shimmer
A waterborne pearlescent glaze, this product is ideal for creating shimmering walls and sparkling features, adding visual interest and diversity to any colour scheme. You can apply it over an already painted wall.  It’s best to test your colour combinations first.

Resene FX Write-on Wall Paint
This can be applied over your existing paint job to turn your wall into a handy coloured whiteboard. Its glossy finish is what makes it easy to remove any whiteboard marker. It works best on a smooth surface so it does not show any imperfections – or it can be masked and used on the back of a door. It’s usually best to use this over a light or off-white as most whiteboard markers are designed for use over white backgrounds and may not be easy to see over a dark background.

There are other fun Resene FX finishes you can try too. Click here for more ideas.

How much paint will you need?

If you change data entered into the fields below, ensure you press the calculate button again to re-run the equations and get the new answers.
Calculated result: 0 Litres in total
To find the spreading rate of your Resene product, click here.
NB: Porous surfaces and shapes (ie corrugated iron) will require more paint.

About MasterStroke by Resene
MasterStroke by Resene is here to help you master your paint and decorating DIY projects. Brush up on your skills with advice, tips and ideas from our trusted experts.

Check out the latest how-to videos on our YouTube channel.