DIY projects

Make your own outdoor storage box

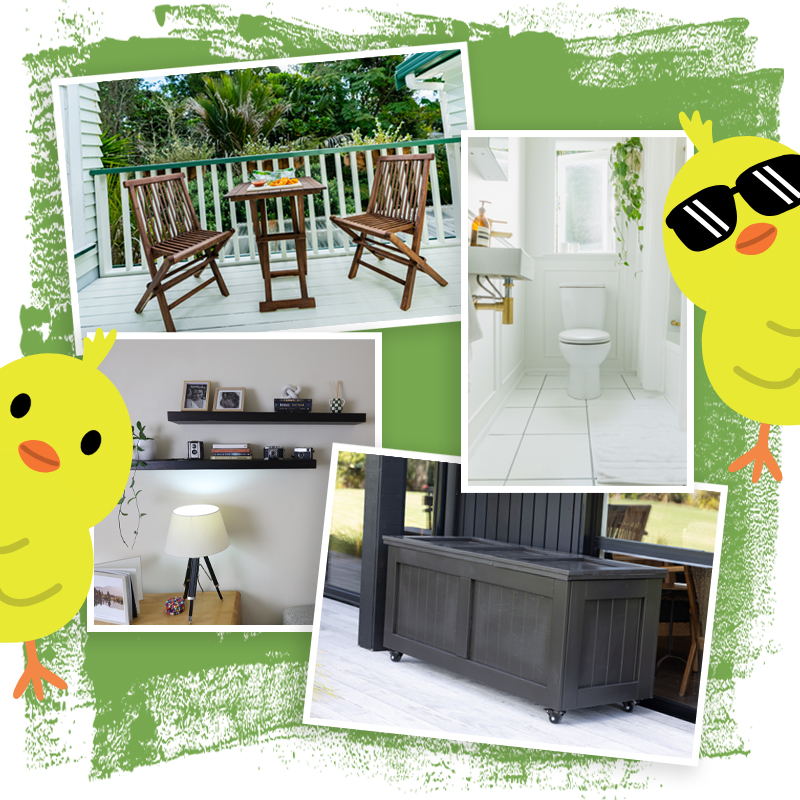
An outdoor storage box is worth its weight in gold when it comes to putting away precious items. You can keep tools, toys, cushions and towels organised and protected from the elements but still handy for whenever you need them – and you can reduce clutter in your garage or shed at the same time! 

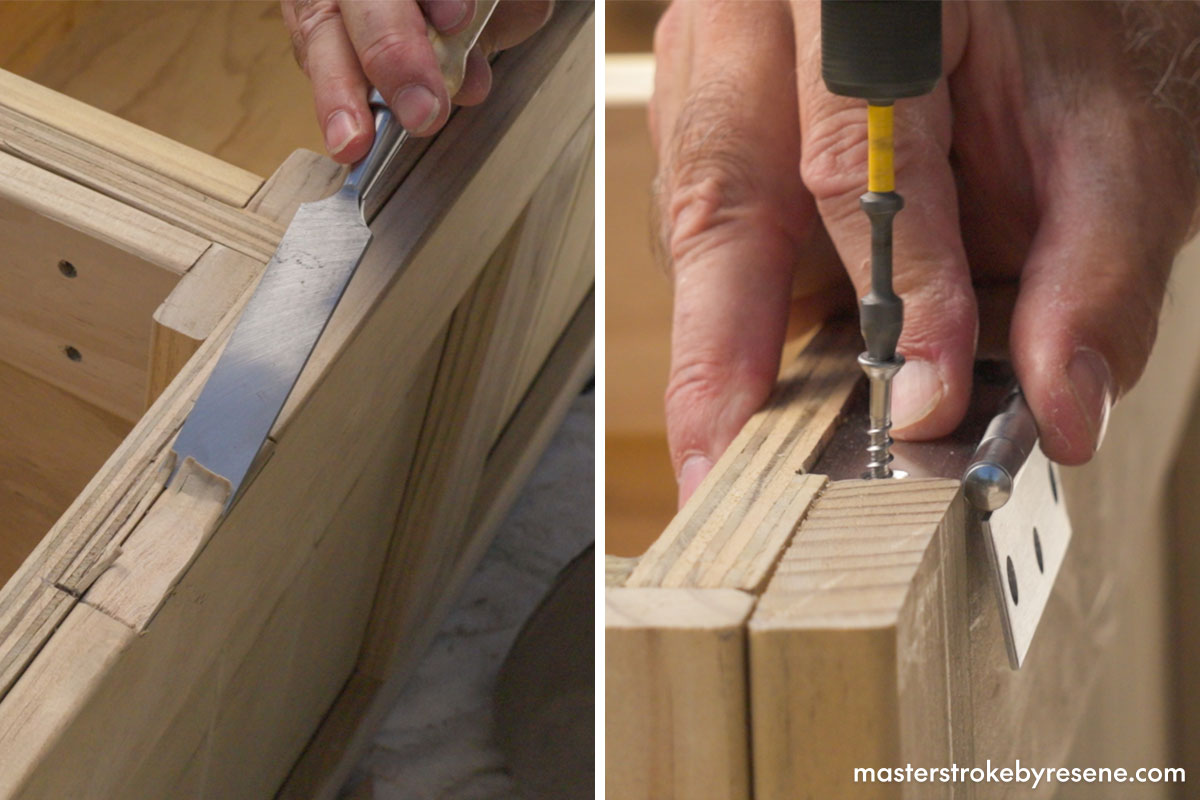
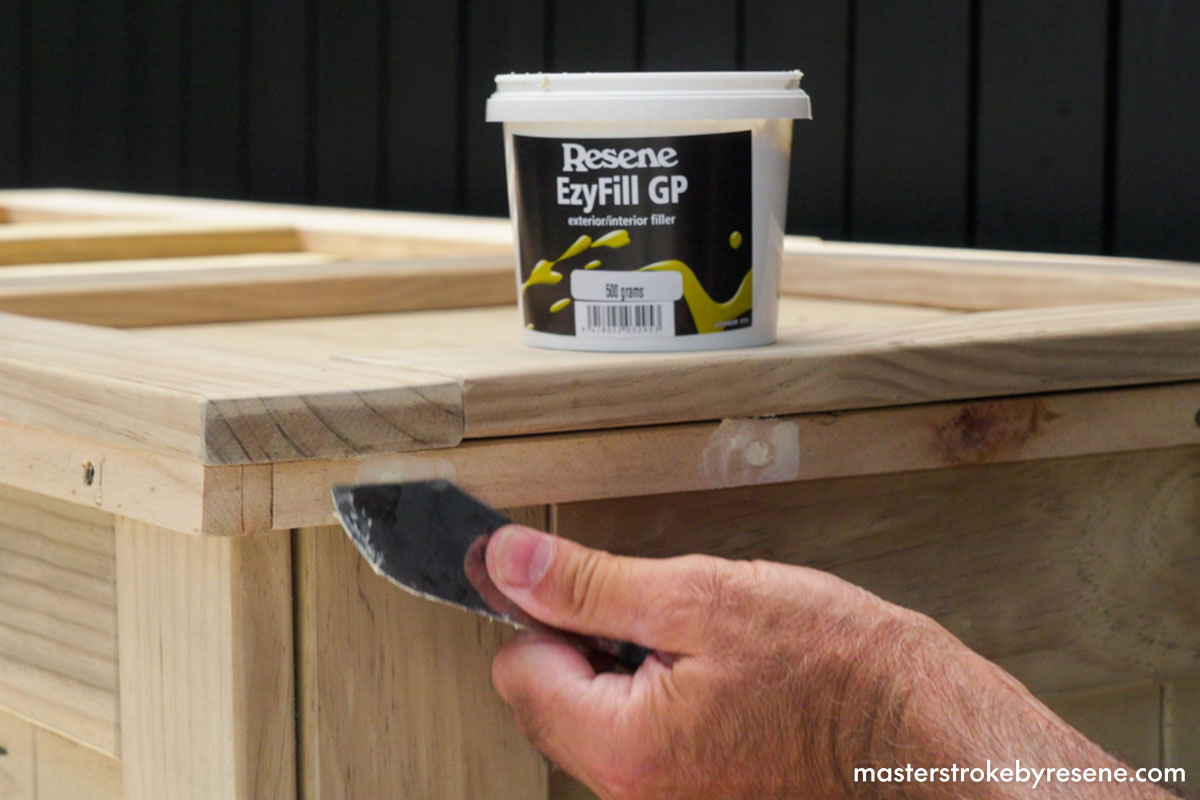
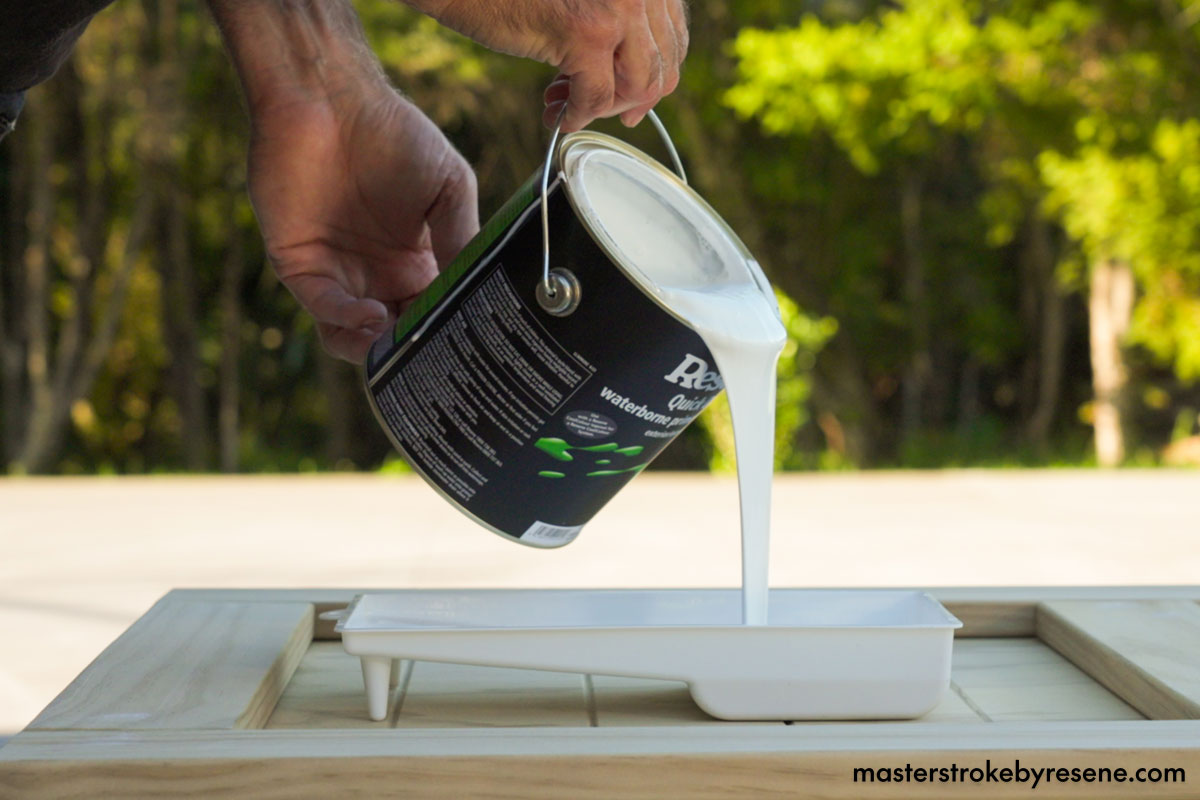
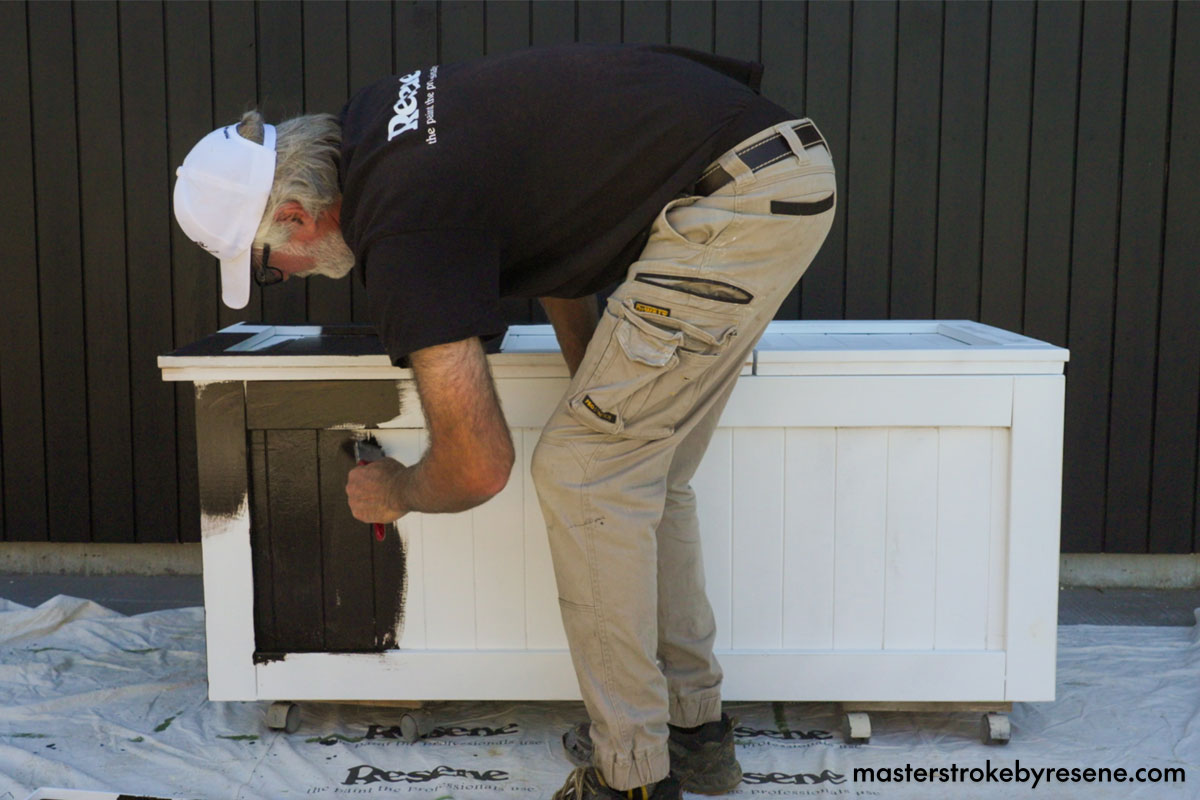
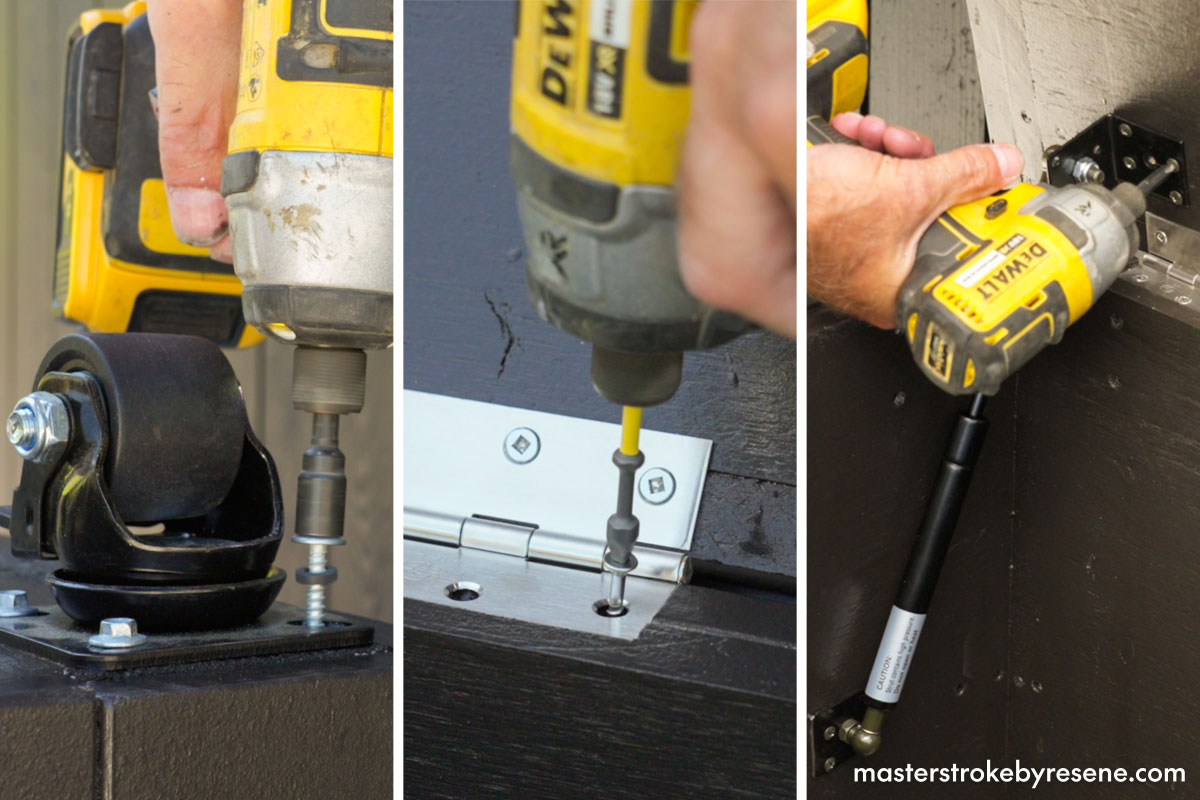
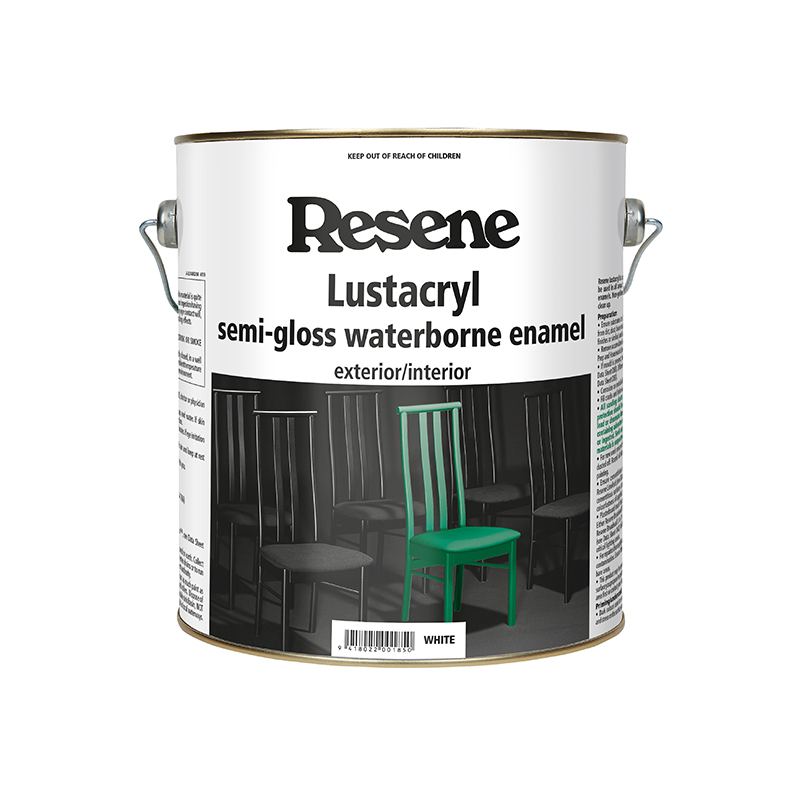
Artist and keen DIYer Jae Frew shows us how to build an outdoor storage box from plywood. It’s sturdy enough to sit on and, thanks to its smart Resene Bokara Grey topcoat, it’s of a professional quality – if not better! Adding castors to the base makes it easy to move around, and gas struts on the lid prevent slamming and injuring fingers.

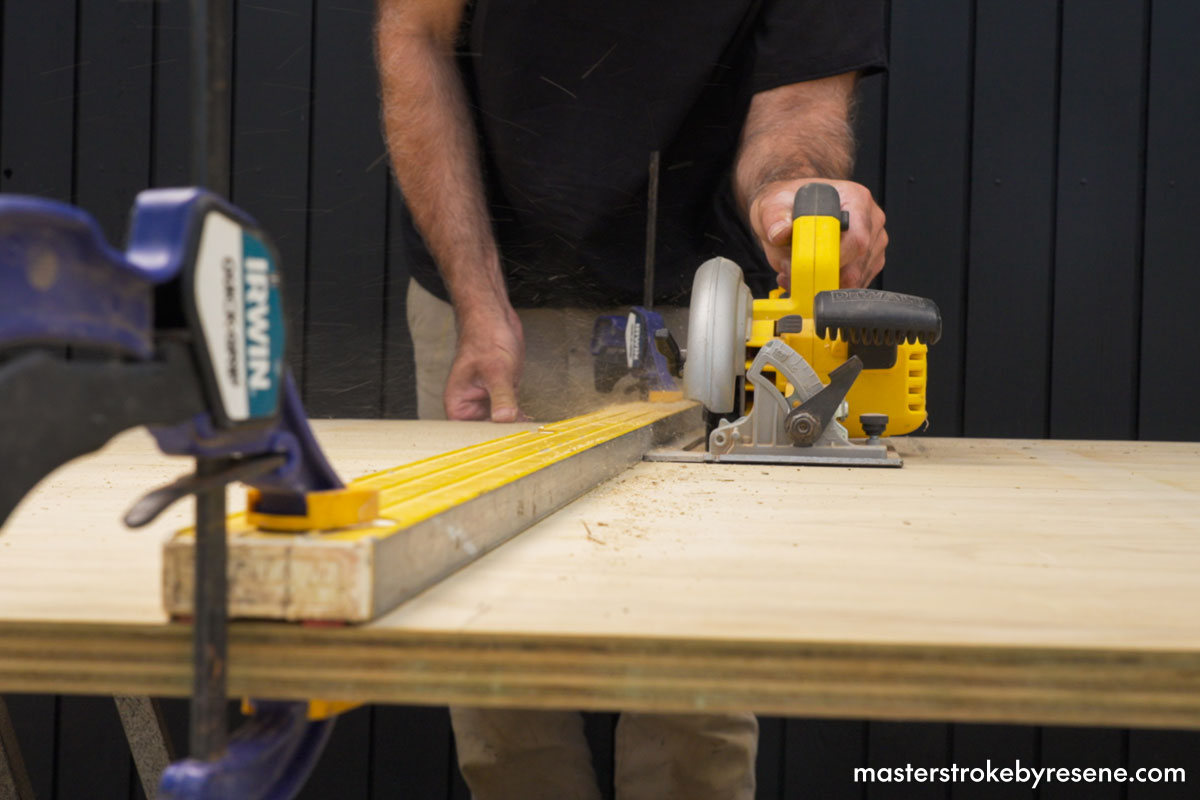
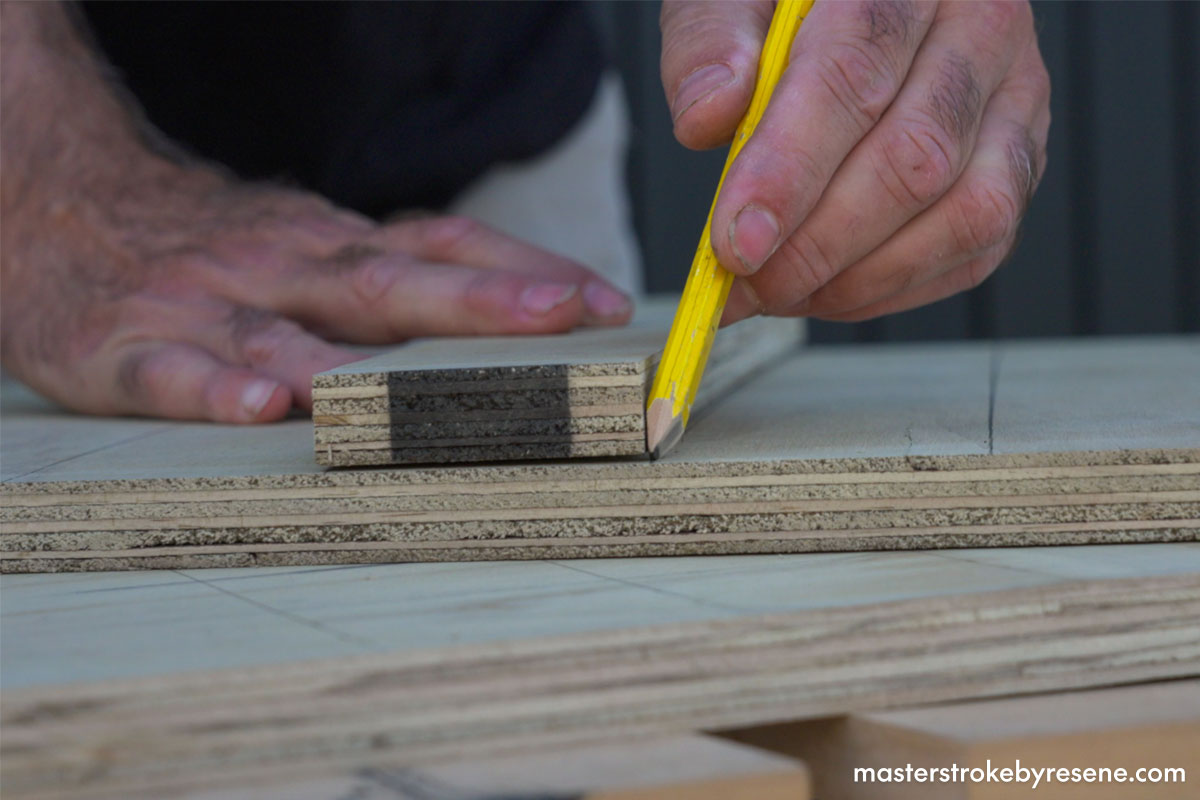
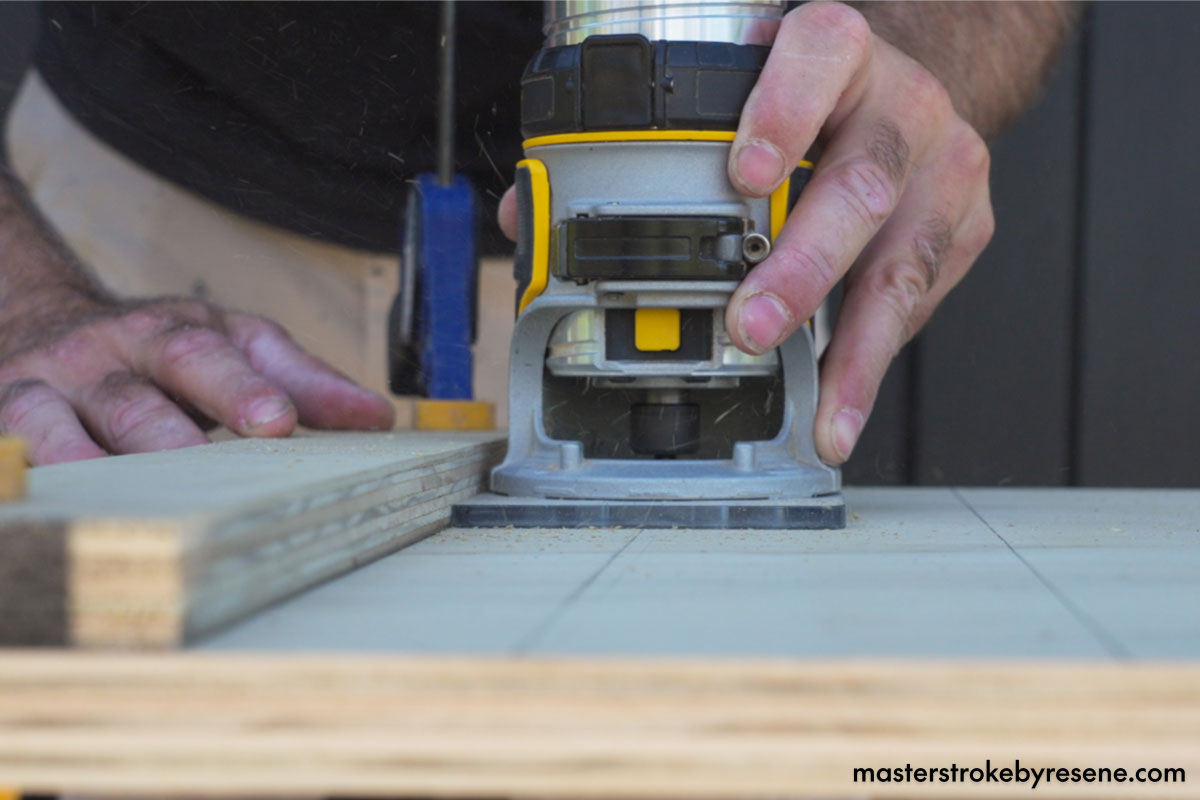
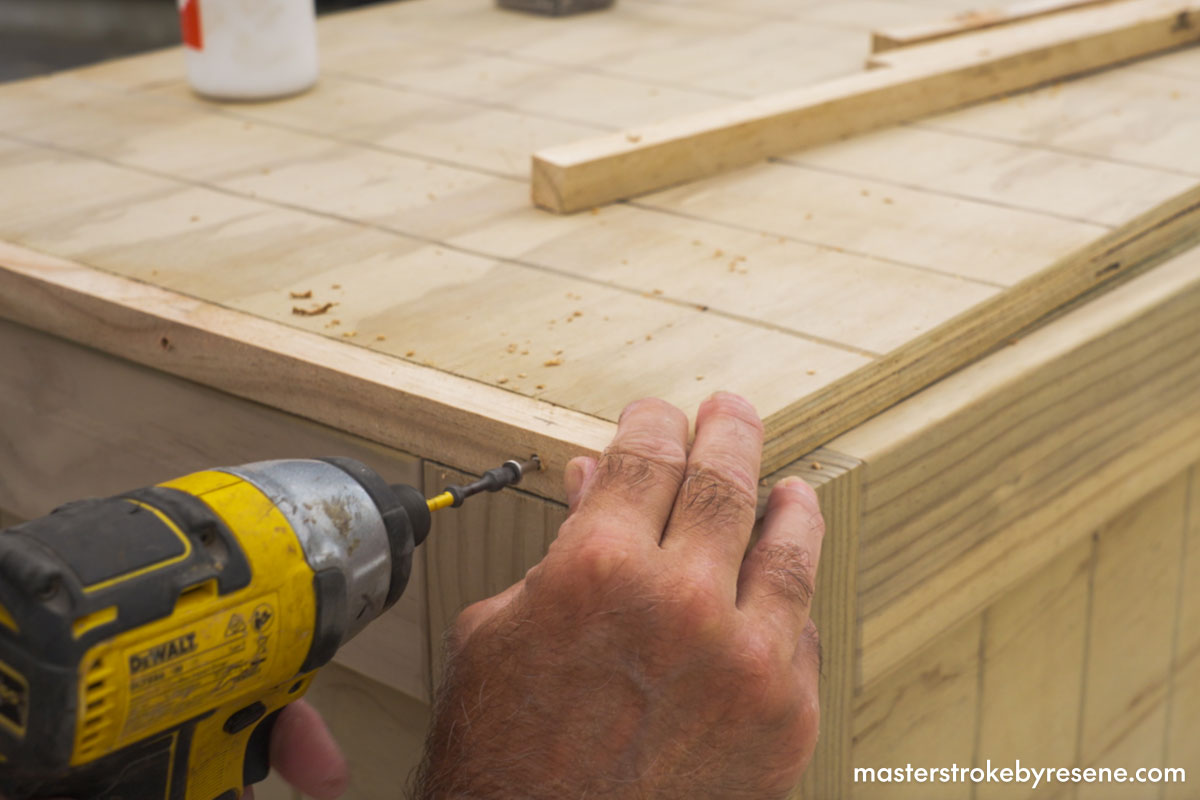
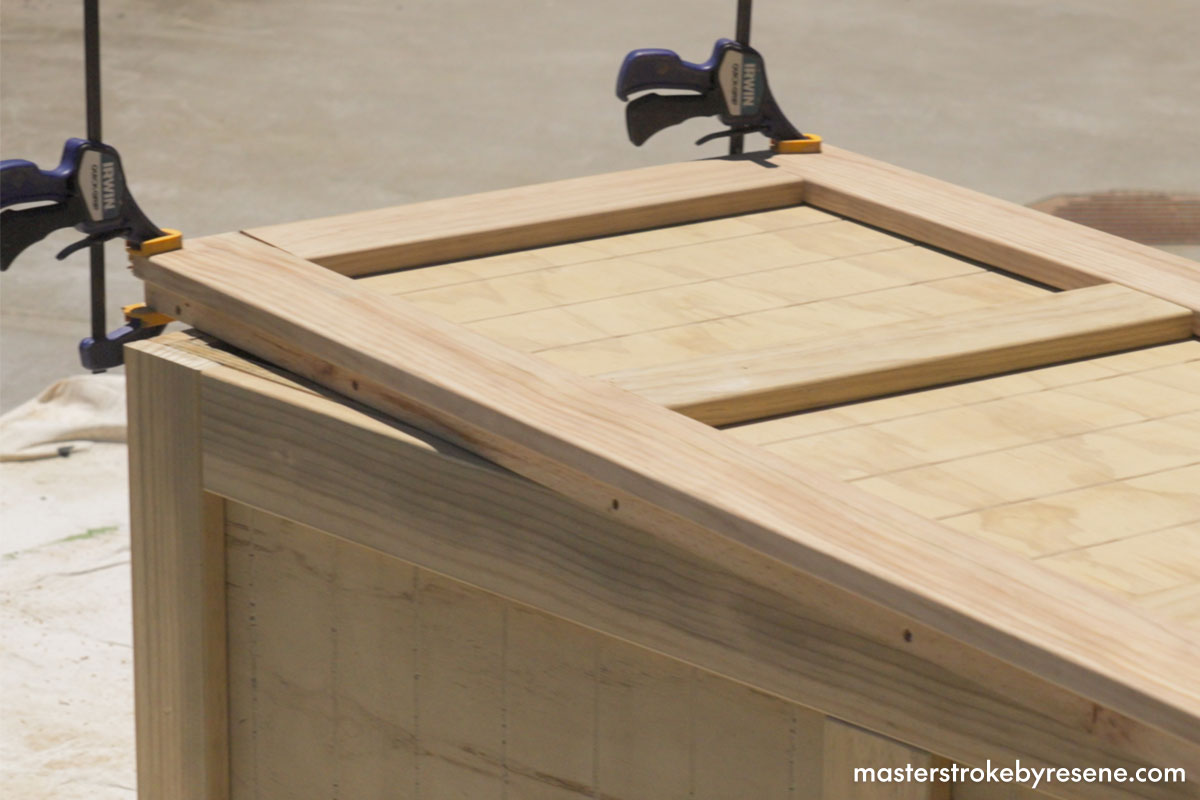
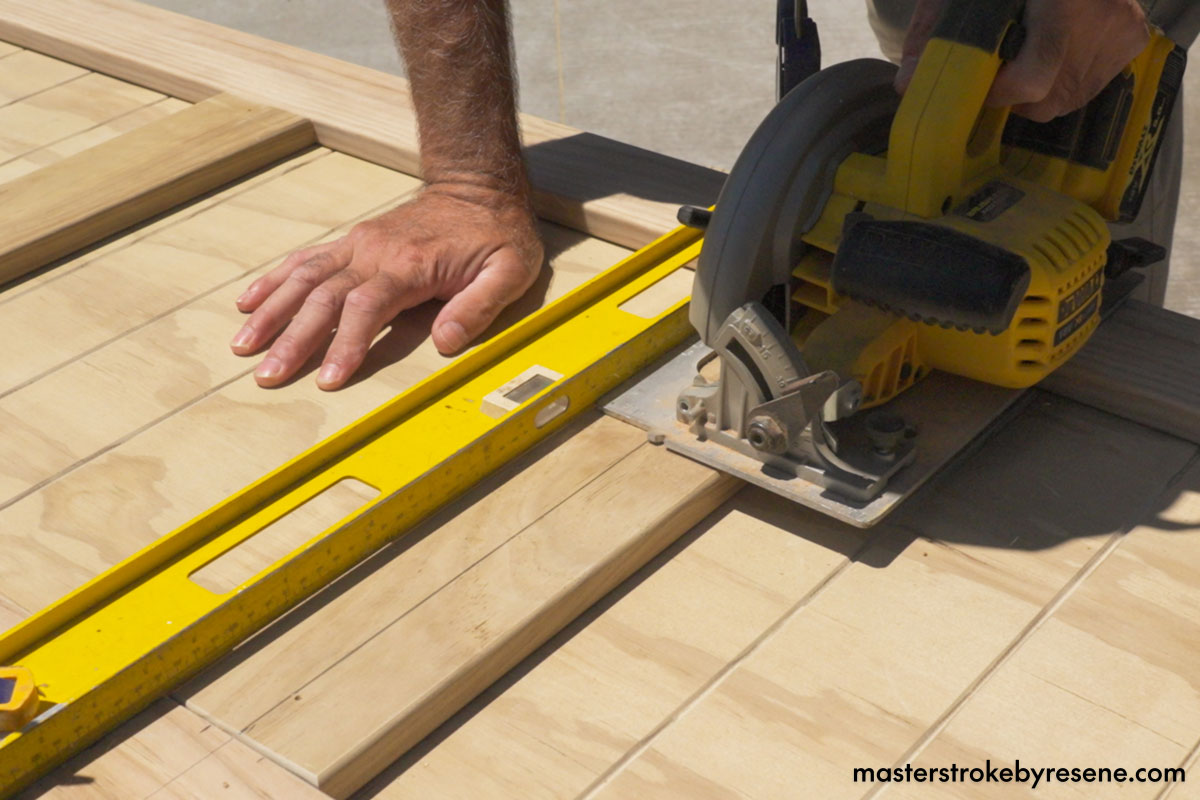
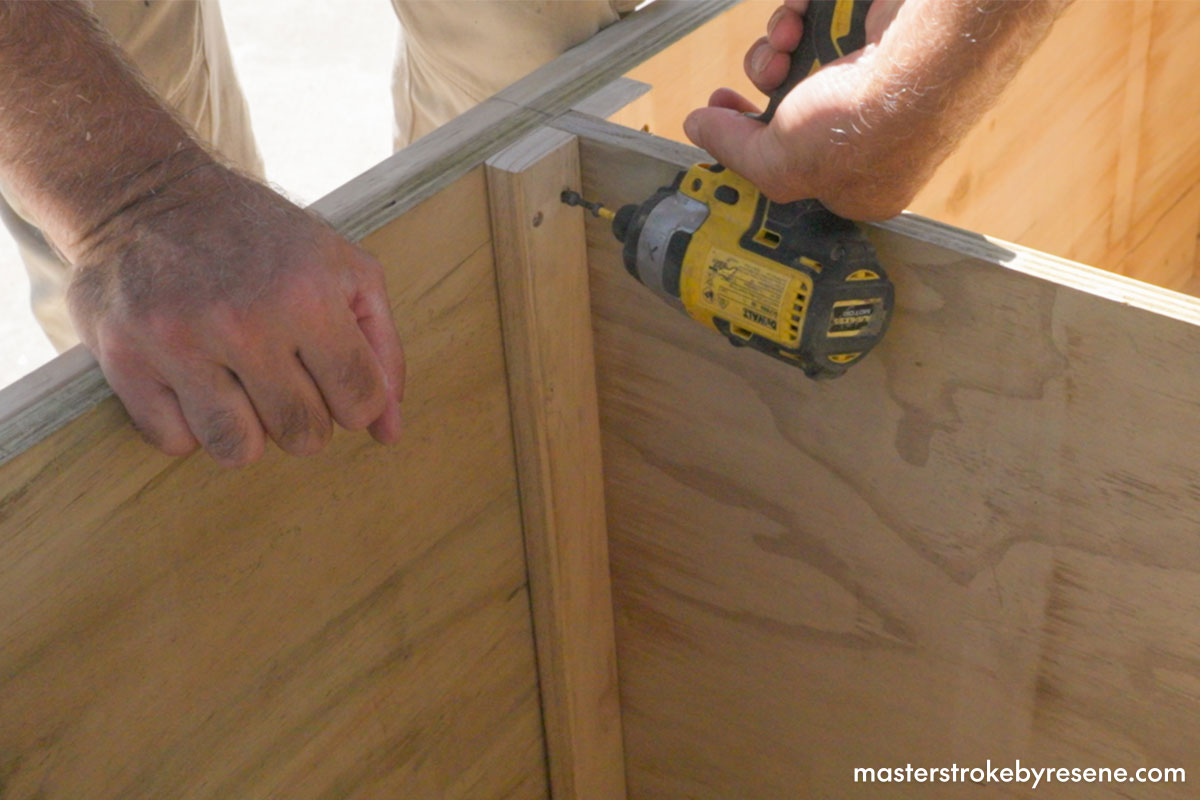
Follow the step-by-step instructions below to make one for your place.

  • 2400mm x 1200mm x 18mm plywood sheets
  • 90mm x 20mm smooth decking timber
  • 20mm x 20mm timber
  • 45mm x 20mm timber
  • Stainless steel screws (32mm and 45mm)
  • Wood glue
  • Sandpaper (80 and 120 grit)
  • 5x 85mm stainless steel hinges
  • Resene EzyFill
  • Resene #4 roller kit
  • Paintbrush
  • Resene Quick Dry waterborne primer undercoat
  • Resene Lustacryl semi-gloss waterborne enamel (Jae used Resene Bokara Grey)
  • 4x low profile heavy duty locking castors
  • 2x gas struts

  • Safety gear
  • Tape measure
  • Pencil
  • Skill saw
  • Straight edge
  • Quick grip clamps
  • Route and 45-degree groove router bit
  • Drill driver and drill bits
  • Drop cloth
  • 25mm chisel
  • Hammer
  • Putty knife
  • Palm sander

From the plywood, cut the following:

  • 3x 1500mm x 560mm (front, back and bottom)
  • 1x 1500mm x 580mm (top) 
  • 3x 560mm x 520mm (sides and divider)

From the decking timber, cut the following:

  • 8x 580mm (corner battens)
  • 2x 1560mm and 4x 460mm (top battens)
  • 4x 1330mm, 2x 405mm and 4x 385mm (side battens)
  • 2x 480mm (divider battens)

From the 20mm x 20mm timber, cut the following:

  • 2x 1545mm
  • 2x 580mm

From the 45mm x 20mm timber, cut the following:

  • 4x 560mm (divider supports)

1

Measure and cut plywood

Measure your plywood following the cut list above. Position and clamp a straight edge to help guide your saw, then cut the panels out. Make sure you wear your safety gear.

2

Mark lines

Mark and rule lines every 75mm from the centre of each panel on the side panels.

3

Get grooving

Use a 45-degree groove router bit to add grooves along the lines you marked in the previous step. Position and clamp a straight edge to help guide your router. 

These grooves significantly enhance the overall look of the box, so are definitely worth doing.

4

Sand grooves

Use 80 grit sandpaper to sand smooth the grooves.  Wipe off the sanding dust.

5

Construct the box

Mark and drill pilot holes using a ⅛ countersink drill bit. Assemble the sides to form the box structure using glue and 45mm stainless steel screws, then glue and screw the bottom panel.

6

Cut the battens

Measure and cut the batten pieces from decking timber according to the cut list.

7

Attach corner battens

Measure 20mm in from each corner, then mark and drill pilot holes 70mm and 300mm up from the bottom.

Glue and screw two corner battens to each corner of the box using 32mm stainless steel screws – this provides the sturdy structure to the box. Chamfer each cut edge as you go. Attach the screws from the inside of the box.

8

Side battens

Glue and screw the side battens in place.

9

Conceal the edge

Drill pilot holes in the 20mm timber pieces, then screw into the edges of the top plywood piece to conceal the raw edge – this piece will become the lid of the storage box.

10

Top battens

Glue and clamp the top batten pieces to the lid piece, then flip it over and use screws to secure the battens from the underside.

11

Split the lid

Measure 500mm in from the short edge of the top, then cut to split the lid into two pieces. This will make the box more practical and easier to open.

12

Internal divider

Install the divider piece inside the box 500mm in from the short edge (to match with the smaller lid piece). Secure support pieces and divider battens with screws.

13

Install hinges

Use a 25mm chisel to carve out a rebate for each hinge. Drill pilot holes then secure the hinges with screws. 

The hinges will be removed before painting the box.

14

Fill and sand

Use Resene EzyFill to fill any visible holes, then sand the whole storage box to prepare it for painting. Wipe away all the dust after sanding. 

Whenever you’re sanding or cleaning off sanding dust make sure you have your safety gear on.

15

Prime

Pour your Resene Quick Dry into a paint tray, then use a roller to apply it to all surfaces, inside and out. Use a paintbrush to reach the grooves and batten edges effectively. Once dry, lightly sand with 120 grit sandpaper and wipe away all the sanding dust.

16

Paint

Stir your Resene Lustacryl well, then pour into a clean paint tray. Apply two coats to the storage box using a roller and paintbrush – Jae used the colour Resene Bokara Grey.

Allow dry time between coats.

17

Add hardware

On the base, attach low profile heavy duty locking castors to each corner.

Flip the box over and reinstall the hinges to join the two lid pieces to the main box.

Add a gas strut to each lid to help prevent slamming.

18

Finished!

Time to stow all your gear and move the box to a place where you can access it easily. 

Placing some outdoor cushions on the top is a great idea to provide extra seating and add another purpose to your new piece.

Top tips:

  • Paint your storage box the same paint or stain colour as your home to help camouflage it, or you can make it a fun feature using a contrasting Resene colour. Or stain it the same colour as your deck using Resene Woodsman Wood Oil Stain or Resene Furniture and Decking Oil if you’d like a more natural timber look finish.
  • If you’re planning to use a dark colour like Jae has, choose the Resene CoolColour version of your colour to help keep your storage box cooler.
  • Resene Lustacryl semi-gloss is easy to wipe clean.  If you want a higher gloss finish, use Resene Enamacryl gloss instead.
  • Remember to paint all parts of your storage box – inside, outside and underneath so it is fully protected from the weather.
  • This storage box is ideal for deck entertaining areas and also for your entrance so you can stow things tidily out of the way and have a handy place to sit to put your shoes on or accommodate extra guest seating.
  • If you’re finding the Resene Lustacryl paint is drying a little too fast for you, add Resene Brushing Additive for smoother brushstrokes.

About MasterStroke by Resene
MasterStroke by Resene is here to help you master your paint and decorating projects. Brush up on your skills with advice, tips and ideas from our trusted experts.

Check out the latest how-to videos on our YouTube channel.