DIY projects

Make your own A-frame wood store

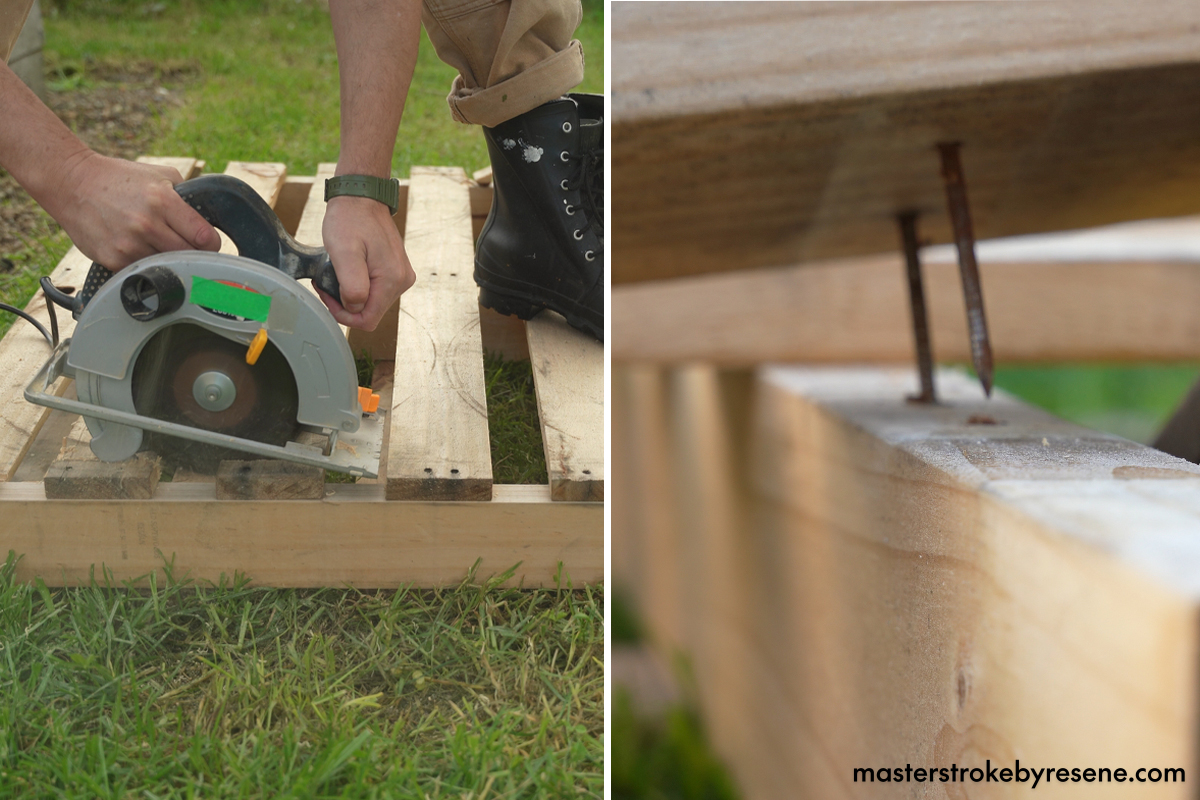
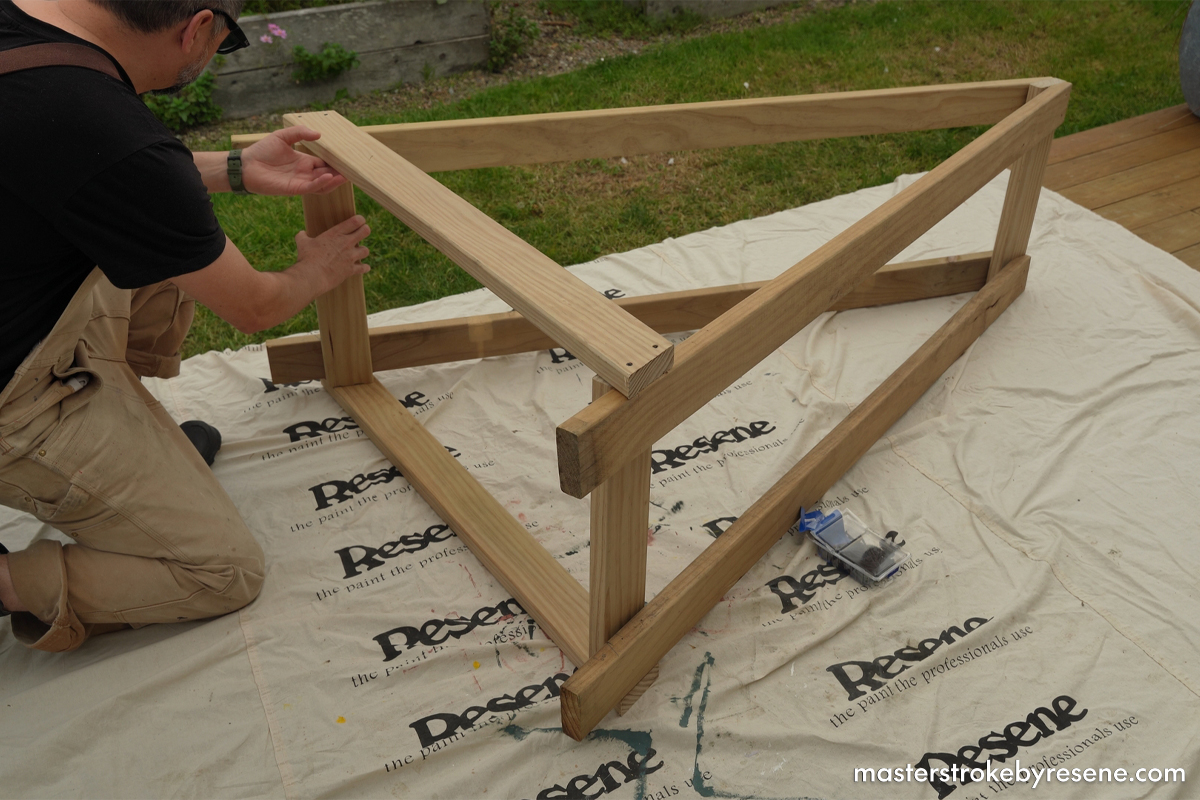
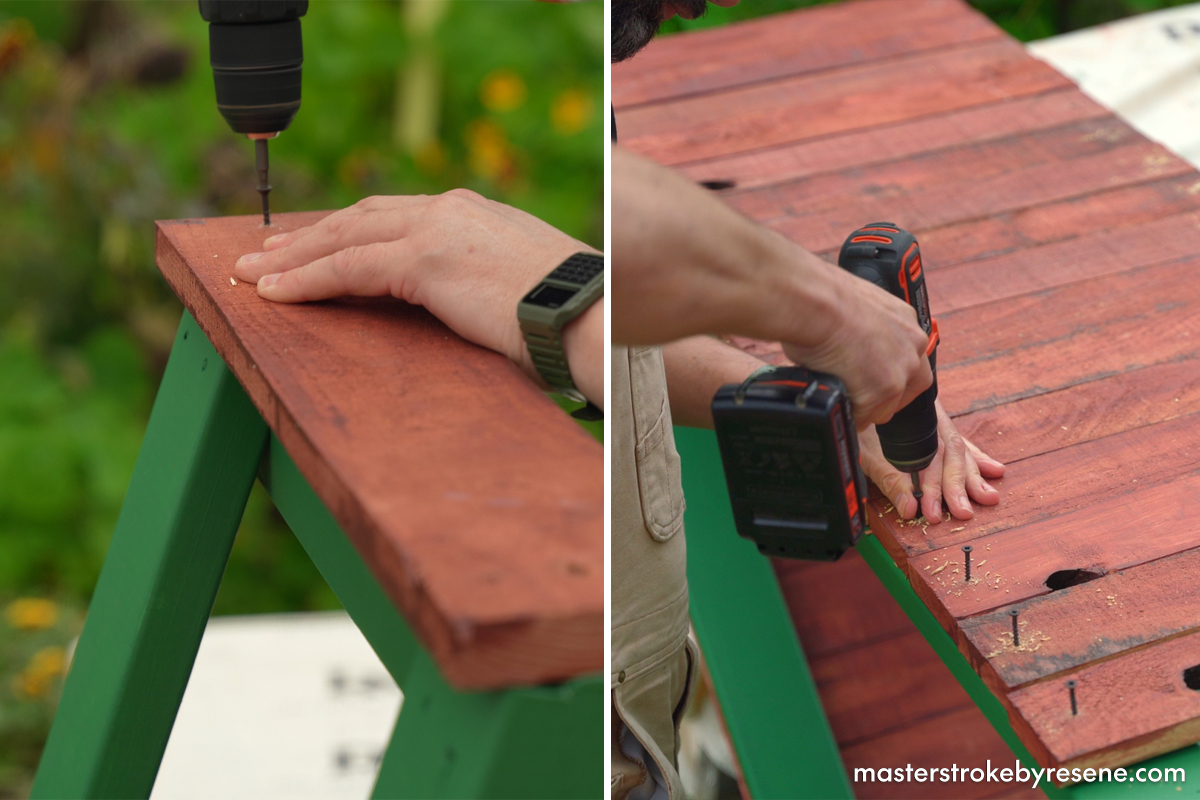
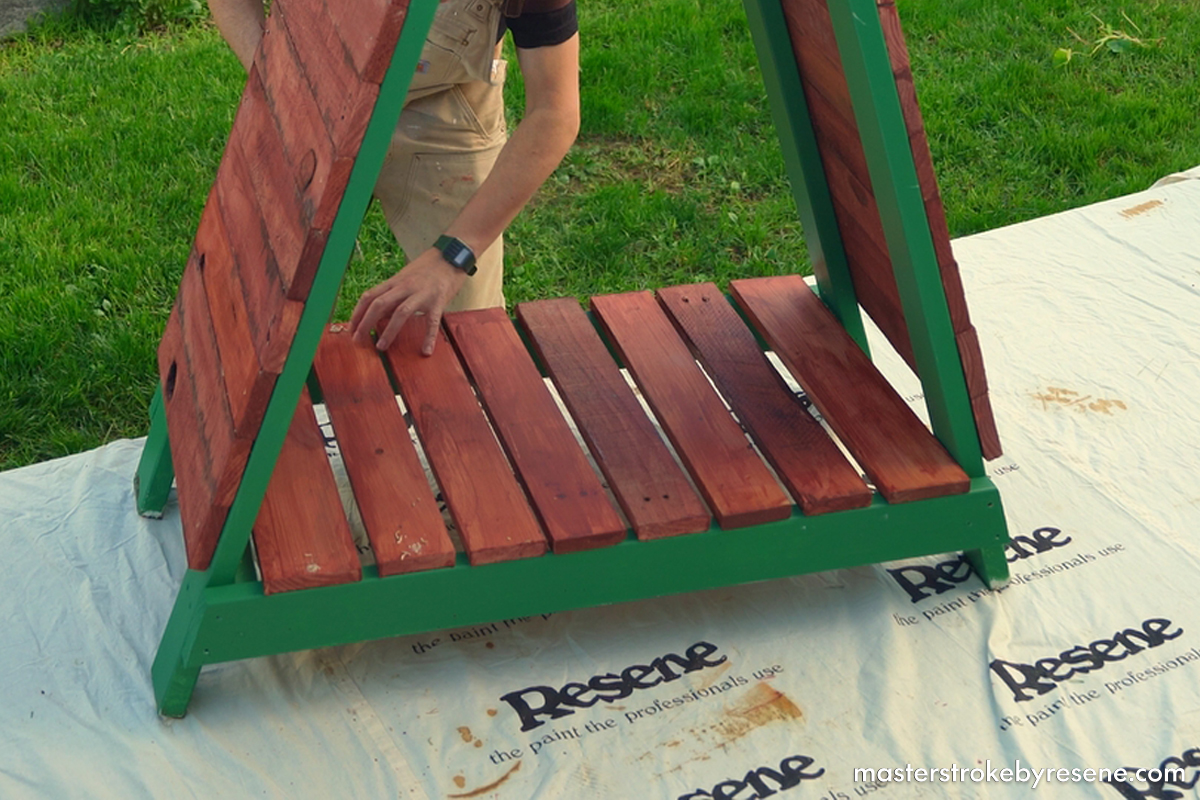
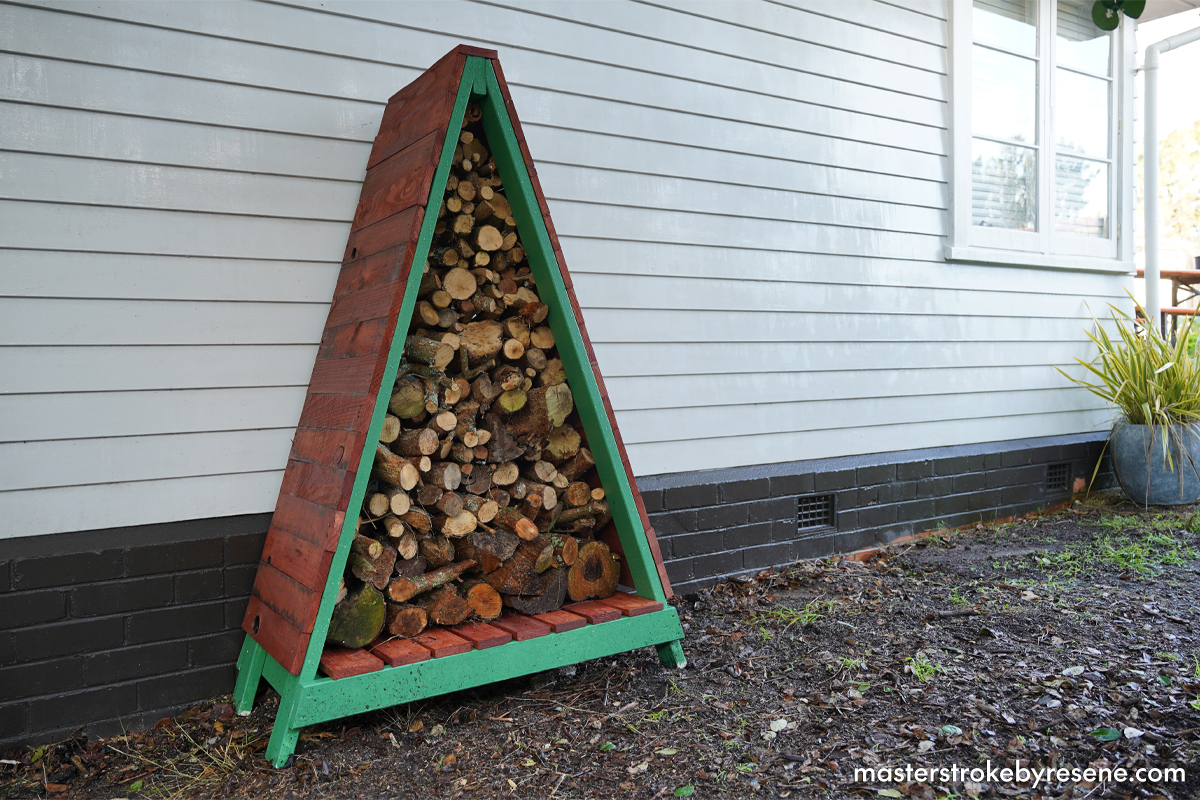
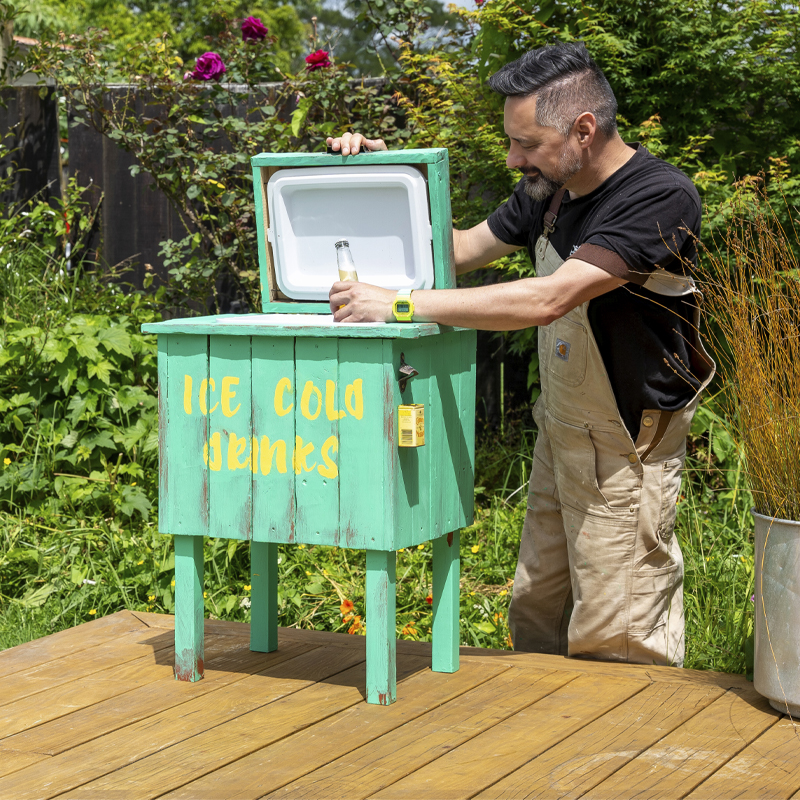
Finding a practical outdoor storage solution that also looks good can be tricky, but as always, Jacob Leaf (Ngāpuhi) – aka The Upcycler – has you covered! He shows you how to make an A-frame wood store out of old pallets, creating the perfect place to store firewood outside. 

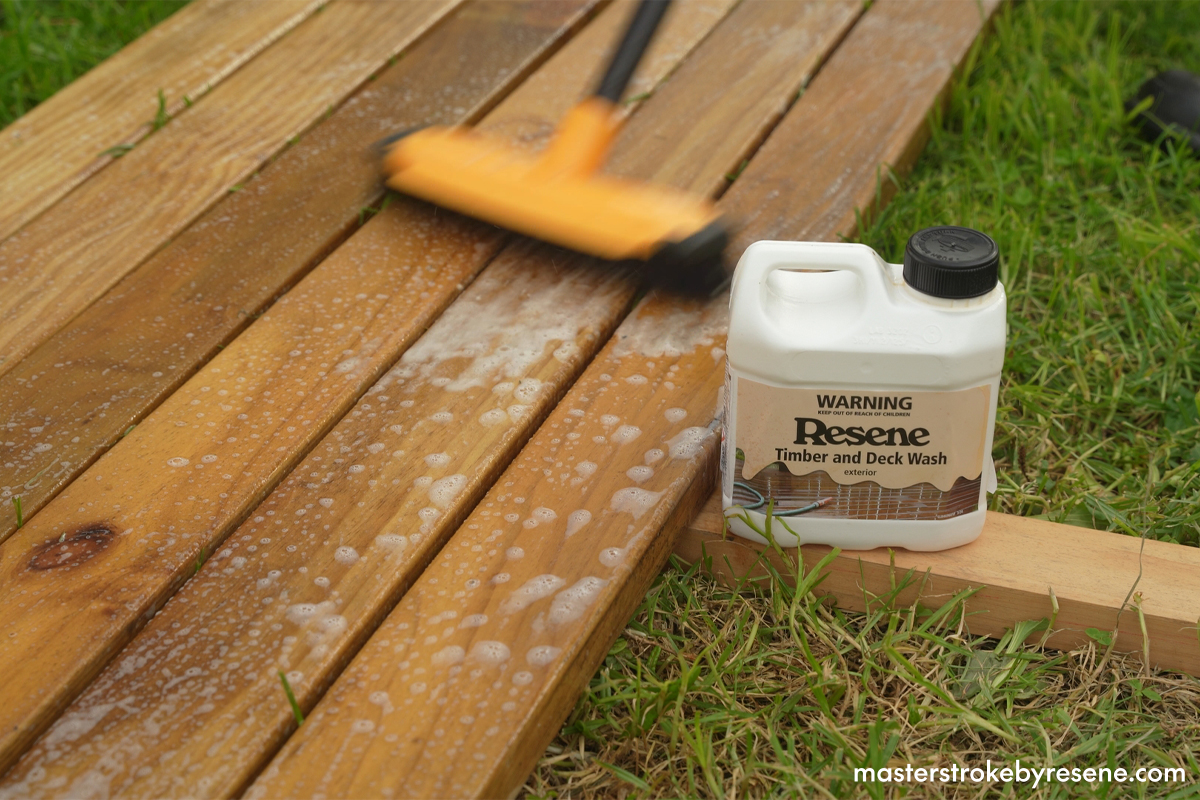
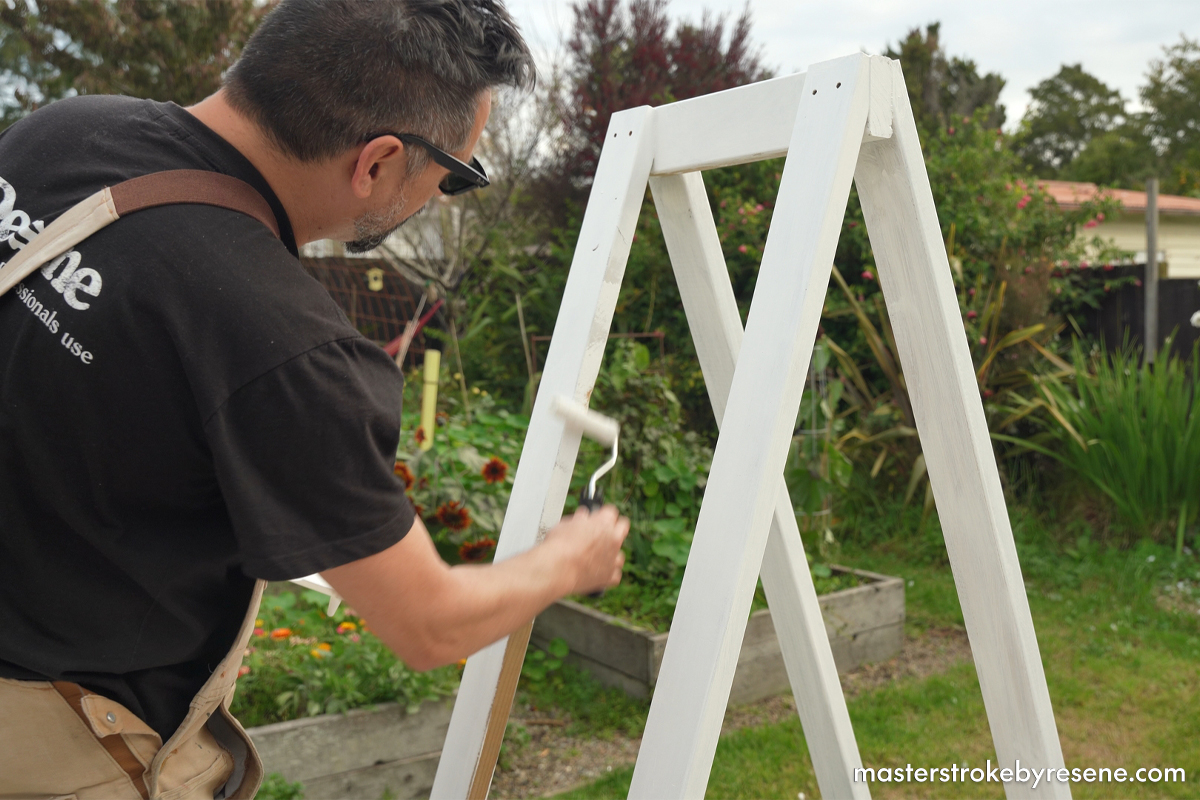
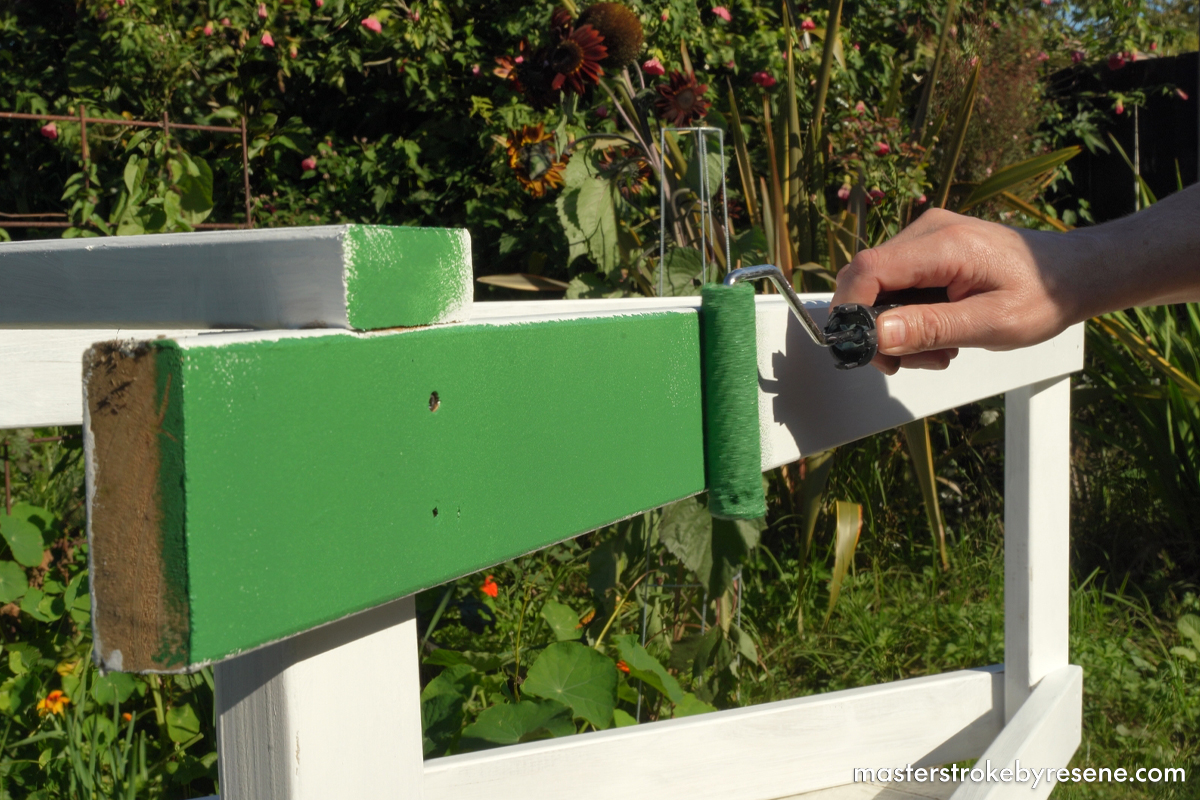
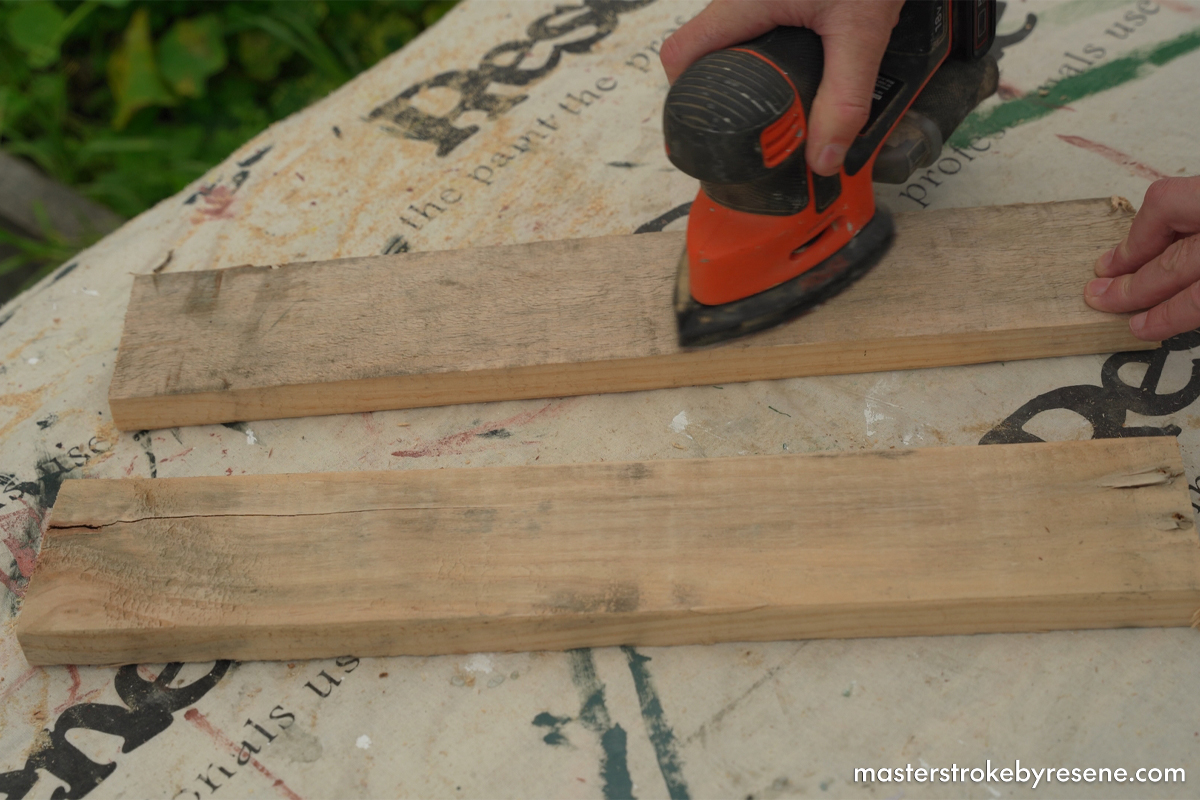
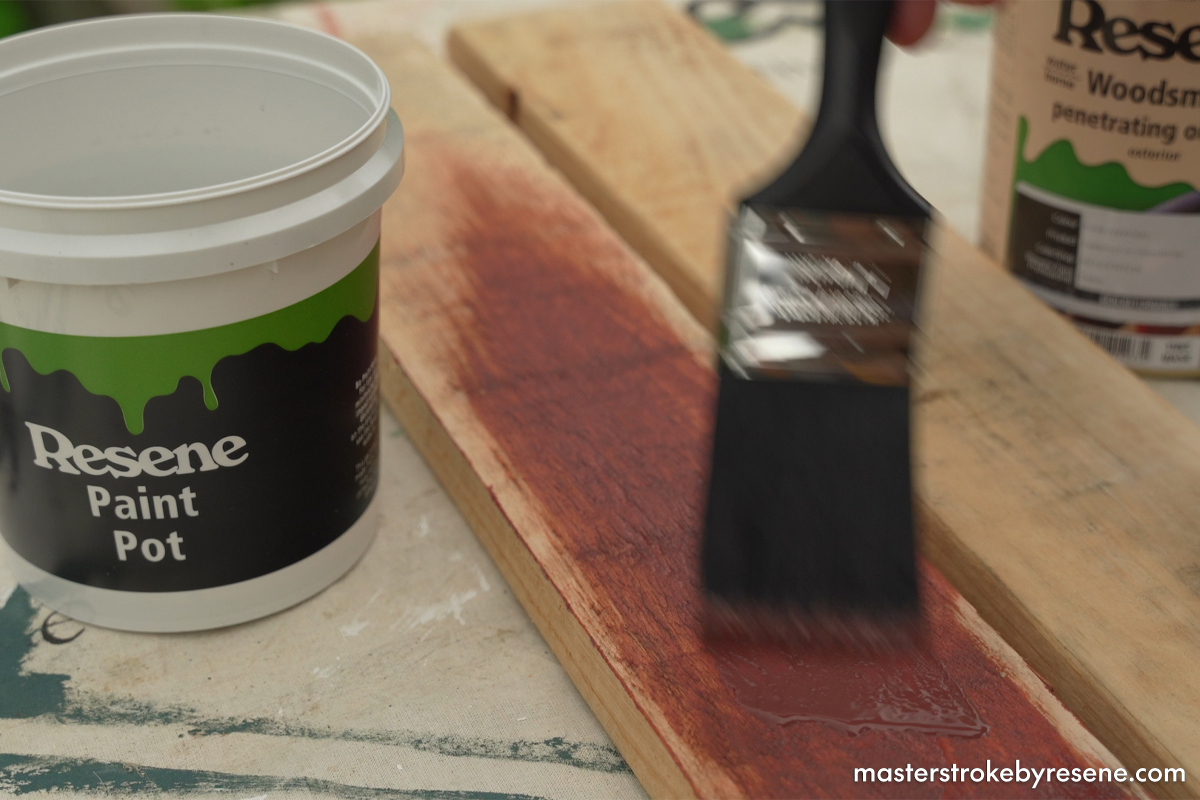
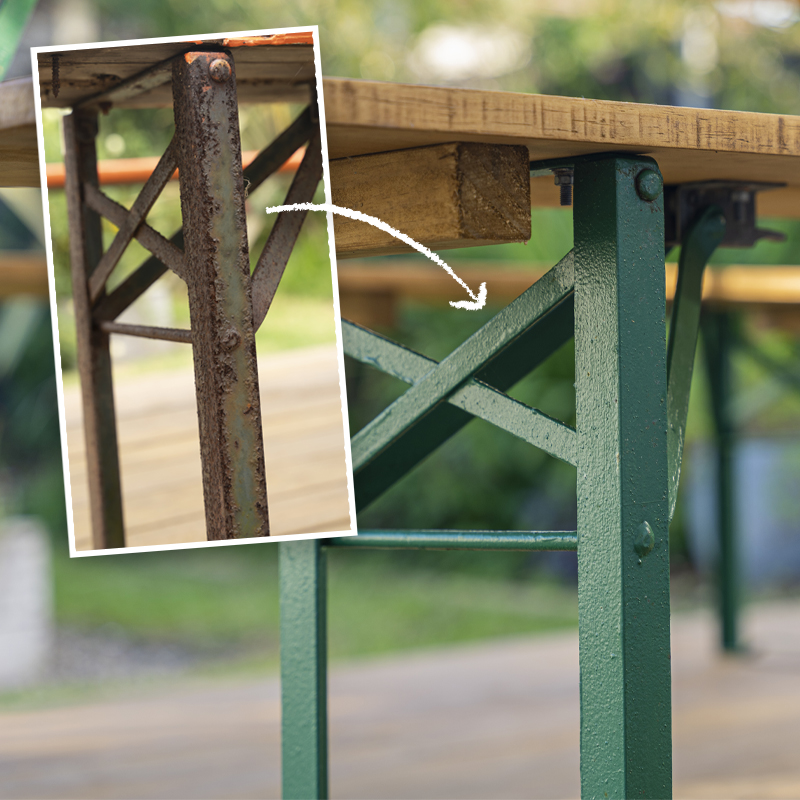
Jacob gives the frame a pop of colour with vibrant green Resene Parsley, while allowing the natural beauty of the timber cladding to shine through with Resene Waterborne Woodsman penetrating oil stain in Resene Kwila. But you can paint yours in whichever hues best suit your home or garden. A very important part of the process is washing the timber thoroughly first, which will help you achieve a professional looking finish. 

Upcycling old materials and reimagining them into brand-new, bespoke pieces is great for the environment, as well as an excellent way to hone your DIY skills. Luckily, free pallets are usually easy to find – check with local bulk stores to see if they have any up for grabs – or you could create this project with offcuts from another project.

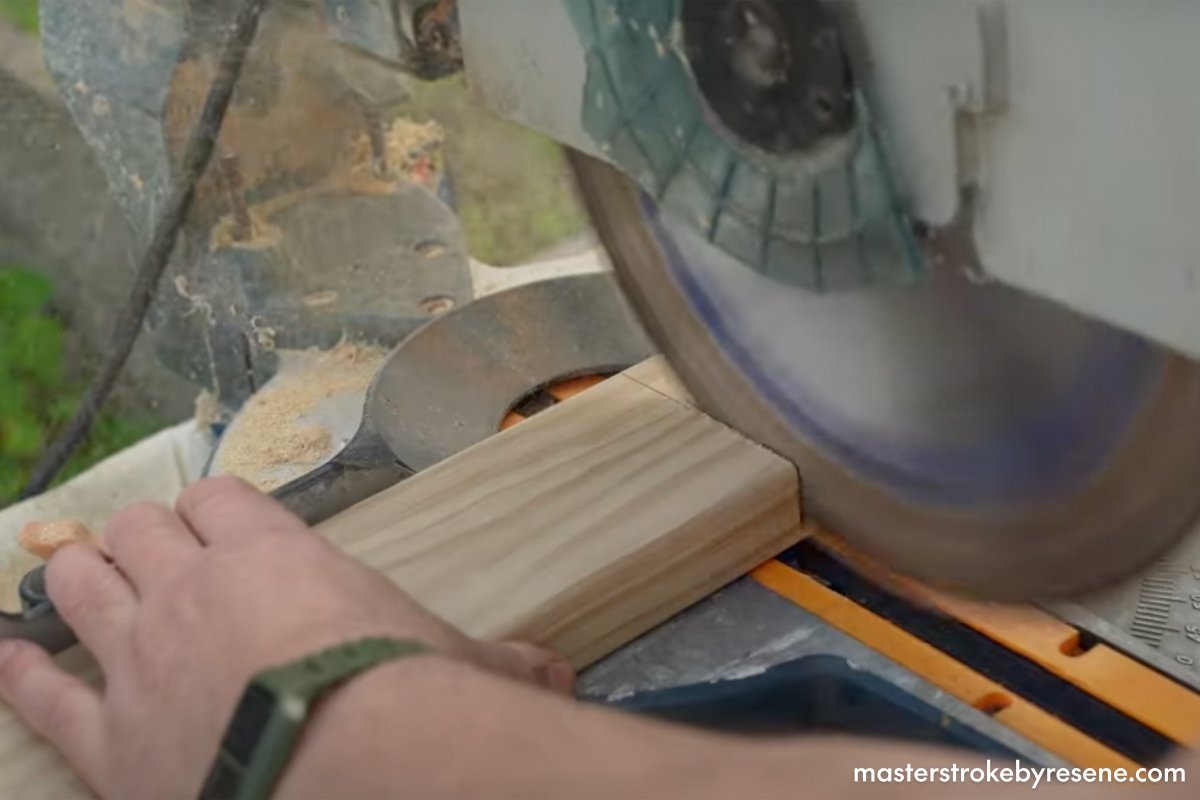
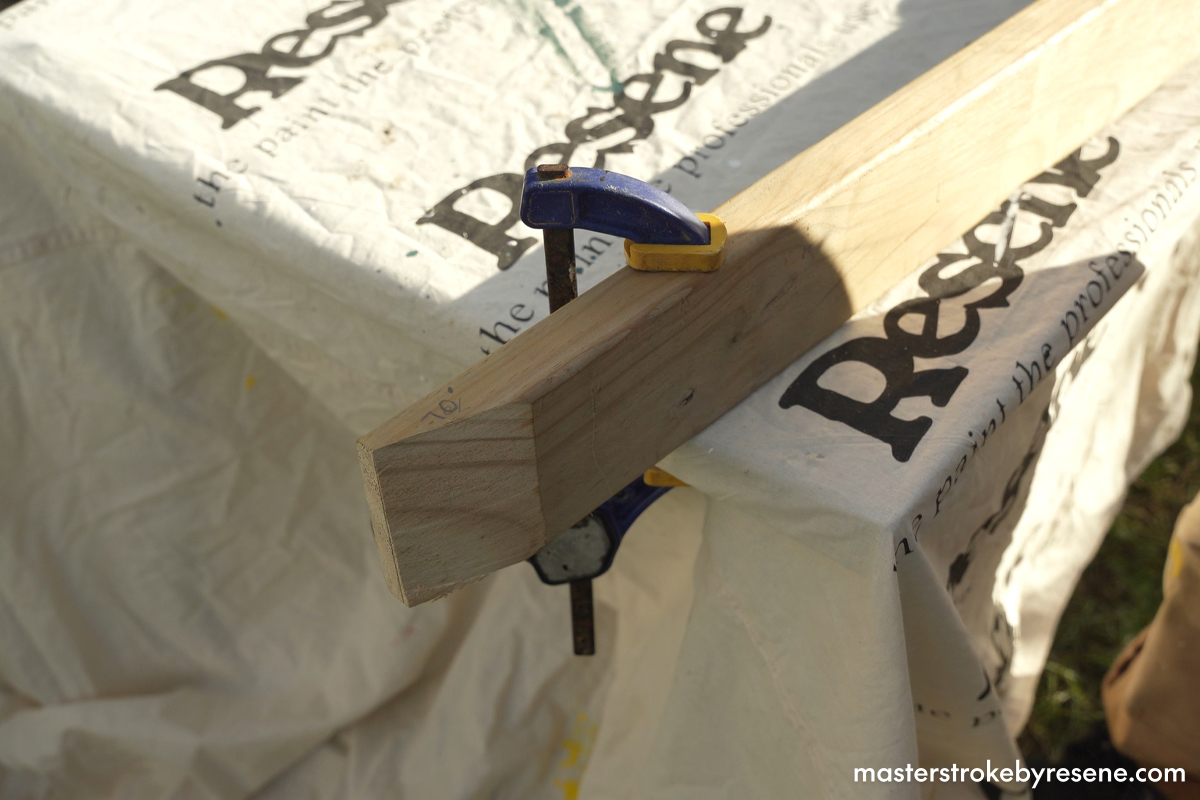
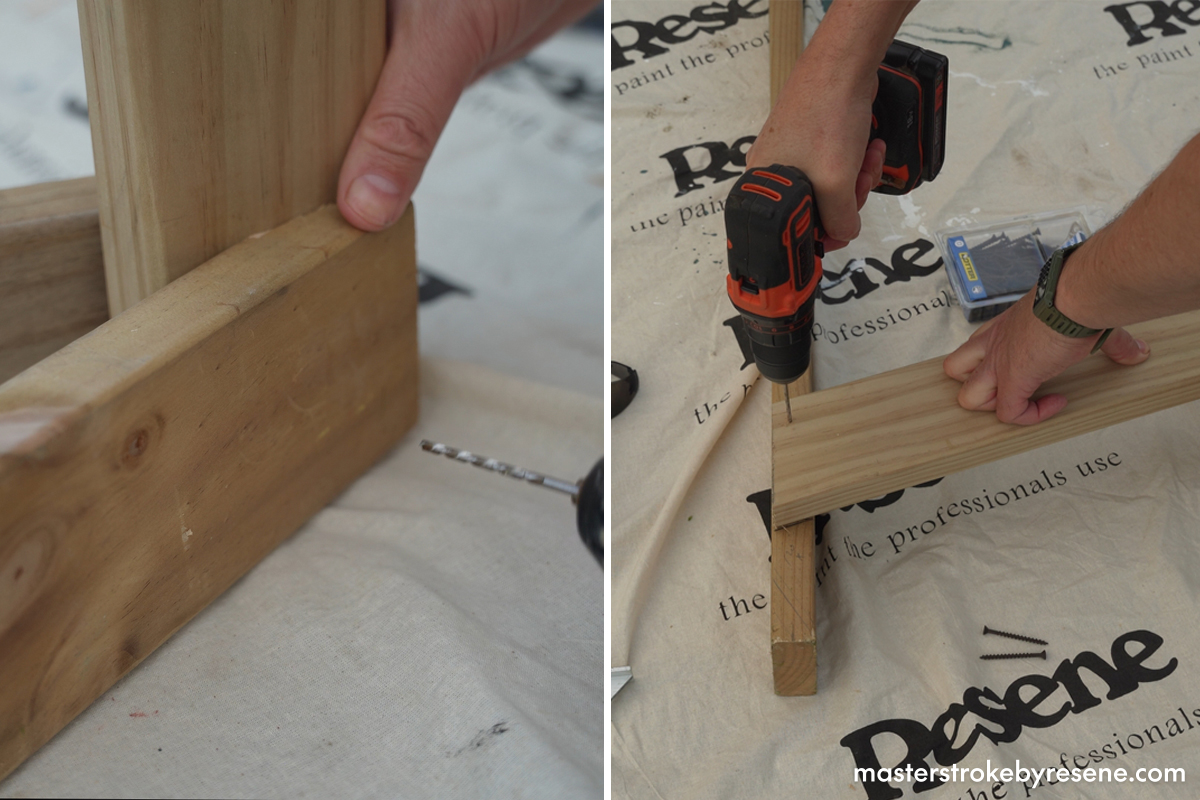
Follow these step-by-step instructions to create your very own A-frame wood store.

  • 3x full-size pallets
  • Resene Timber and Deck Wash
  • 11.6m x 100mm x 40mm decking timber
  • 8g x 50mm countersunk decking screws
  • 8g x 30mm countersunk decking screws
  • Resene #4 Easy Reach roller sleeves
  • Roller tray
  • PAL Easy Reach roller handle
  • Resene Quick Dry waterborne primer undercoat
  • Resene Lumbersider Low Sheen in your choice of colour (Jacob used Resene Parsley) 
  • Paint pot
  • Paintbrush
  • Resene Waterborne Woodsman penetrating oil stain in your choice of colour (Jacob used Resene Kwila)

  • Safety gear
  • Pencil
  • Circular saw
  • Car jack
  • Hammer
  • Stiff bristle broom
  • Tape measure
  • Speed square
  • Drop saw
  • Clamps
  • Hand saw
  • Drill driver
  • Hand sander
  • 60, 120 and 240 grit sandpaper

From the pallet boards cut the following lengths, which will make up the cladding and a shelf:

  • 31x 500mm
  • 8x 570mm

From the decking boards cut the following lengths, which are for the framing:

  • 4x 1700mm
  • 2x 1060mm
  • 3x 500mm    

1

Dismantle the pallets

Cut along the inside of each outer stringer with a circular saw or hand saw.

Use a car jack to lift the deck boards from the middle stringer, then use a hammer to remove the nails from the pallet deck boards.

2

Clean timber

Dilute Resene Timber and Deck Wash with water in a garden sprayer. 

Spray the decking timber and pallet boards thoroughly, then use a stiff bristle brush or broom to give them a good scrub. 

Rinse with the hose and leave to dry.

3

Measure and cut

Cut the decking timber and pallet boards to size according to the cut list above.

4

Angle the ends

Make a 70-degree cut on one end of each 1700mm length of decking timber.

5

A-frames, assemble!

To make the top of the A-frame, attach the two decking boards with 70-degree angled ends on either side of one of the 500mm pieces. Screw together with 50mm decking screws.

Place one of the 1060mm timber pieces across the A-frame, 100mm up from the bottom. Mark it and cut it to fit, then attach with 50mm screws. 

Repeat to complete a second A-frame.

6

Two become one

Attach the second A-frame to the first A-frame, then secure the remaining 500mm pieces of timber between the two A-frames.

7

Prime time

Stand the frame upright and pour Resene Quick Dry into a paint tray. Use a Resene #4 Easy Reach roller sleeve and a PAL Easy Reach roller handle to apply one coat, then wait for it to dry.

8

Add some colour

Pour Resene Lumbersider Low Sheen into a paint tray and use a roller to apply two coats, allowing at least two hours dry time between coats.

Jacob used the colour Resene Parsley.

9

Sand

Put on your protective gear and sand all the pallet boards, then wipe off the sanding dust.

10

Stain

Pour Resene Waterborne Woodsman penetrating oil stain into a paint pot and apply two coats using a paintbrush, making sure to wait at least two hours between each coat.

Jacob used the colour Resene Kwila.

11

Adding the cladding

To attach the cladding, start at the top then work your way down. Drill pilot holes then fasten in place with 30mm deck screws

Work your way down each side of the A-frame, securing each board.

12

Base shelf

Arrange the remaining 570mm pieces evenly across the base of the frame to create a shelf. Drill pilot holes the secure with 30mm decking screws

13

Get stacked

Time to place your wood store and fill it up with firewood.

About MasterStroke by Resene
MasterStroke by Resene is here to help you master your paint and decorating DIY projects. Brush up on your skills with advice, tips and ideas from our trusted experts.

Check out the latest how-to videos on our YouTube channel.