DIY projects

Make a deck drinks cooler using old pallets

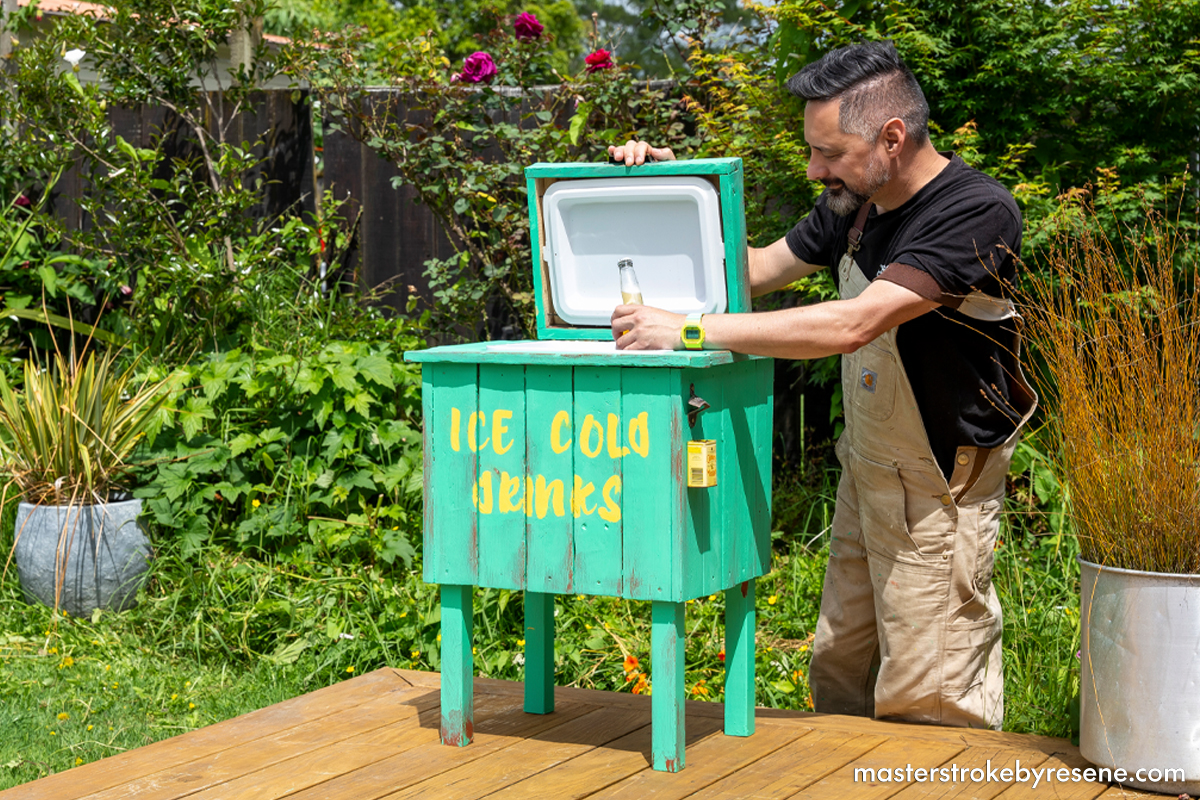
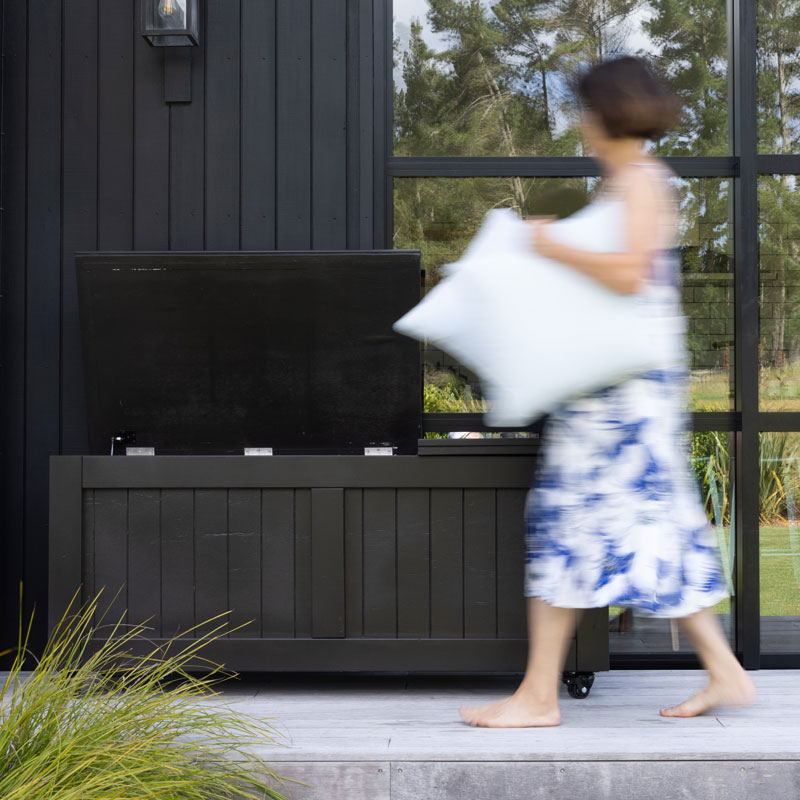
Cracking open a cold one at home never looked so good! Jacob Leaf, aka The Upcycler, shows you how to take your summer entertaining game to the next new level with this cool deck drinks cooler made from an old pallet and other timber. It’s a super practical piece that can be finished in any Resene colour you like, so it can fit right in with your existing outdoor furniture set up. 

The trick is building a sturdy frame and lid to fit a mini chilly bin, which you can then fill with ice to keep your favourite beverages perfectly chilled. The compact size and portability means you’ll also be able to take it camping, out on the boat and on summer road trips. 

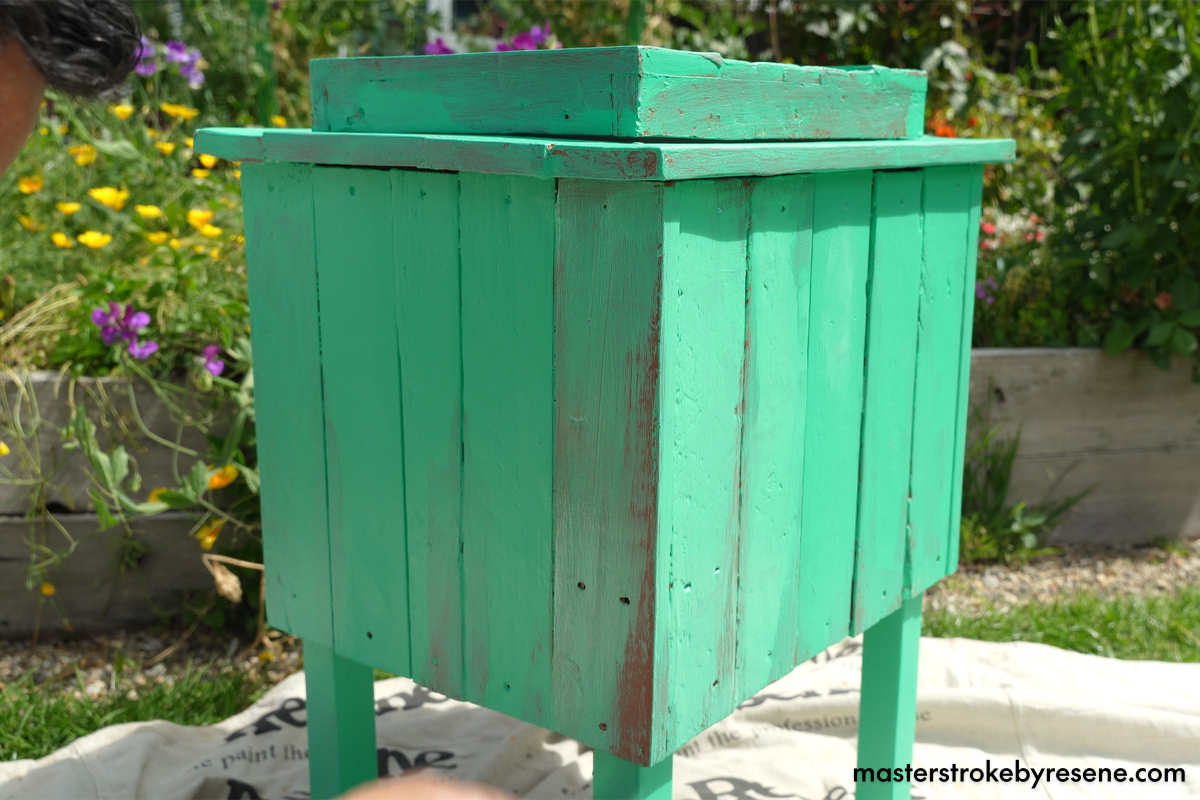
Jacob has cleverly given his deck cooler an aged look by first coating the box in Resene Mocha, then painting over it with Resene Home Run and adding retro lettering in Resene Wild Thing, before using steel wool to enhance the distressed look. He also screwed on a bottle opener and added a magnetic tin to catch stray bottlecaps – no need to get up and go inside to dispose of them! 

Set aside a summer weekend or time over the holidays to make this deck cooler and be the envy of all your mates – party at your place! Follow Jacob’s instructions below.

  • Safety gear
  • Pencil
  • Circular saw
  • Shovel
  • Hammer
  • Stiff bristle broom
  • Hose
  • Tape measure
  • Drop saw
  • Clamps
  • Drill driver
  • Hand sander and sanding pads
  • Contact adhesive
  • Steel wool

From the pine, cut the following lengths:

  • 4x 700mm
  • 4x 380mm
  • 6x 300mm

From the pallet boards, cut the following lengths:

  • 2x 550mm
  • 1x 420mm
  • 20x 400mm
  • 5x 340mm
  • 3x300mm

1

Dismantle the pallet

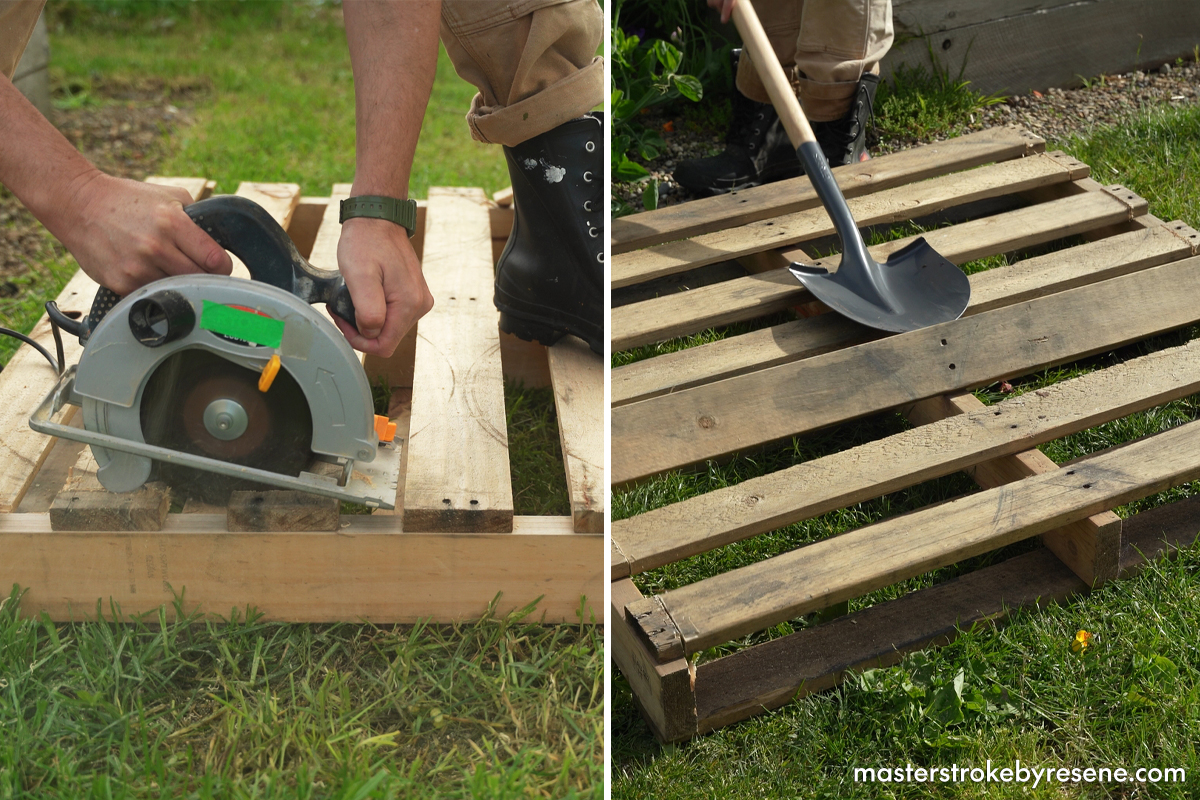
Cut along the inside of each outer stringer. Use a shovel to pry the deck boards from the middle stringer then remove all the nails.

2

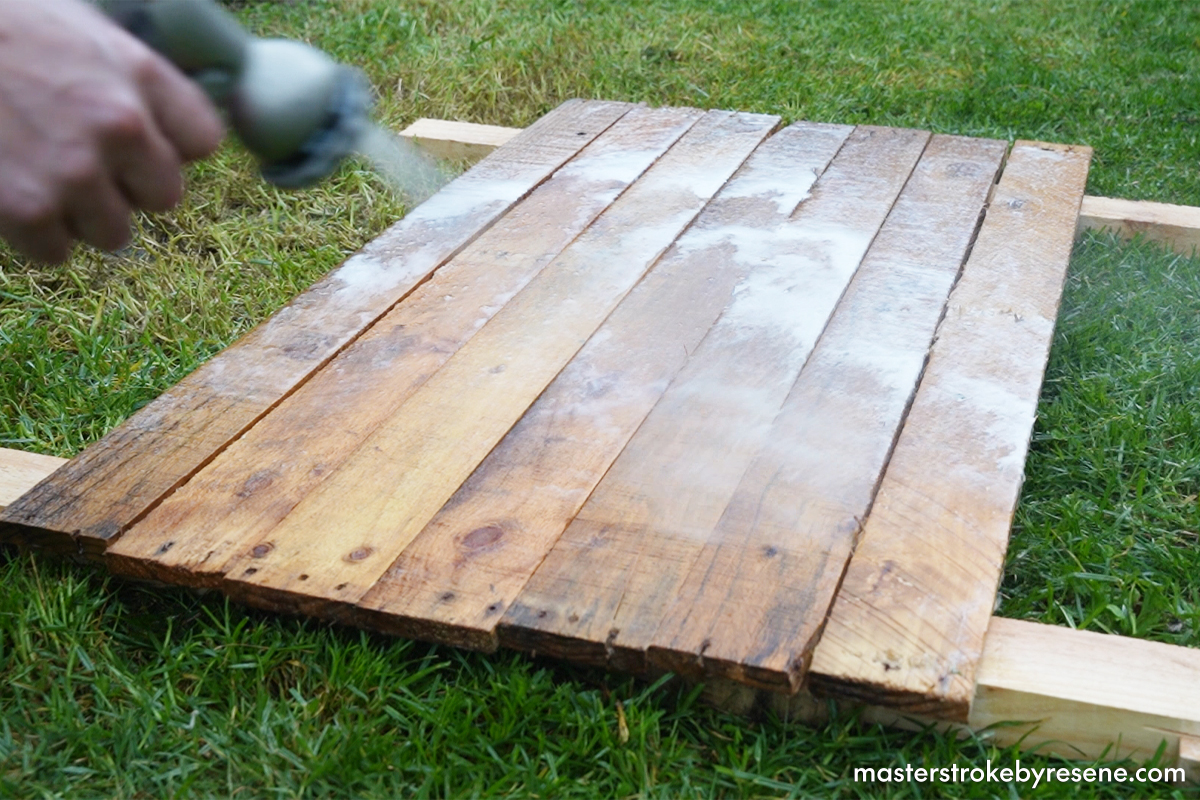
Clean the timber

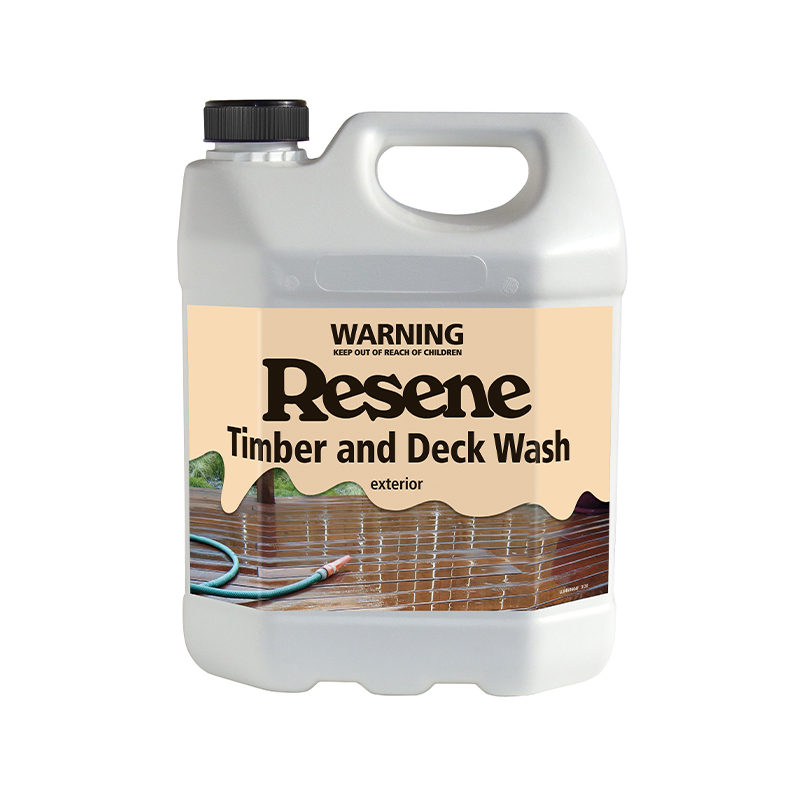
Apply Resene Timber and Deck Wash to the timber from the pallet and give it a good scrub as required. Rinse thoroughly with clean water.

3

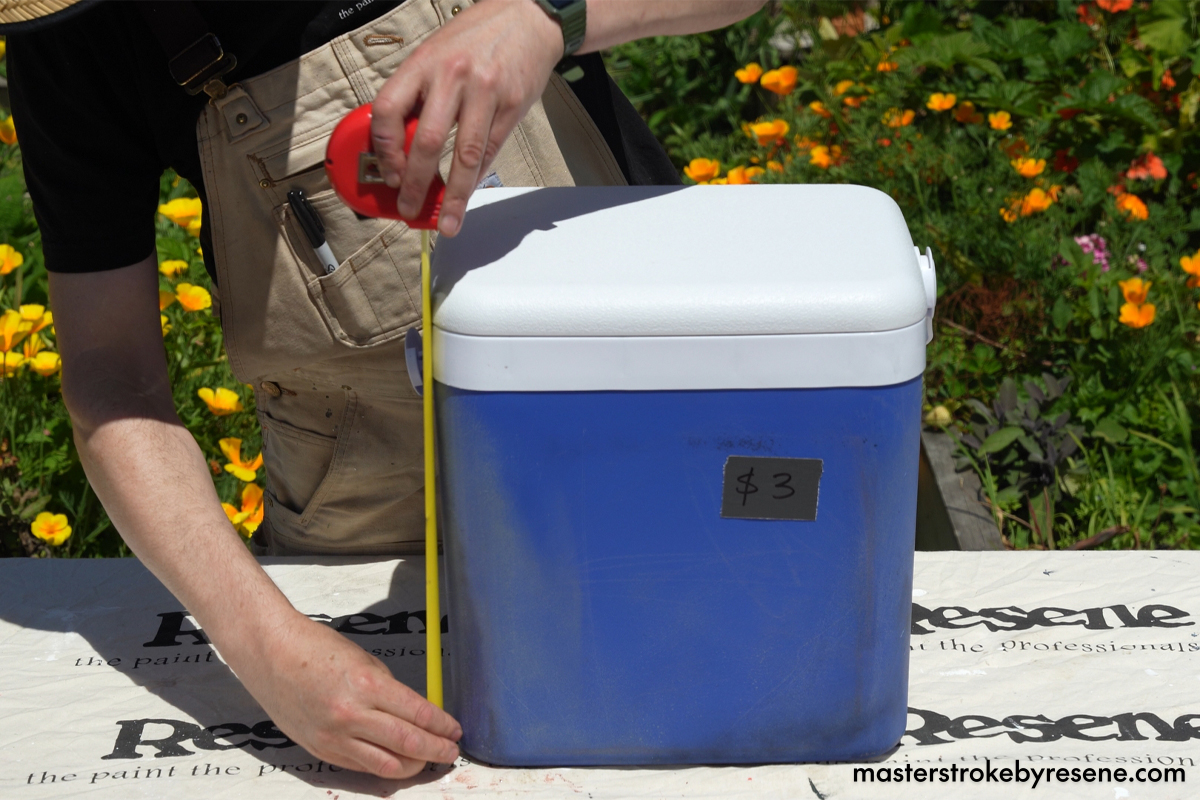
Measure your chilly bin

Precisely measure the outside of your chilly bin, then adjust the cut list above to suit the dimensions.

4

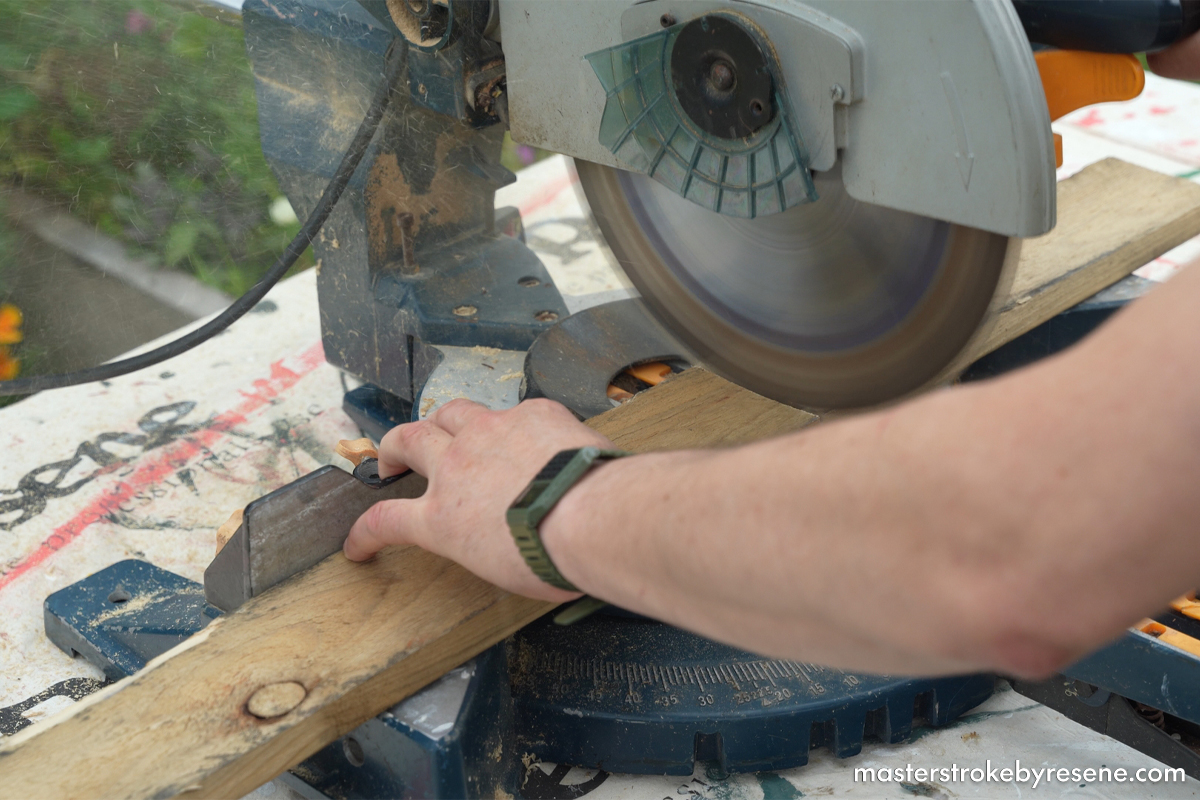
Cut the timber

Cut your pine and pallet boards to size according to the cut list above (adjust to suit).

5

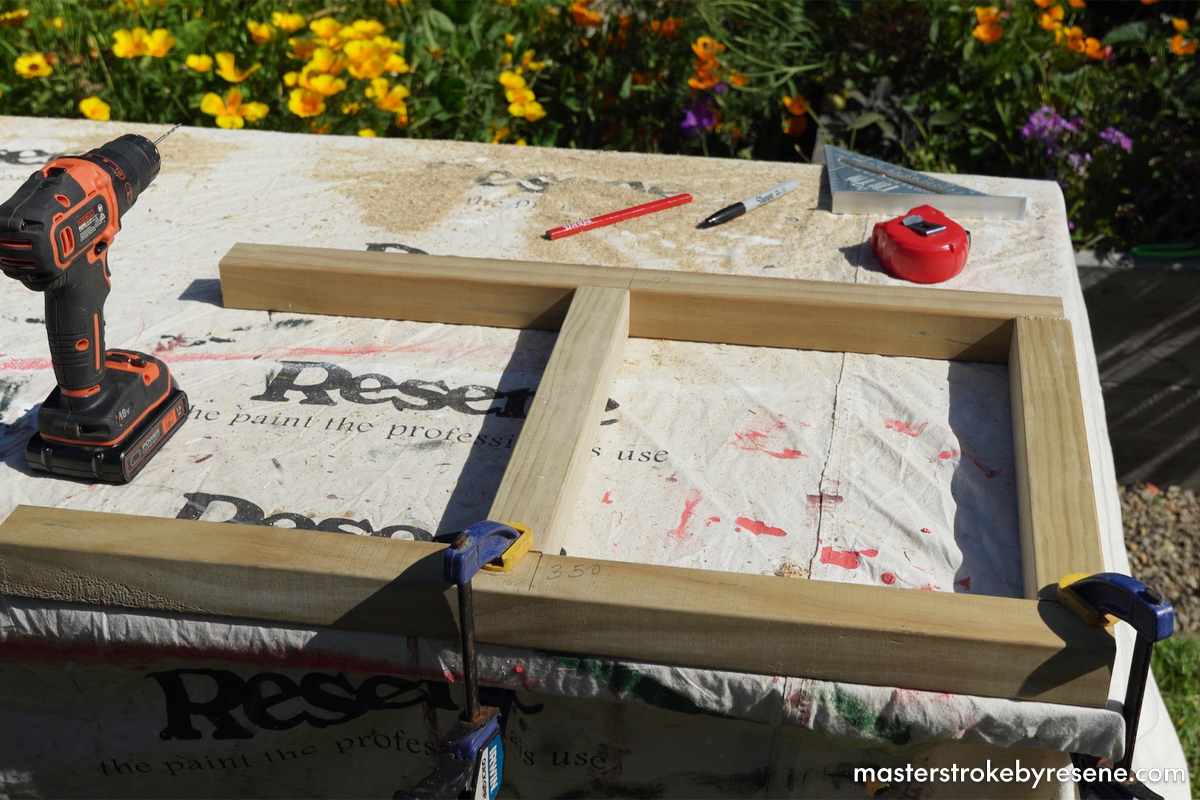
Create the frame

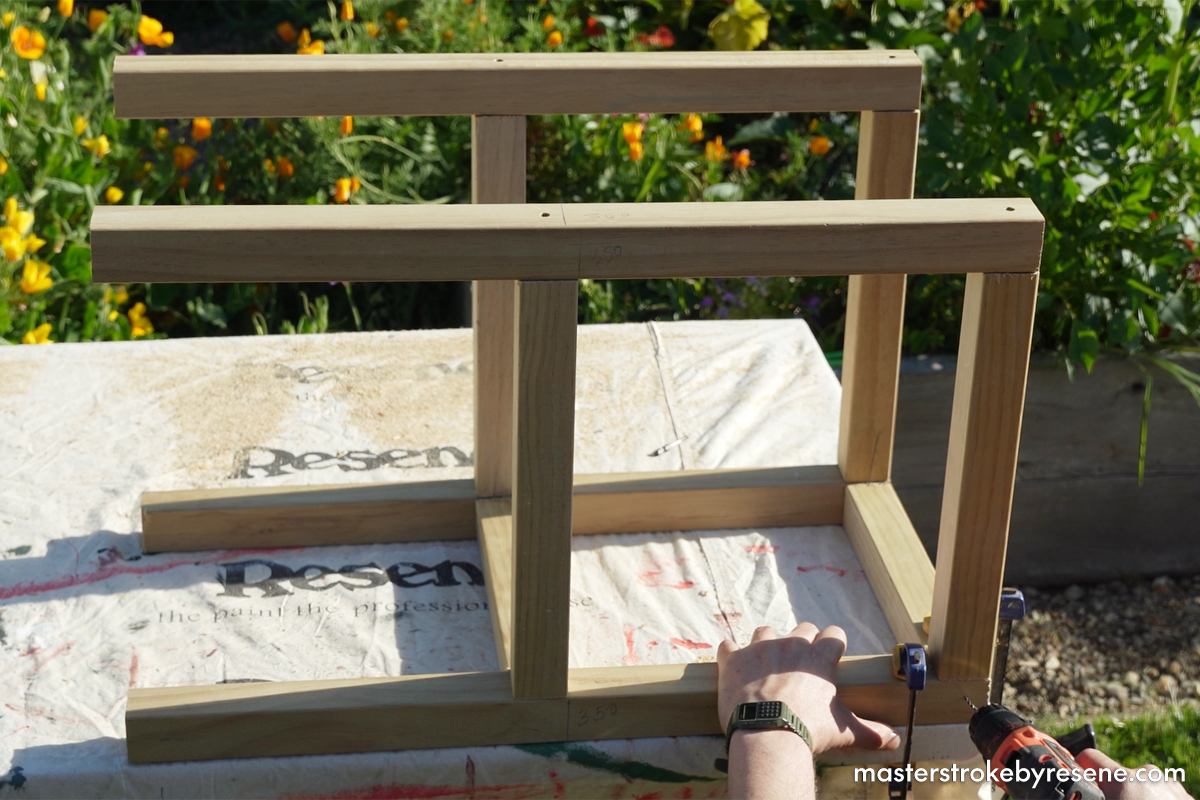
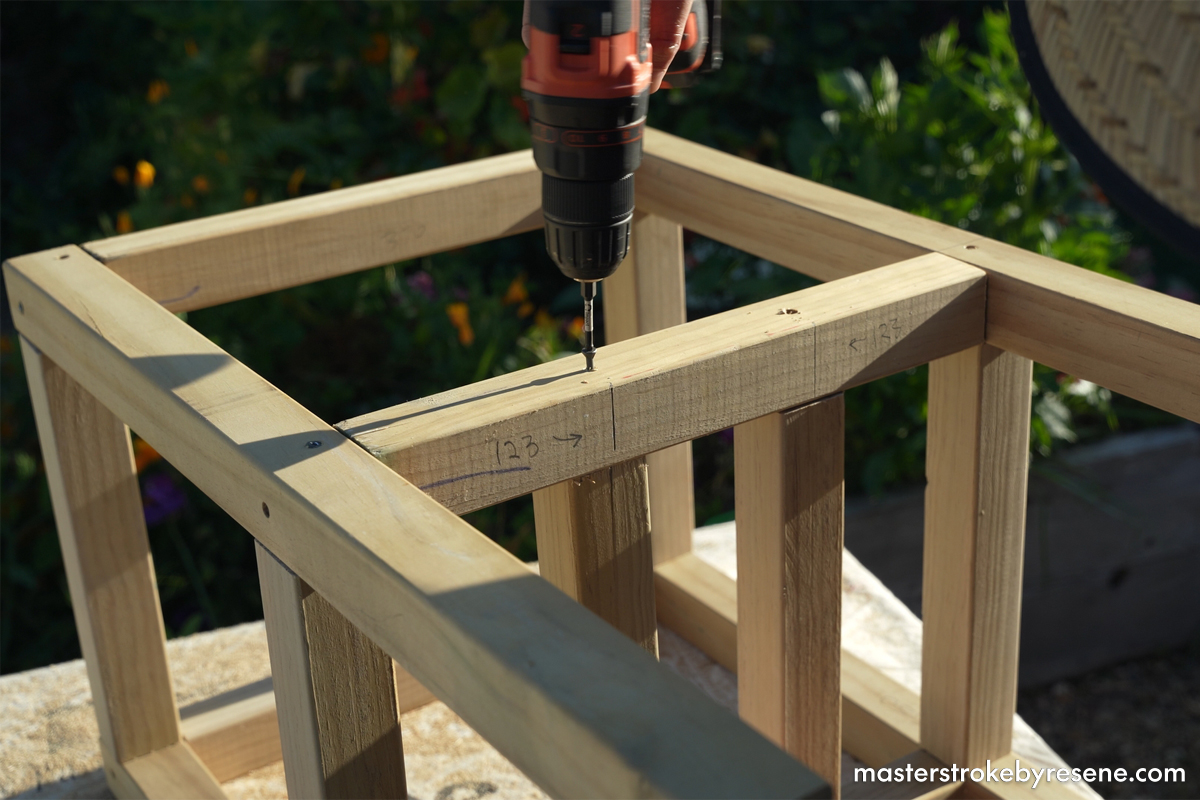
For the frame, attach two 380mm pine pieces between two 700mm pieces, securing with 70mm decking screws.

Repeat to create a second frame.

6

Join together

Join the two frames by attaching four 300mm pieces between them. 

7

Add a shelf

Attach two 300mm pieces across the middle section of the frame to create a shelf for the chilly bin to sit on.

8

Get cladding

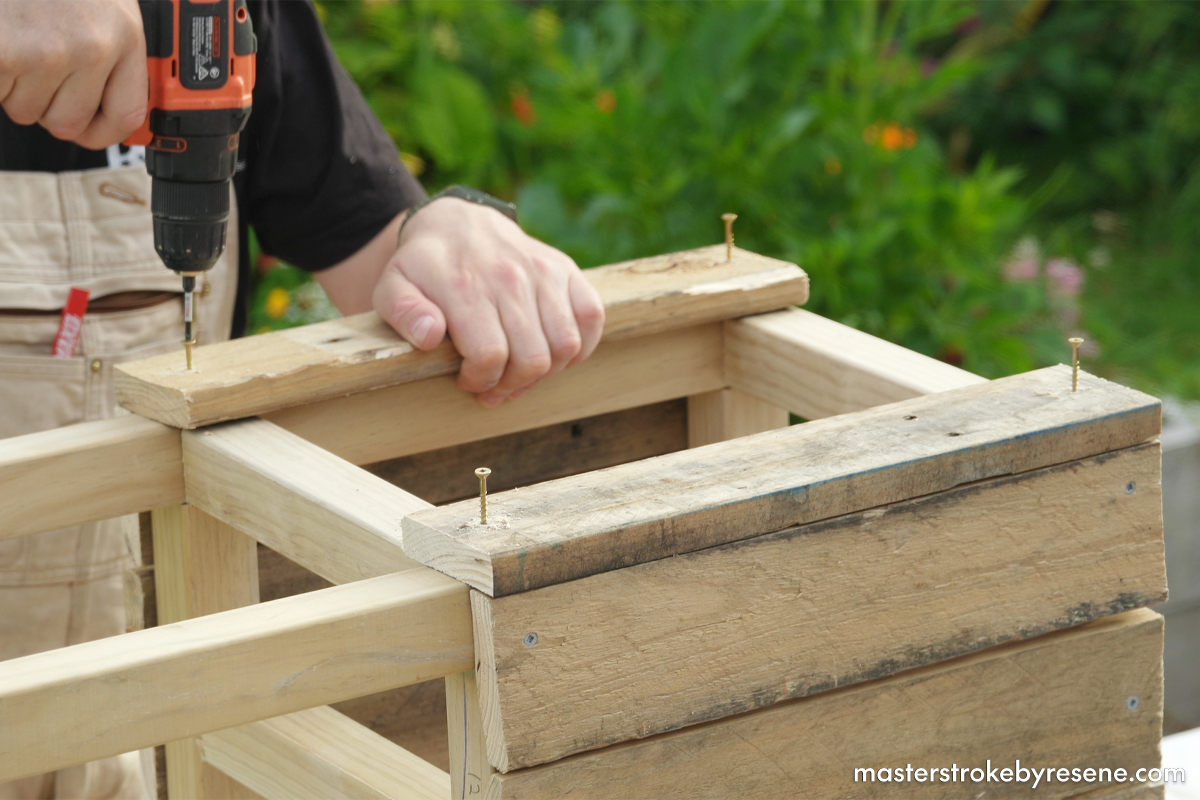
Place five 400mm pallet pieces across each side of the frame, starting at the ends – you might need to trim the middle board to make it fit snugly. Secure them with 40mm decking screws.

9

Top edges

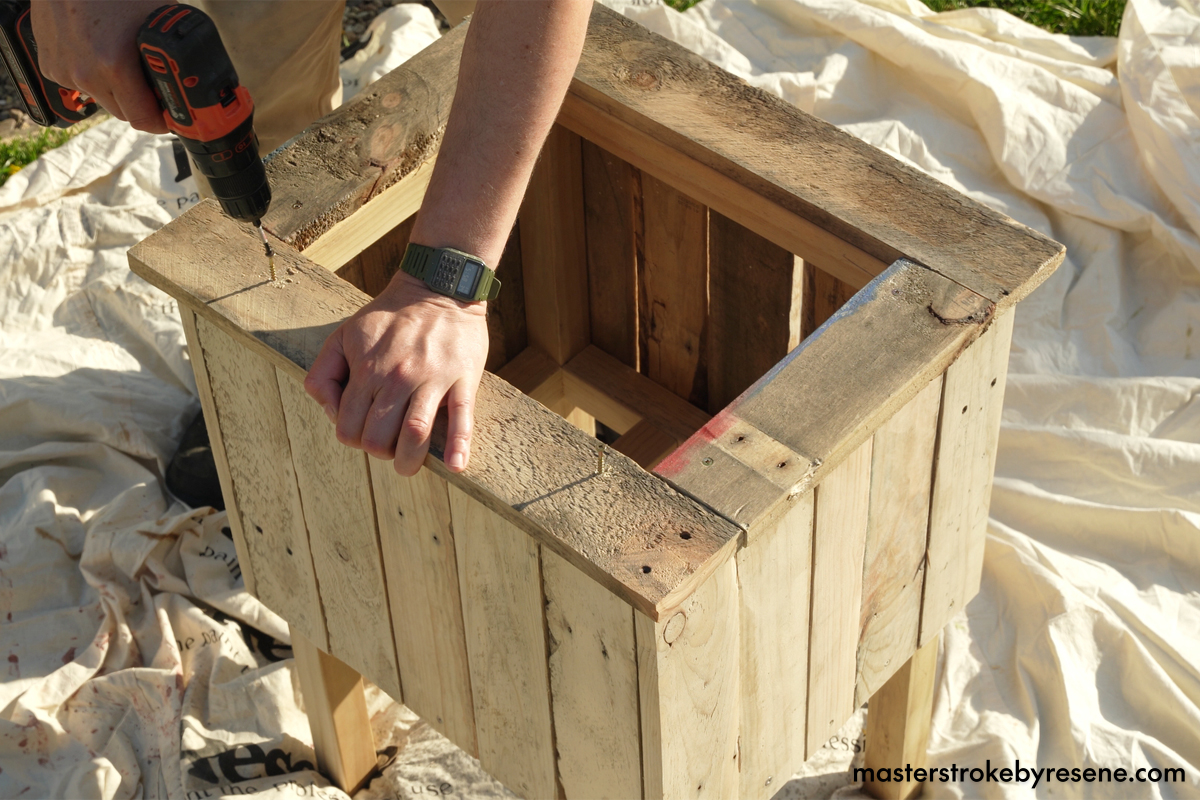
Attach two 580mm and two 300mm pallet pieces to the top. Then give everything a good sand and wipe off the sanding dust.

10

Build the lid

Insert your chilly bin, then cut the 420mm and one 300mm pallet pieces in half lengthways to make a frame. Screw the frame together with five 340mm pallet pieces across the top.   You may have to trim down the middle board to make them fit snug.

To secure the chilly bin lid to the wooden lid cover, fix it in place with four 70mm screws.

11

Prime time

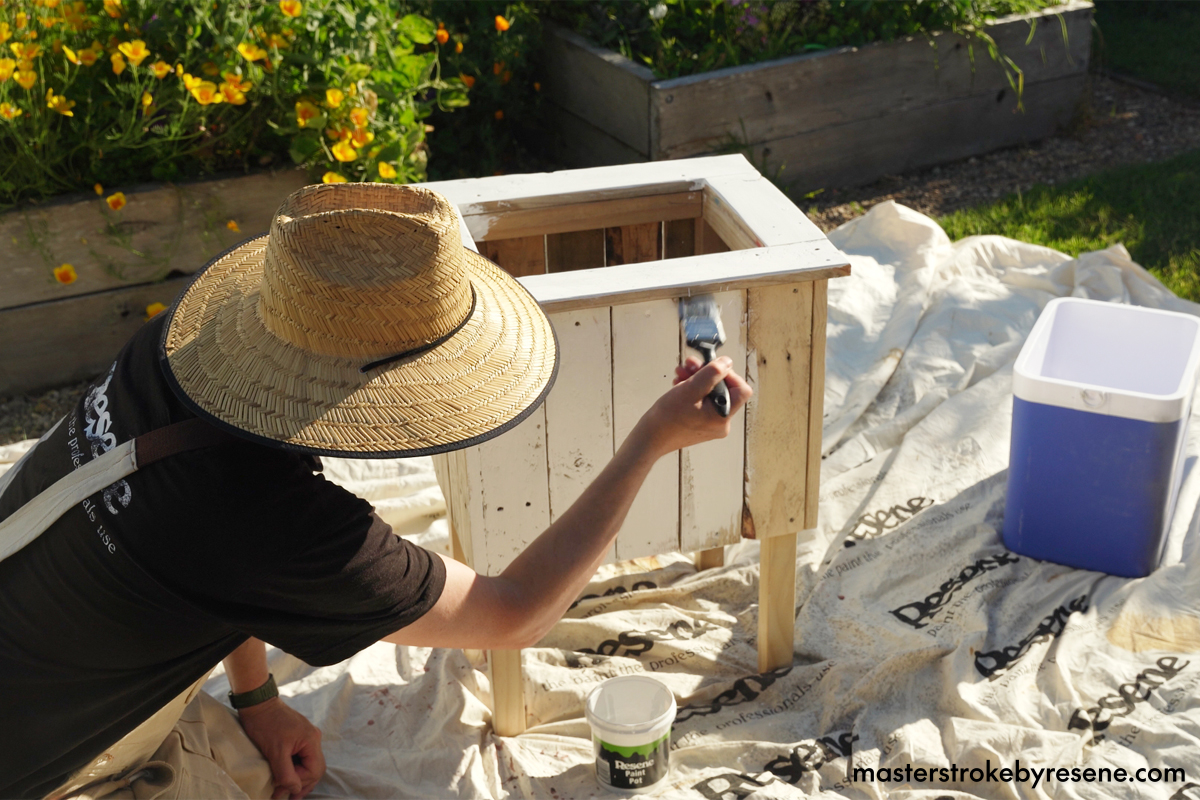
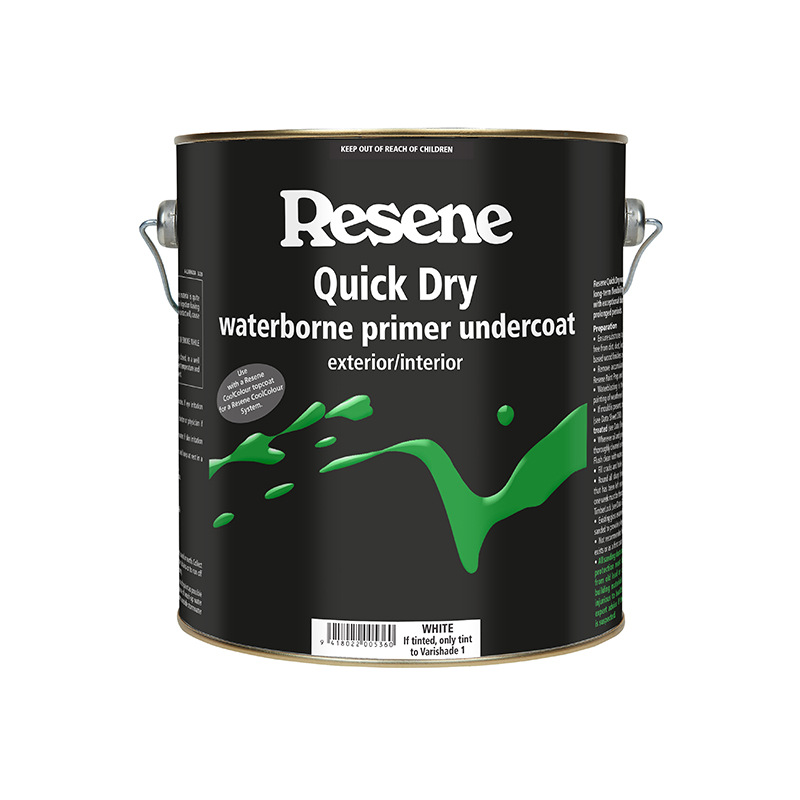
Apply one coat of Resene Quick Dry to the exterior surfaces.

12

First colour

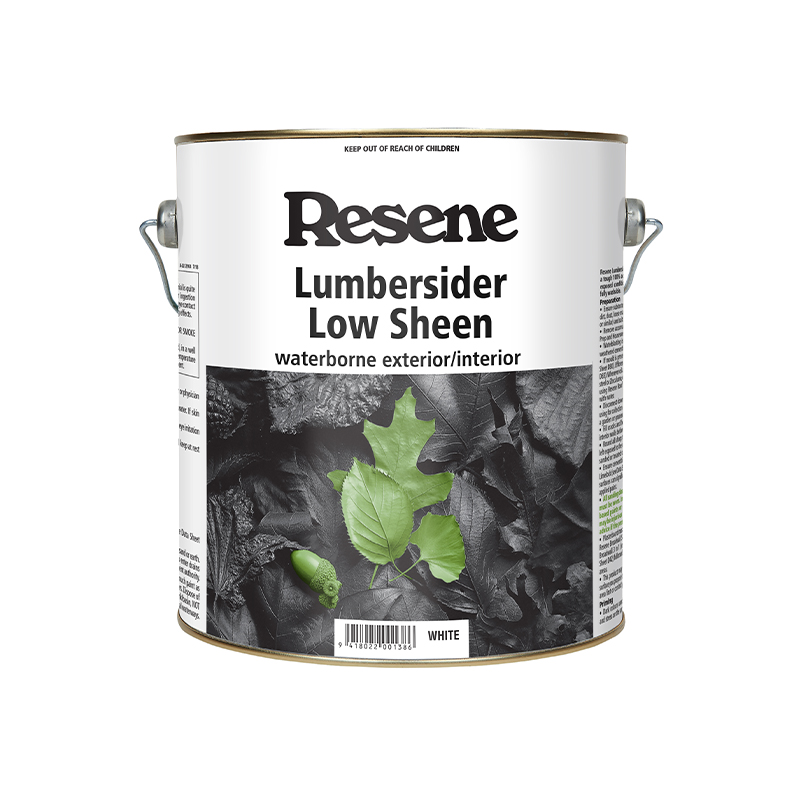
Apply two coats of Resene Lumbersider Low Sheen in your chosen Resene colour allowing dry time between coats. Jacob used Resene Mocha.

13

Aged look

For an aged effect, apply a thin coat of Resene Lumbersider Low Sheen in a contrasting colour and wait two hours for it to dry. Jacob used Resene Home Run.

14

Write it up

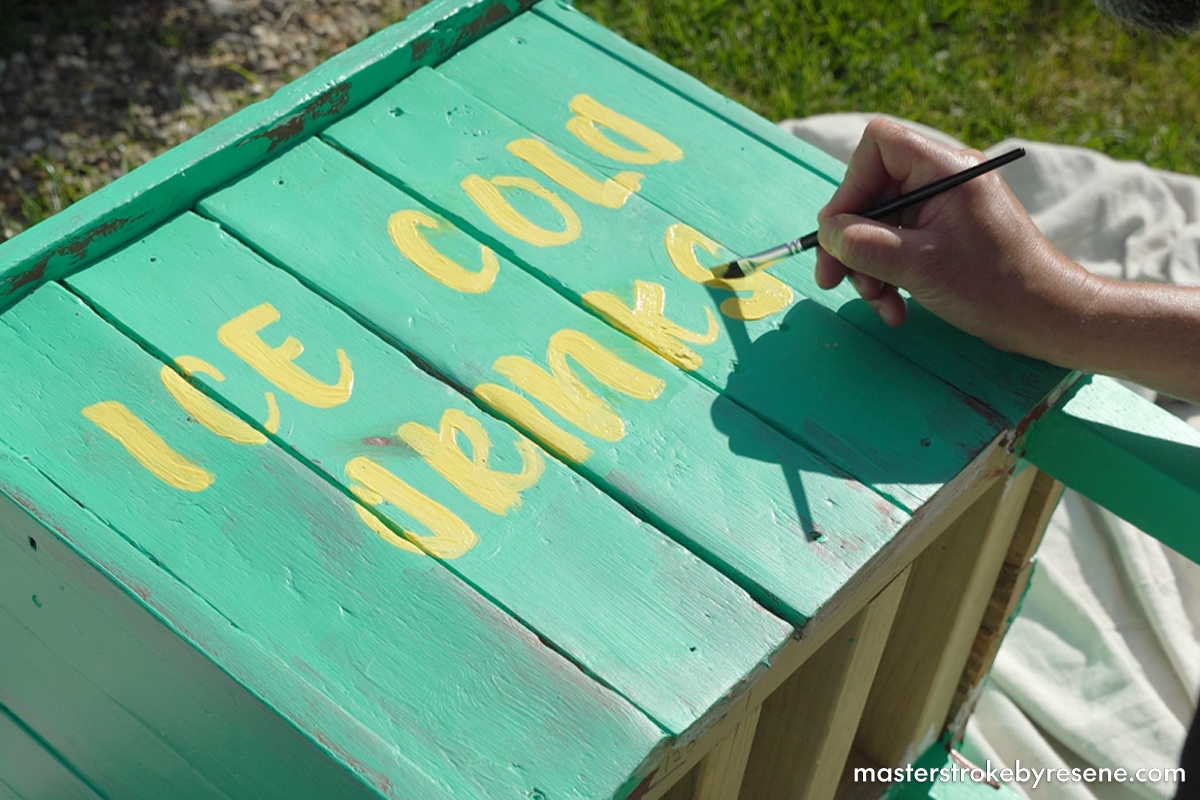
Add some old-school hand lettering in pencil first, then use an artist’s paintbrush and a Resene testpot to fill in the letters. Jacob used Resene Wild Thing.

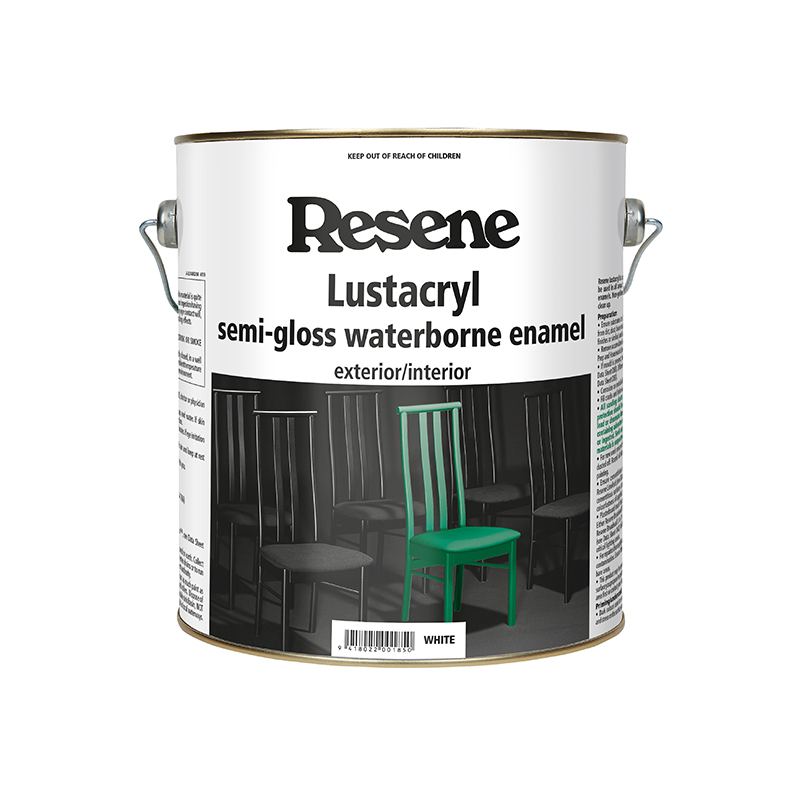
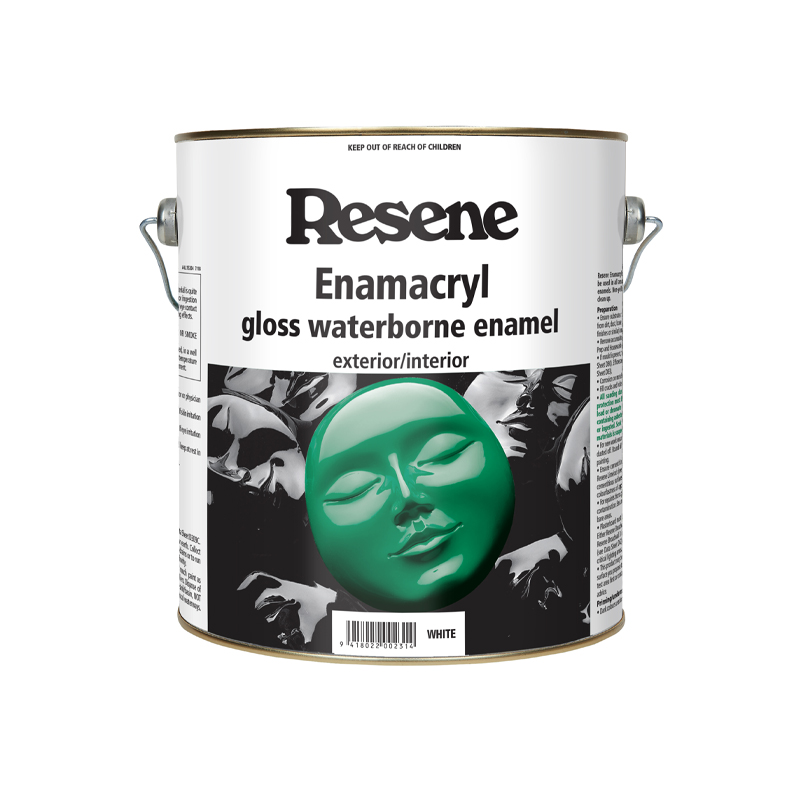
If you want the words to stand out more, use a glossier finish such as Resene Lustacryl semi-gloss or Resene Enamacryl gloss.

15

Attach the lid

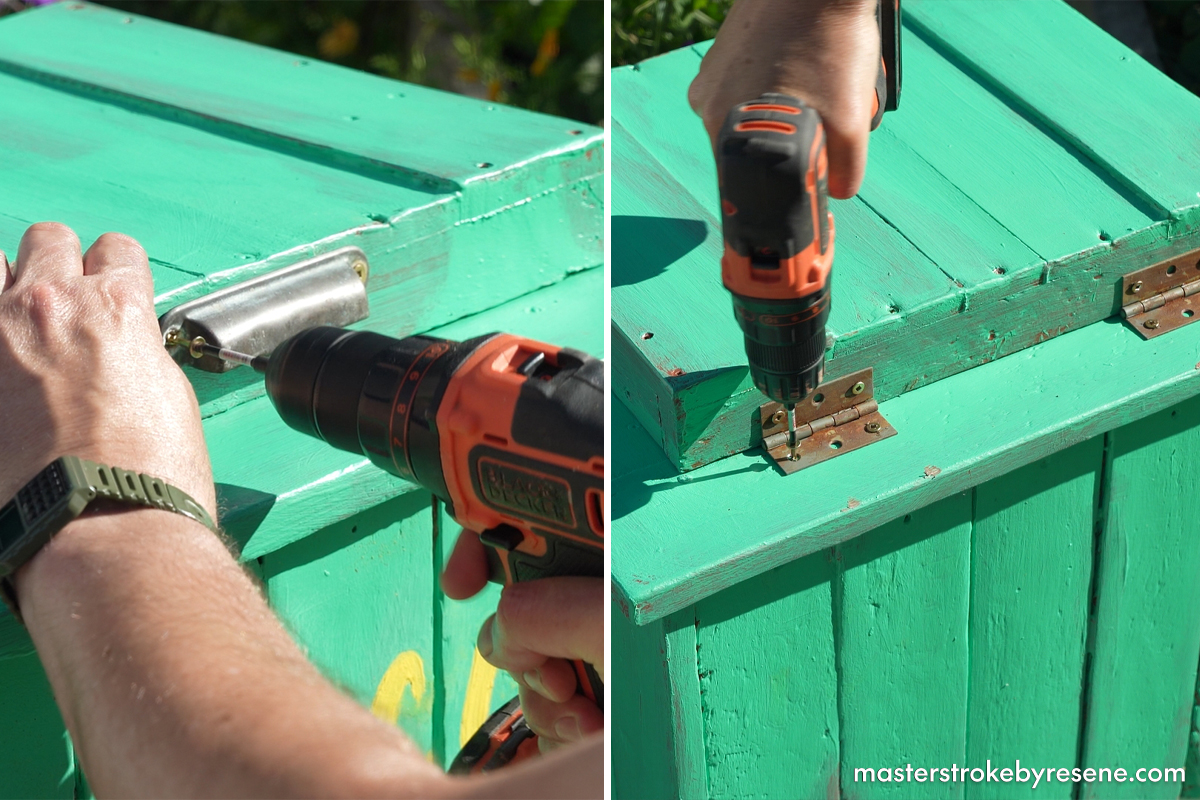
Line up your chosen handle and screw it in, then add two hinges to the lid so that it opens and closes with ease.

16

It's all in the details

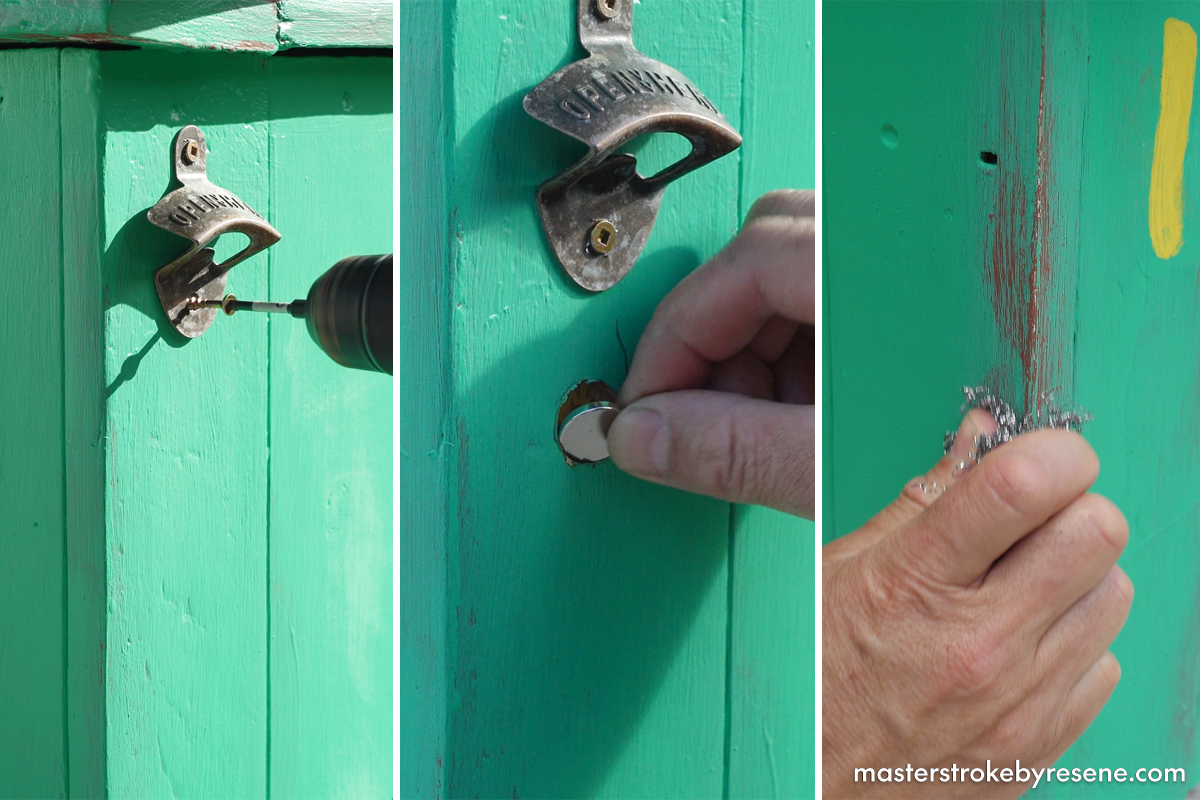
Screw on a bottle opener, and below it drill a hole large enough for a small round magnet. Glue the magnet in place, then attach a small tin to catch your bottlecaps.

Use steel wool to enhance the distressed effect even more and then you’re all done!

17

Cheers!

Time to reward yourself for all the hard work with an ice cold drink.

Deck finished with Resene Woodsman Wood Oil Stain in Resene Natural.

About MasterStroke by Resene
MasterStroke by Resene is here to help you master your paint and decorating DIY projects. Brush up on your skills with advice, tips and ideas from our trusted experts.

Check out the latest how-to videos on our YouTube channel.