DIY projects

Make a console table using terracotta pots

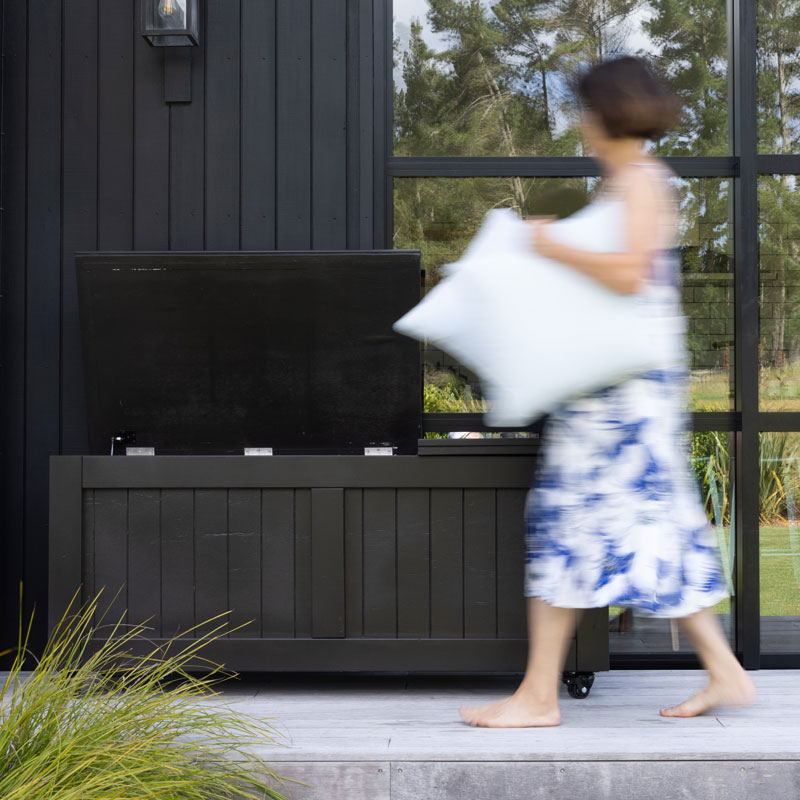
DIY enthusiast and avid thrift flipper Gretchen Lowe has a passion for breathing new life into old furniture and different materials and creating custom new pieces to adorn her interior spaces. 

“I love thrift flipping because it combines creativity and sustainability. It offers the thrill of finding unique items, the satisfaction of transforming them, and the joy of giving old things new life, all while being eco-friendly and budget-conscious.” 

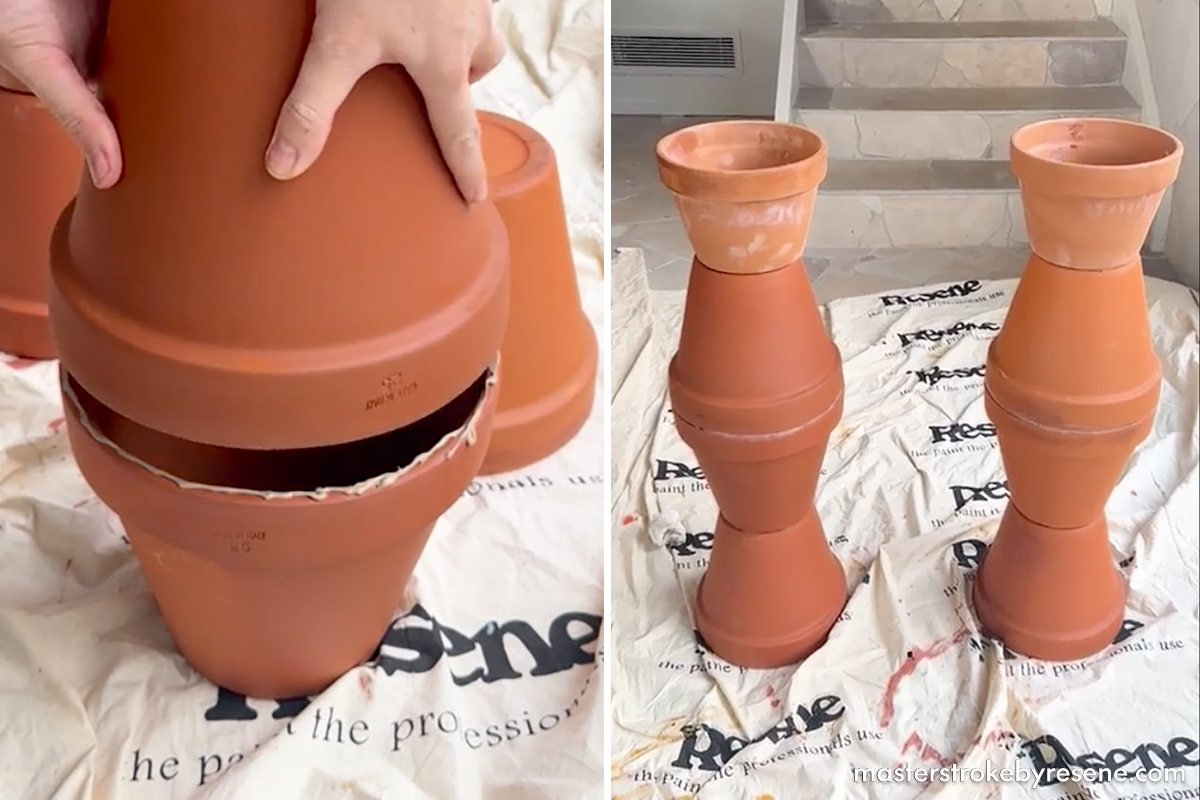
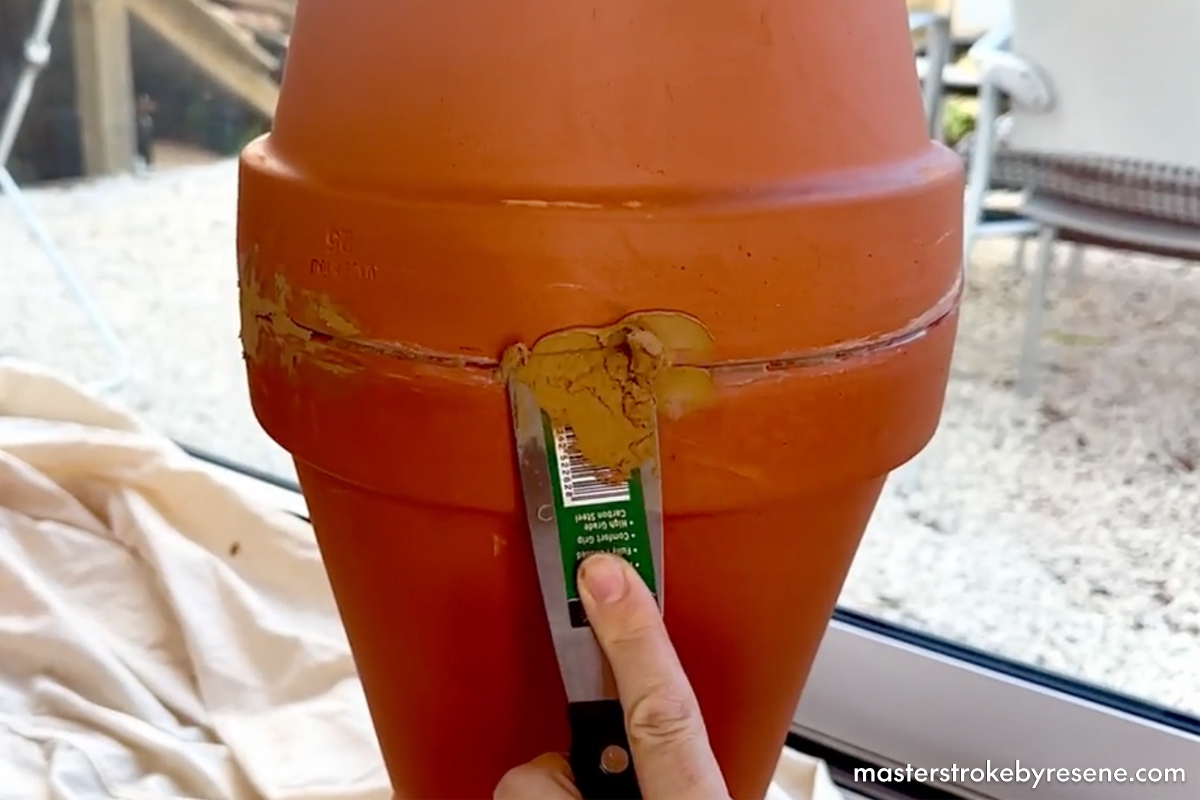
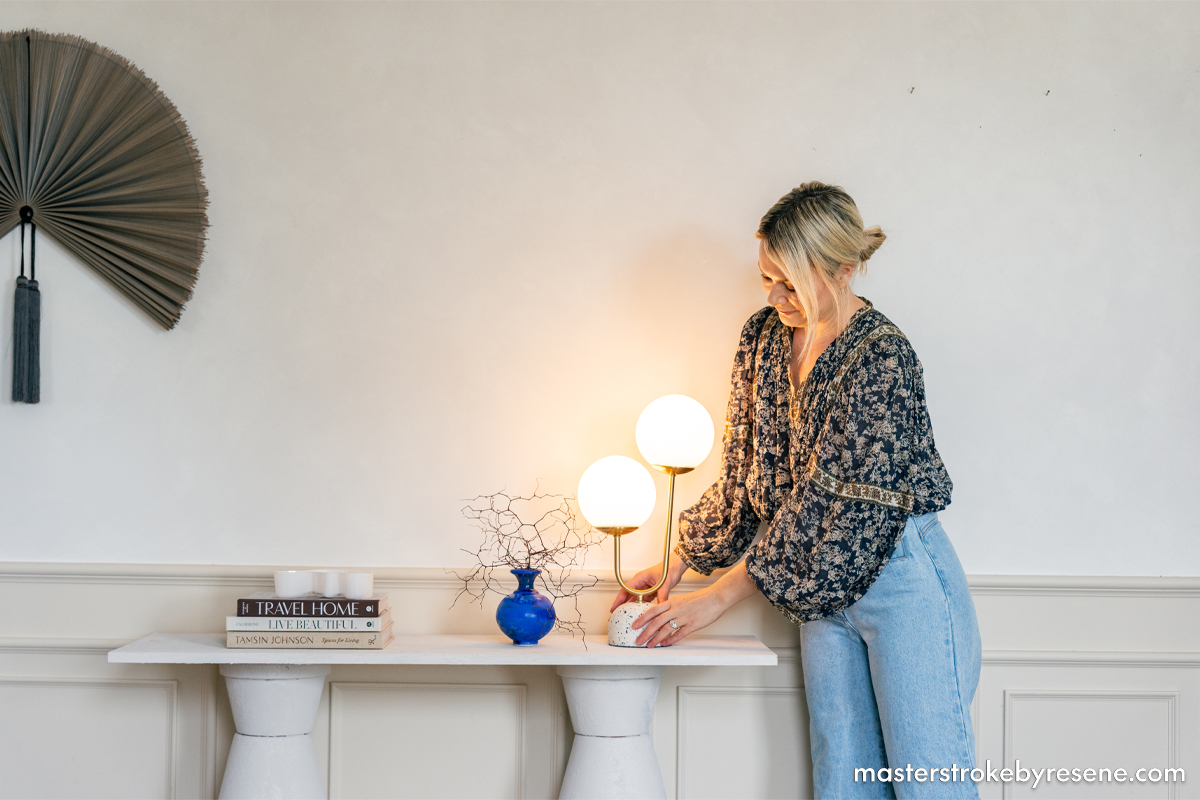
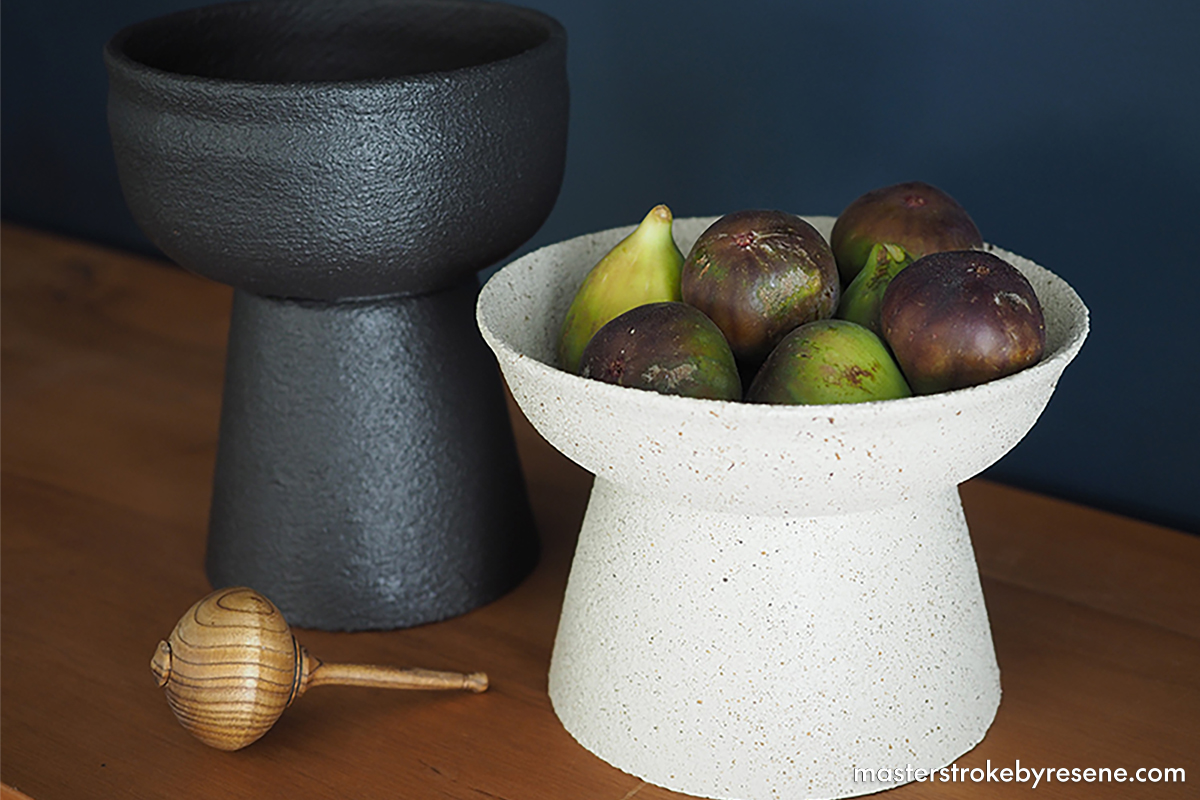
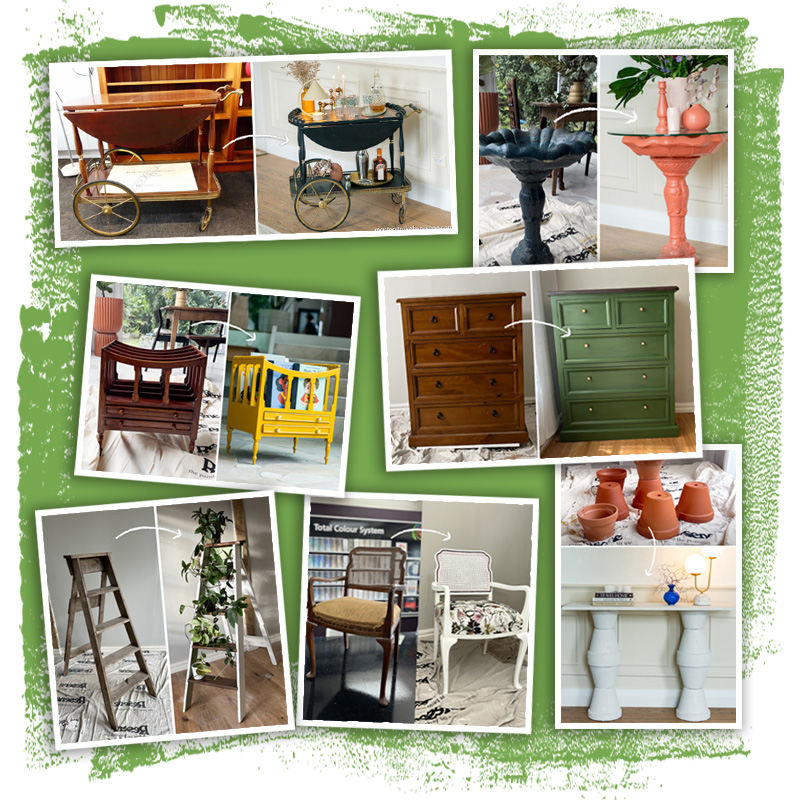
In this MasterStroke flip, Gretchen shows us how to make a console table from terracotta pots, a piece of wood and Resene Sandtex Mediterranean effect. “I wanted to create something with a Greek or Italian vibe, and I love the versatility of a console in terms of size and displaying all my beautiful objects,” she explains. 

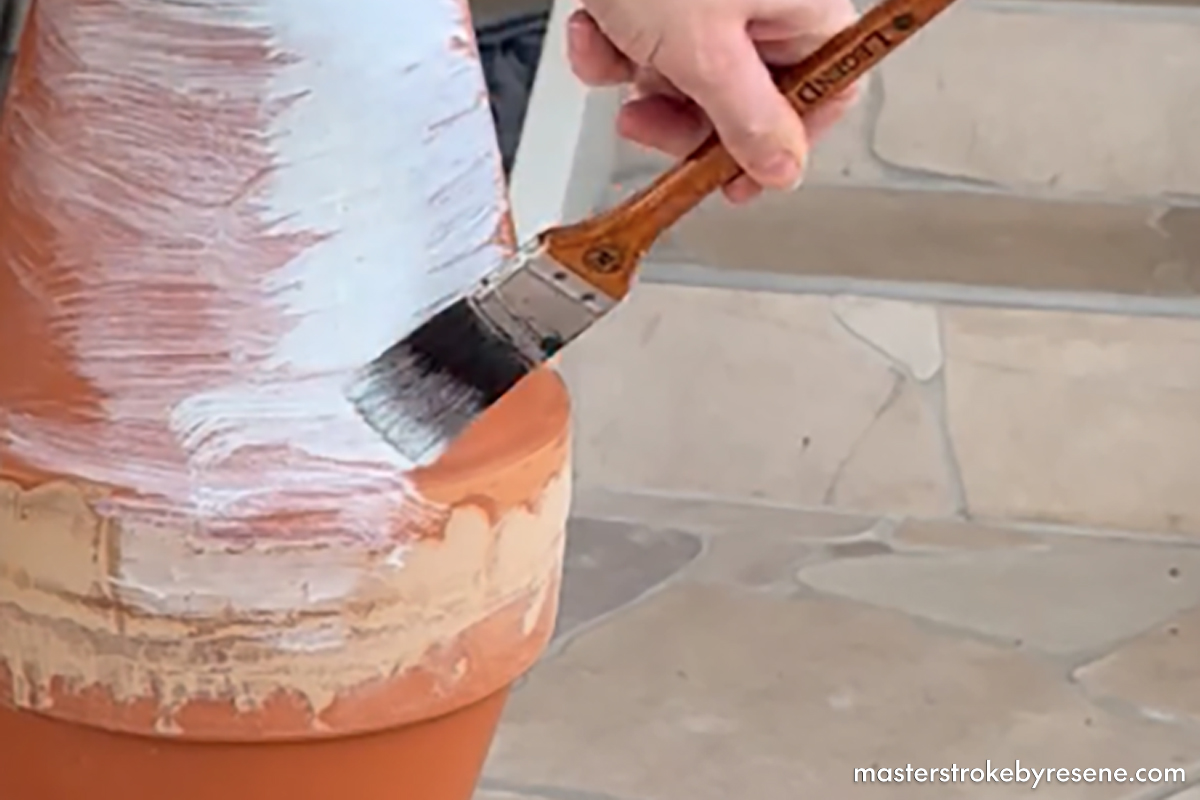
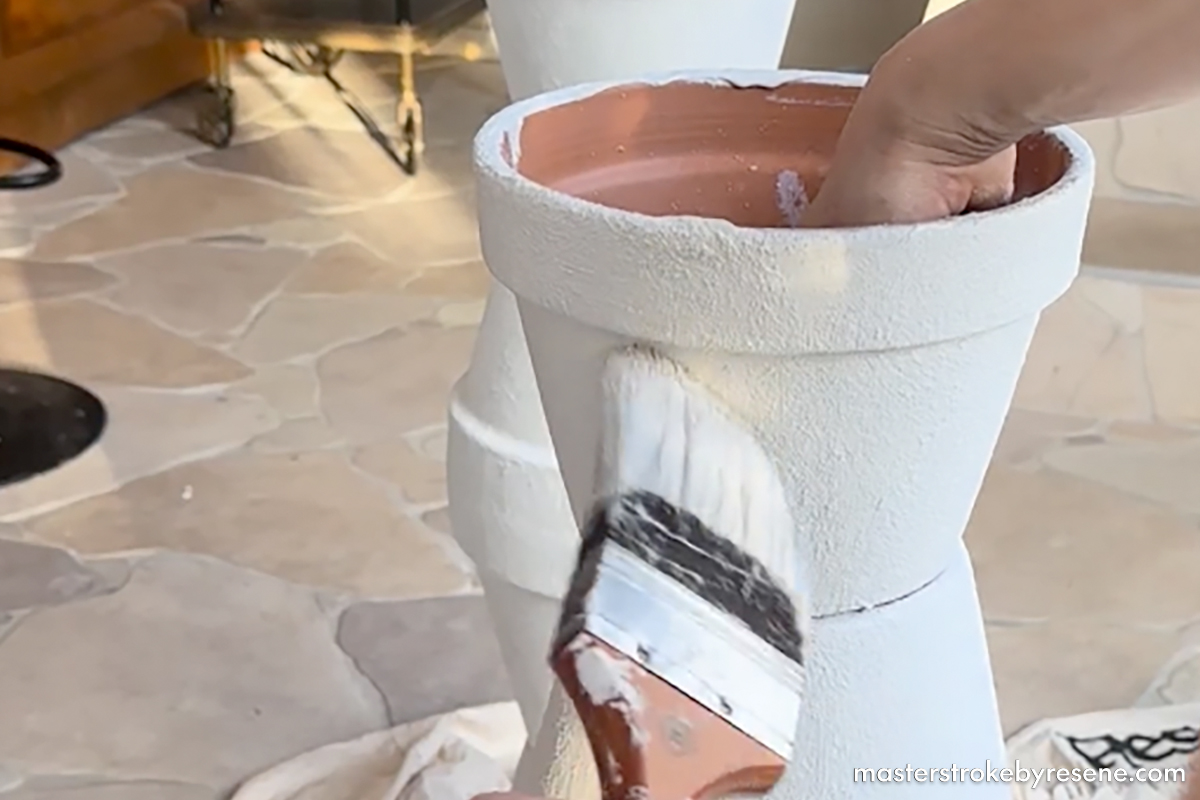
Resene Sandtex is a unique product that creates a textured finish, bringing out the depth of your chosen colour and turning your surface into a true statement piece. It provides a tough textured acrylic finish that beautifies and protects and also has the ability to recreate the look and feel of natural sandstone. 

Gretchen loves the ease and versatility of Resene Sandtex. “It’s just such a simple, straightforward product. It gives a beautiful rough texture and with almost a patina finish.” She uses it in this project to not only paint the pots, but also the timber panel that’s used as the top of the table. 

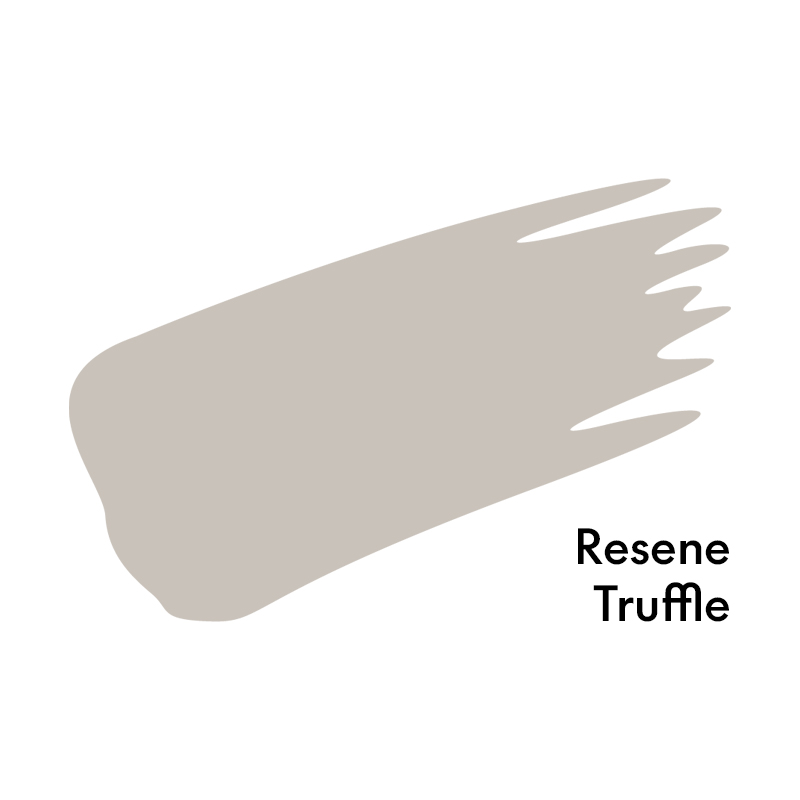
She’s chosen to have her Resene Sandtex tinted to Resene Truffle to suit the aesthetic of her home, but you can have yours tinted to a wide range of other Resene colours to suit your project. 

Gretchen’s best advice to DIYers looking to experiment? “Always try the colour first on a sheet of card. But Resene Sandtex is pretty forgiving so you can literally slap it on and get a wonderful result.”

Follow along below to create your own custom console table.

1

Create the columns

If your pots are older pots, make sure you clean them well first and allow to dry. Treat any moss and mould with Resene Moss & Mould Killer. 

Place a Resene drop cloth to protect the surface of your work area. 

Use construction adhesive to glue the pots together, joining two large pots together from the opening, one large pot upended for the base, then a medium one on the top. Wait for the adhesive to dry. 

Repeat so you have two columns.

2

Fill the gaps

Use a putty knife to fill the gaps where the pots meet with gap filler and wait for it to dry. This will create a more seamless, professional looking finish to your structure.

Once dry, sand smooth and wipe away sanding dust.

3

Seal

Use a paintbrush to apply one coat of Resene Waterborne Sureseal pigmented sealer to the pots and timber and leave to dry.

4

Add some texture

Apply two coats of Resene Sandtex Mediterranean effect to the pots and the timber. Gretchen used the colour Resene Truffle. 

Use a large paintbrush and be as haphazard as you like – using different strokes and pressure will enhance the look of the finished result and allow the texture to come through. Allow to dry between coats.

5

Top it off

Place the timber panel on top of the pot columns and secure with construction adhesive.

Your console table is ready to display your favourite items.

Wall painted in a subtle effects finish using Resene Alabaster, Resene Sea Fog and Resene Double Sea Fog and panelling in Resene Eighth Canterbury Clay.

Other ideas for using Resene Sandtex

Update your fireplace tiles 

This fireplace’s dated tiles were revitalised with Resene Sandtex Mediterranean effect that was painted in Resene Cabbage Pont, an on-trend hue that lifted and modernised the space. The process was slightly different for this project, with untinted Resene Sandtex painted onto the tiles first, before being topcoated with Resene SpaceCote Low Sheen.  

To find out more about how this project was done, click here.

Wall, tiles and hearth painted in Resene Sandtex and topcoated in Resene Cabbage Pont, mantelpiece in Resene Colorwood Whitewash, vases in Resene Quarter Parchment, Resene Biscotti and Resene Alabaster and picture frame in Resene Half Black White.

Create DIY footed bowls 

Four old bowls were transformed into these chic fruit holders by using up some leftover untinted Resene Sandtex Mediterranean effect. This was painted on first, then colour was applied using an array of Resene tetspots. 

For step-by-step instructions so you can create these footed bowls, click here.

Top tip: Use Resene Sandtex to help hide imperfections in less than perfect surfaces. The texture and the rough brushed-on look will help to fill in small dents in the surface.

For more effects finishes ideas, see the Resene Paint Effects ideas online.

DIY footed bowls are painted in Resene Bokara Grey, Resene Double Parchment, Resene Rebel and Resene Cafe Royale with a Resene Sandtex base. The wall is painted in Resene Dark Knight.

Colours mentioned in this article

About MasterStroke by Resene
MasterStroke by Resene is here to help you master your paint and decorating DIY projects. Brush up on your skills with advice, tips and ideas from our trusted experts.

Check out the latest how-to videos on our YouTube channel.