DIY projects

How to make your own shaker doors

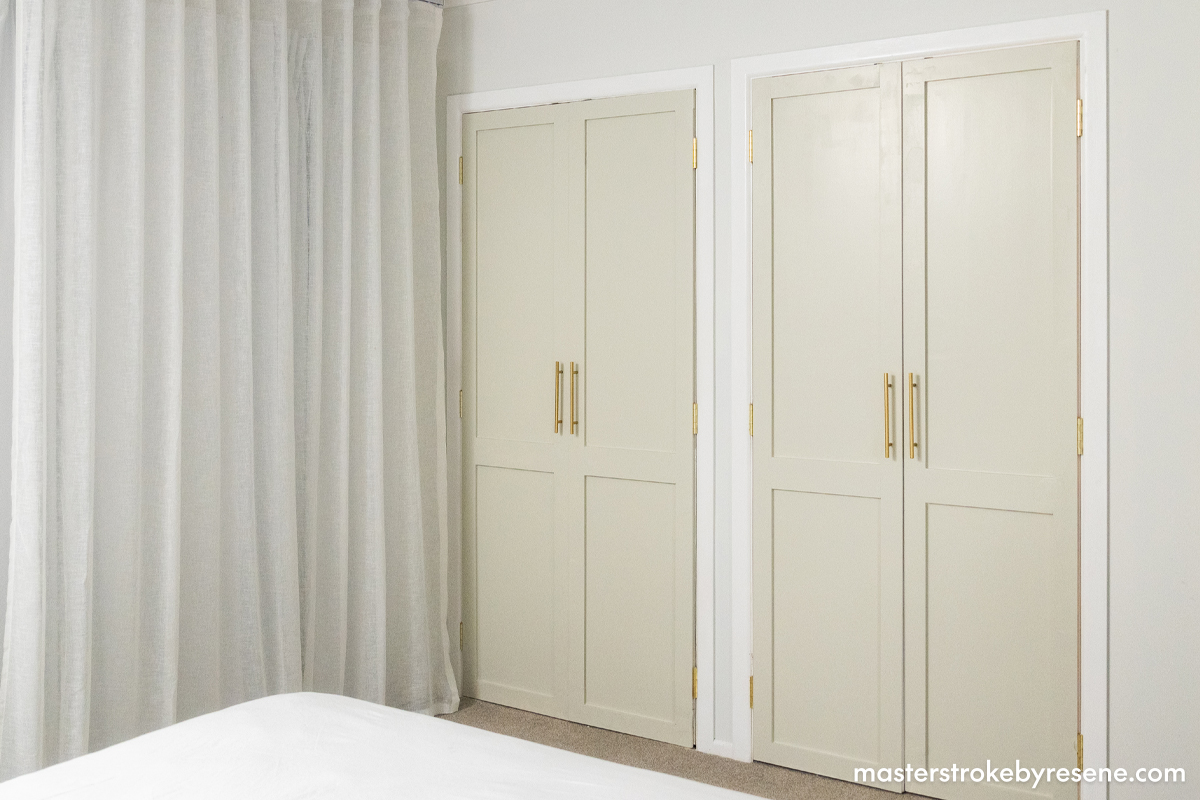
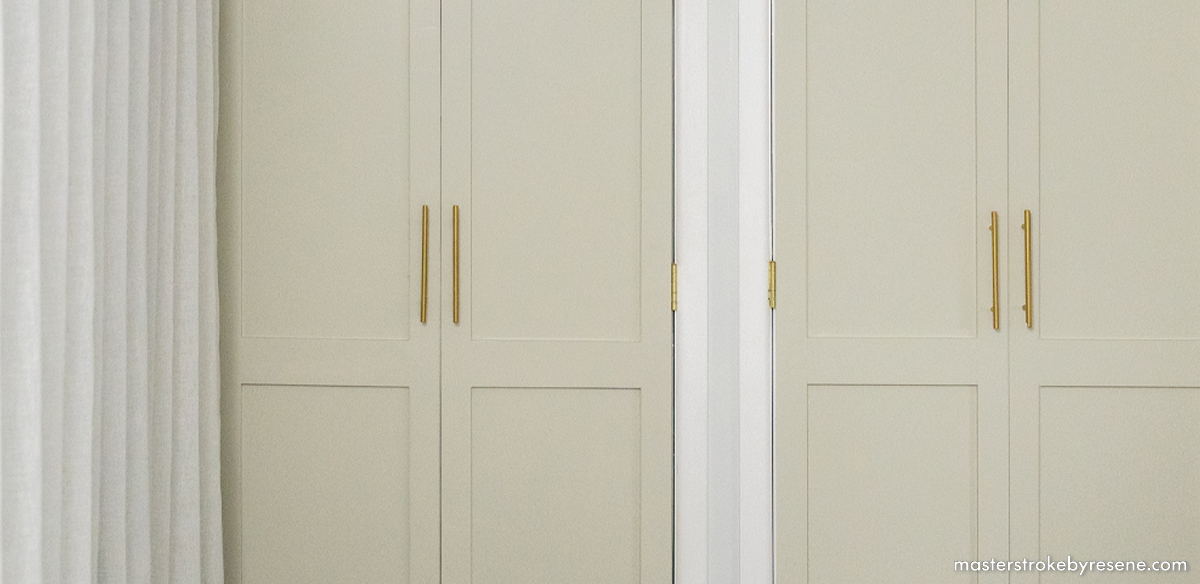
Take your old wardrobe doors from drab to unbelievably fab with a little DIY and Resene paint. For the design-savvy among us, shaker-style doors have been a long-time inspiration thanks to their crisp lines and subtle craftsmanship. All it takes is a few carefully placed panels to transform a simple timber door into a statement piece and functional work of art. 

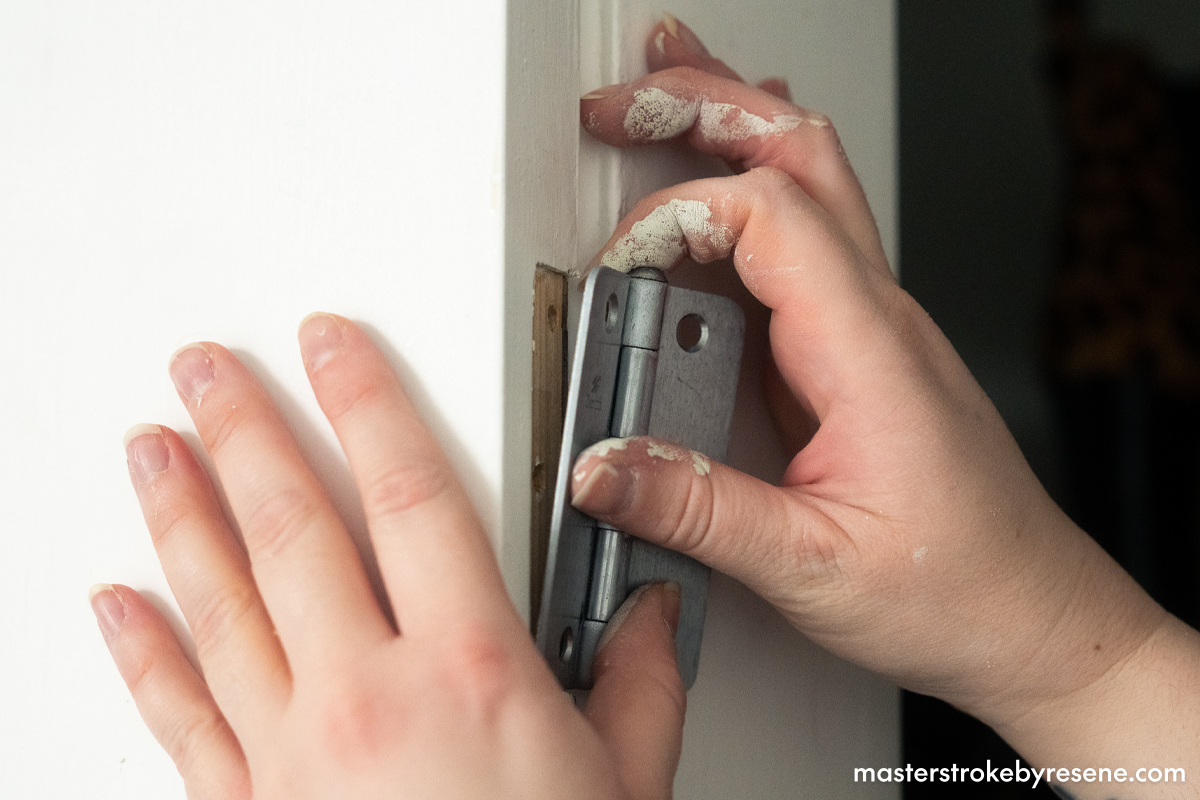
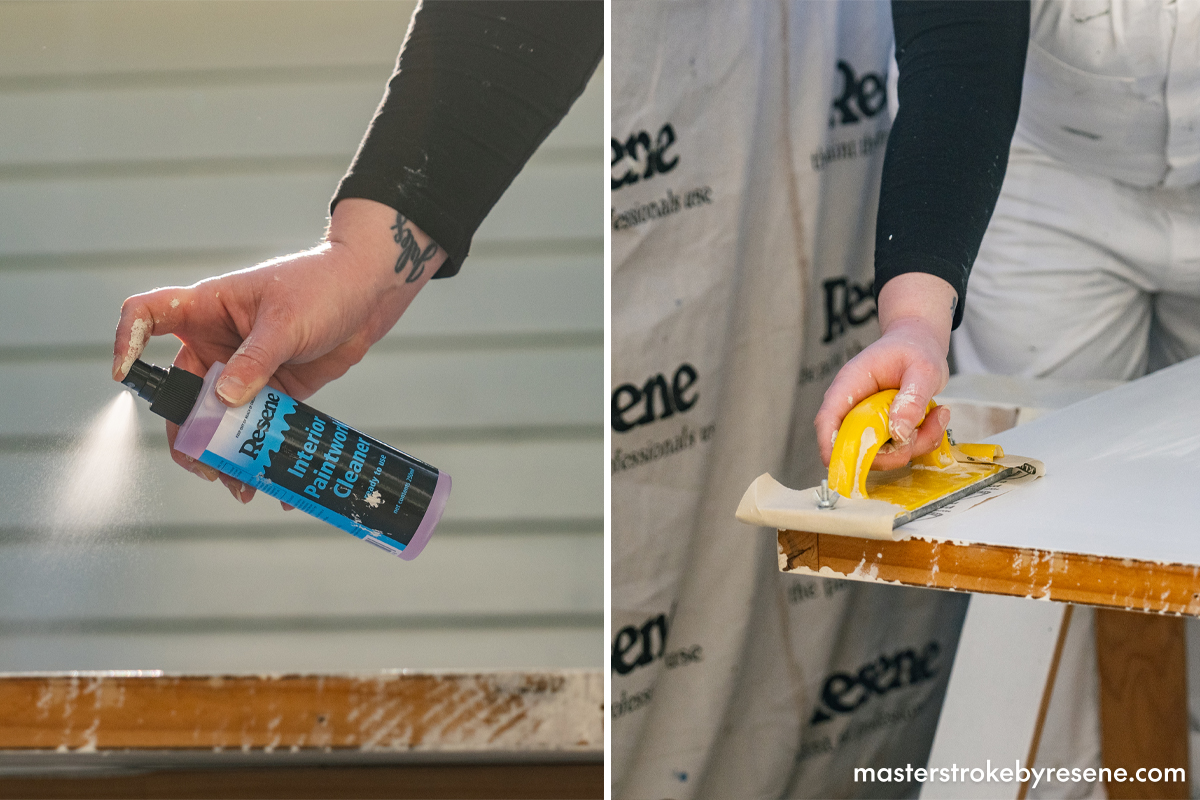
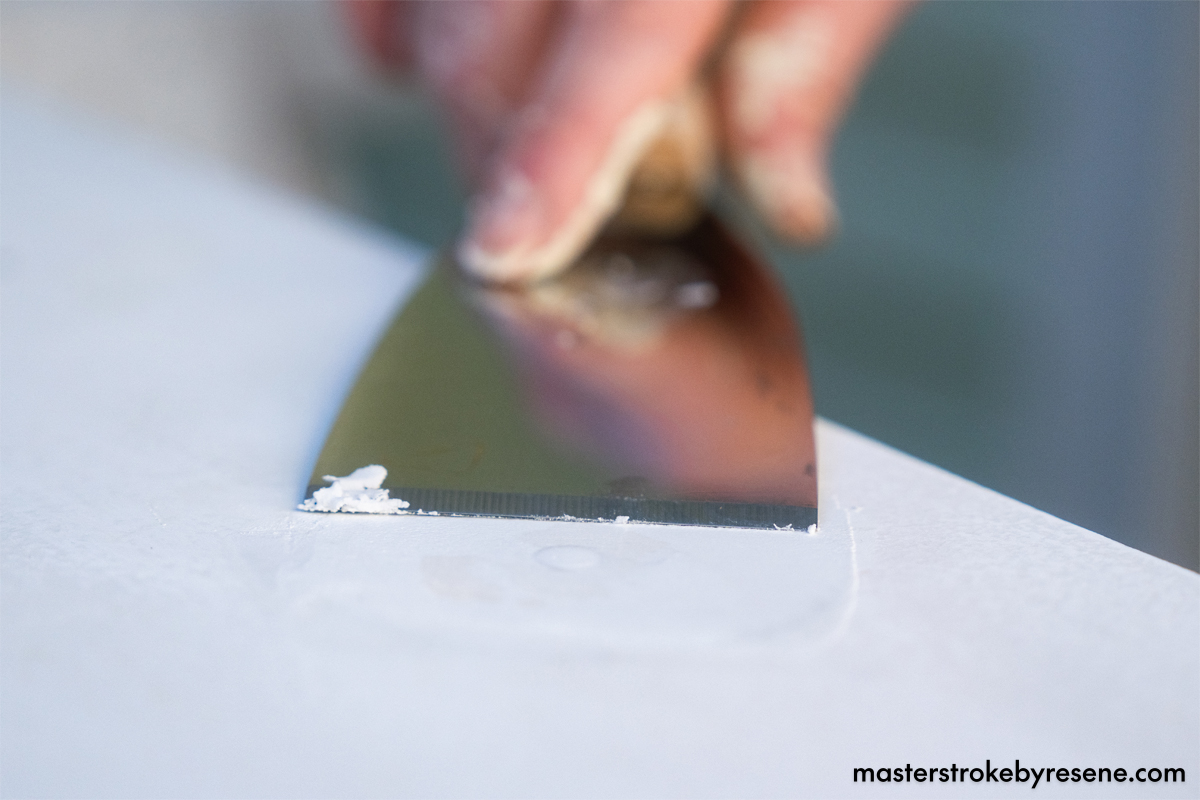
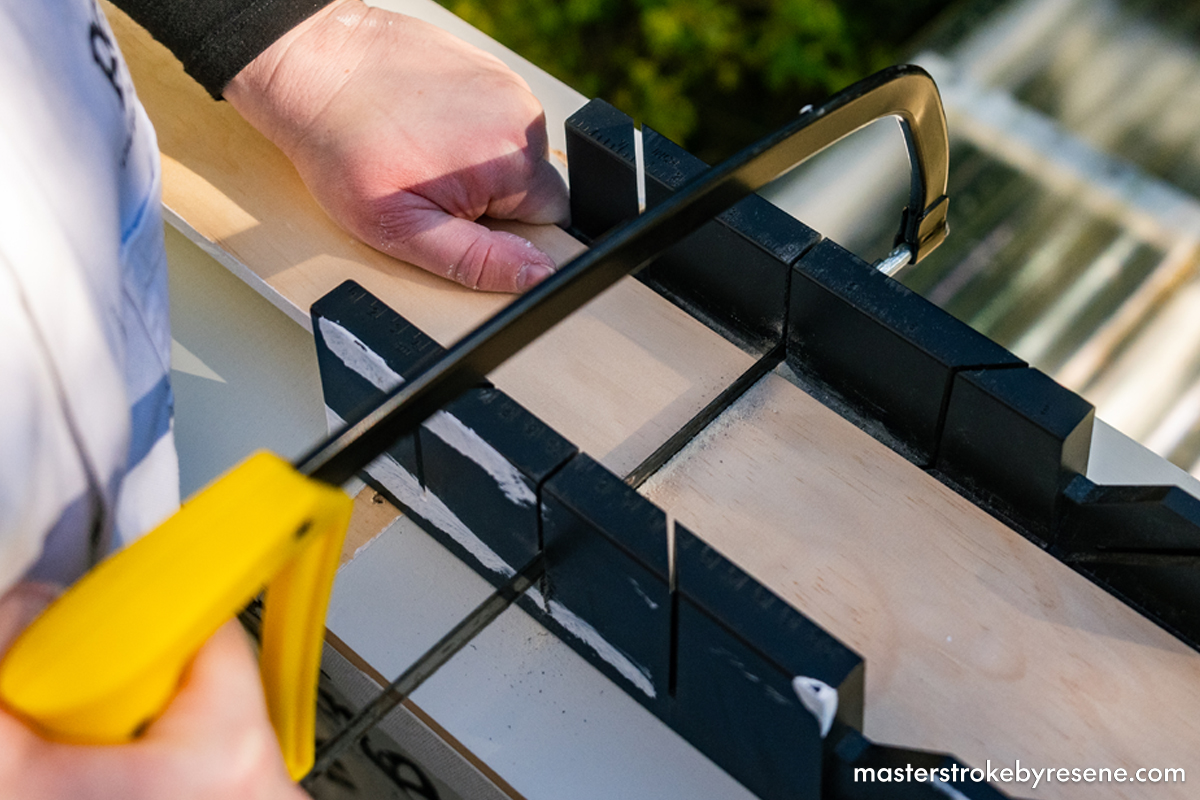
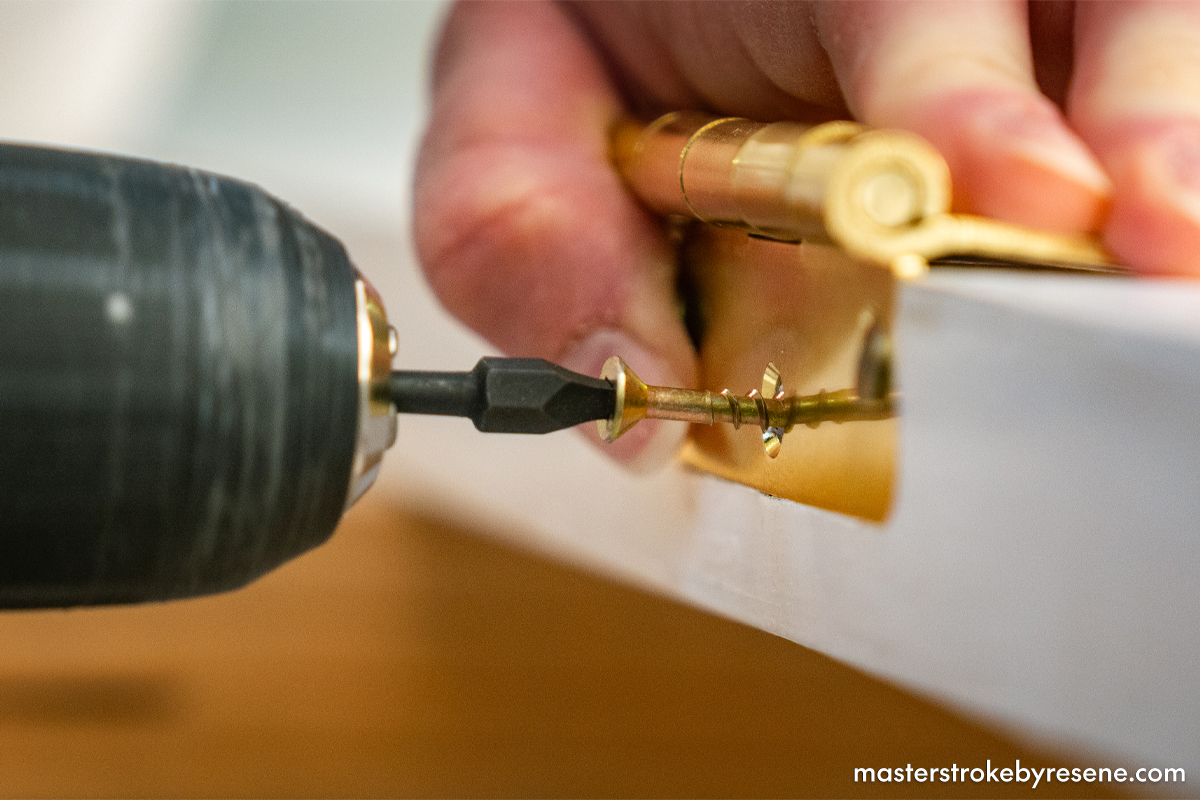
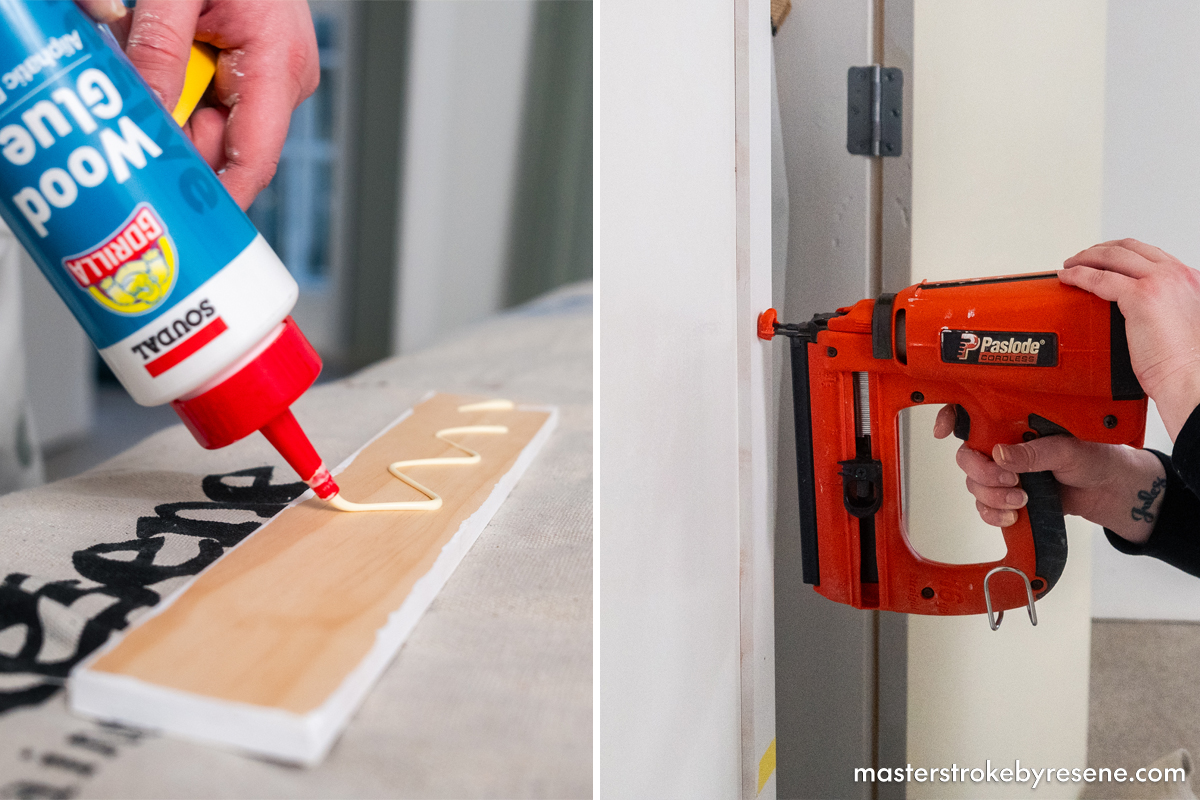
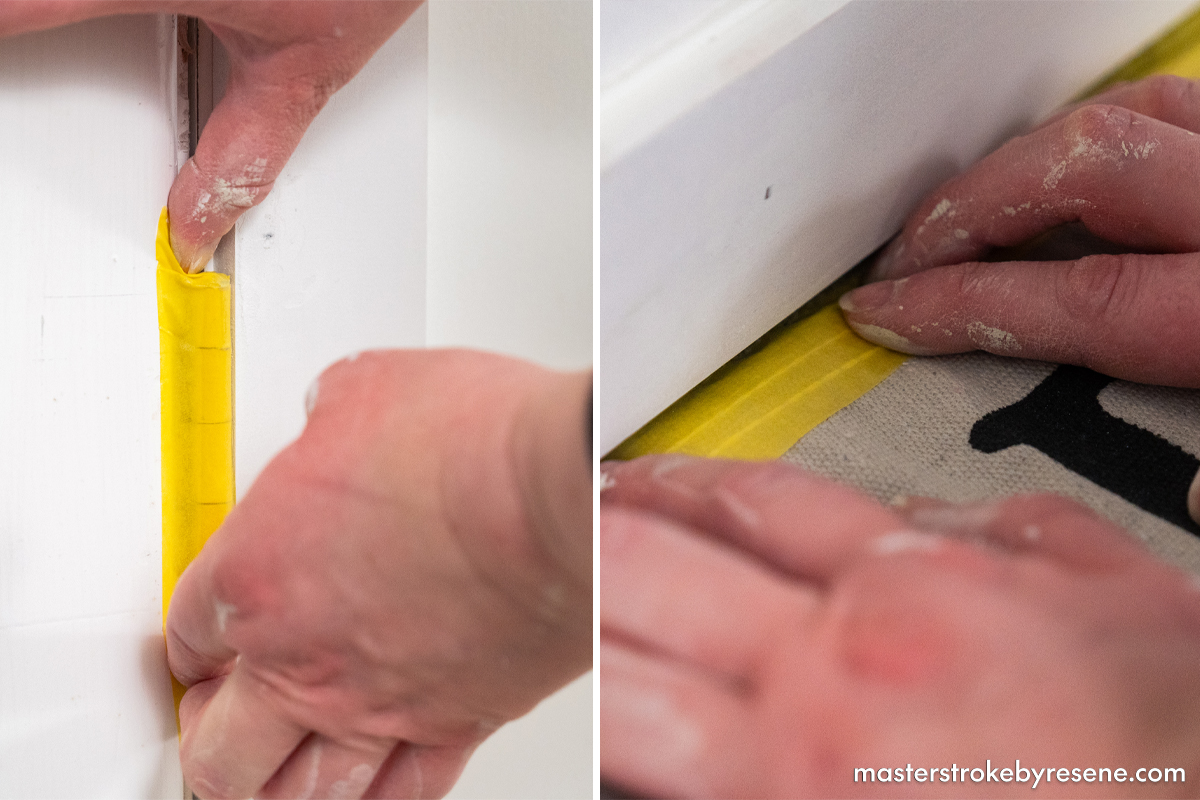
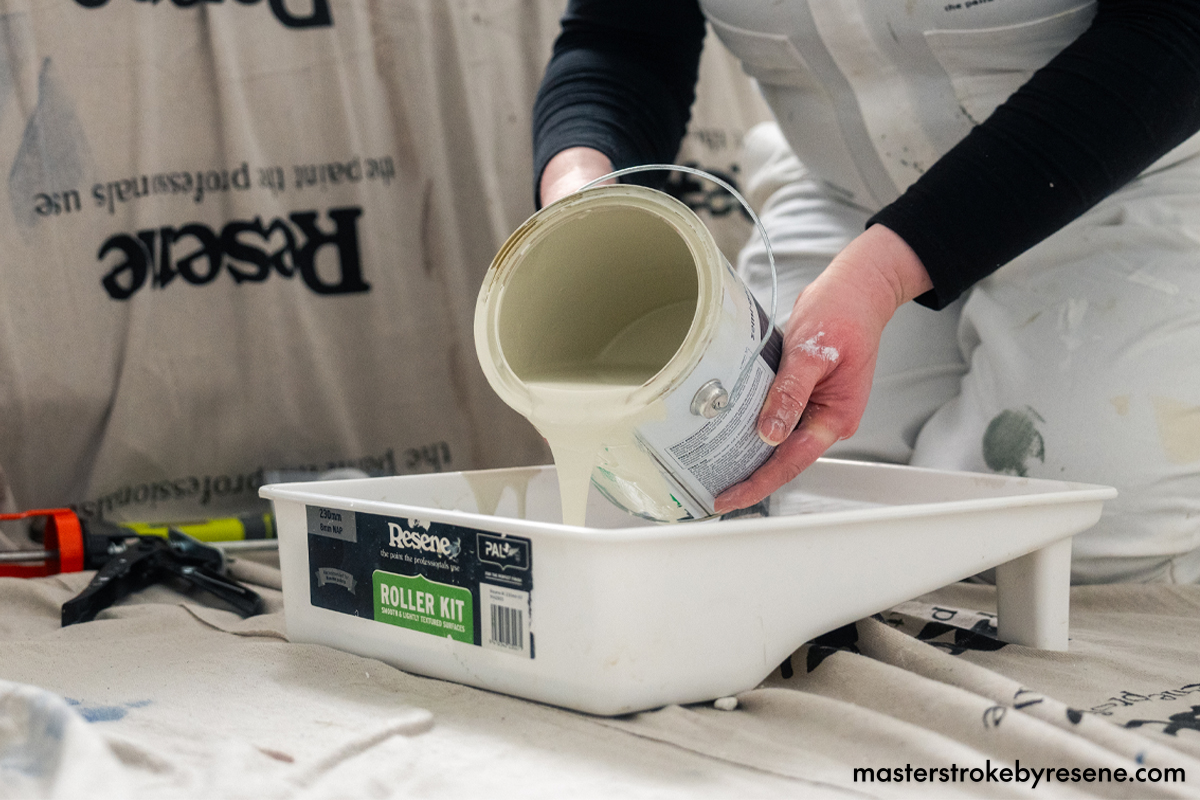
There are a few parts to the process here, which will guarantee success if done correctly and in the right order. First is removing the doors and undertaking the required prep, then cutting the mouldings to size, securing them and finally repainting the doors. We’ve enhanced ours even further with some new gold handles and a fresh coat of Resene Half Tana, a stylish dawn grey. 

Follow our step-by-step instructions below and video to find out how we did it and how to create your very own set of shaker doors.

  • Sawhorse stands
  • Cloth
  • Hand sander
  • Tape measure
  • Mitre box and saw
  • Drill
  • Nail gun and nails
  • Level

1

Remove door

Set up your work area outside by placing your drop cloth and sawhorse stands, then remove the door from its hinges and place it on the sawhorse stands for easy workability.

2

Clean and sand

Give the door a good clean with Resene Interior Paintwork Cleaner, then don your safety gear before sanding the surface with 180 grit sandpaper. Make sure to thoroughly brush off the sanding dust.

3

Fill and prime

Fill any holes and dents with Resene EzyFill Quick. Once dry, lightly sand the filled areas with 180 grit sandpaper and wipe away all sanding dust.

Spot prime the areas that have been filled with Resene Quick Dry and allow to dry.

Lightly sand the primed areas with 180 grit sandpaper and wipe away all sanding dust.

4

Cut timber

For the shaker door panels, cut the timber to your desired lengths. We cut our long panels to 1980mm and the short panels to 340mm. 

Top tip: To save yourself some time and energy, you can easily have these cut to size at your local timber supplier.

5

Sand and prime

Sand all the timber pieces with 180 grit sandpaper and wipe away all sanding dust. 

Prime all sides of the timber pieces with a coat of Resene Quick Dry.

6

Hinge and hang

Reattach old hinges to the door or attach new ones. We chose to use new hinges that would match the new handles for our doors.

Set up your new work space inside by placing a Resene drop cloth outside the cupboard, and covering items in the cupboard with a protective dust cloth. 

Rehang the door and tighten all screws of the door hinges.

If preferred you could attach your panelling and paint the door before you rehang it.

7

Add timber panels

It’s time to add the shaker door panelling to the cupboard. Apply a generous amount of wood glue to the panelling and then attach to the cupboard door, using painter’s tape to hold it in place. Secure with nails.

8

Fill holes and gaps

Use Resene EzyFill Quick and fill all the nail holes and allow it to dry. 

Use gap filler to fill all the gaps between the shaker panelling and the cupboard. Wipe away all excess gap filler with a clean cloth.

Once the Resene EzyFill Quick and gap filler have dried, lightly sand with 180 grit sandpaper and wipe away all sanding dust. Spot prime areas with Resene Quick Dry.

9

Mask

Use painter’s tape to mask any hardware and to keep the drop cloth in place during painting.

10

Paint

It’s time to apply two coats of Resene Lustacryl – we’ve used the colour Resene Half Tana. Cut in all the details and edges first, then using a small roller roll the larger flat areas. Allow the first coat to dry before applying the second.

Top tip: If you’d like a little extra contrast between your panels and your doors, you can paint the doors in Resene Lustacryl semi-gloss waterborne enamel and the panels in higher gloss Resene Enamacryl gloss waterborne enamel.  This will help to accentuate the panels.

11

Final details

Touch up the architraves – we used Resene Lustacryl in Resene White – and add new handles to the doors, then stand back and admire your incredible handiwork!

Before
After
These wardrobe doors have been transformed with some simple timber panels, new hardware and Resene paint. Doors painted in Resene Half Tana and architraves in Resene White.

About MasterStroke by Resene
MasterStroke by Resene is here to help you master your paint and decorating DIY projects. Brush up on your skills with advice, tips and ideas from our trusted experts.

Check out the latest how-to videos on our YouTube channel.