DIY projects

How to make a kid's step

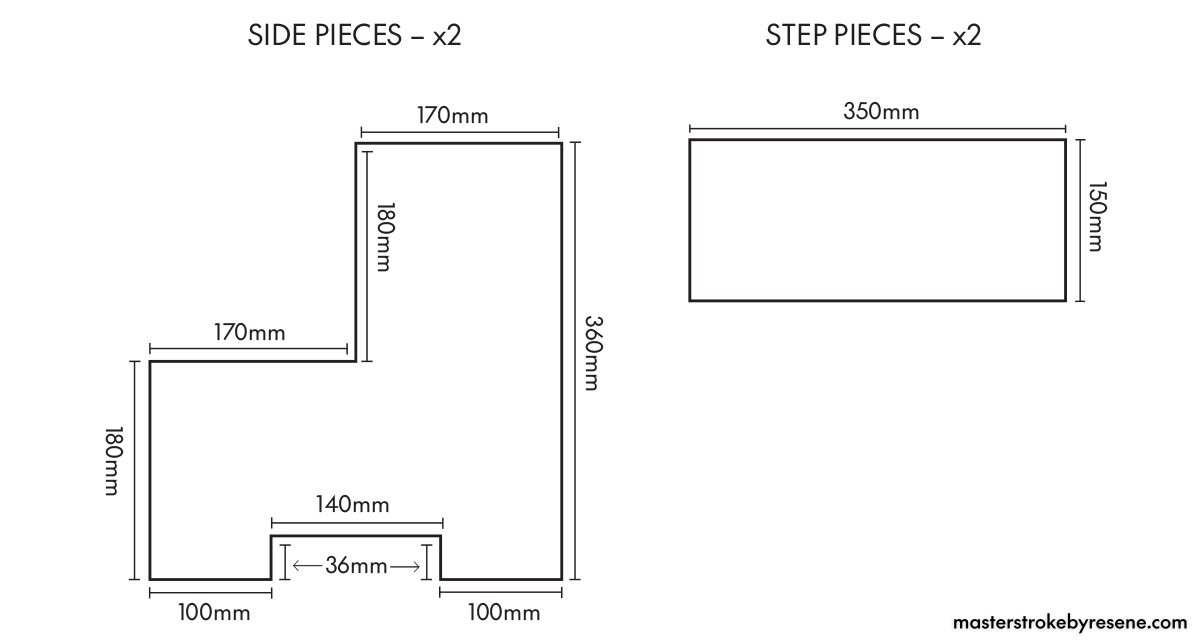
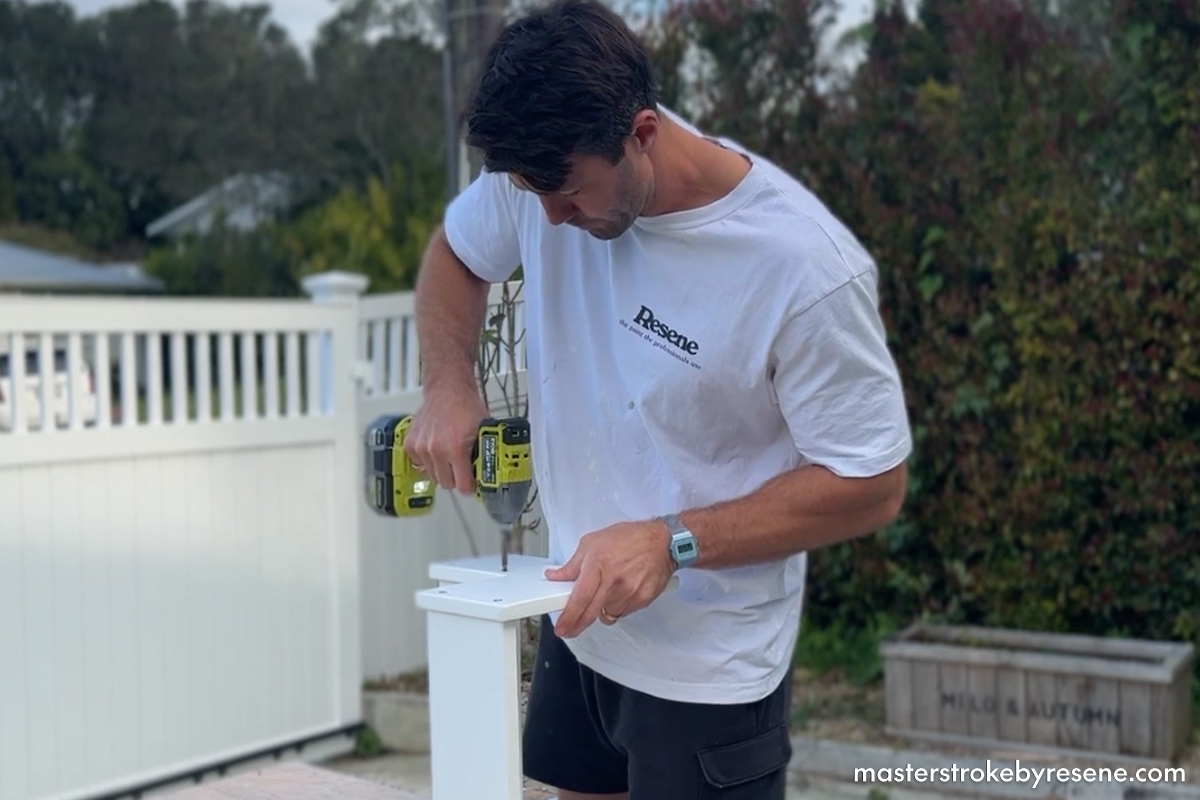
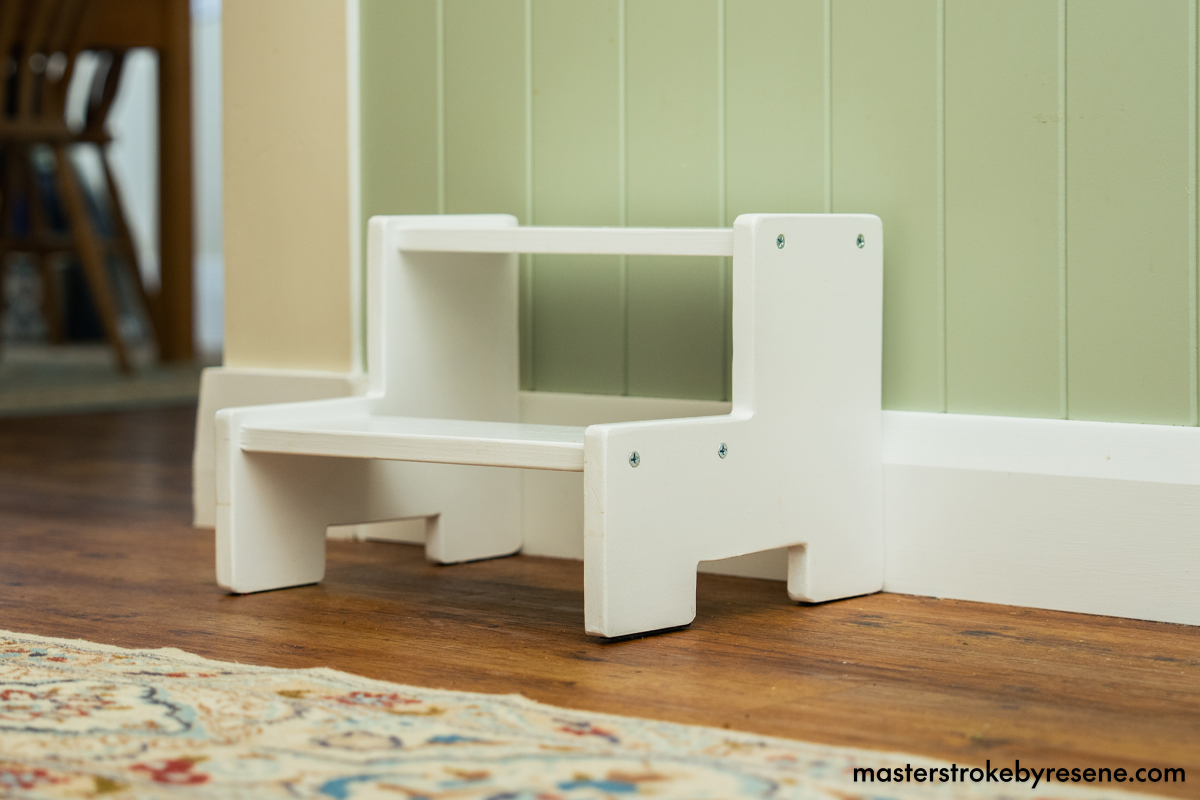
While patience levels can sometimes be tested, having your children ‘help’ in the kitchen from an early age is a great way to instil a love of food and cooking. Art Green and wife Matilda have three kids, and two of them are now at the age when they want to get involved – but they’re not yet tall enough to reach the benchtop. Art has decided to remedy that by building a cool and practical step stool to allow them to reach up and help.

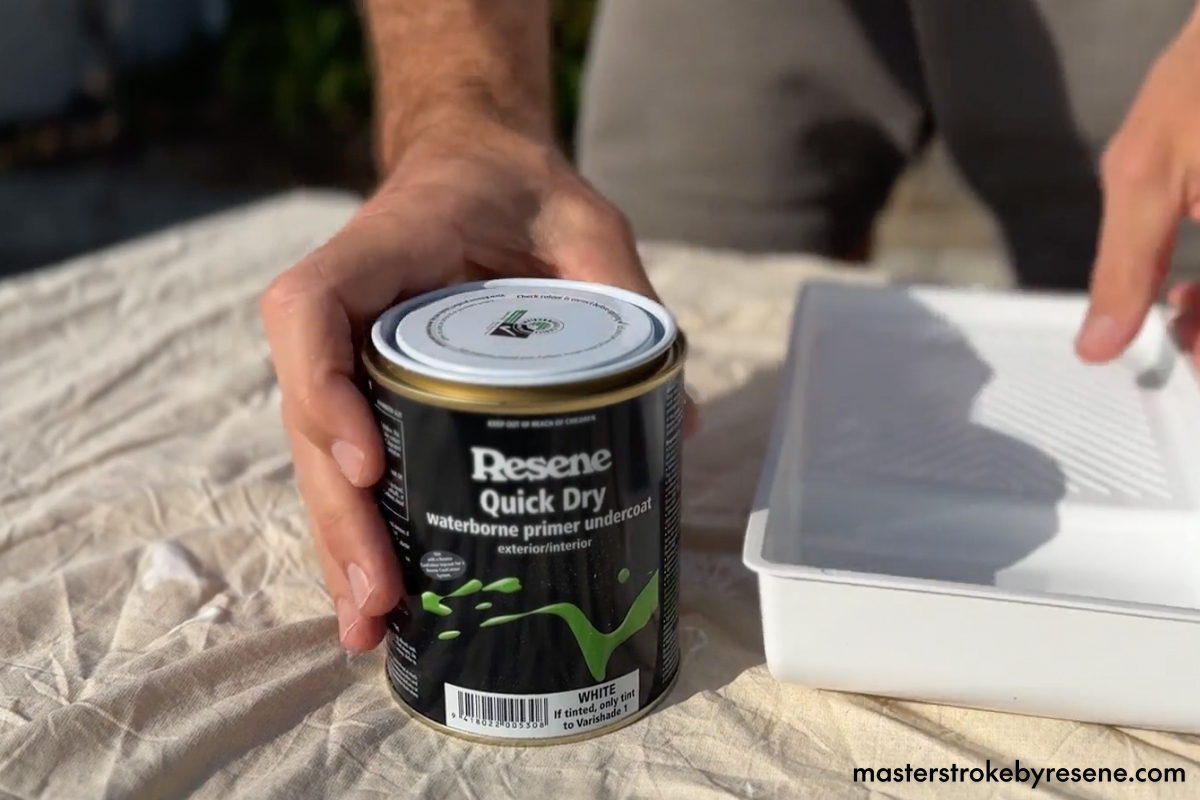
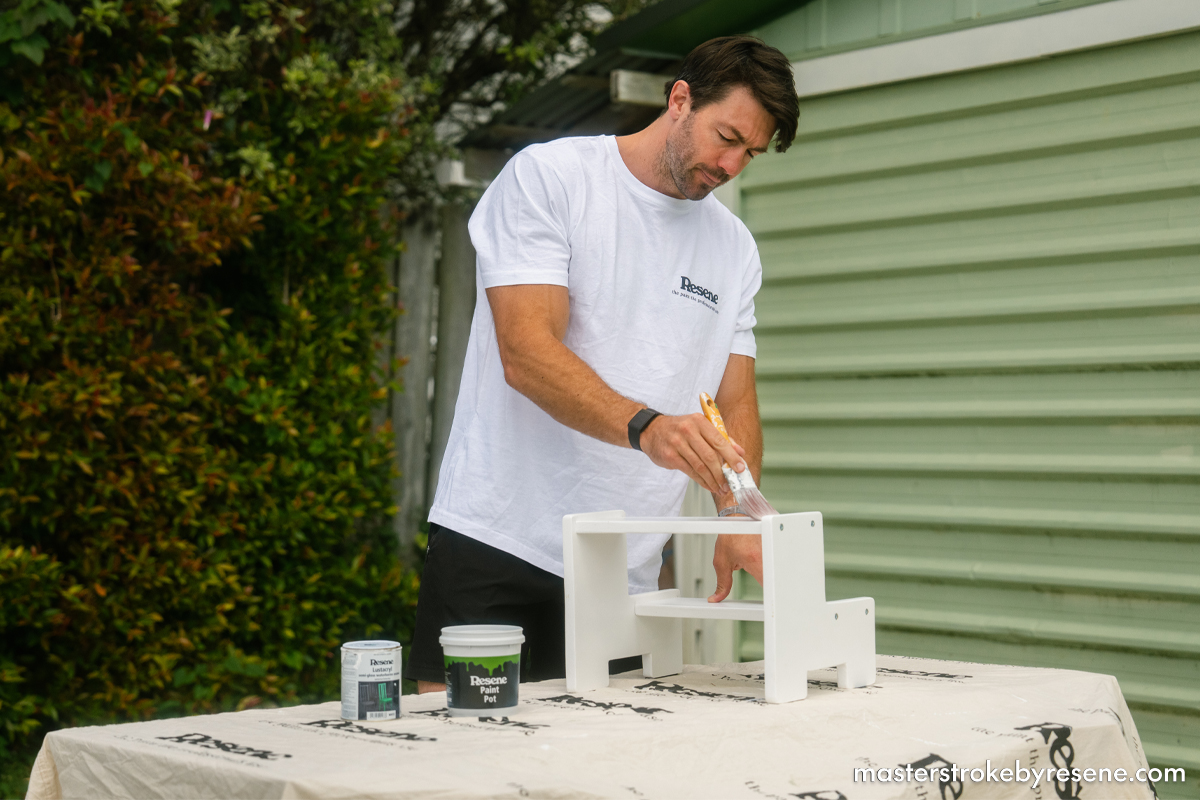
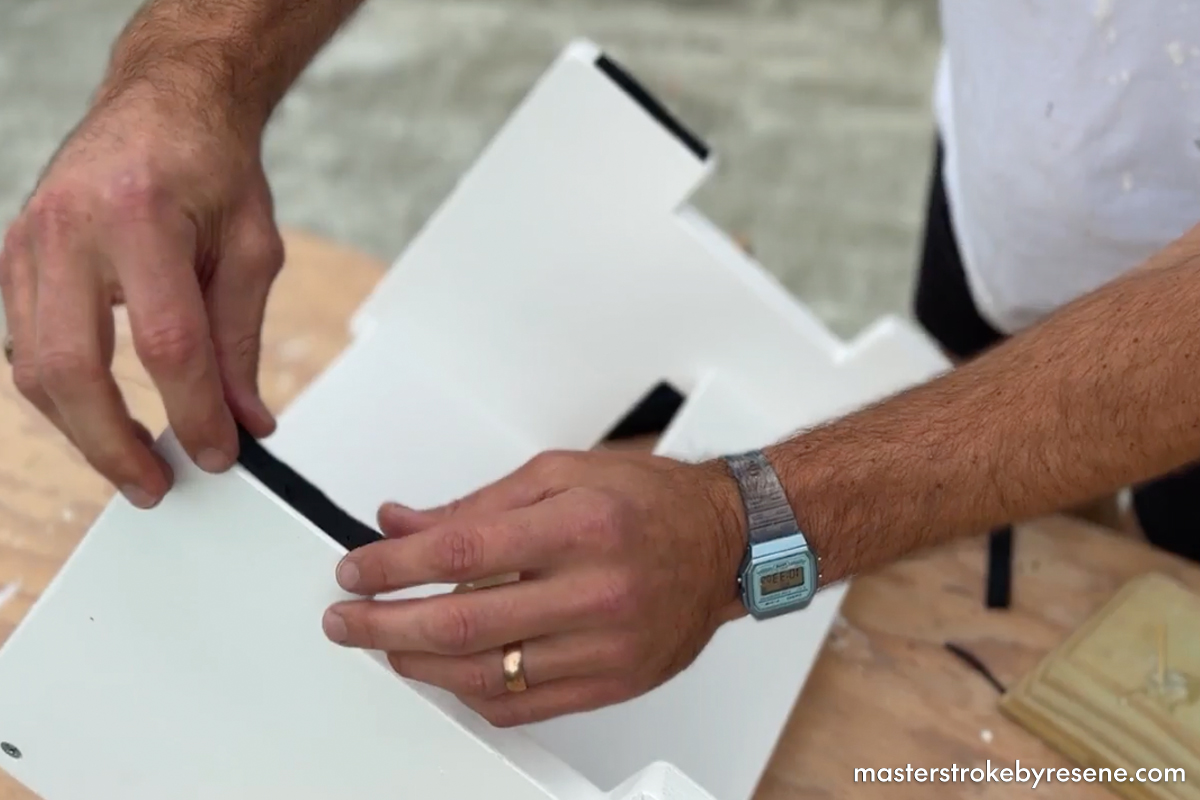
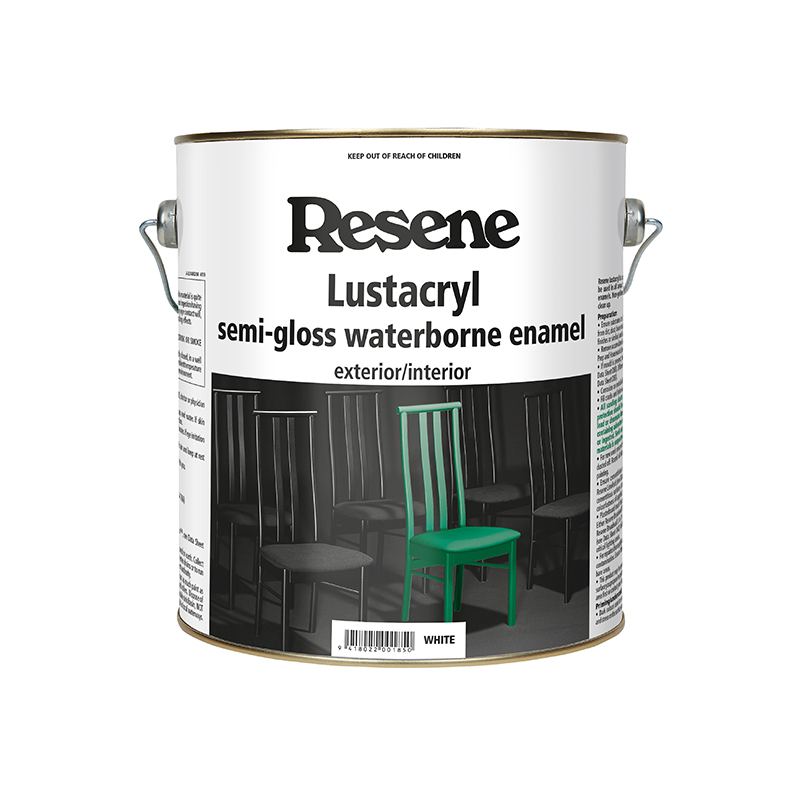
Art made this step from pine and gives it a modern, fresh-looking finish with a coating of Resene Lustacryl semi-gloss waterborne enamel in Resene Alabaster. Resene Lustacryl is the perfect option for paint here as it’s hard-wearing and durable and can be wiped down easily. He also adds rubber feet to the base of the step stool to make sure it doesn’t slide around on the kitchen floor. 

Lending a hand in the kitchen is a brilliant way to not only encourage healthy eating and experimenting with new foods, it gives children a sense of independence and even helps develop fine motor skills. Experts say that kids as young as 18 months to two years old can participate, obviously with supervision. You can even get them involved with the making of this step stool by arming them with a small roller or paintbrush and letting them prime and paint each of the pieces. 

As well as budding chefs, this step stool makes a great addition to the bathroom to help little ones get up to the basin to brush their teeth by themselves. Read on to find out how to make one for your own kids.

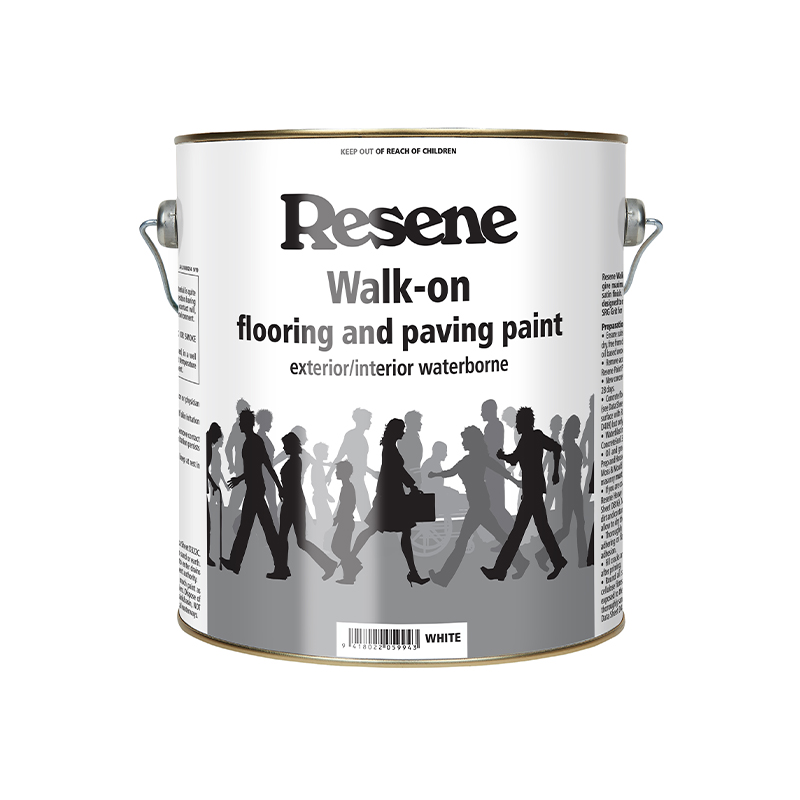
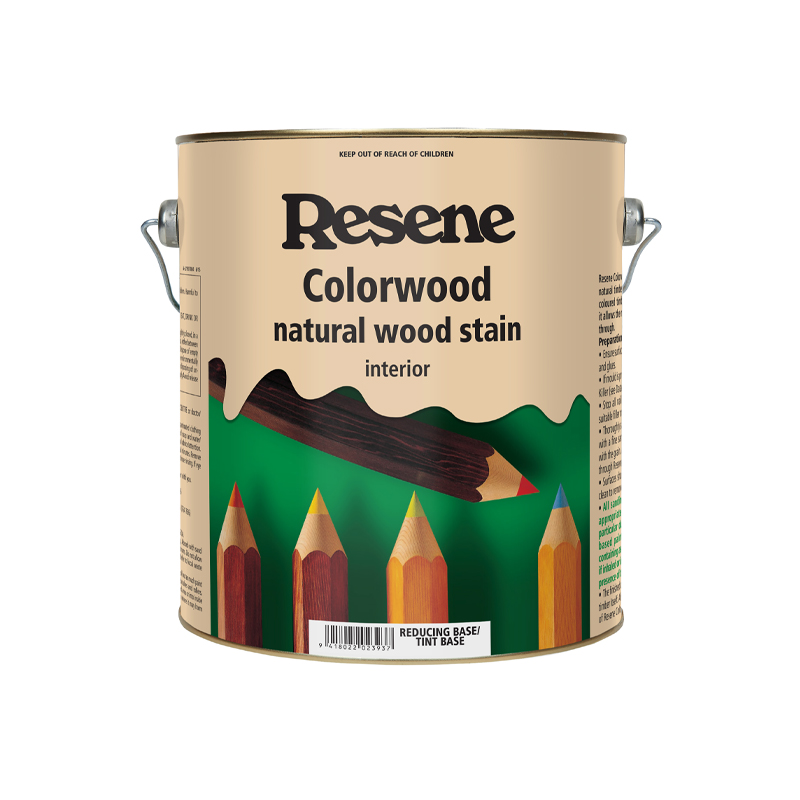
Top tip: If you want a grippier finish on your step stool, use a lower sheen Resene finish, such as Resene Walk-on. Lower sheen finishes tend to be less slippery, higher sheen finishes are easier to wipe clean. Or stain it in Resene Colorwood and protect with Resene Aquaclear if you want it to match stained wooden flooring.

  • Safety gear
  • 20mm-thick untreated pine
  • Tape measure
  • Pencil
  • Drop saw
  • Jigsaw
  • Hand sander
  • Sandpaper
  • Mini roller and tray
  • Paintbrushes
  • Resene Quick Dry waterborne primer undercoat
  • Resene Lustacryl semi-gloss waterborne enamel (Art used Resene Alabaster)
  • Drill driver
  • 8x 12G x 38mm wood screws
  • Rubber feet or grip tape
  • Construction adhesive

Cut diagram

1

Safety first

Set up your workstation and make sure you pop on your safety gear – glasses and ear protection.

2

Measure and cut

First, measure two side pieces at 360mm x 340mm and two step pieces at 350mm x 150mm and cut using a drop saw.

On the side pieces, measure and draw the shape that you want them pieces to be, then cut them out with a jigsaw. Art’s design is simple yet stylish and practical – you can copy his measurements using the cut diagram above.

3

Sand

Use a hand sander to sand all the faces and edges of the timber – use a small piece of sandpaper to get into the corners – then wipe away all the sanding dust.

4

Prime

Give your Resene Quick Dry a good stir then pour it into a paint tray or paint pot. Apply one coat of Resene Quick Dry with a paintbrush or roller and allow to dry. 

5

Paint

Stir your Resene Lustacryl and pour it into a paint tray or paint pot. Apply two coats, leaving the pieces to dry between coats. Art has chosen the colour Resene Alabaster to complement his recent kitchen refresh.

6

Assemble the step

Drill pilot holes in both side pieces and both ends of each step piece, then use wood screws to join the pieces all together.

7

Enhance the safety

To make sure the steps won’t slide on the kitchen floor and cause accidents, cut some rubber feet or grip tape and secure with construction adhesive.

8

Step up to the bench!

You’re good to go! Time to rally your small sous chef to help prepare a family meal.

More about Art and Matilda’s kitchen refresh

The couple are renovating their old villa in Warkworth with the help of MasterStroke by Resene, creating a light-filled family haven for themselves and kids Milo, Autumn and Penelope. Their kitchen transformation was inspired by the tones and hues of the French farmhouse style, so they borrowed elements of that when they were deciding on their new Resene colour scheme.

Instead of replacing their old grey benchtop, they gave it a crisp new look with a handful of clever Resene products and a finishing coat of Resene Uracryl 402 tinted to Resene Alabaster. 

They complemented the new benchtop by giving the very dated kitchen cabinetry [will link once article is uploaded] a stylish refresh and a whole new look by painting it with Resene Lustacryl Kitchen & Bathroom in Resene Green Spring. Resene Lustacryl Kitchen & Bathroom is perfect for wet areas as it has added MouldDefender and anti-bacterial silver.

Benchtop painted in Resene Uracryl 402 in Resene Alabaster and cabinetry in Resene Lustacryl Kitchen & Bathroom in Resene Green Spring.

About MasterStroke by Resene
MasterStroke by Resene is here to help you master your paint and decorating DIY projects. Brush up on your skills with advice, tips and ideas from our trusted experts.

Check out the latest how-to videos on our YouTube channel.