DIY projects

How to make a kids’ art frame

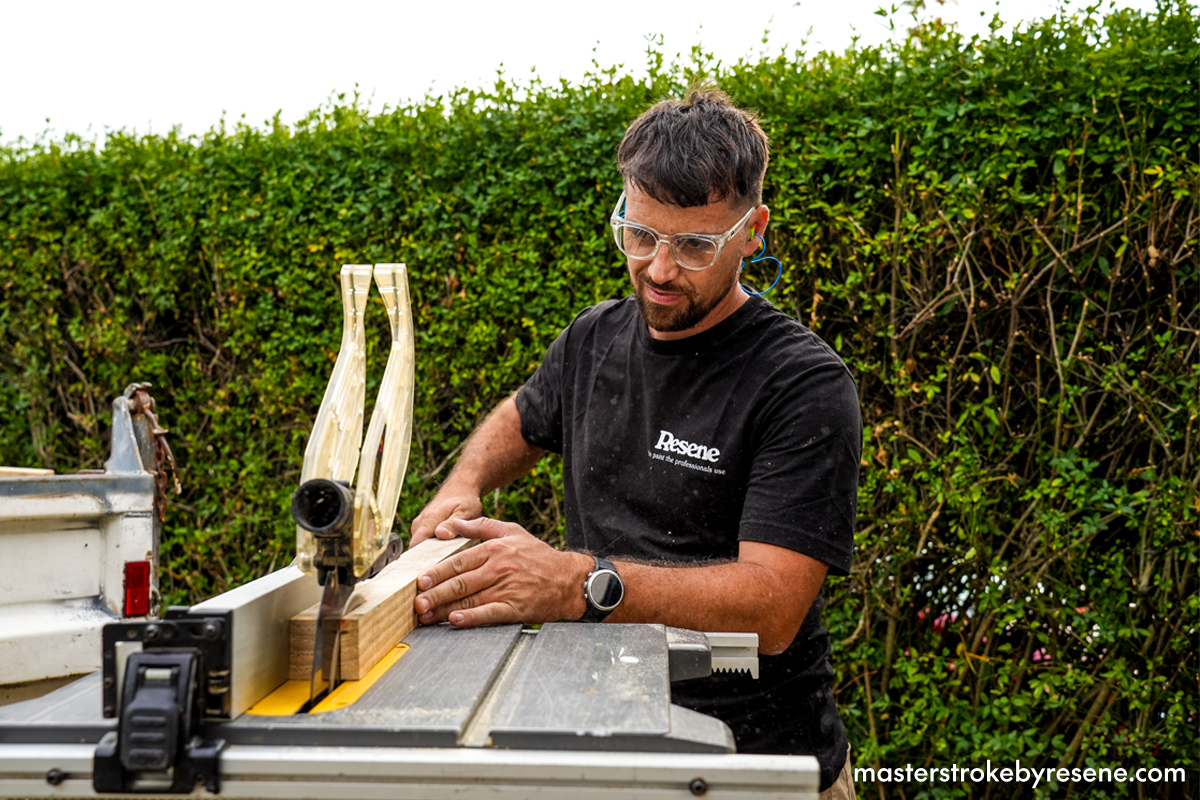
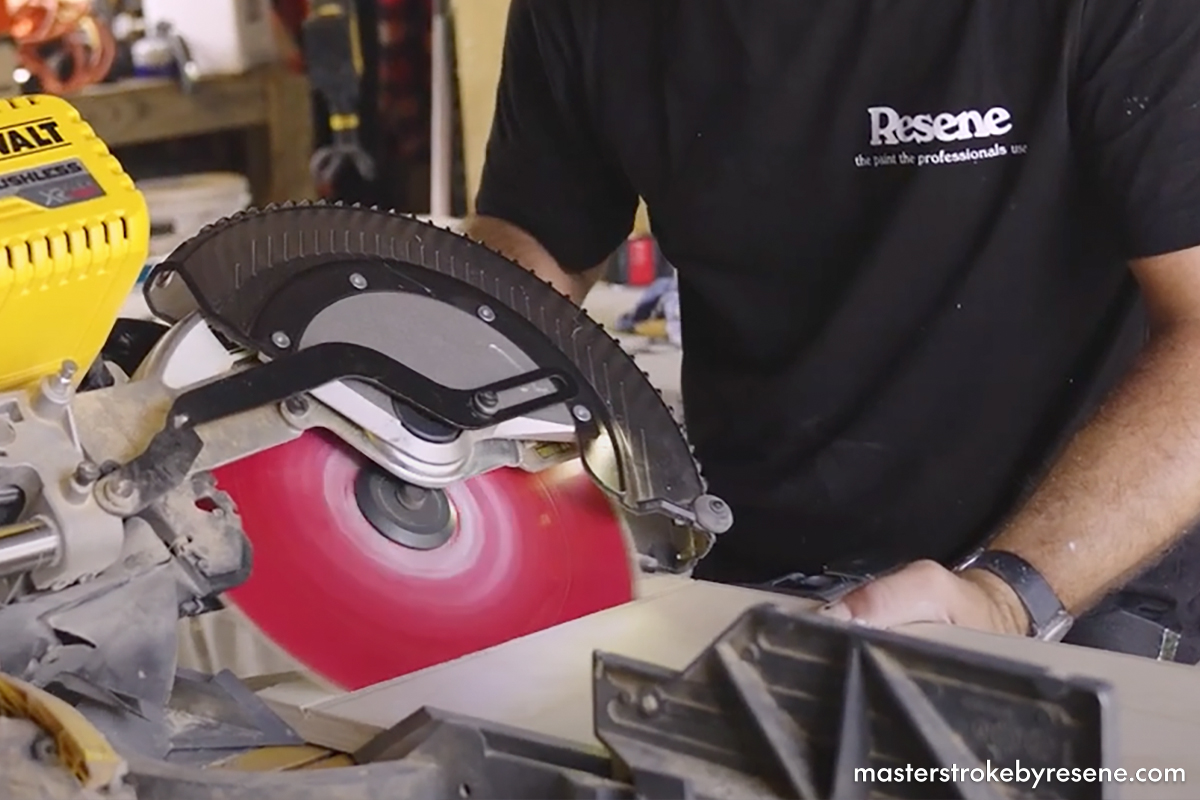
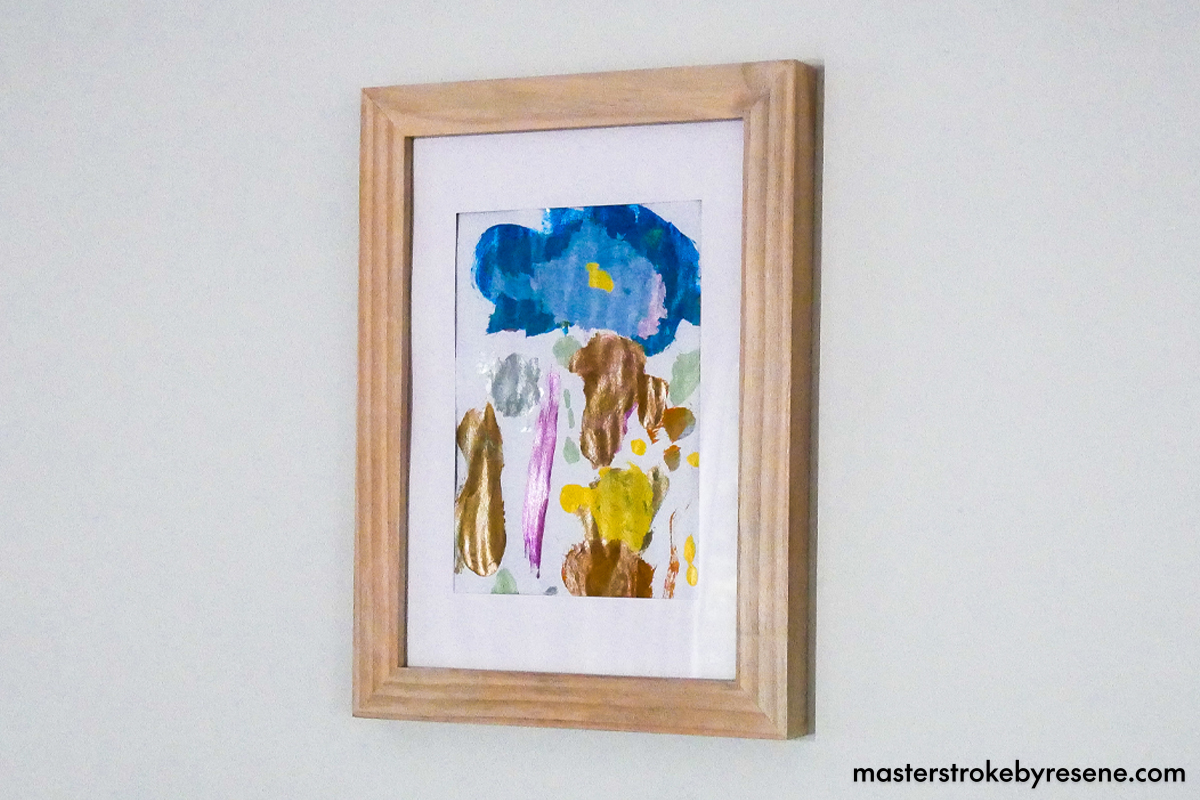
In this fun and functional DIY project, qualified builder Chris Donnelly (Ngāti Maniapoto), creates a cool picture frame for his kids’ artwork. While it would make the perfect Mother’s Day gift, this is also a great addition to any home at any time of the year. No kids? You could also use it to display your own art, prints or photos or gift it to a loved one

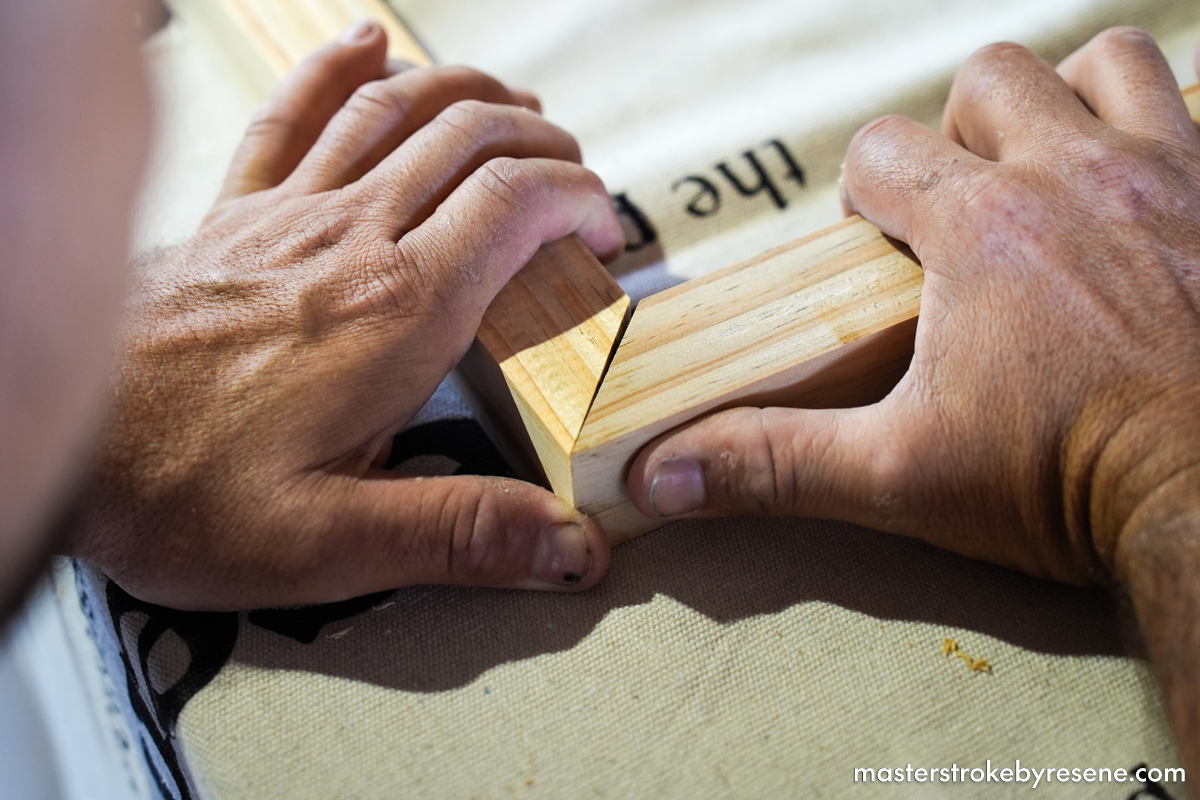
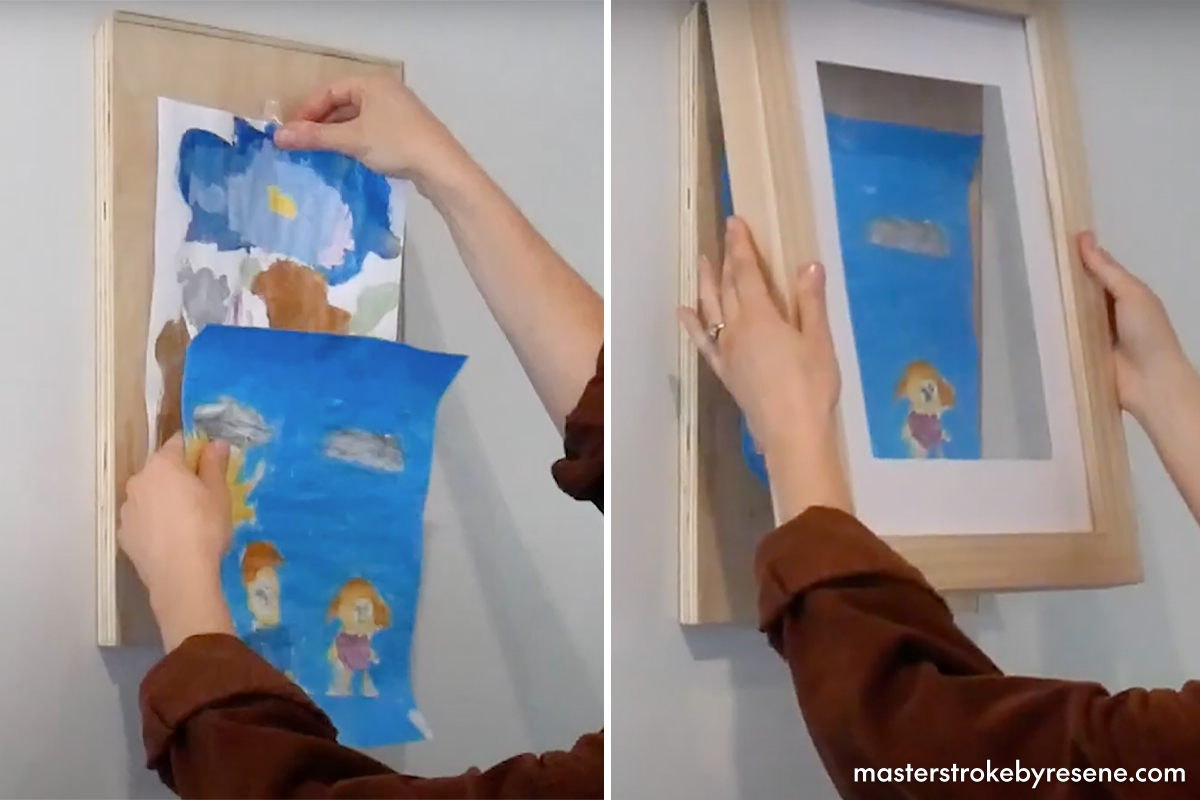
The beauty of the design means that it can be very easily customised. The back of the frame is attached to the wall and the front can be lifted off whenever you feel like swapping out the picture inside – the art is simply stuck to the back with Blu-Tack or tape. 

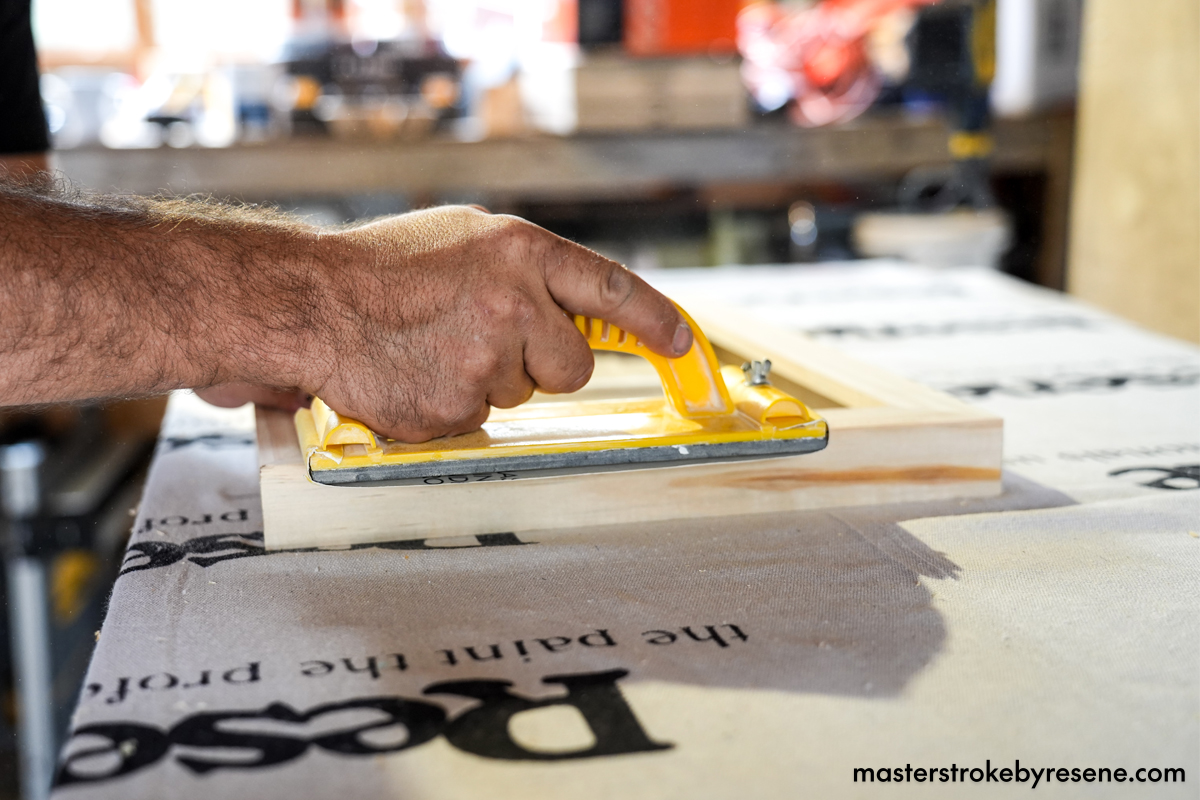
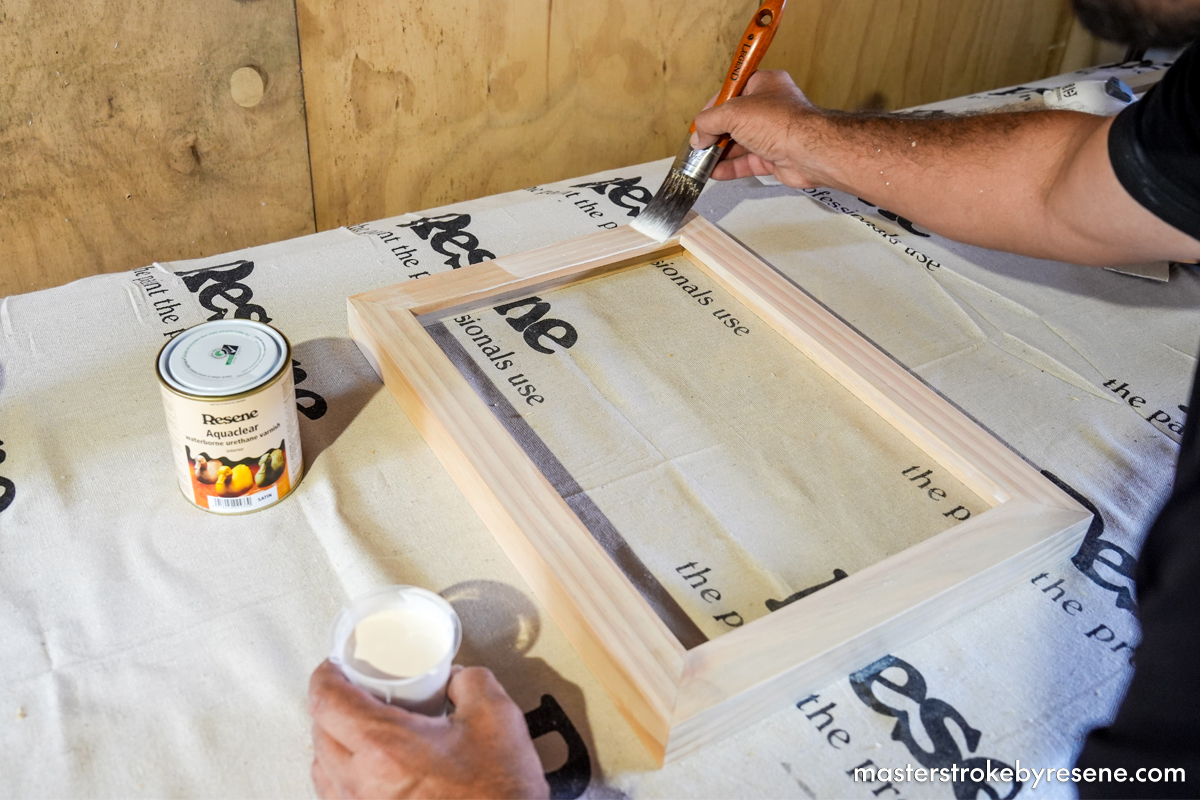
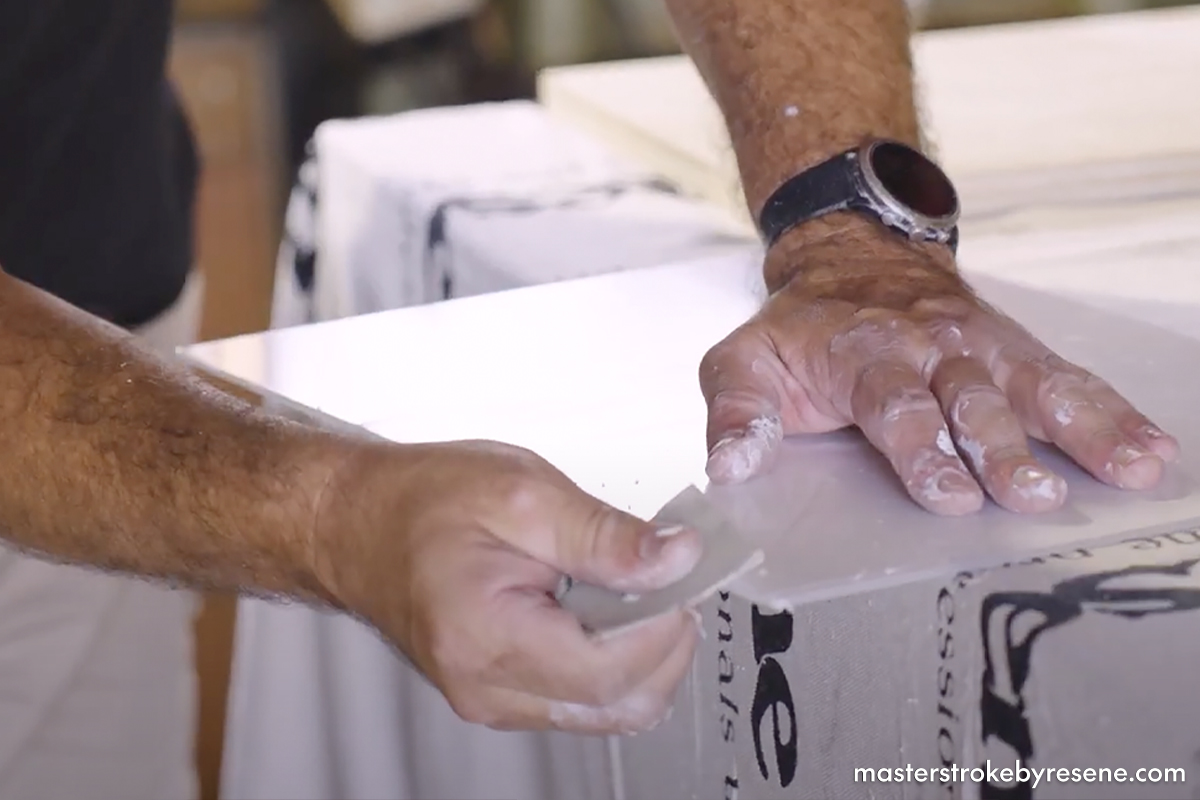
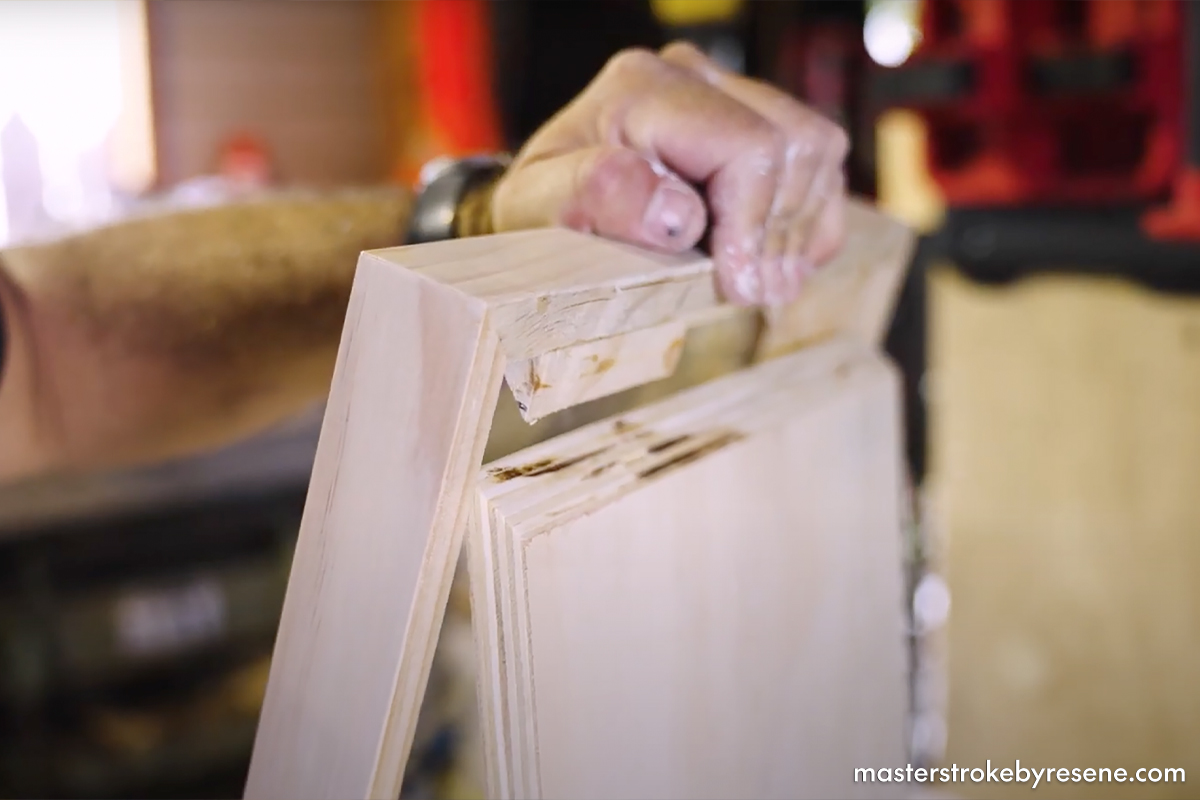
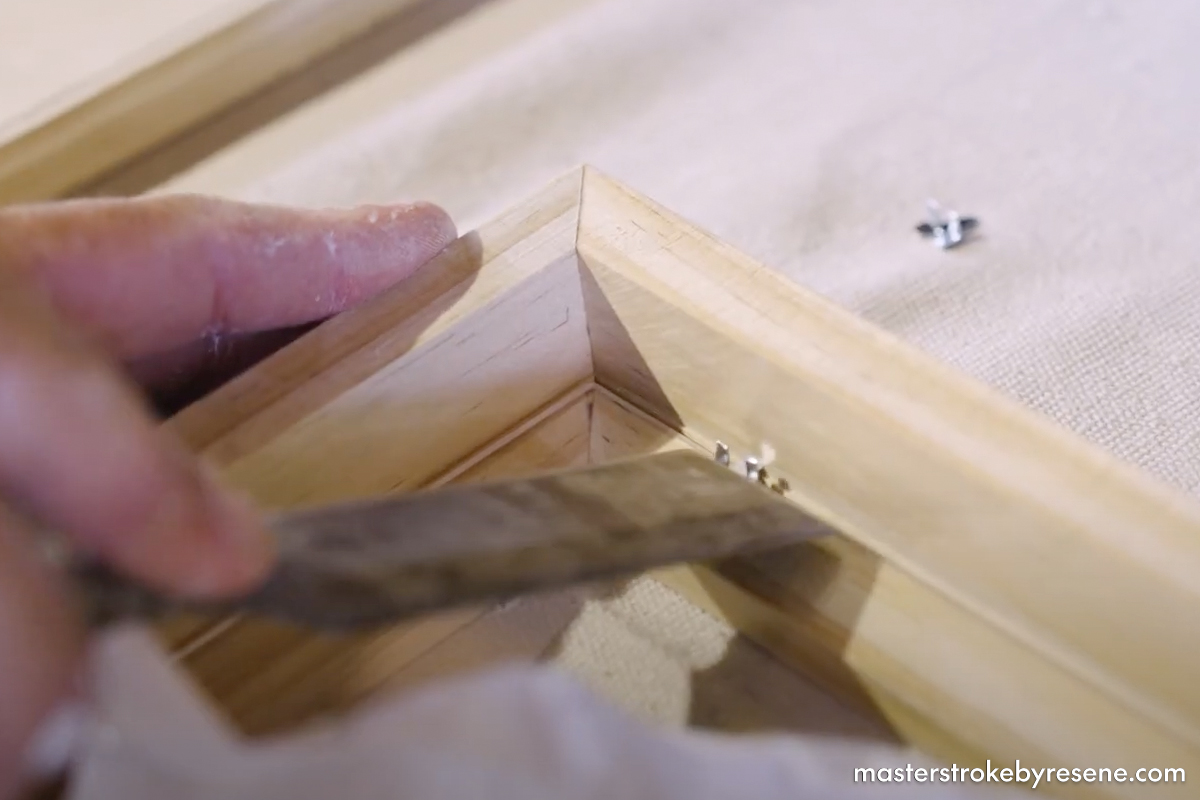
Chris uses light pine and seals and colours it with Resene Aquaclear waterborne urethane varnish and Resene Colour Enhance, which gives it a professional looking finish that will suit most homes. Kids can help you during this step, as the woodworking part might be a little too complicated for them. If you prefer a coloured frame, prime the timber with Resene Quick Dry and paint it in two coats of your chosen colour in Resene Lustacryl semi-gloss waterborne enamel.

  • 1800mm x 40mm x 40mm dressed timber 
  • Wood glue 
  • Sandpaper 
  • Resene Aquaclear waterborne urethane varnish 
  • Resene Colour Enhance White (optional) 
  • Paintbrush 
  • 600mm x 400 mm x 12mm plywood 
  • 600mm x 400mm x 2.5mm acrylic sheet 
  • Glazier points 
  • Amazing artwork 
  • Blu-Tack® or tape

Cut list:

1

Cut the timber

Chris is using pine he had left over from another job and cut it to size, but you can purchase timber cut to the size you need. 

The first step is to cut the wood into your pieces, making sure you wear your safety gear to do so. Cut extra pieces just in case you need them later on. 

2

Rebate

Put a rebate of 10mm per piece (this means removing a section). Mark it out with a pencil then cut it out. 

This is where it’s handy to have extra pieces just in case you make a mistake. All these finer details really elevate the look of the frame and take it to another level.

3

Angle the ends

Cut two pieces at 390mm and two at 270mm. These measurements are from short point to short point. Cut the ends at 45-degrees (as per the cut list above).

4

Assemble the frame

Assemble your frame using wood glue or a glue with an activator for an instant hold.

5

Sand

Once your frame is assembled, give it a good sand and then brush off the sanding dust. Then wipe it down thoroughly with a damp cloth.

6

Seal

Chris is using Resene Aquaclear waterborne urethane varnish and he’s also adding Resene Colour Enhance White to it because he wants the wood to look whiter. Follow the instructions on the label to mix.

It’s important to spread the coating evenly and consistently. Use long, even strokes so you don’t leave thick white marks. 

Once that’s dry, give it another light sand and a dust off, then apply two more coats, always ensuring you allow dry time in between each coat. For the remaining two coats, just use Resene Aquaclear waterborne urethane varnish without the Resene Colour Enhance.

7

Cut the back panel

While the frame dries, cut the ply that will make up the back panel of the frame. 

First, do a square cut, then for the last cut, cut it to length with a 45-degree back angle.

8

Cut the acrylic panel

Cut the acrylic for the front of the frame – it needs to be 310mm x 430mm so it can seamlessly slot into place.

Sand the edges to get them nice and smooth, then partially remove the plastic protective coating.

9

Add cleats

Cut two 45-degree cleats to the top of the frame and glue those in – this is how the frame is able to be easily removed and replaced when swapping out the artwork.

10

Attach the acrylic panel

Place your acrylic inside the frame and attach your glazier points to keep it in place.

11

Secure in place

Attach the back panel to the wall first, then add your chosen artwork using Blu-Tack® or tape.

Position the frame front onto the back panel to cover and protect the artwork

12

Done!

Your interchangeable picture frame is ready to showcase your kids’ masterpieces.

About MasterStroke by Resene
MasterStroke by Resene is here to help you master your paint and decorating DIY projects. Brush up on your skills with advice, tips and ideas from our trusted experts.

Check out the latest how-to videos on our YouTube channel.