DIY projects

How to craft a fence bar from old pallets

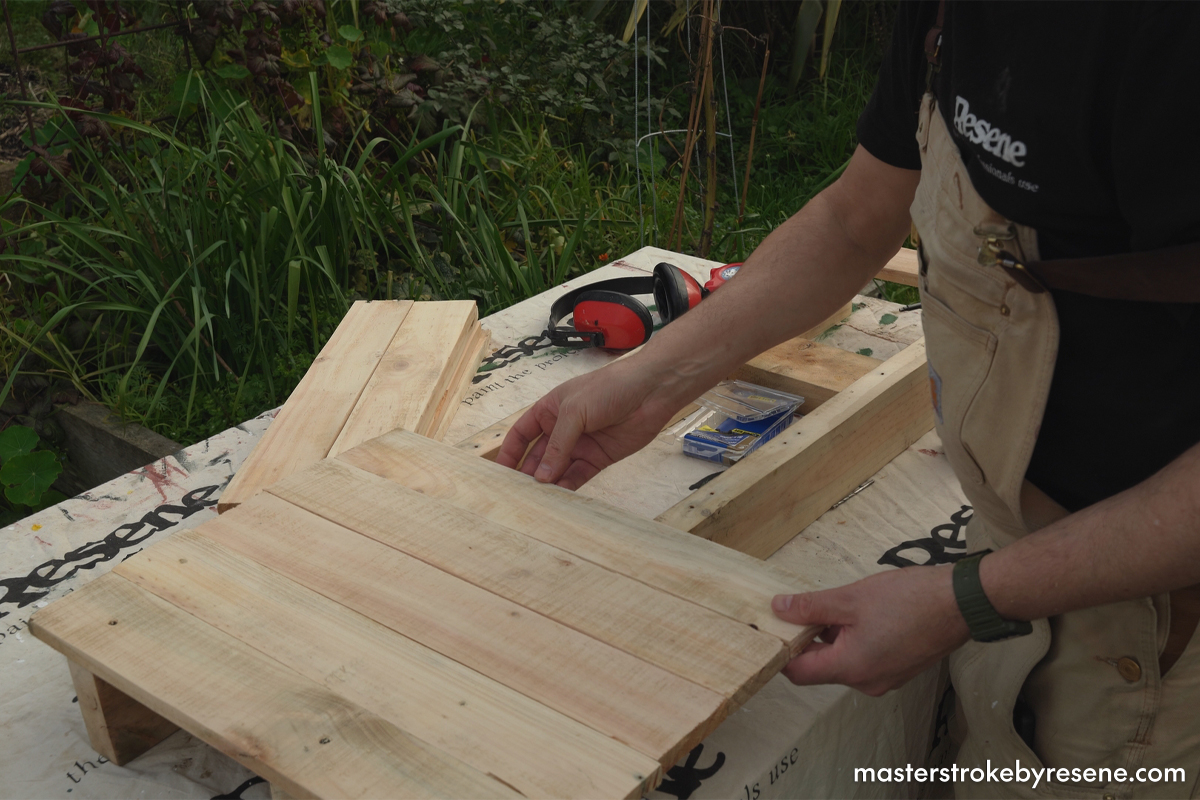
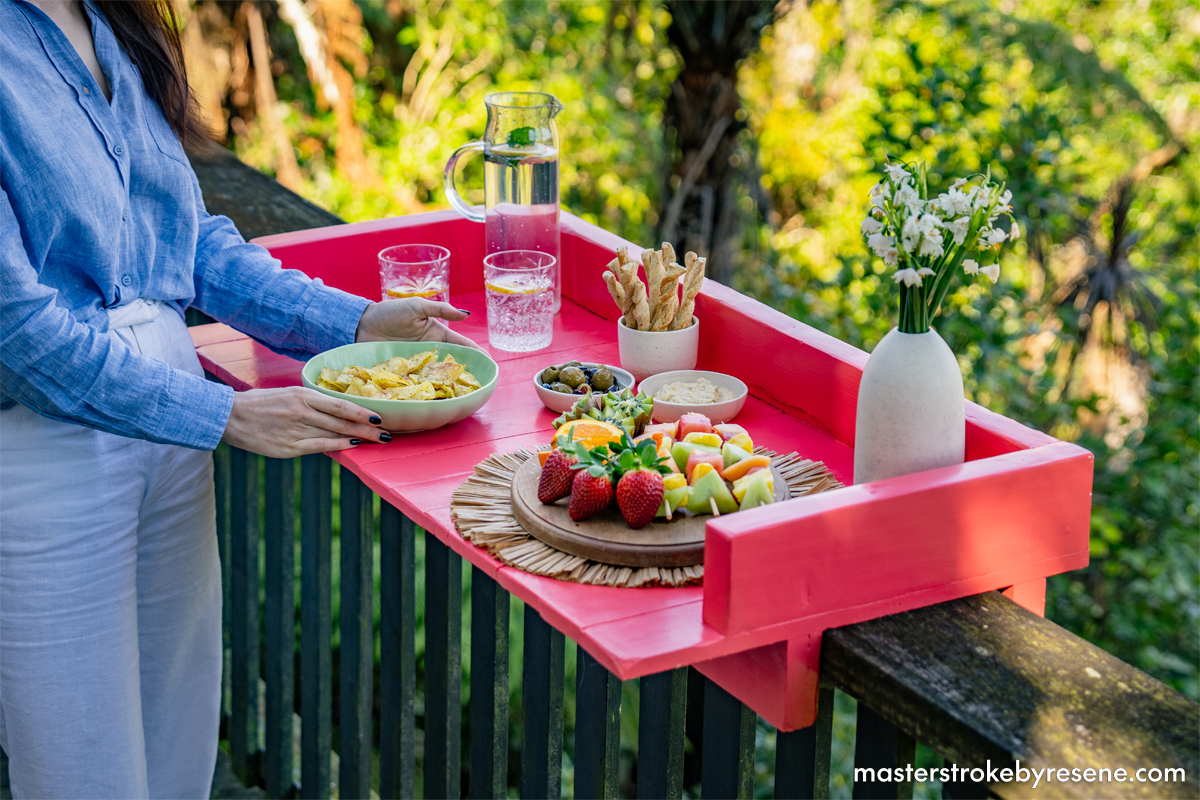
Elevate your balcony or deck by building this practical fence bar from old timber pallets. Creative and cost-effective, it’s designed to straddle the balustrade and sits flat, functioning as a handy table. It’s also particularly useful for narrower areas that don’t have enough room for outdoor furniture.  

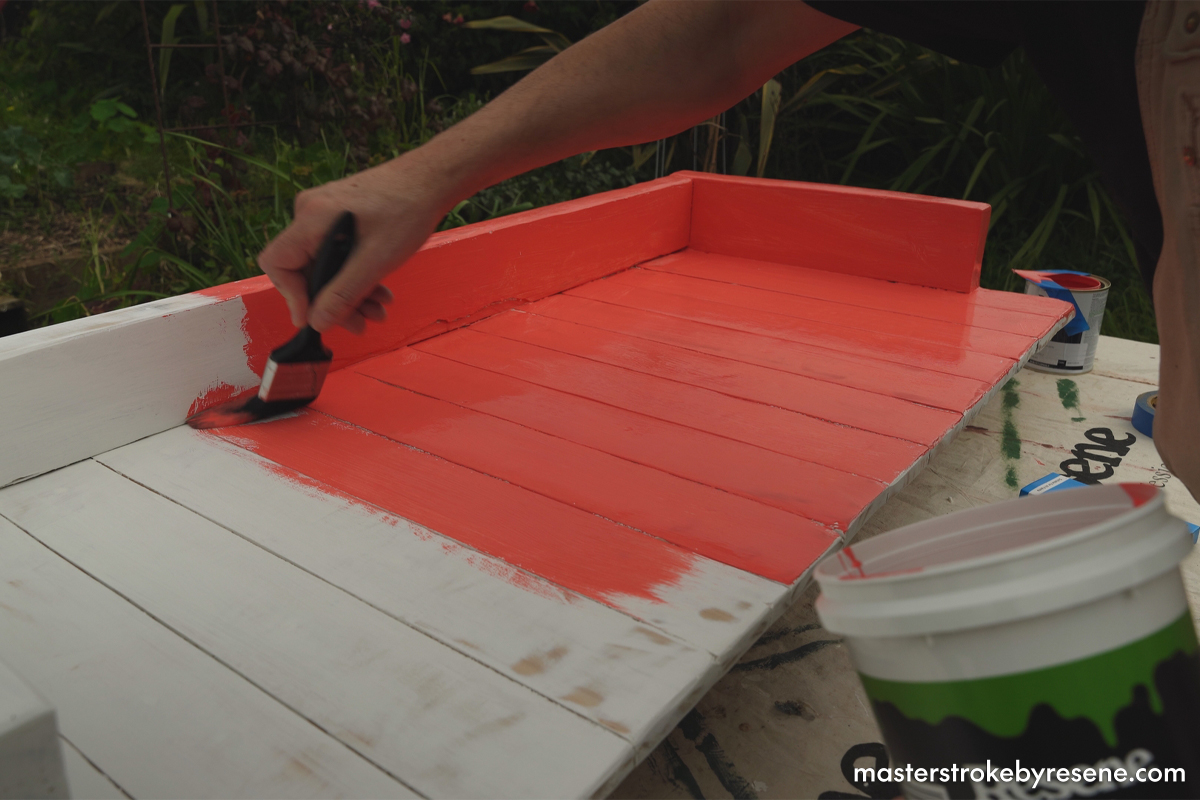
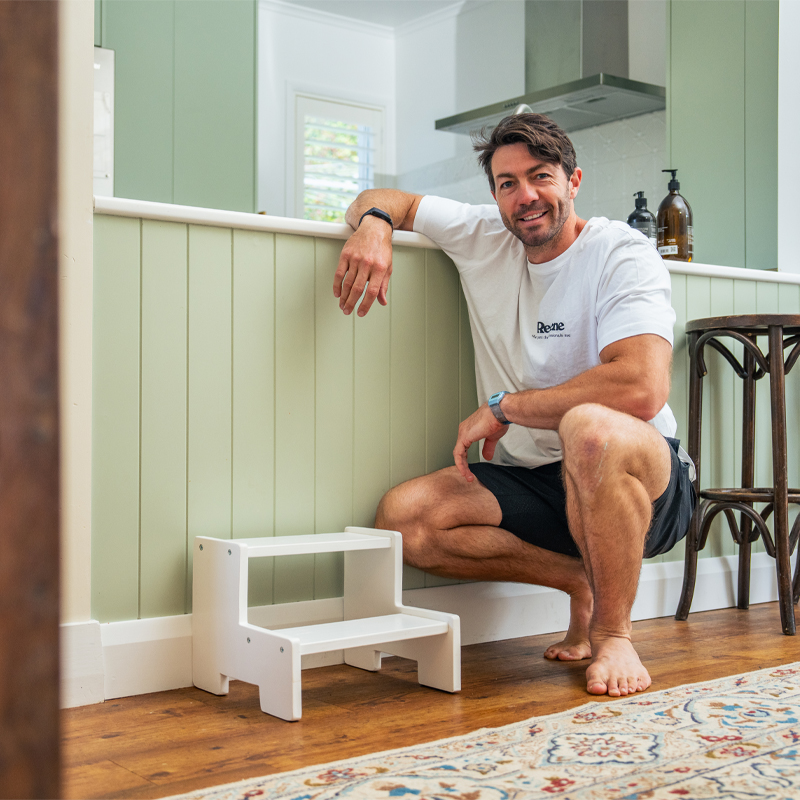
The Upcycler, aka Jacob Leaf (Ngāpuhi), used two pallets to build this fence bar and gave it a pop of colour using Resene Lustacryl in Resene Rapture – but you can paint yours in any colour that suits your home’s style or garden. 

This fence bar offers an endless amount of uses – enjoying drinks and nibbles when hosting your next summer soirée, setting up your computer to work from home with a view or sitting with a morning cup of coffee and the paper. 

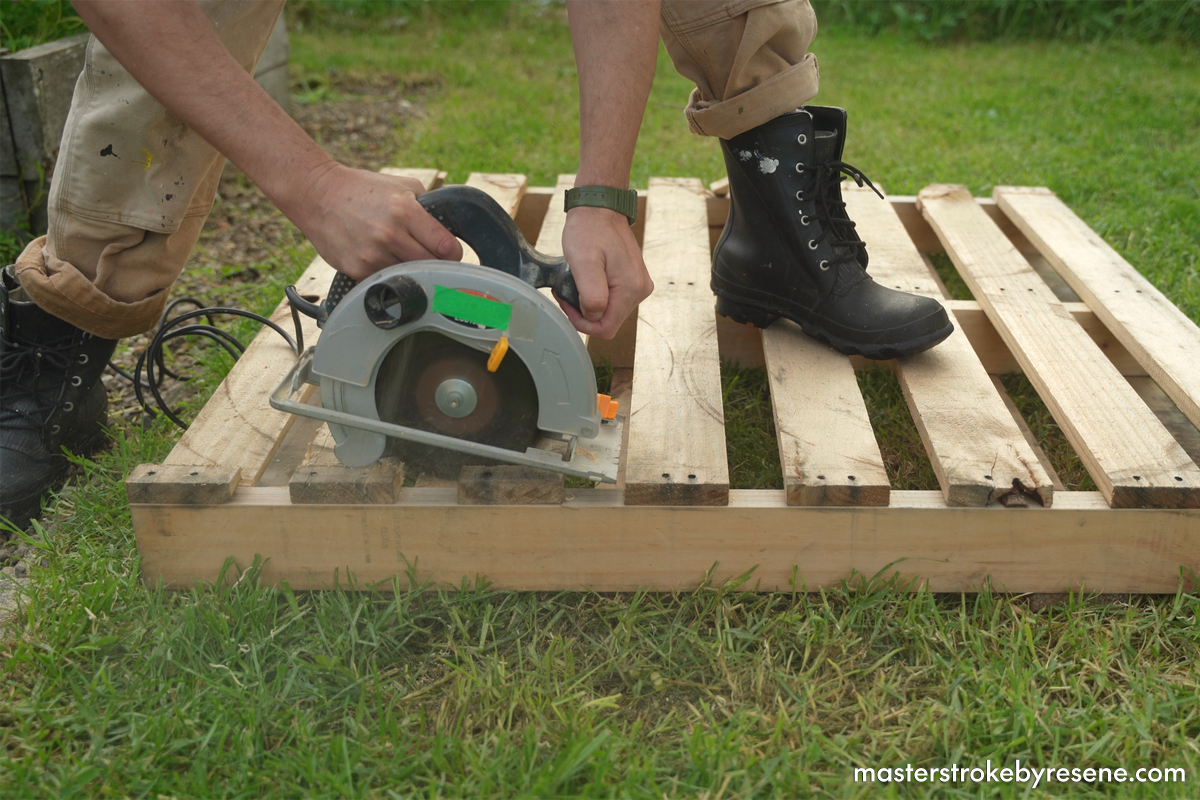
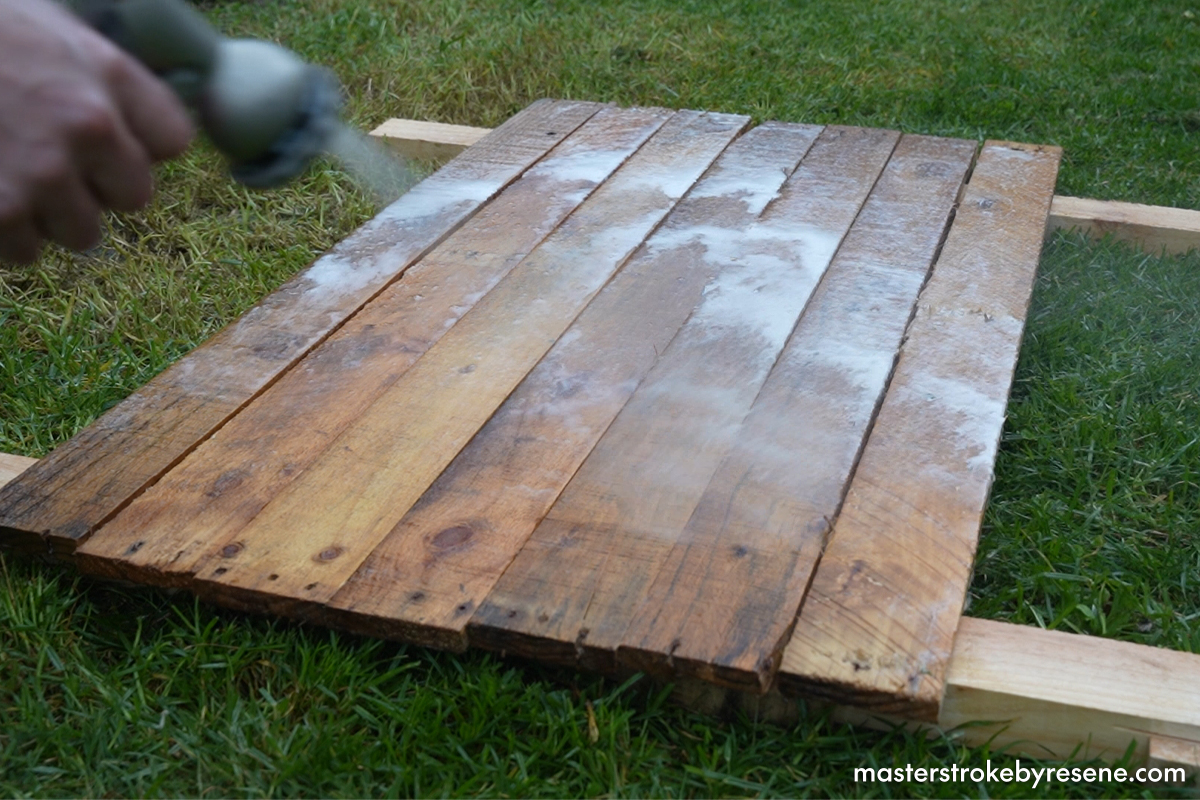
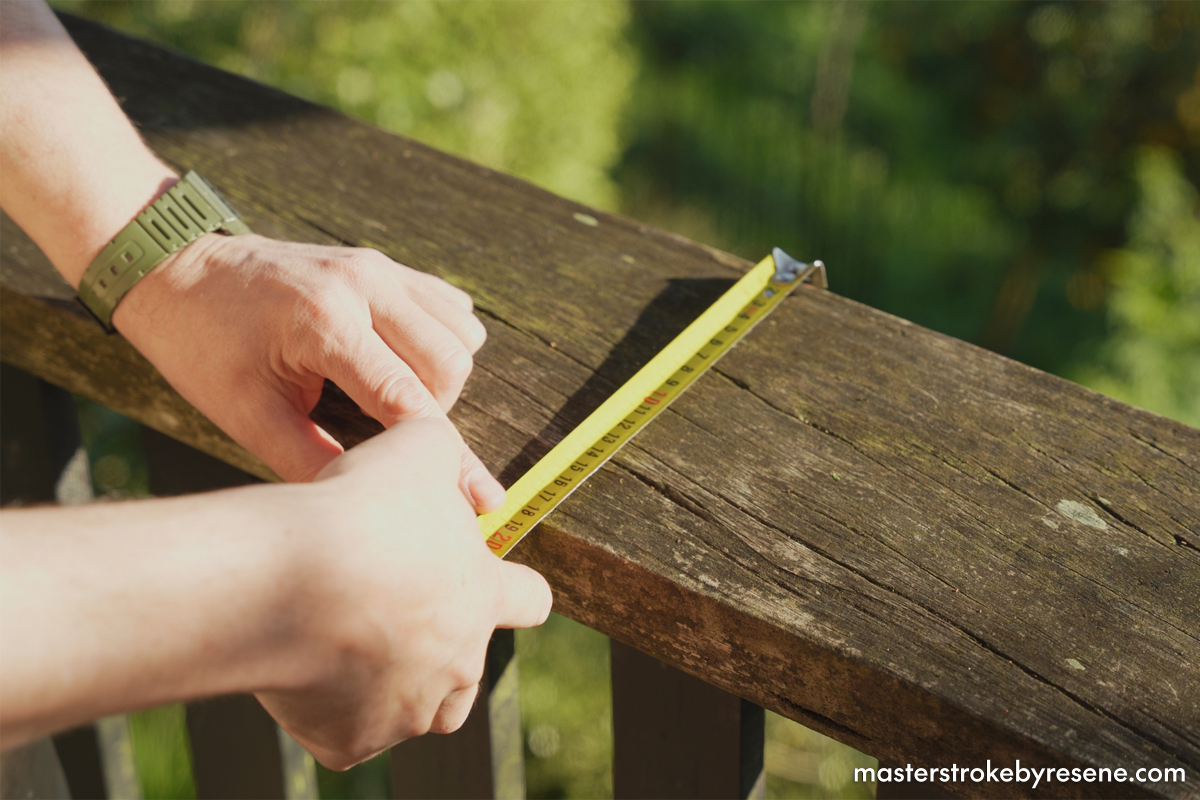
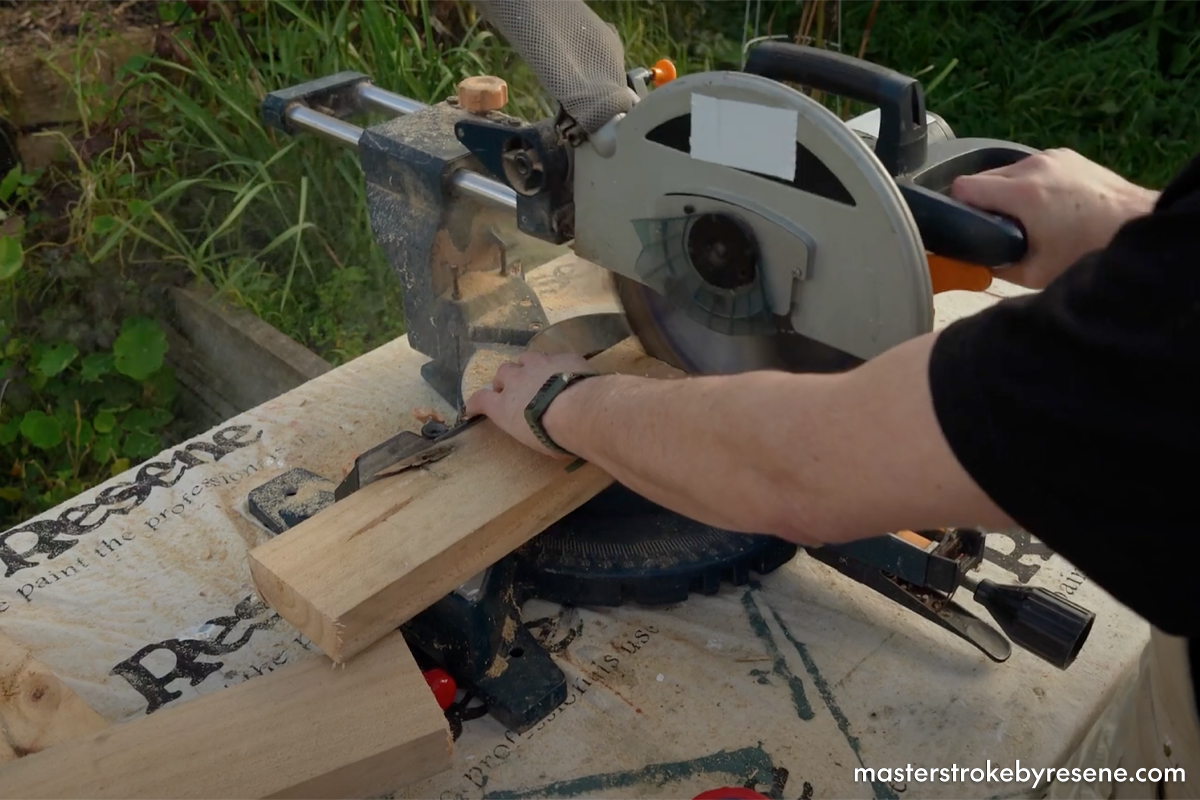
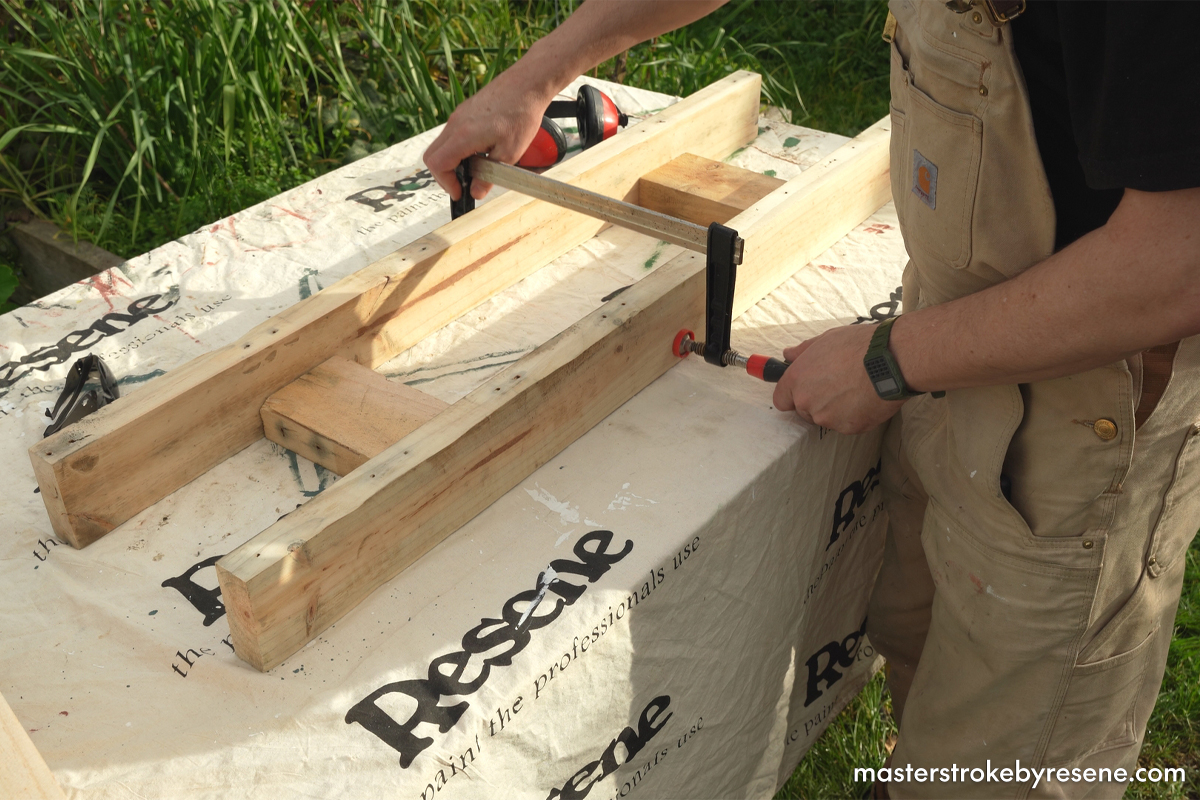
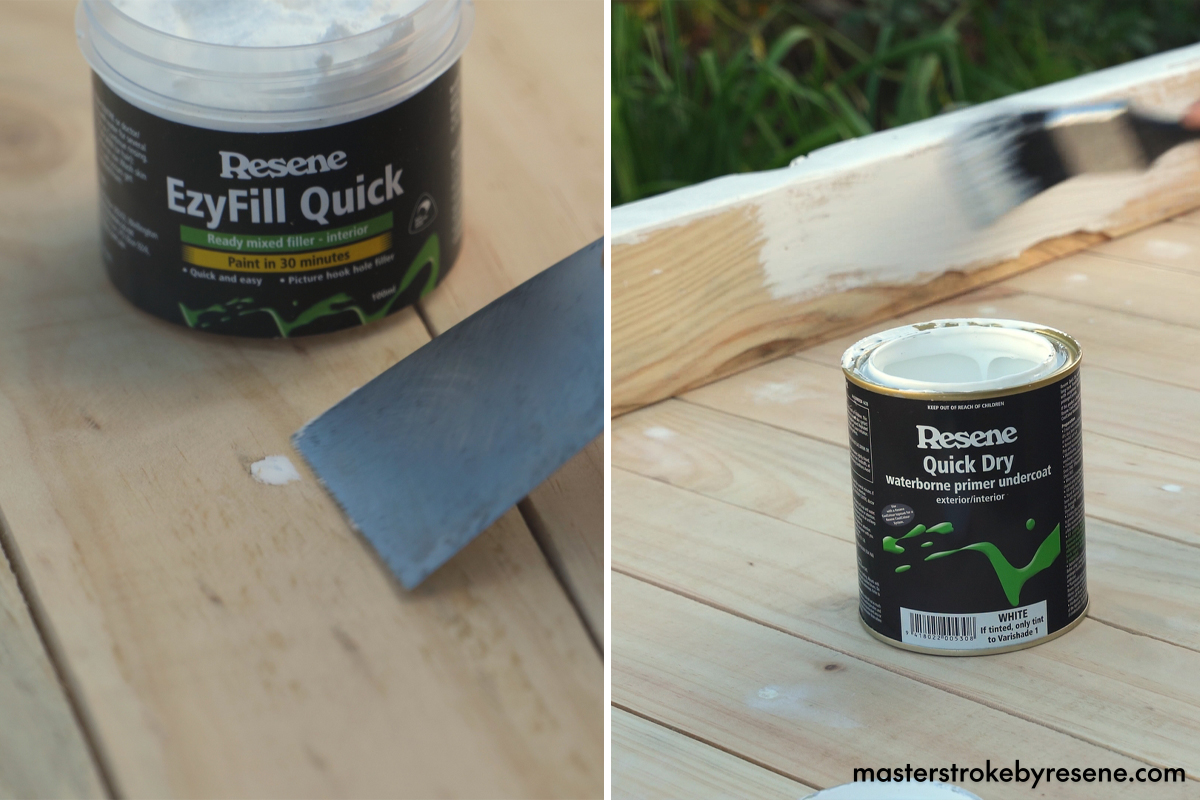
A very important part of the process is to wash the timber thoroughly first with Resene Timber and Deck Wash, which will give the table a professional looking finish. Another key aspect is to check your measurements are correct and the lines and angles are straight – this will ensure you won’t end up with a beer or wine in your lap! 

Upcycling old materials and reimagining them into brand-new, bespoke pieces is great for the environment, as well as an excellent way to hone your DIY skills. Luckily, free pallets are usually readily available – check with local bulk stores if they have any they can pass onto you. Or you could create this project with offcuts from another project. Set aside a weekend and follow these step-by-step instructions to create your very own DIY fence bar.

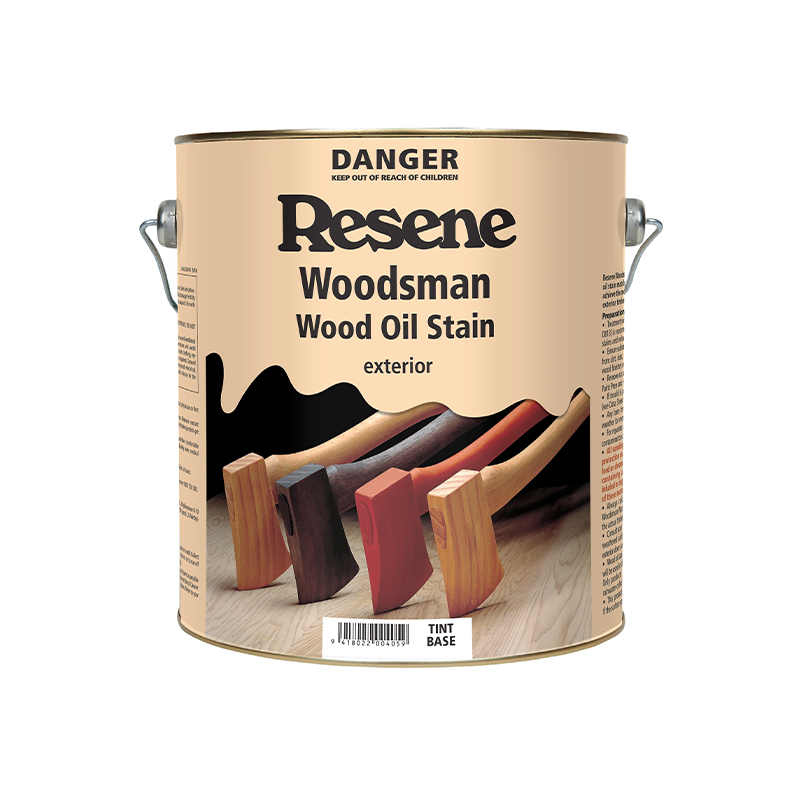
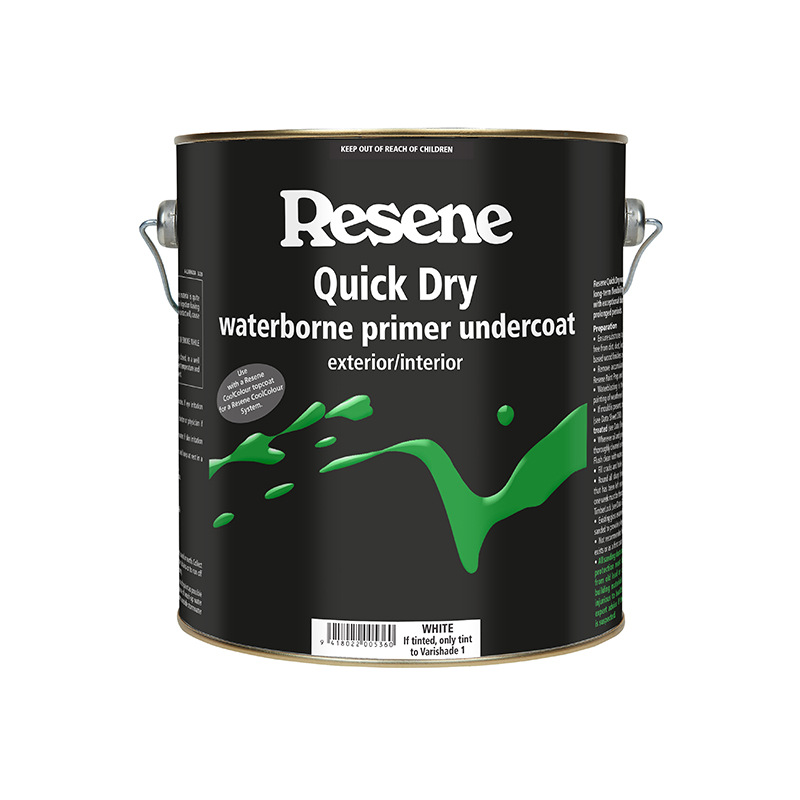
Top tip: If you prefer a wood stained finish, use Resene Waterborne Woodsman or Resene Woodsman Wood Oil Stain in place of Resene Quick Dry and Resene Lustacryl. If you’re choosing a dark colour, use the CoolColour version of the colour to help reflect more heat and keep your fence bar cooler.

  • Safety gear
  • Pencil
  • Circular saw
  • Car jack
  • Hammer
  • Stiff bristle broom
  • Tape measure
  • Speed square
  • Drop saw
  • Hand sander
  • Sanding pads (60, 120 and 240 grit)
  • Clamps
  • Drill driver
  • Scraper

From the deck boards cut the following lengths:

  • 14 x 500mm

From the stringer boards cut the following lengths:

  • 2 x 1080mm
  • 1 x 1000mm
  • 2 x 400mm

1

Dismantle the pallet

Place your first pallet down on a flat surface and cut along the inside of each outer stringer. Use a car jack to pry the deck boards from the middle stringer then remove the nails from each piece.

2

Clean the timber

Place all the timber boards down and clean thoroughly with Resene Timber and Deck Wash. Spray generously and use a scrubbing brush to remove any old dirt and mould, then rinse down with plenty of fresh water and leave to dry.

3

Measure your railing

To make sure the fence bar sits snugly on your particular balustrade, measure across before you cut the timber.

4

Cut the timber

Measure and cut your pallet boards to length according to the cut list. You may need to adjust our suggested measurements to suit your space.

5

Sand

Once the boards have all been cut, sand each to smooth and wipe away all sanding dust.

6

Make it fit

Cut spacers the same width as your balustrade and clamp them between the two 1080mm pieces. This will help ensure a tight fit – and will mean your drinks stay upright!

7

Table top

Attach a 500mm piece at each end, then position the remaining 500mm pieces between them and secure them with 30mm decking screws.

8

Short back and sides

To create the edge of the bar, position the 1000mm piece at the back with the two 400mm pieces on each end. Secure with 50mm decking screws.

9

Prep and prime

Once your structure is complete, fill any holes with Resene EzyFill Quick. Once dry, give it another sand and wipe away the sanding dust. 

Using a paintbrush, apply one coat of Resene Quick Dry waterborne primer undercoat to the entire structure.

10

Add some colour

Give everything one final sand before you start painting and make sure to brush or wipe away all sanding dust. 

Pour your Resene Lustacryl semi-gloss into a paint pail, which prevents any dirt or loose bristles from your paintbrush from potentially contaminating your entire paint can. 

Apply two coats of Resene Lustacryl, waiting at least two hours dry time between each.

11

Raising the bar

Slot your fence bar onto your balustrade and enjoy your brand-new outdoor furniture piece!

Tip: Repurpose some stools or deck chairs and paint them in a complementary Resene colour to match your fence bar. 

About MasterStroke by Resene
MasterStroke by Resene is here to help you master your paint and decorating DIY projects. Brush up on your skills with advice, tips and ideas from our trusted experts.

Check out the latest how-to videos on our YouTube channel.