DIY projects

How to build floating shelves

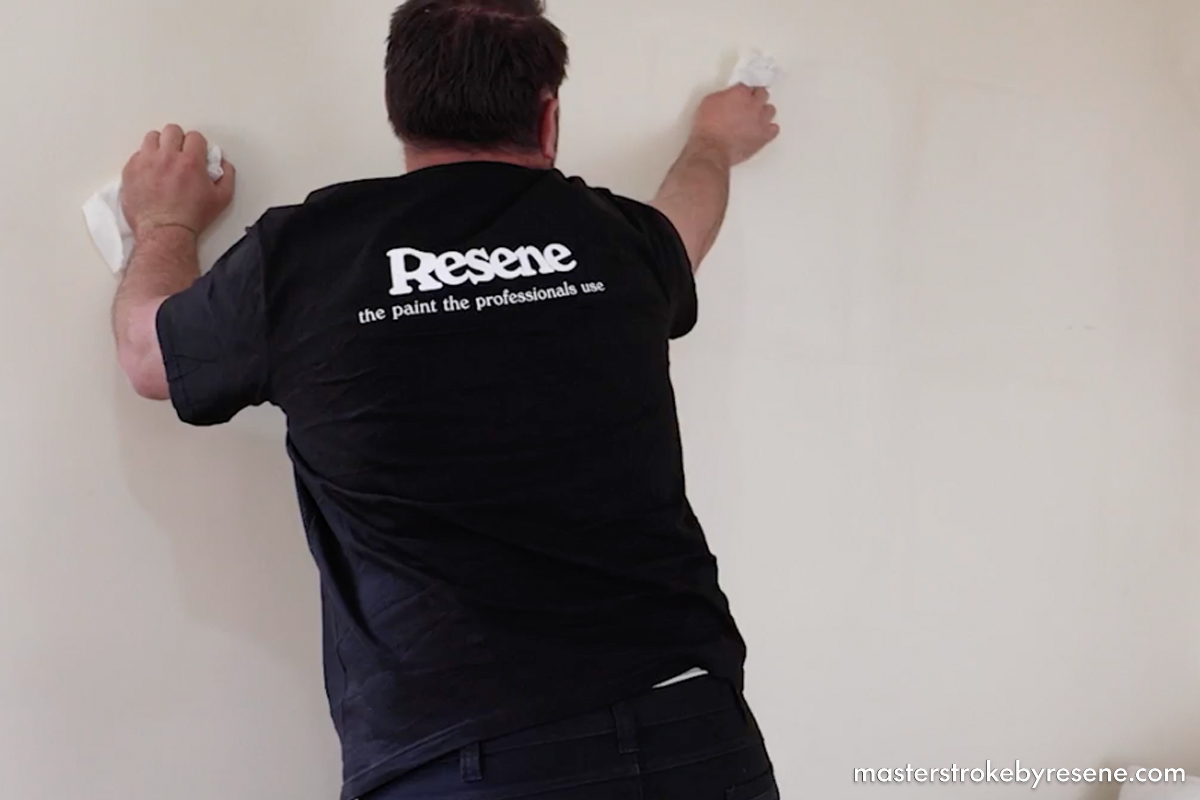
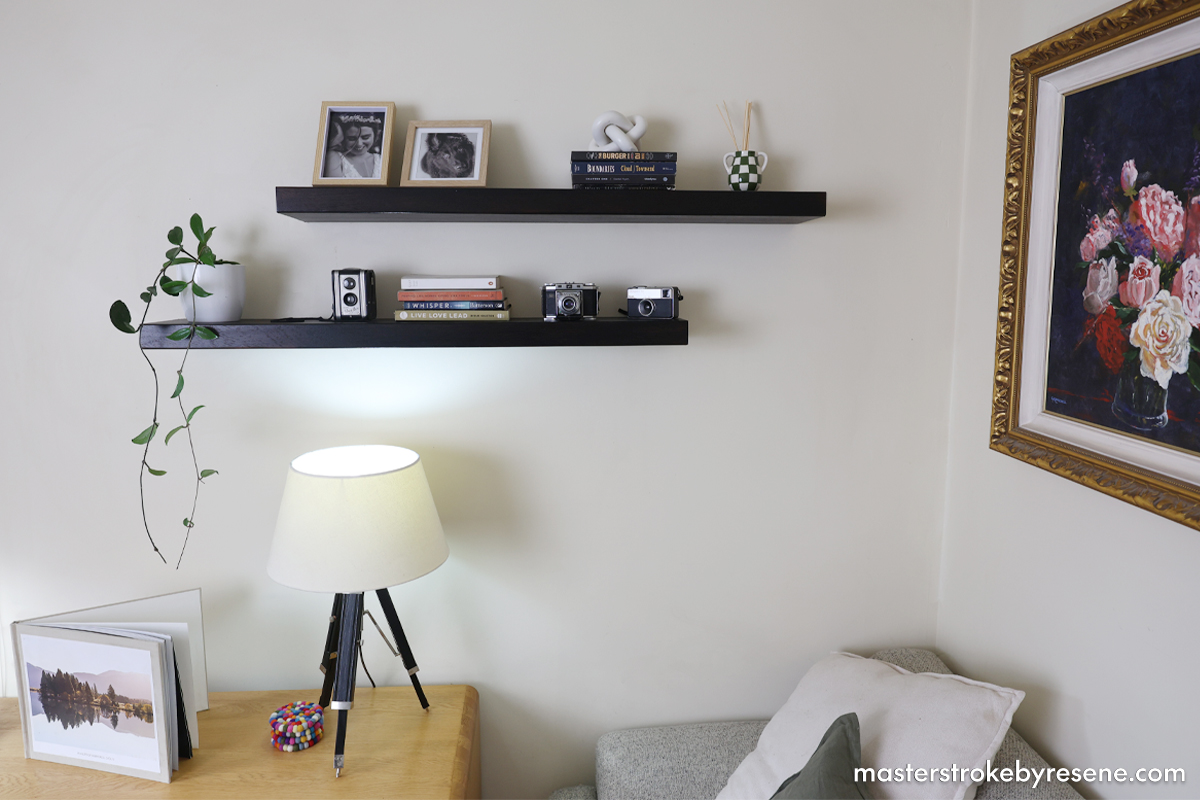
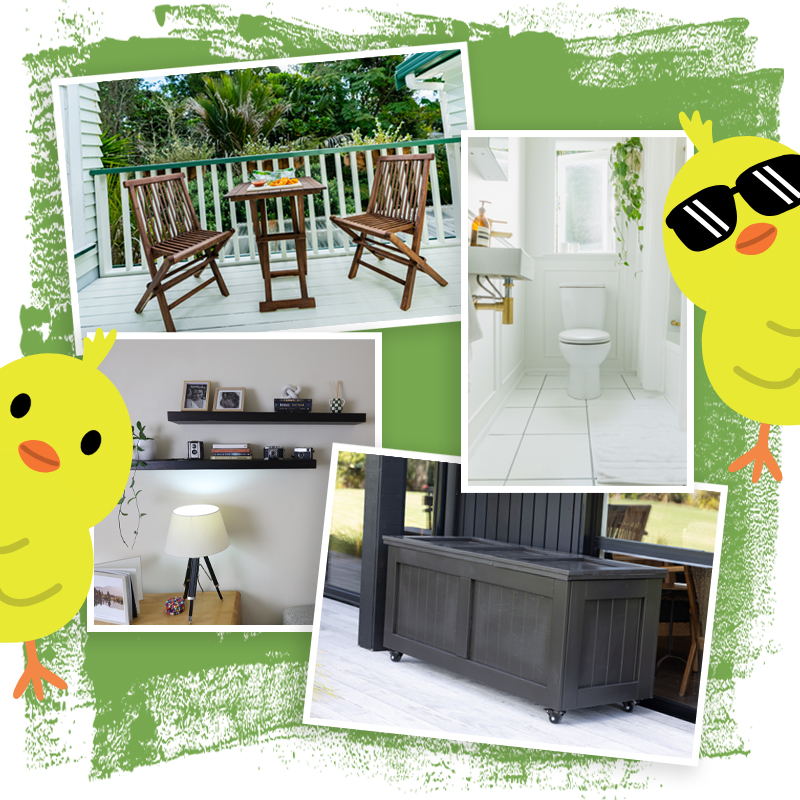
Floating shelves provide a practical storage solution in terms of space and are a great place to elevate your room by displaying  books, plants, photos and ornaments. They’re also a simple way to afford your room affordably and it’s a project that can be undertaken in a weekend. 

In this Odd Jobs project, Queenstown-based builder Josh Lysaght shows you how to build your own floating shelves and give them a professional looking finish with Resene Colour Enhance

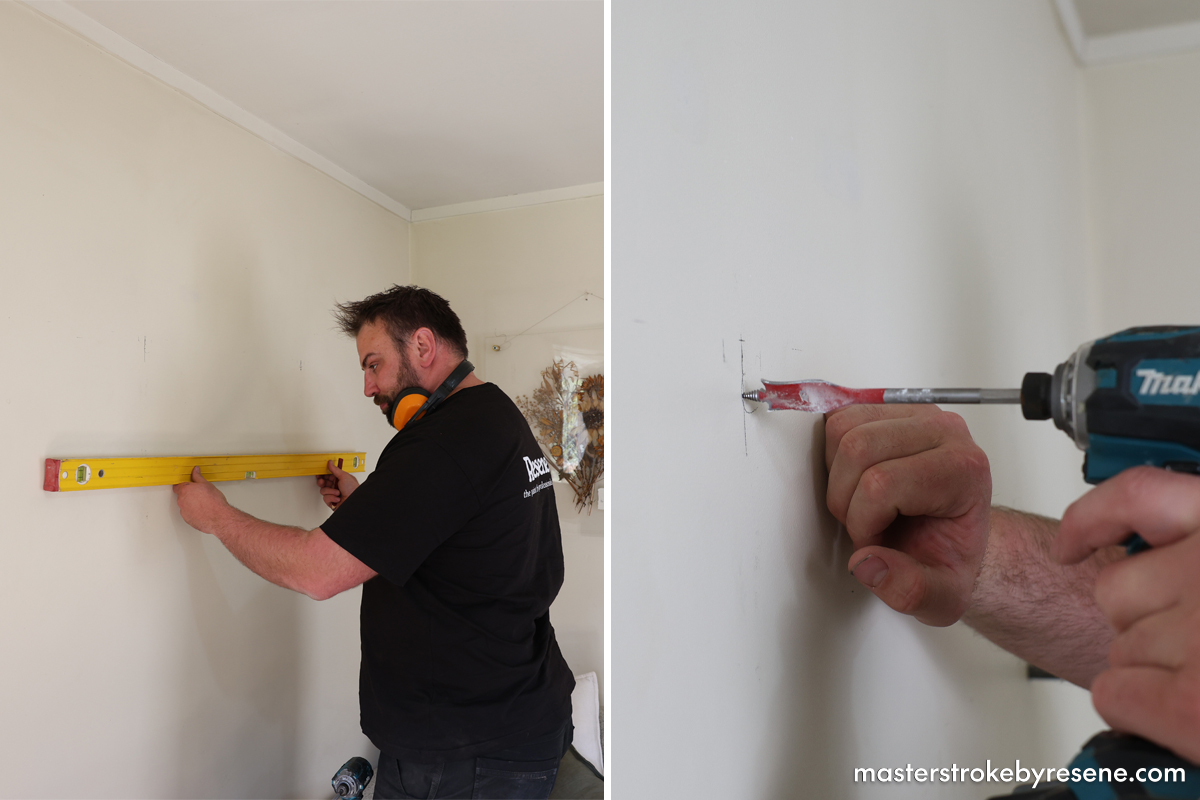
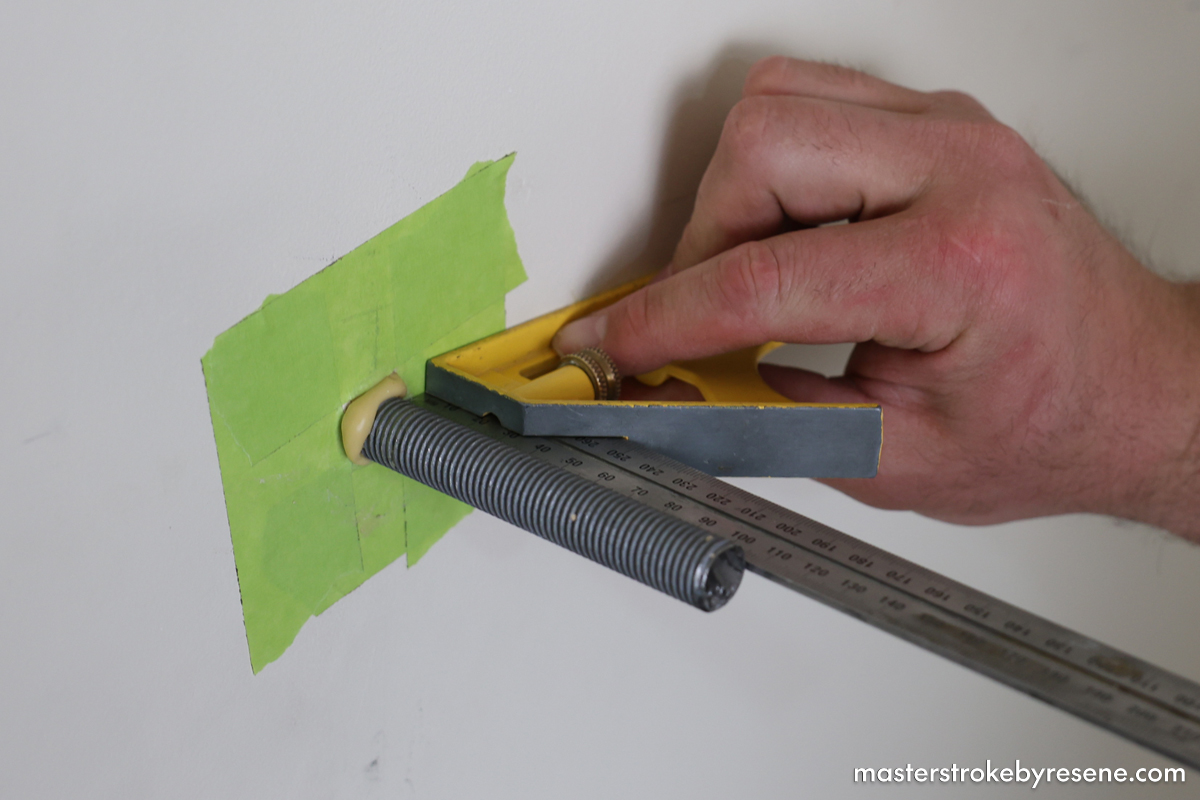
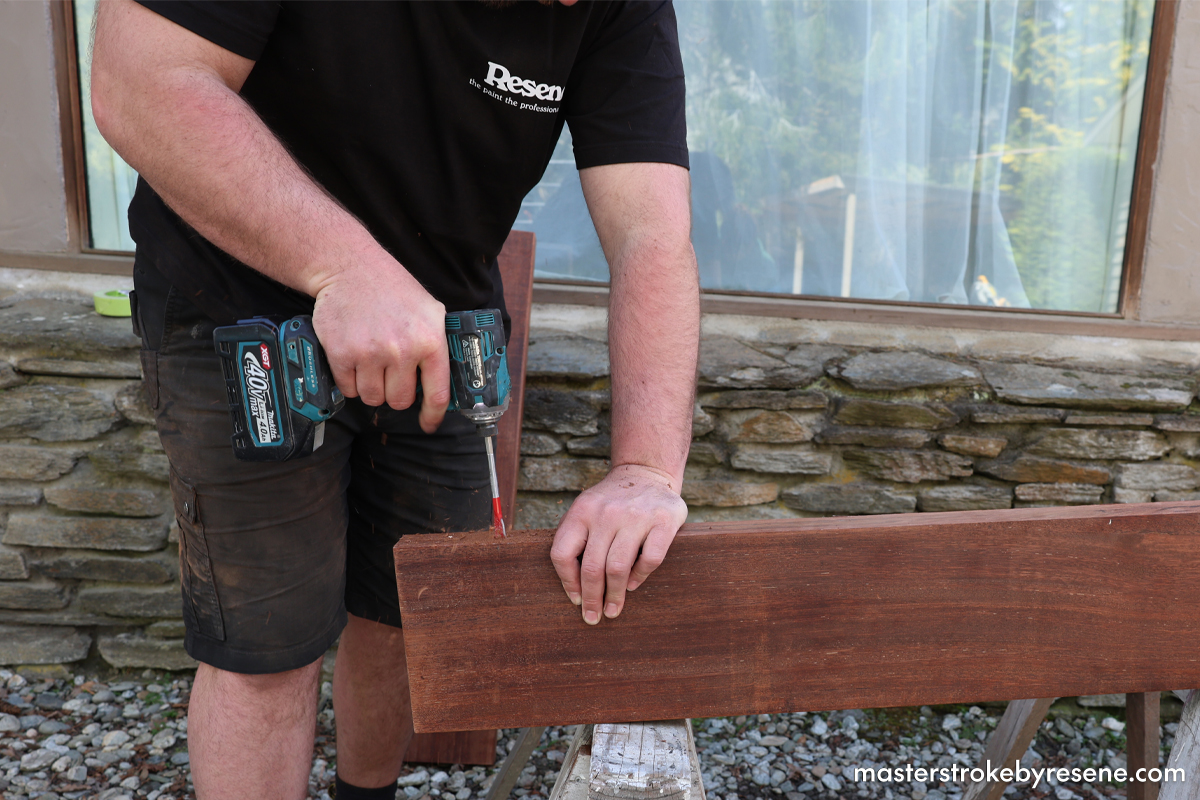
When you’re deciding where to place your shelves on the wall, it’s recommended to have them at eye level, where they become a focal point of the room. Josh built two shelves, which is ideal for the size of the room he’s working with. His method of installing the shelves using threaded rods optimises the weight tolerance, so you’re able to load them up with plenty of display items – within reason! 

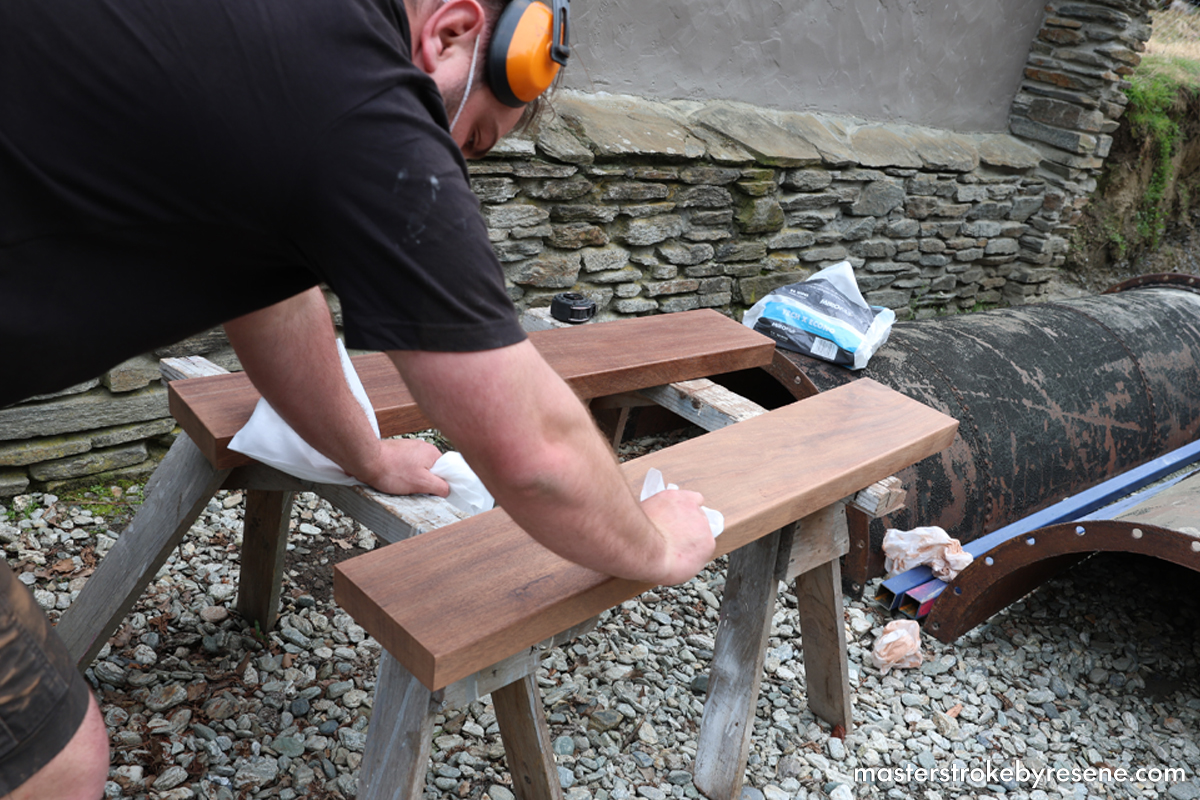
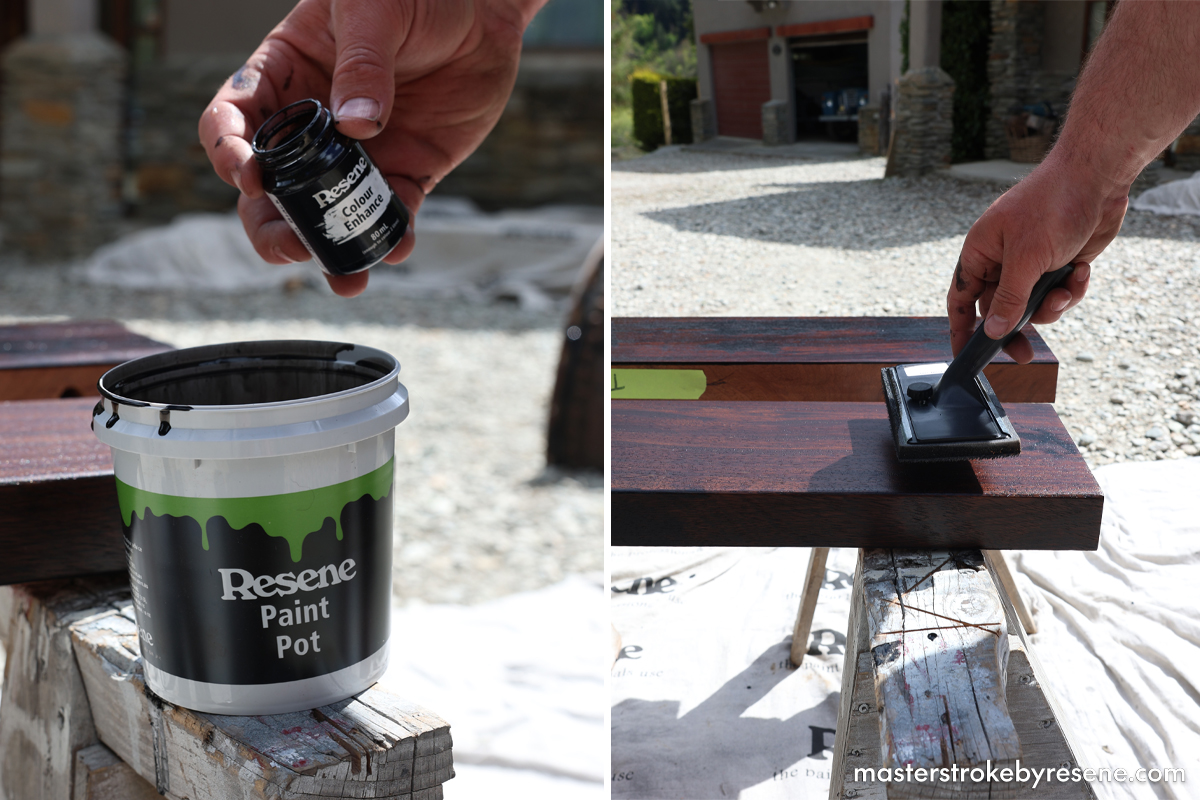
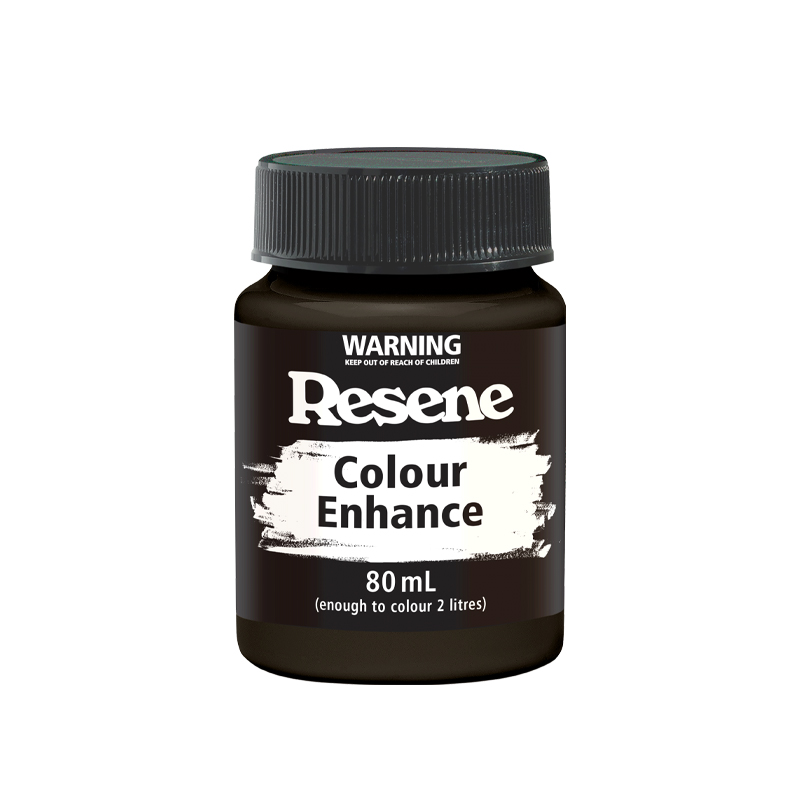
To coat his timber, Josh used Resene Aquaclear with Resene Colour Enhance Japan Black mixed into it. Resene Aquaclear is a waterborne interior varnish and comes in satin, semi-gloss and gloss finishes, and Resene Colour Enhance is a tint you can add yourself – think of this as tinted varnish. It is surface forming, so it can go over anything from bare timber on walls, ceilings, floors and furniture to already varnished surfaces and adding Resene Colour Enhance also gives you more control over your final colour. If you want a lighter look add less Resene Colour Enhance. If you want a darker look add Resene Colour Enhance into multiple coats of Resene Aquaclear until you are happy with the look.

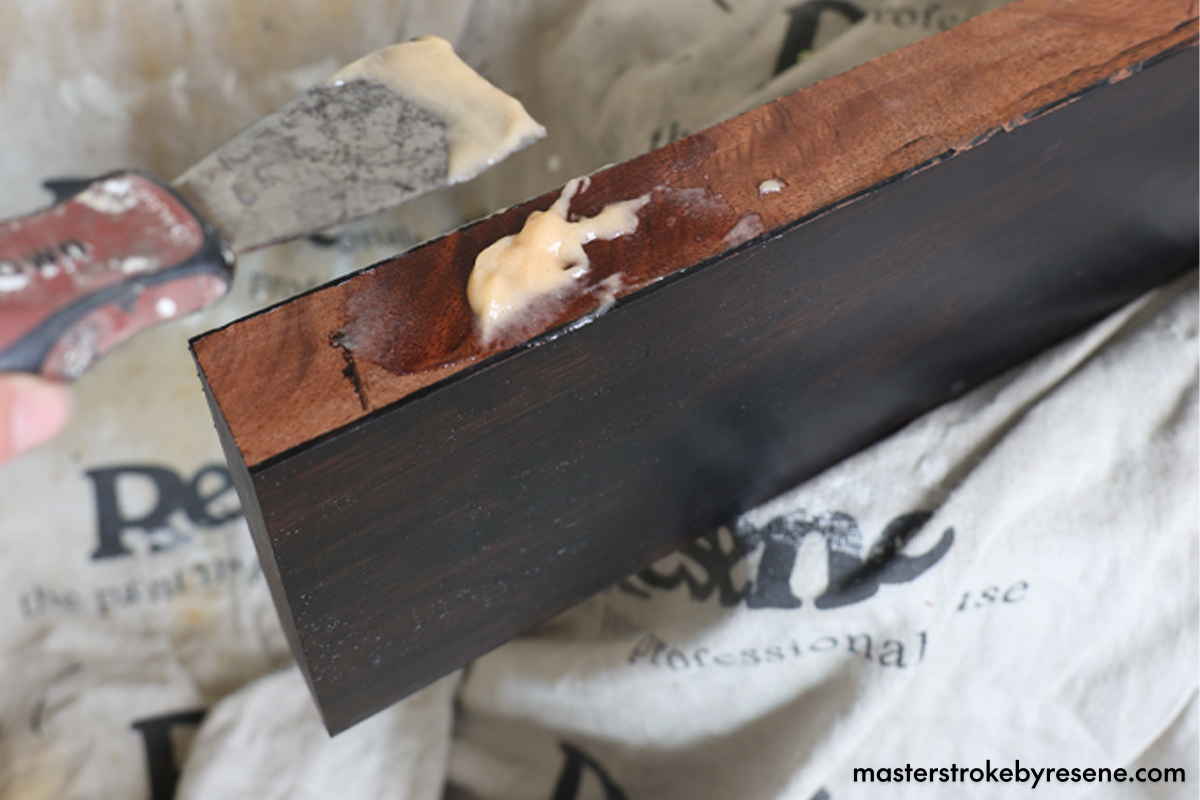
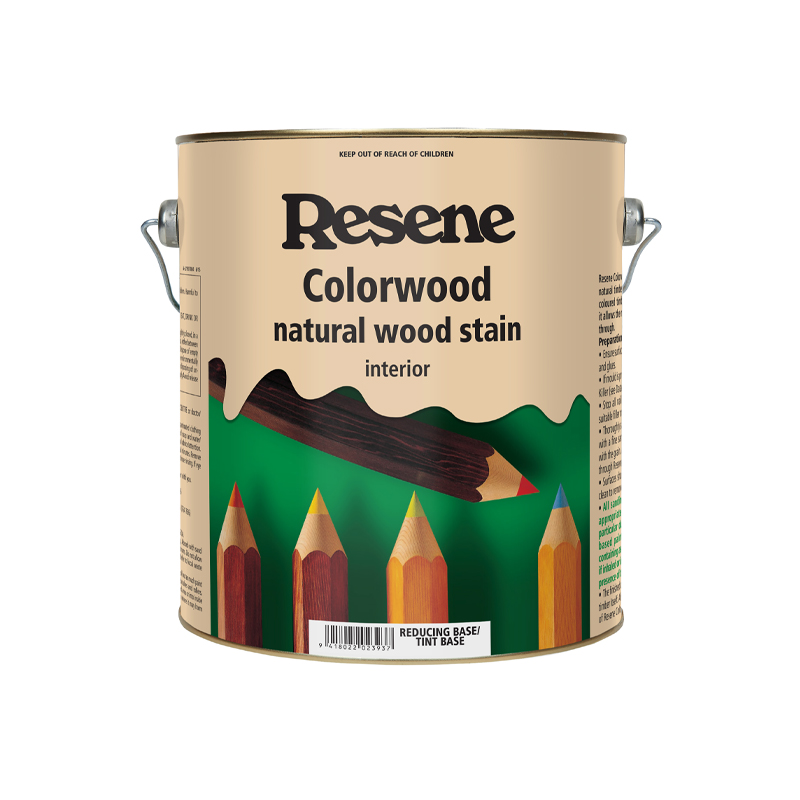
If you prefer to stain the surface directly, you could use Resene Colorwood instead. It’s a waterborne interior penetrating stain that can only be used on bare timber and sinks into the grain. This product does not sit on the surface, so it’s best to overcoat it with a varnish or polyurethane like Resene Aquaclear for cleanability. For more information about clears and stains and to explore all the colour options, check out the Resene website or head into your local Resene ColorShop to chat to a staff member.

Making your own floating shelves is a weekend project that can be undertaken simply with the right tools and Resene products – plus you’ll have bragging rights that you built the shelves from scratch!

  • Ruler and measuring tape
  • Pencil 
  • Level 
  • Drill and drill bits 
  • Angle grinder 
  • Hammer 
  • Circular saw or drop saw 
  • Hand sander 
  • Putty knives

1

Prepare the wall

Once you’ve decided where you want to place your shelves, clean the surface of your chosen wall with Resene Interior Paintwork Cleaner or cleaning wipes to create a clear canvas.

2

Shelf placement

Measure and mark out with a pencil exactly where your shelves are going to go, then hammer in nails to mark out the spots.

Once you’re happy with the placement, drill 16mm holes into the wall – this is where the rods will be inserted to hold up your shelves.

3

Cut and insert rods

Measure and cut your threaded rod into four 190mm lengths. Slot the rods into the holes in the wall.

Mask around the holes with painter’s tape, then fill the holes with construction adhesive to secure the rods and ensure they are level.

4

Cut timber

Measure your timber and cut it to size using a drop saw, then give it a good sand, making sure to wipe away all the sanding dust. Make sure you wear safety gear when sanding and wiping away sanding dust.

5

Drill timber holes

Mark out and drill 16mm holes in both shelves and check if they fit into the rods in the walls.

6

Coat your shelves

In a paint pot, mix Resene Colour Enhance (Josh used Resene Japan Black) with Resene Aquaclear, giving it a good stir.

Pour your mixture into a roller tray then use a speedbrush to apply two coats to your shelves, allowing dry time between coats.

7

Install the shelves

Use a putty knife and an old piece of timber to mix up your builder’s epoxy, then fill the holes in the timber shelves. While the epoxy is still wet, slot the shelves onto the threaded rods and allow the epoxy to cure.

8

Take a shelfie

There you have it! Your floating shelves are ready to be adorned with all your precious items, pictures and plants.

Top tips:

  • To create ‘invisible’ floating shelves, continue your wall paint colour onto your shelves.  This will help them blend in with the wall.
  • In a kid’s room, use a bold contrasting colour in Resene Lustacryl semi-gloss or Resene Enamacryl gloss to add a fun feature to their room.
  • For a natural look wood finish, clear finish the shelves in Resene Aquaclear satin.
  • You can create floating shelves to use outside your home too, for areas such as outdoor rooms. Coat them in Resene Waterborne Woodsman for a stained finish or Resene Lumbersider Low Sheen, Resene Lustacryl semi-gloss or Resene Enamacryl gloss for a painted finish.
  • The higher the sheen level the easier your shelves will be to dust later. A good compromise can be to use a satin or semi-gloss finish that is easy to wipe clean but isn’t as reflective as a gloss finish.

About MasterStroke by Resene
MasterStroke by Resene is here to help you master your paint and decorating DIY projects. Brush up on your skills with advice, tips and ideas from our trusted experts.

Check out the latest how-to videos on our YouTube channel.