DIY projects

How to build a craft desk for your kids

Seasoned-renovators Alice and Caleb Pearson continue transforming their forever family home in Auckland’s Stillwater. They’ve dubbed the project That 70s Reno as a nod to the origins of the sprawling residence, and they’re currently undertaking a non-demolition makeover with Resene paint and wallpaper and planning to save a major do-up for the future. 

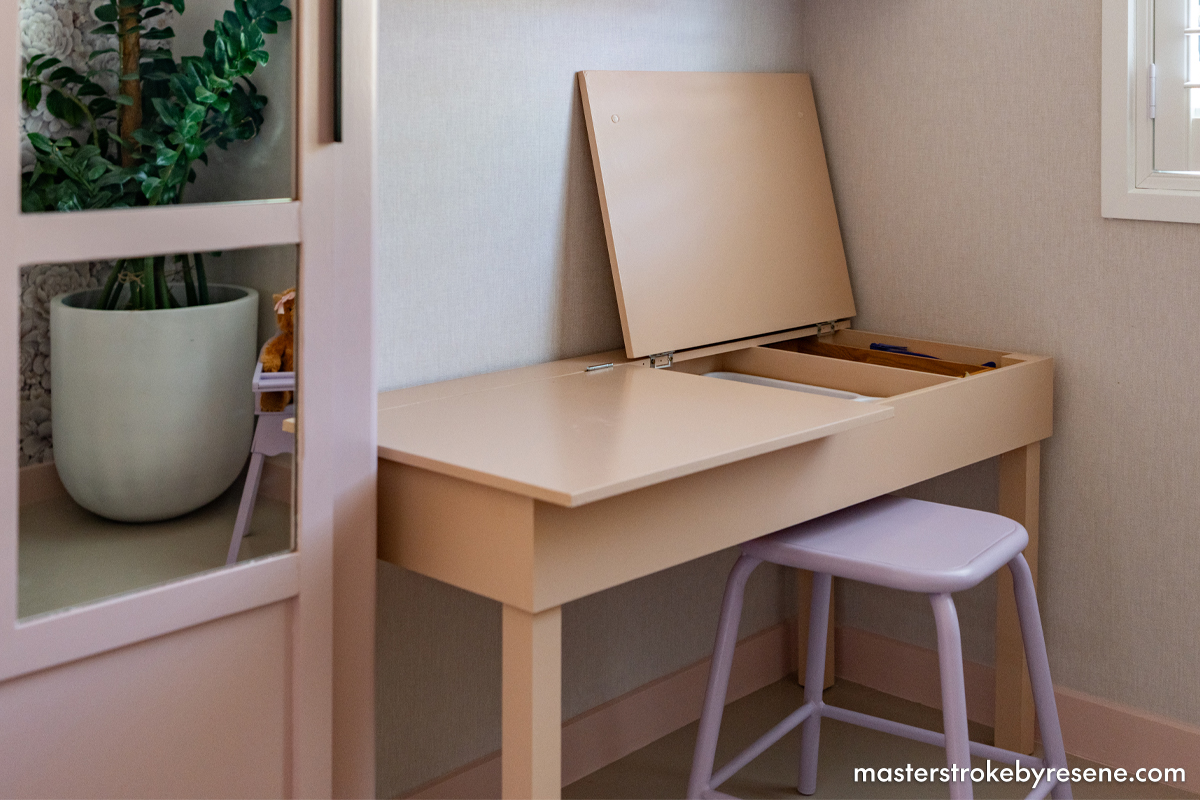
Their latest task was to give their daughter Blake’s room a major spruce-up, and as well as fresh paint and paper in the ‘pink paradise’ she requested, Alice and Caleb have elevated the space with some new custom-built features. This includes new wardrobe doors and a cool craft desk to fit the area beside the wardrobe. 

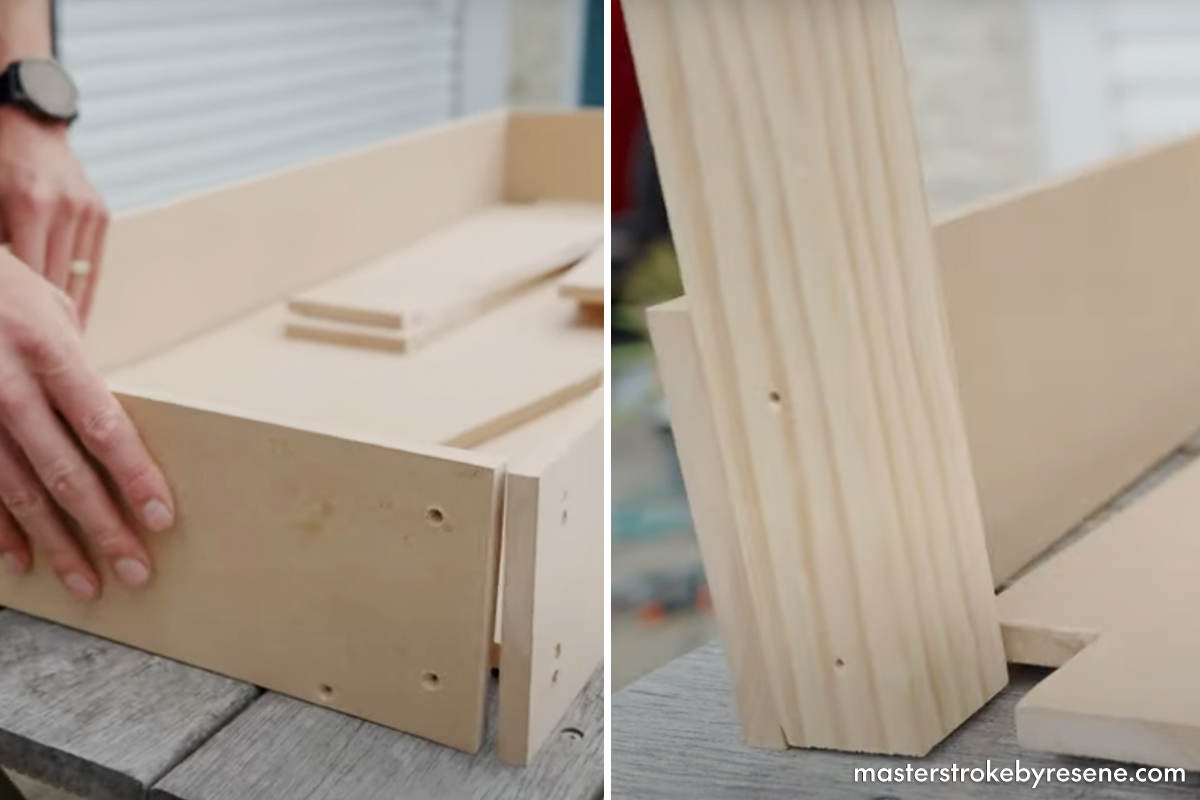
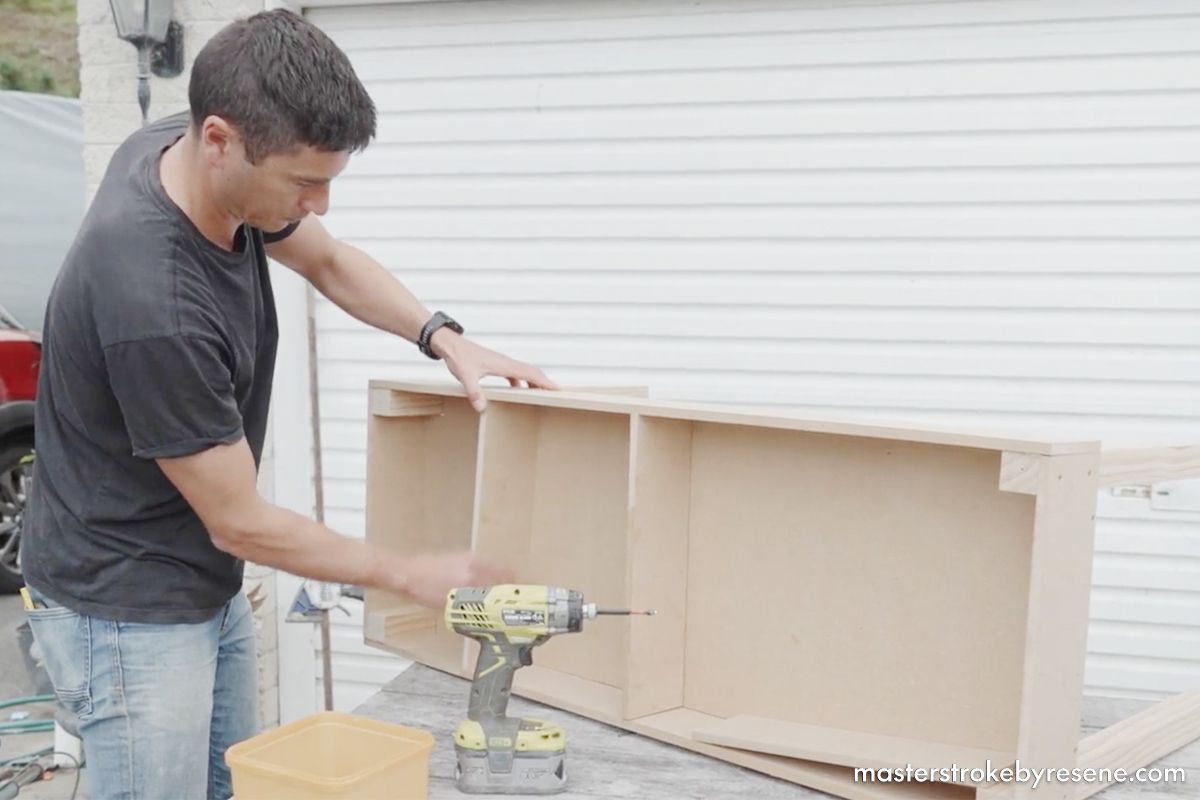
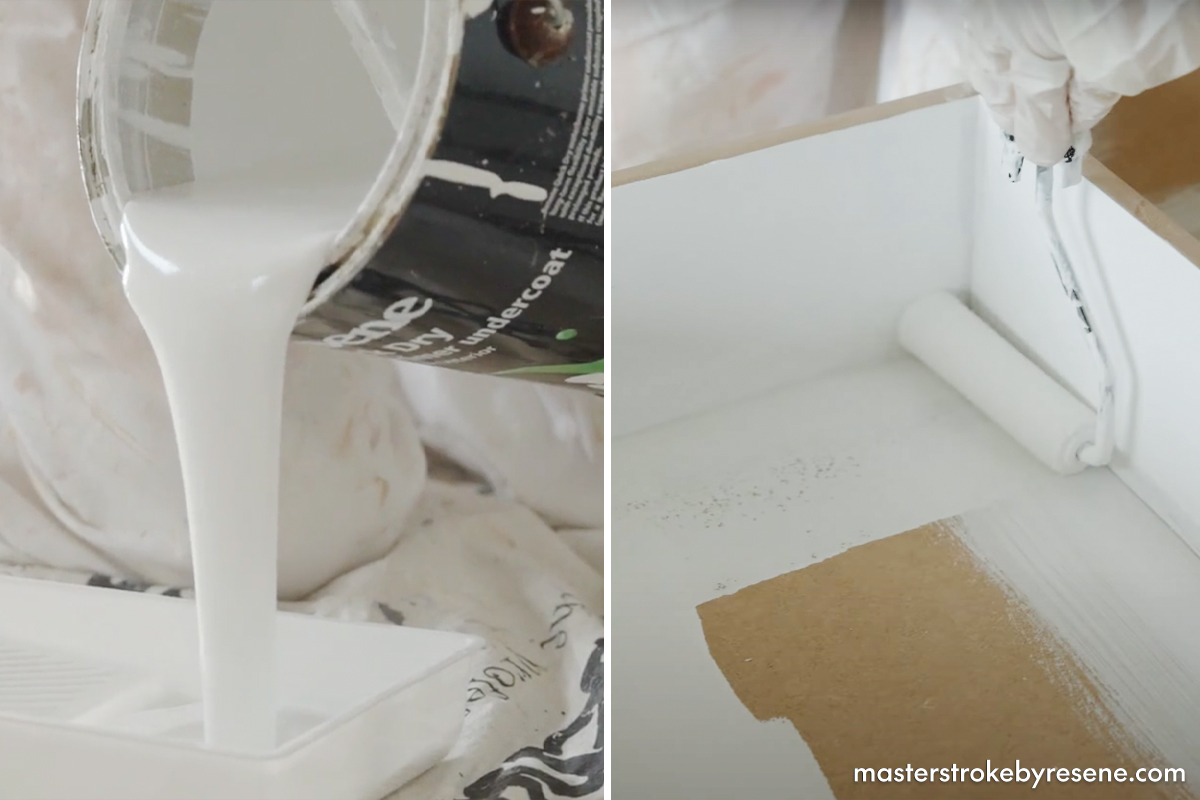
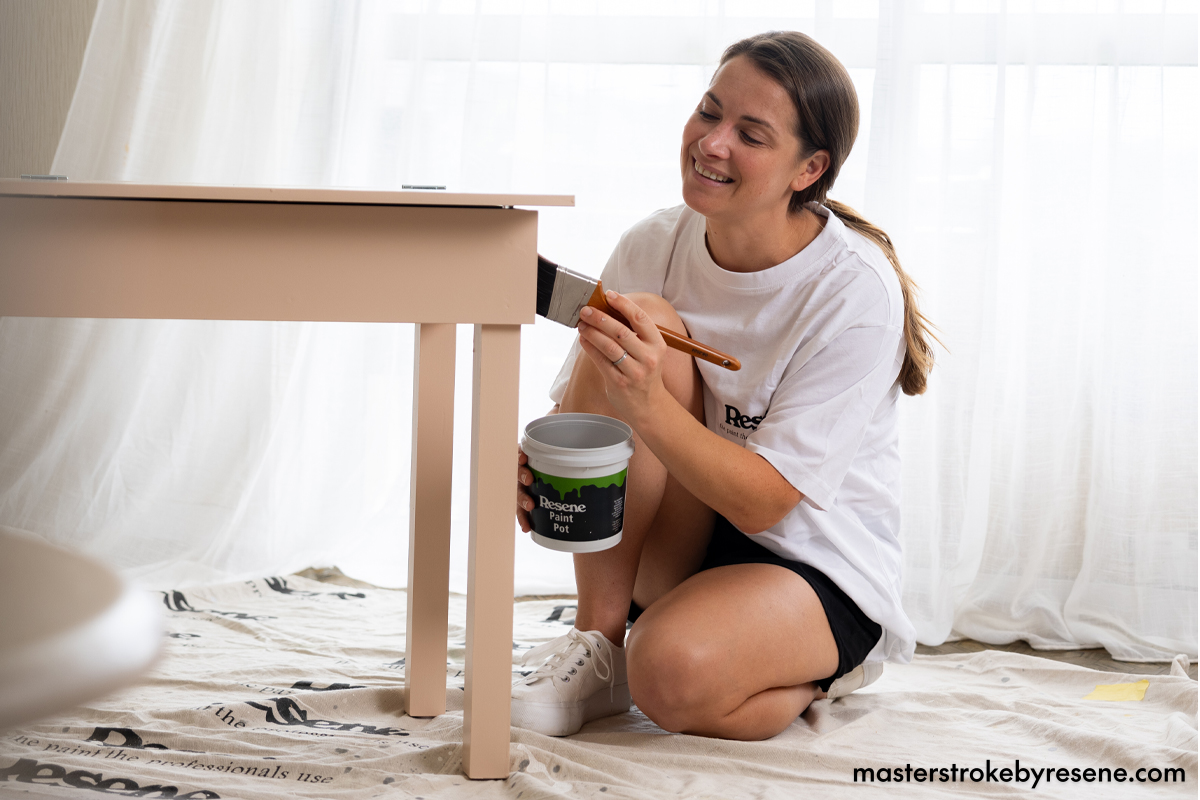
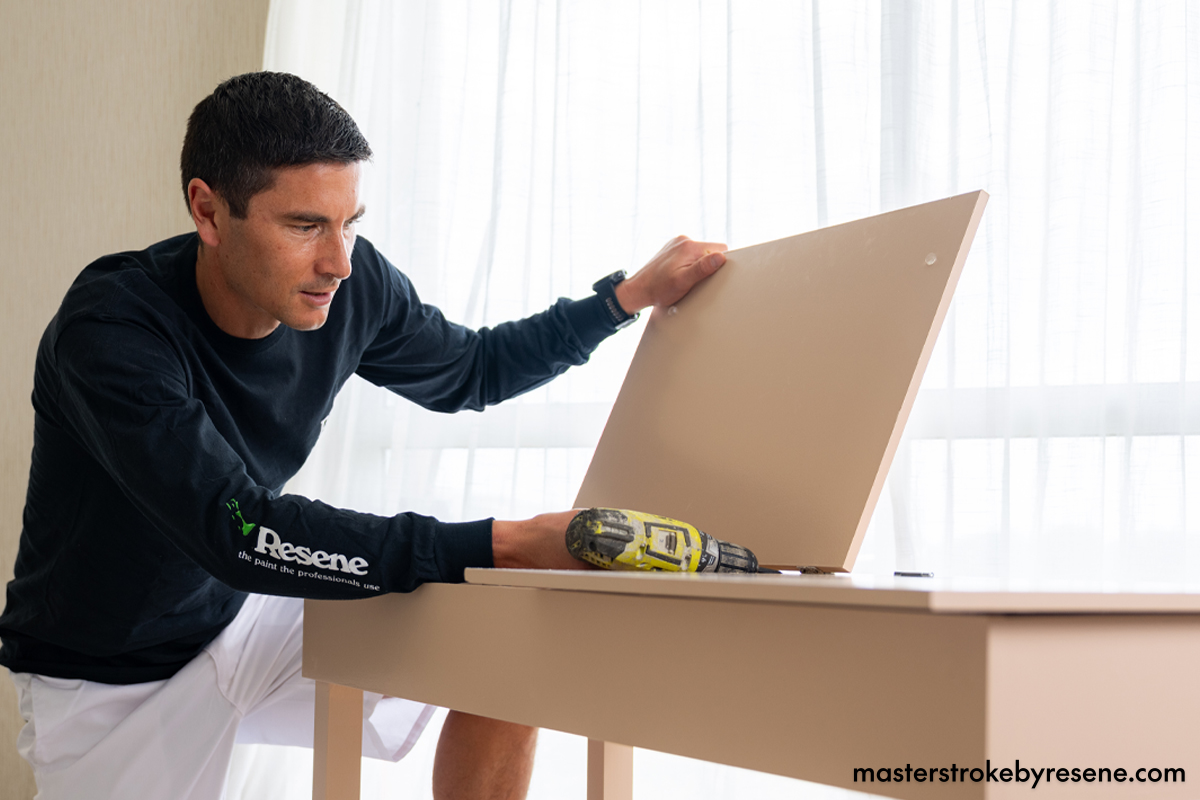
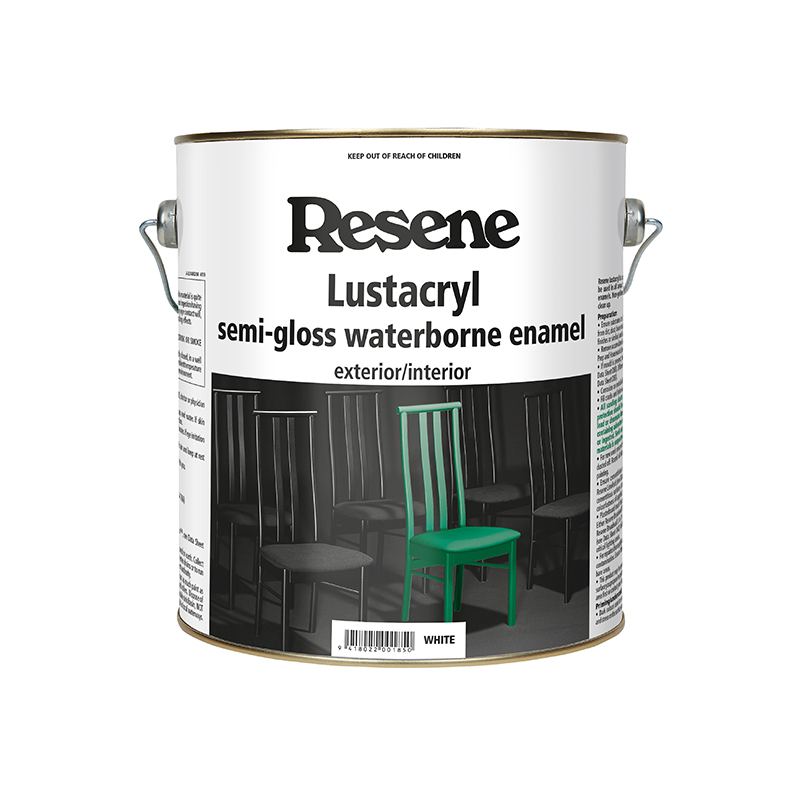
“She’s really into crafts lately, so my task was to make a desk that’s going to fit her space perfectly,” says Caleb. He used MDF and sturdy pine to build the desk and gave it a two-part lid before Alice coated the whole piece with Resene Lustacryl semi-gloss waterborne enamel in Resene Cashmere, a dusty coral pink that works beautifully with the room’s colour scheme. Using Resene Lustacryl is the perfect choice for the desk – its semi-gloss finish makes it pop in Blake’s room, plus the Eco Choice-approved paint is super easy to keep clean. 

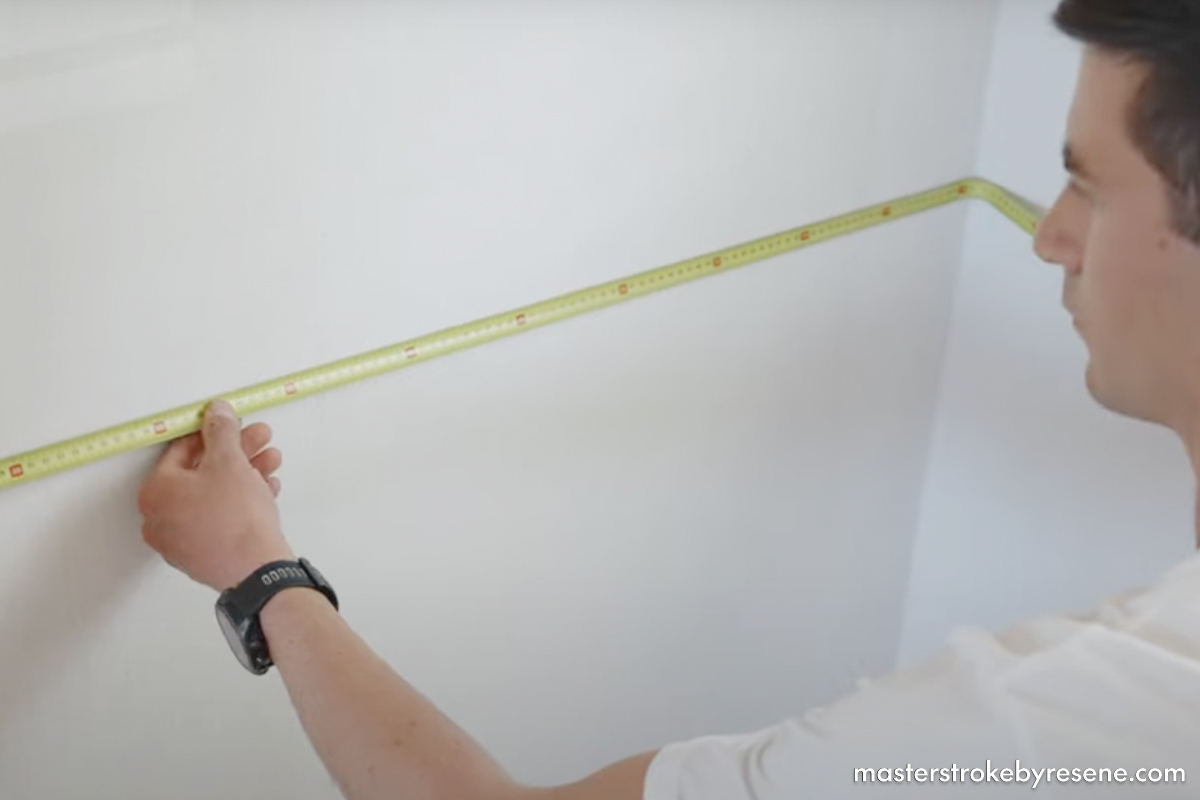
Caleb has customised the desk to fit Blake’s room’s measurements, so once you’ve measured your space, you’ll be able to follow along with the step-by-step instructions and make your own. This is a practical, stylish craft desk with plenty of storage that’s perfect for little creatives.

1

Measure the space

Measure your space and decide on the overall dimensions of the desk, taking into consideration the height and the size of the storage compartments underneath.

2

Measure and cut timber

Measure and cut out all your pieces of MDF. Remember: Measure twice, cut once! 

Then cut the pine legs to the right length and make cut-outs in the desk base so the sides can be attached to the legs securely and fit snugly.

3

Assemble the pieces

To avoid splitting the MDF, which can be delicate, pre-drill all the screw holes, then use screws to join the pieces together.

4

Divide and conquer

Add dividers to create separate storage compartments – these handy partitions are great for organising supplies and adding extra strength to the desk.

5

Fill and sand

Once the desk is assembled, use Resene EzyFill Quick to fill all the screw holes. Once dry, sand all the areas of filler and the desk edges to get it ready for painting. 

Tip: Use a vacuum cleaner to get rid of every last speck of dust and dirt from the desk or wipe with a damp cloth if you prefer. Dust will adversely affect the look of your paint job and can even contaminate your paint pot.

6

Prime

Lay out your drop cloth and pour your Resene Quick Dry into a paint tray – this is the perfect primer for new timber. Use a small roller to make the job simpler and quicker.

7

Paint

Pour your Resene Lustacryl into your paint tray and apply two coats, waiting the recommended drying time between each coat.

8

Finishing touches

Because this desk is 1200m wide, Caleb split the desk lid into two sections. This makes it easier for little arms to lift and means one side can be used closed and flat for crafting, while still being able to access the storage on the other. These pieces need to also be cut, primed and painted, then attached with hinges.

9

Finished product

Move the craft desk into place and it’s ready for little artists to get creative.

Walls in Resene Botanica Wallpaper Collection 33954 and Resene Botanica Wallpaper Collection 33963, wardrobes and shelves in Resene Lustacryl in Resene Soul Searcher, floor in Resene FX Metallic in Resene Bedrock and sealed with Resene Concrete Wax and desk stool in Resene Lustacryl in Resene Lola.

Top tips for craft desks:

  • Higher sheen finishes are easier to wipe clean. Use Resene Lustacryl semi-gloss waterborne enamel, or for a higher sheen use Resene Enamacryl gloss waterborne enamel.
  • If your craft table is more for art than craft, paint a section of the tabletop in Resene FX Blackboard Paint or Resene FX Chalkboard Paint so your child can draw on it using chalk.
  • If you prefer a more natural look table, stain your timber with Resene Colorwood and finish with Resene Aquaclear waterborne urethane varnish.
  • You can create a kid’s craft table for outdoor play too. Finish it in Resene Lustacryl to protect it outside or for a stained finish use Resene Waterborne Woodsman.
  • Use a bold Resene colour or wallpaper inside the desk for a fun surprise. 
  • Get your children involved in helping to choose their favourite colours – you could even let them help with the painting!

Another children’s storage project to try

This sturdy and stylish shelving unit is the perfect size for displaying books, bags and other treasures. Creating these shelves is an easy weekend project to help your children personalise and organise their space. They can use the shelves for their favourite books and soft toys, and the coat rack is ideal for hanging school bags and jackets. Having shelves and hooks at a lower height will help your kids find their things easily and encourage them to put them away each day.

These ones are coated with Resene Colorwood Rock Salt and Resene Half Merino but you can decorate yours any way you want. Your kids can choose from a rainbow of colours in the Resene Multi-finish and Resene Colorwood ranges – get creative!

Check out the step-by-step instructions to make your own, or watch this how-to video.

About MasterStroke by Resene
MasterStroke by Resene is here to help you master your paint and decorating DIY projects. Brush up on your skills with advice, tips and ideas from our trusted experts.

Check out the latest how-to videos on our YouTube channel.