DIY projects

Build a woodwork table for your kids

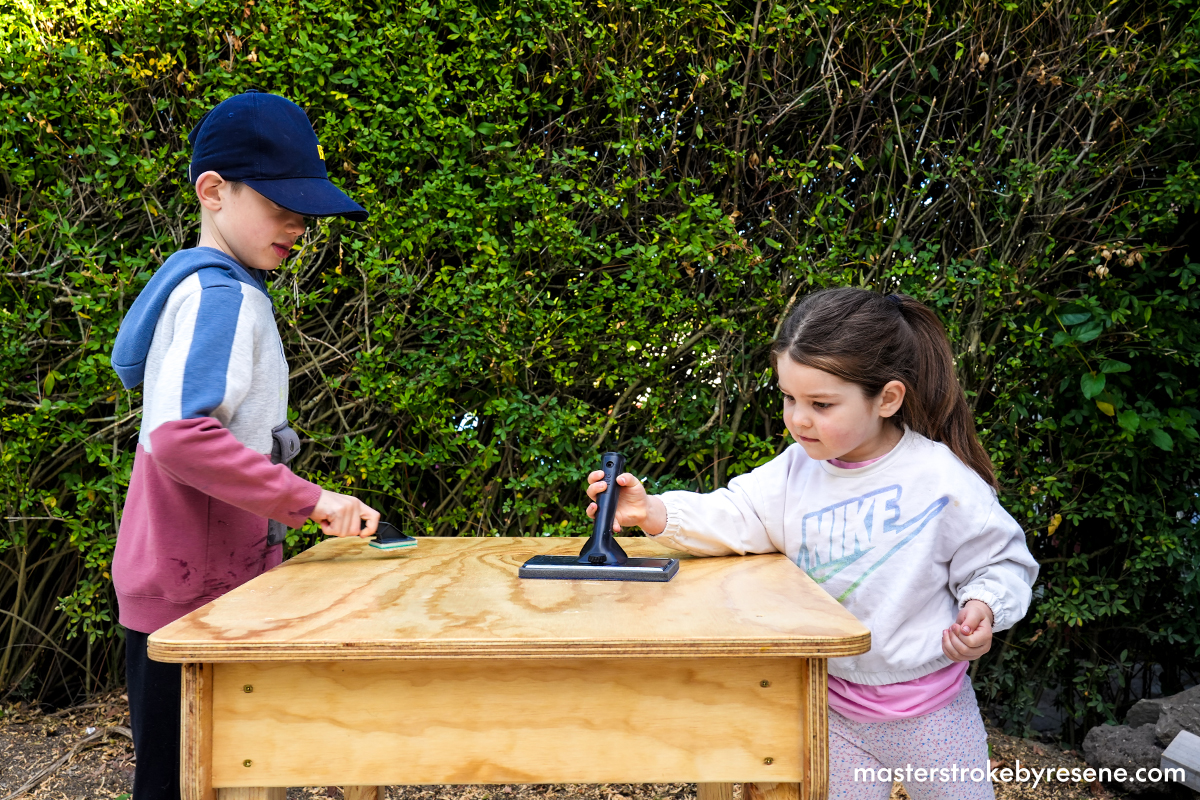
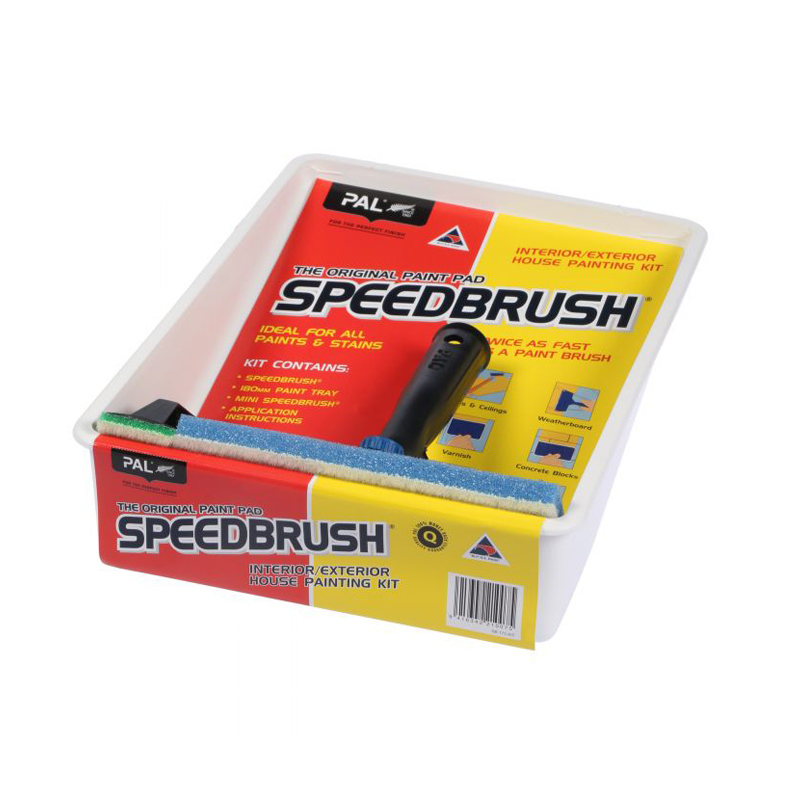
Qualified builder Chris Donnelly (Ngāti Maniapoto) is raising two budding DIYers and is making them their own woodwork table. This practical timber table is the perfect place for kids to fine-tune their skills, get a feel for tools and experiment with arts and crafts. It’s sturdy enough to withstand all kinds of messy play and is sealed with Resene Aquaclear waterborne urethane varnish, which makes the table easier to clean.  

As well as improving fine motor skills, play-based learning is a great opportunity for children to gain valuable experience that supports their social, physical and cognitive development. Through engaging with others, objects and symbols, children learn to make sense of the world around them. 

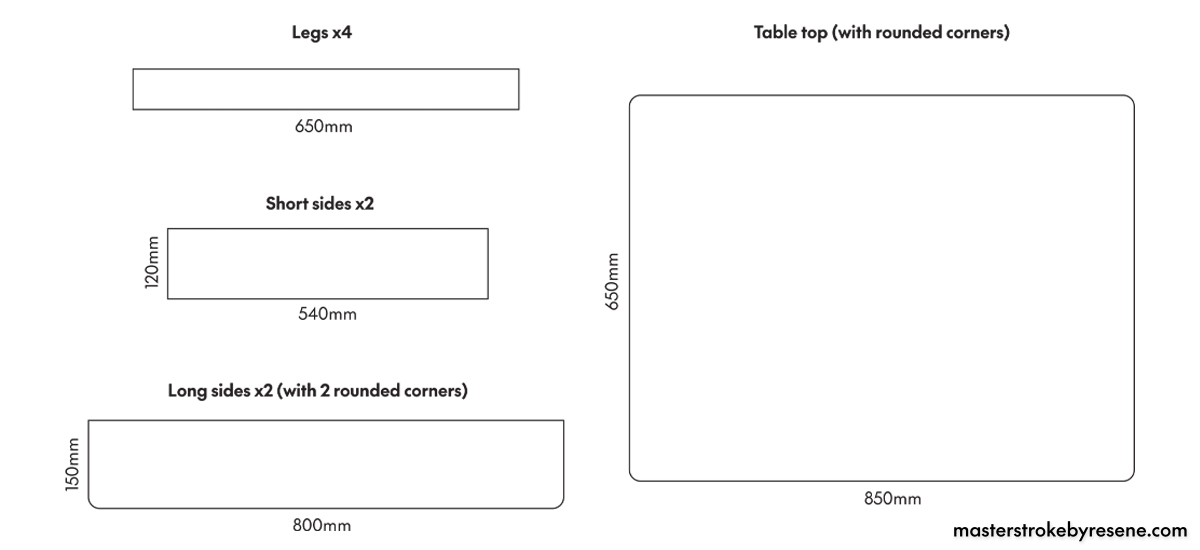
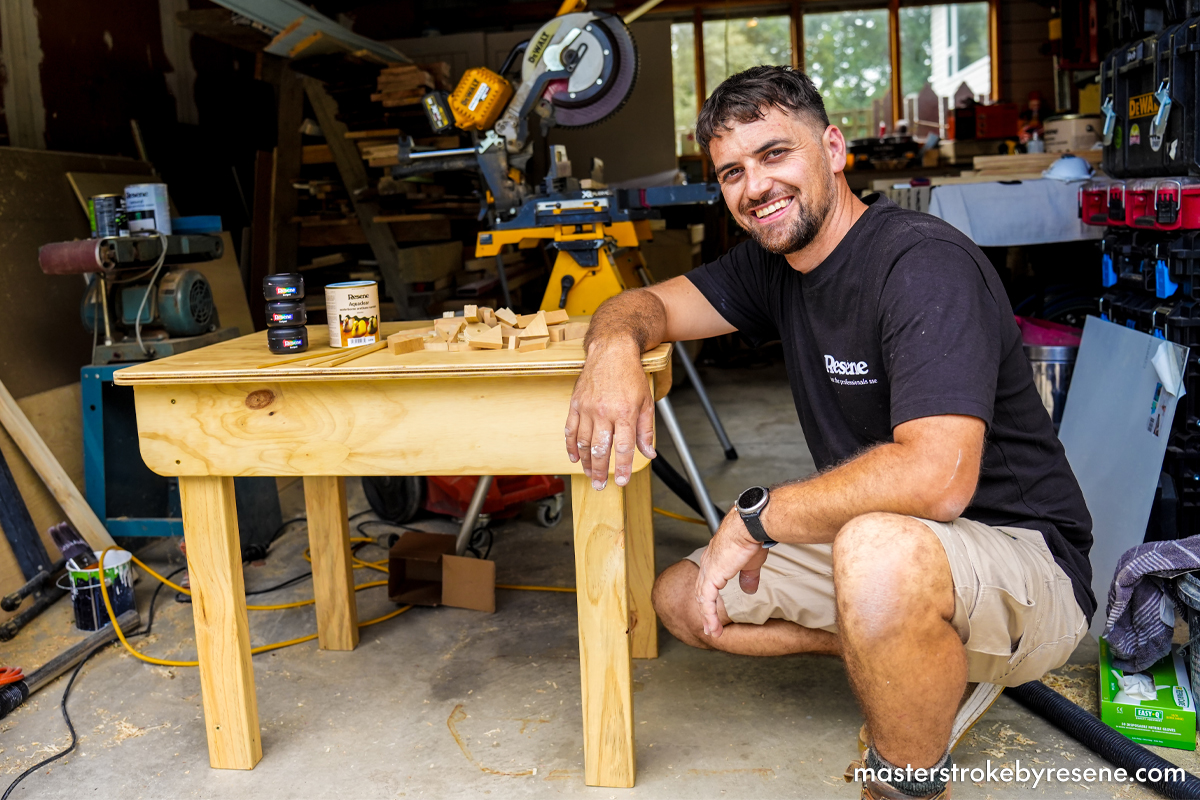
Chris says that when he was a kid, he had one of these tables and as well as fostering his love of woodworking, he cites it as a big reason for him becoming a builder. His kids are eight and four, so Chris has based the measurements of the table’s legs on their heights. Do the same for your children to create an appropriate height for your table. 

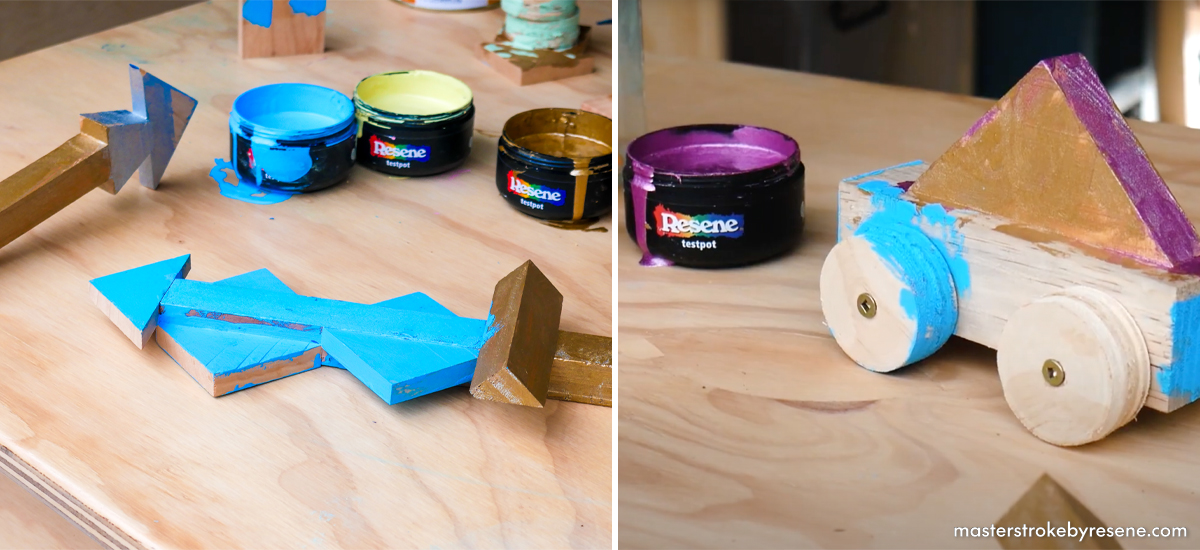
Top tip: If your kids are more into artwork than building, paint the tabletop using Resene FX Blackboard / Chalkboard Paint so they can draw all over it in chalk.  When they’re ready to draw new pictures simply dust off the chalk and they can start drawing their new chalk masterpiece.

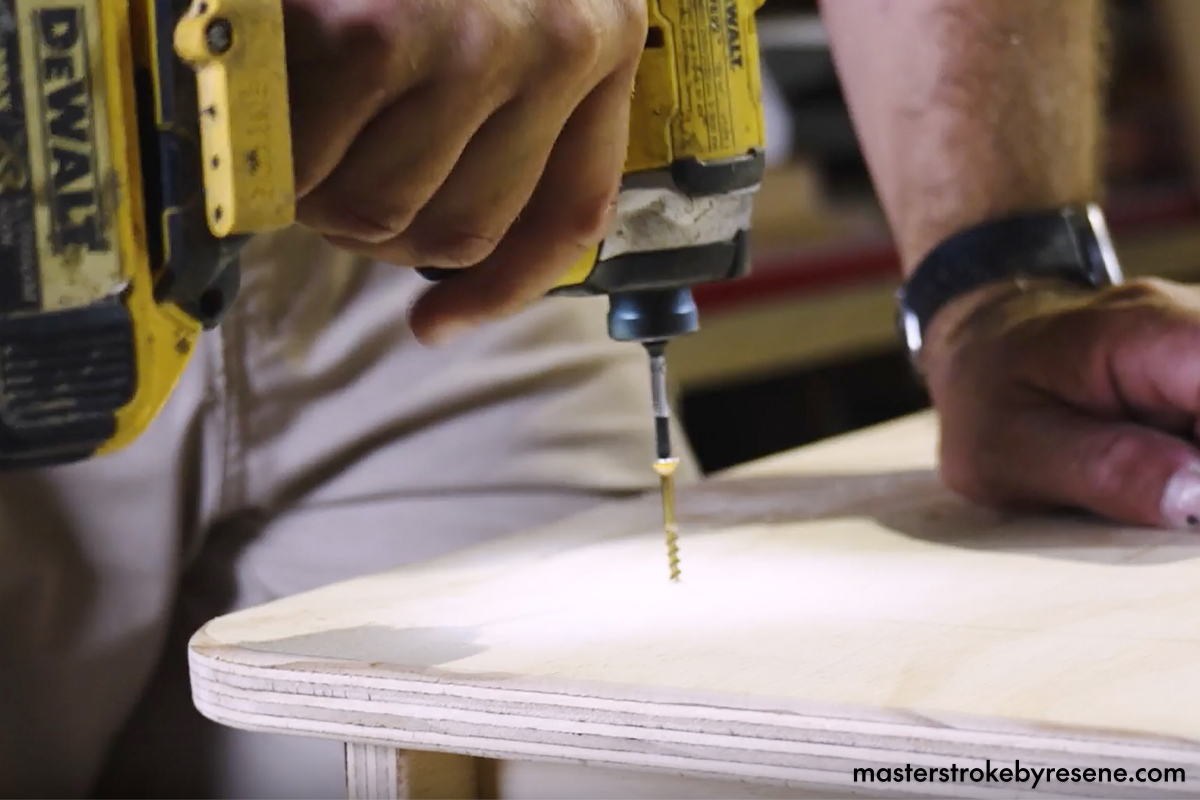
Follow the step by step instructions below to make your kids their own creation station.

  • Router
  • Jigsaw
  • Sandpaper
  • Impact driver
  • Screws

Cut list

1

Cut legs

Cut four legs to your desired height. Chris cut his to 650mm which is the perfect height for his kids to work at.

Use a router to round off any sharp edges. Doing this step will enhance the overall design and look of the table. 

If you don’t have the right tools to cut your timber yourself, you can buy it cut to the correct size.

2

Cut tabletop and sides

The tabletop is going to be 850mm x 650mm, which provides plenty of space for two kids to work alongside each other. 

Measure out the four sides that are also needed. Cut two sides at 540mm x 120mm and two at 800mm x 150mm.

3

No sharp corners here!

Round off the edges of the tabletop and sides with a jigsaw, then router the bullnose around the edges of the tabletop and the exposed edges on the sides to prevent any potential knocks or injuries to little people. Give the surfaces a quick sand once you’re finished and wipe away sanding dust.

4

Start assembling

Now you’re ready for assembly. Start with the short sides and attach them to the legs by screwing them together. Go 30mm in from each end and make sure it’s square as you go. Work your way around until all four sides are attached.

5

Top it off

Once your last side is attached, you’re ready to secure the tabletop. Screw it down into the centre of the legs.

6

Sand

Take the table outside and give it a really good sand all over and make sure to always wear your safety gear during this process. 

Get rid of the sanding dust – Chris used a leaf blower to make life easy – then give it a thorough wipe down with a damp cloth.

7

Varnish

Coat the table with Resene Aquaclear waterborne urethane varnish, which is perfect if you want a natural look that lets the beauty of the timber shine through, but still looks polished and is easy to keep clean. 

Top tip: The first coat needs up to 10% water added to it. 

Use a speedbrush to apply the product. This is where the kids can pitch in and give you a hand. Pour Resene Aquaclear into a paint tray and give your kids a speedbrush each. This makes application quick and easy for them.

Thoroughly paint the bottom of your table, then turn it over carefully and paint the top. Leave that to dry, then apply a second coat – this time you don’t need to add water. After that, you can add as many coats as you like.

8

Done

When your final coat of Resene Aquaclear is dry, it’s time to let your junior DIYers enjoy their brand new table and create some masterpieces!

The kids will love getting creative at their new woodwork and art station! Table finished with Resene Aquaclear, testpots in Resene Picton Blue, Resene Illuminate, Resene Gold Dust and Resene Sugar And Spice.

About MasterStroke by Resene
MasterStroke by Resene is here to help you master your paint and decorating DIY projects. Brush up on your skills with advice, tips and ideas from our trusted experts.

Check out the latest how-to videos on our YouTube channel.