DIY projects

How to make a timber headboard

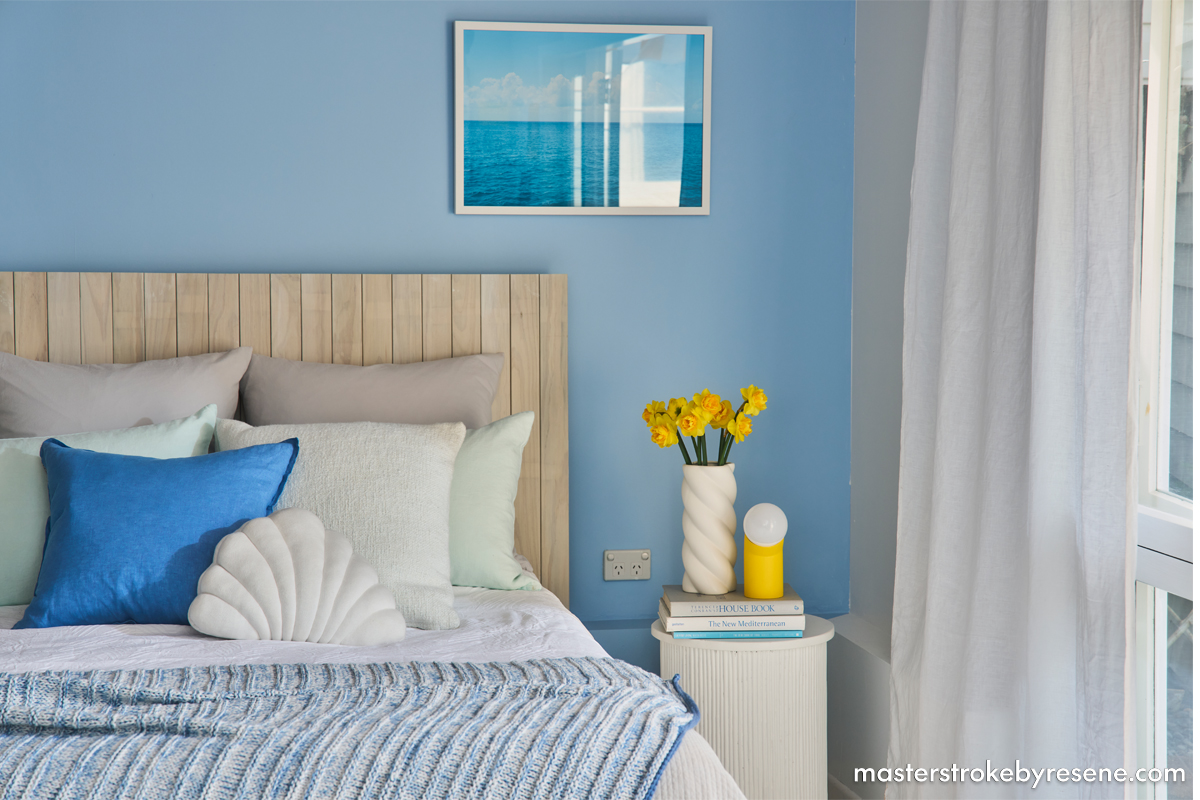
Your bedroom is your sanctuary – a place to rest, relax, reset and recharge. There are many different ways you can curate your space to create the vibe and ambiance you’re after, from decadent and cocooning to bright and uplifting. Making a piece of custom furniture – and painting or staining it in Resene colours – is another great way to personalise your room in a budget-friendly way.

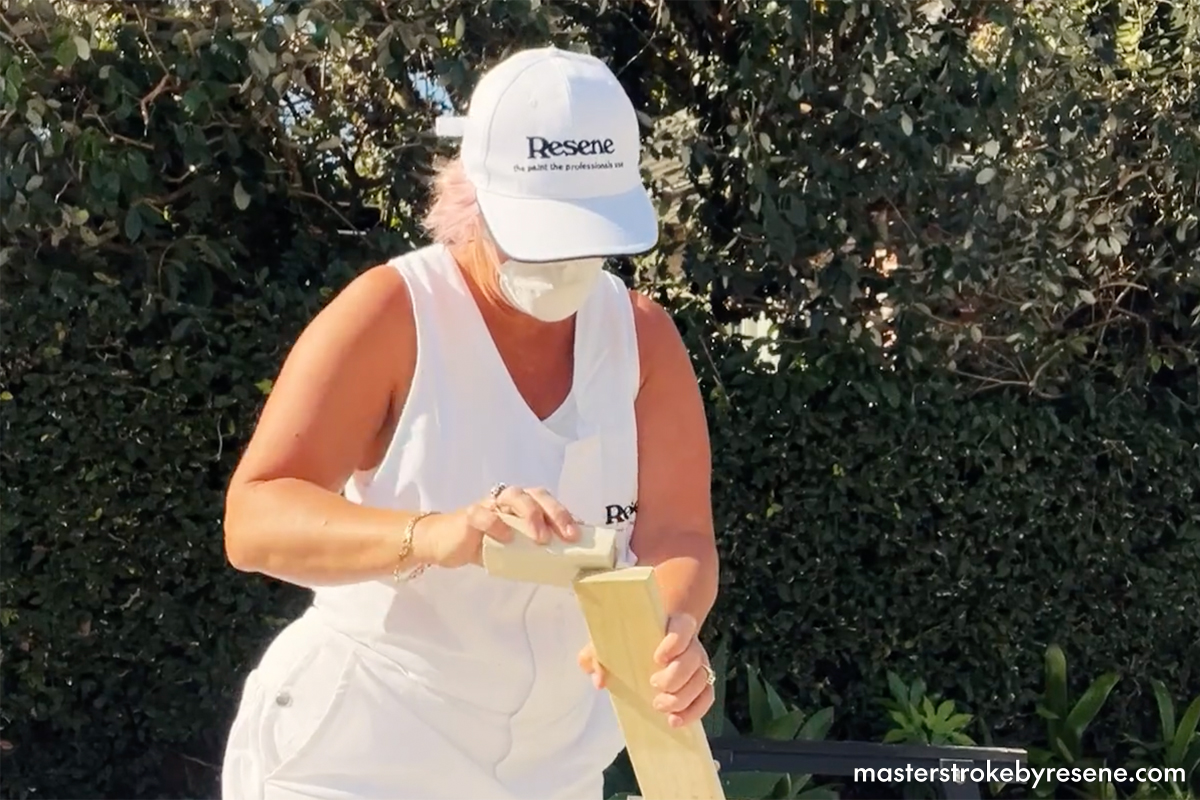
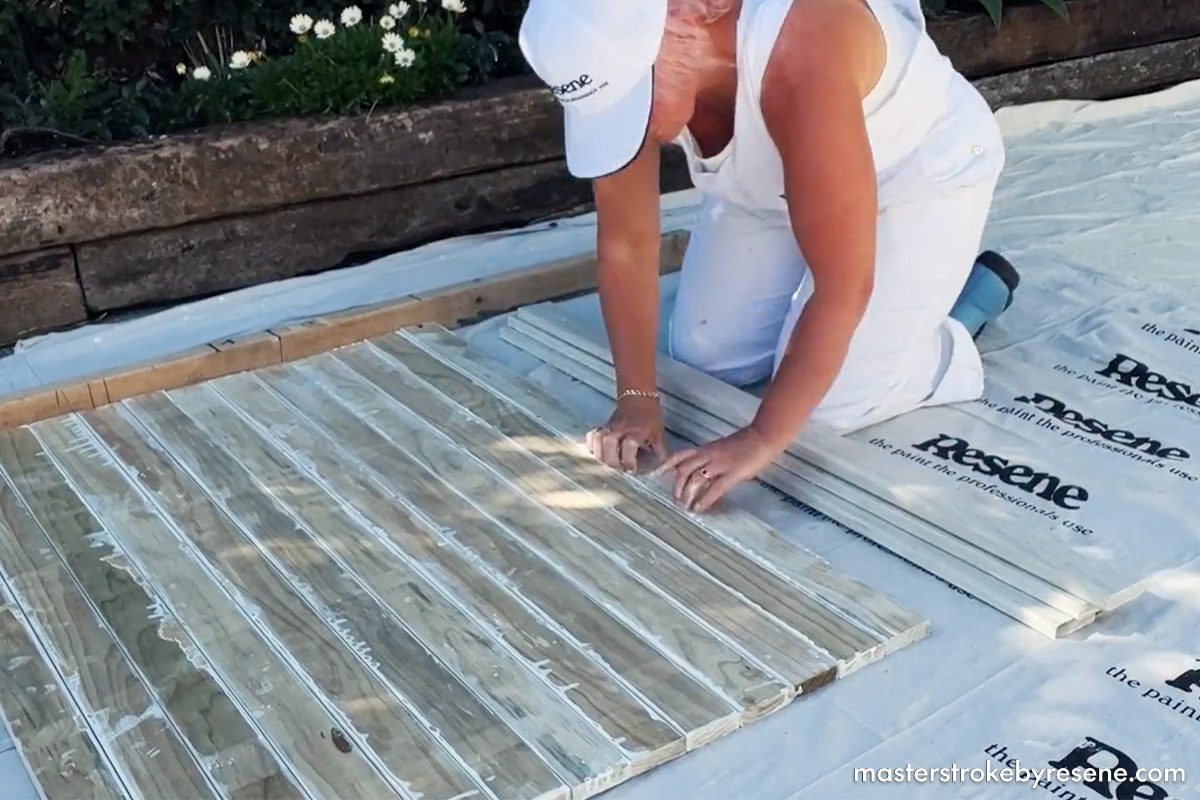
In this Odd Jobs project, we show you how to make a simple and stylish timber headboard. The practical design means it can be easily moved around between bedrooms or shifted to suit a room reshuffle and you can take it if you move to a new home. Ours is coated in Resene Colorwood Whitewash, which gives it a modern coastal feel, however the world is your oyster when it comes to deciding on your Resene hue. If you like the whitewashed look but are keen on a little more colour, have a look at the Resene Colorwood We Speak Beach range for some stain colourwash ideas.

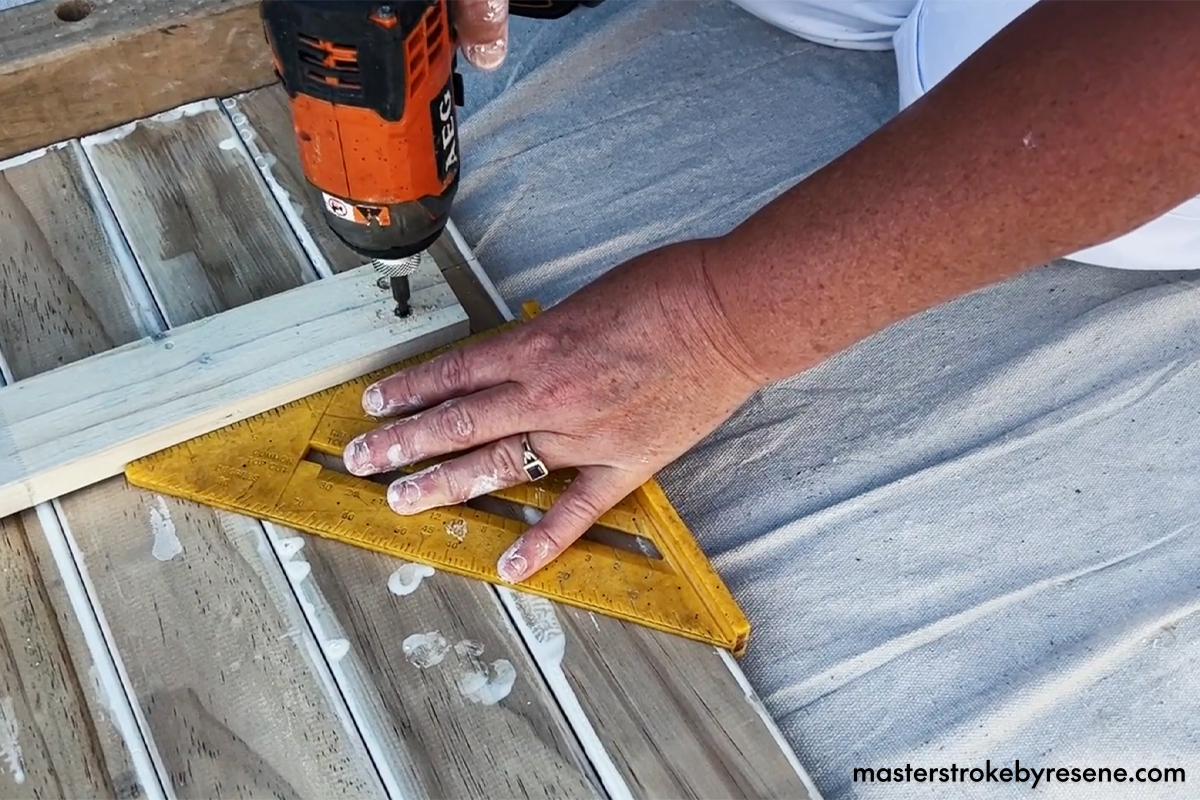
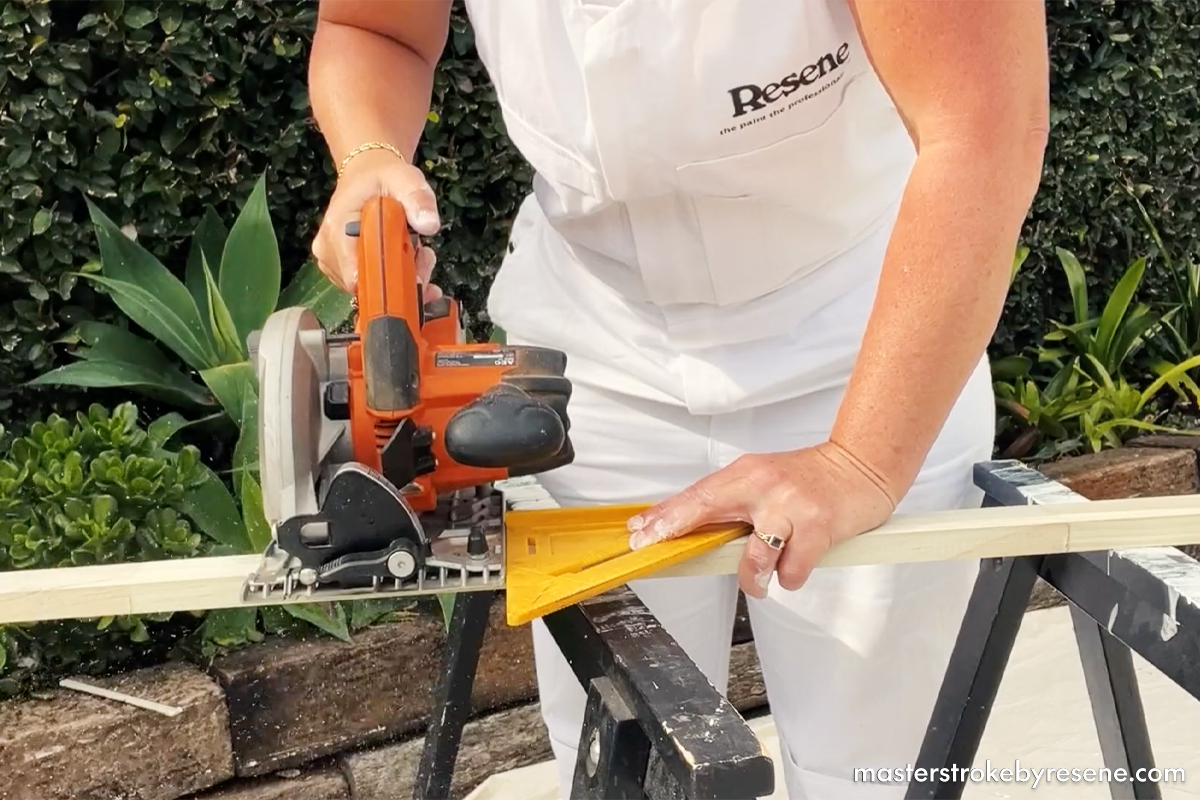
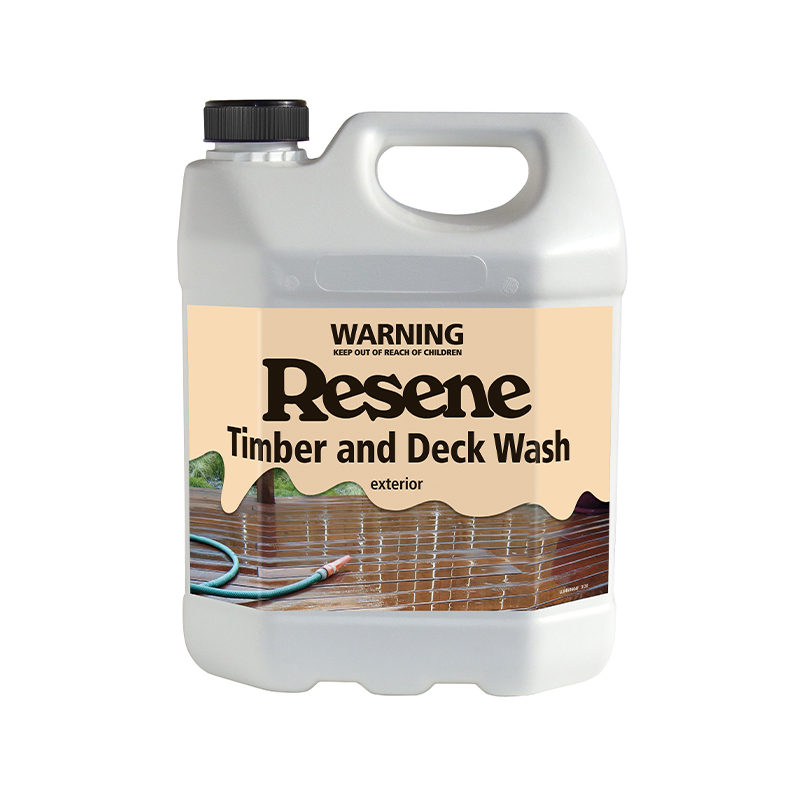
Use quality timber that’s not bowed and if it needs a wash, give it a clean with Resene Timber and Deck Wash before you begin and let it dry. We made our headboard to fit a double bed which required 21 timber palings but measure your bed before you begin and you can adjust the measurements to suit.

  • 21x 1200mm x 65mm x 20mm timber palings
  • Safety gear
  • Sandpaper
  • Drop cloth
  • Resene Colorwood Whitewash
  • Paint tray
  • Speedbrush
  • 2x 1305mm x 45mm x 20mm timber (for battens)
  • 2x 250mm x 45mm 20mm timber (for legs)
  • 8g x 32mm screws
  • Resene Aquaclear waterborne urethane varnish
  • Paintbrush

1

Size it up

Measure the height and width of your bed  and add 100mm on either side of the width to provide the right size headboard. This width dictates how many palings you need – we used 21 palings. 

Decide on the height you want your headboard to be – we used off-the-shelf 1200mm palings that didn’t need to be cut – taking into account the height of the legs you’ll add. 

Once you’ve got your measurements sorted, gather all your materials and create a workspace. Using saw horses or trestle legs will enable you to work off the ground – making it easier on your back and knees.

2

Sand

Give all of your timber palings a light sand, then wipe away the sanding dust.

3

Stain

Stir your Resene Colorwood Whitewash before pouring into a paint tray, then apply to the palings using a speedbrush. Leave to dry before applying a second coat.

One coat is enough to protect the timber, but the more coats you do the more concentrated the colour will be.

Once dry, use a paintbrush to apply Resene Aquaclear waterborne urethane varnish.

4

All lined up

On a flat surface, line up the palings side-by-side against a flat edge – we used a long piece of timber to make sure the palings were even.

5

Attach battens

Lay your two 1305mm timber battens across the width of the palings and use a quick square to make sure they’re straight. We placed ours about 150mm in from the ends.

Drill pilot holes then secure the battens to the palings with screws. Making two holes per paling and offsetting the screws provides extra strength.

6

Add legs

Decide on the height of your legs – we chose 100mm.

Cut to size, give them a light sand and wipe away sanding dust, then apply Resene Colorwood Whitewash using a speedbrush.

Once dry, place them on the palings flush with the lower batten and screw them in place. Attaching the legs about six palings in from the end will provide strength and balance.

7

Done

Arrange the headboard behind your bed and sleep well knowing you successfully completed this DIY project!

Feature wall painted in Resene Dream Big, headboard in Resene Colorwood Whitewash, other wall in Resene Half Black White, trims in Resene Eighth Black White, side table and vase in Resene Rice Cake and lamp in Resene Turbo

Click here to learn how to paint a feature wall and here to make a funky PVC pipe lamp.

Let there be light

Brighten your bedside table or console table with this super cool PVC pipe lamp. 

The bold colour and quirky design is a nod to the Memphis style, named after the Italian design and architecture company Memphis Group, who were very popular in the 1980s. 

Thanks to the maximalism trend, the Memphis style is having a resurgence, and this colour – Resene Turbo – is a perfect example of the punchy hue Memphis is famous for. It’s made from PVC piping and uses a light suspension kit with a switch – both are very easy to find at your local hardware store.

About MasterStroke by Resene
MasterStroke by Resene is here to help you master your paint and decorating DIY projects. Brush up on your skills with advice, tips and ideas from our trusted experts.

Check out the latest how-to videos on our YouTube channel.