DIY projects

4 fun floating shelves to make for your home

Square shelves painted in Resene Witch Haze, Resene Geneva and Resene Hullabaloo. Slat shelf painted in Resene Thor, Resene Sorrento, Resene Breeze and Resene Tiara.

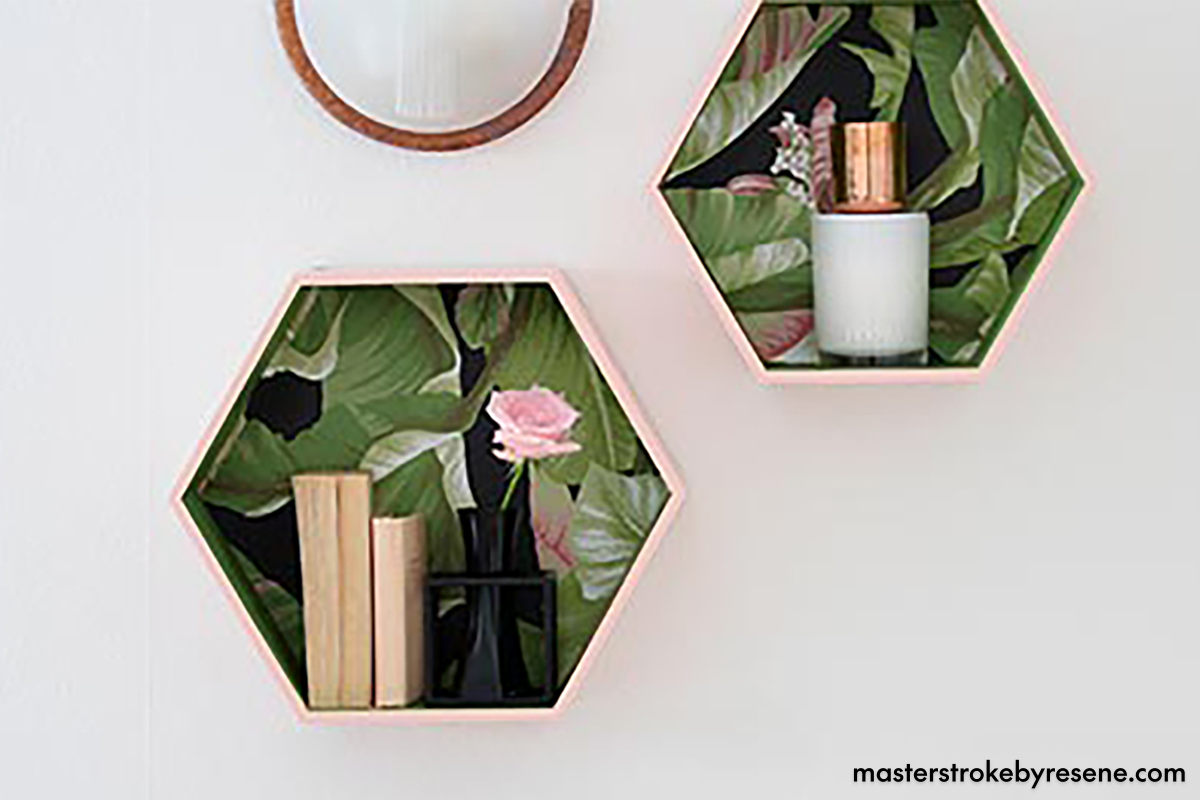
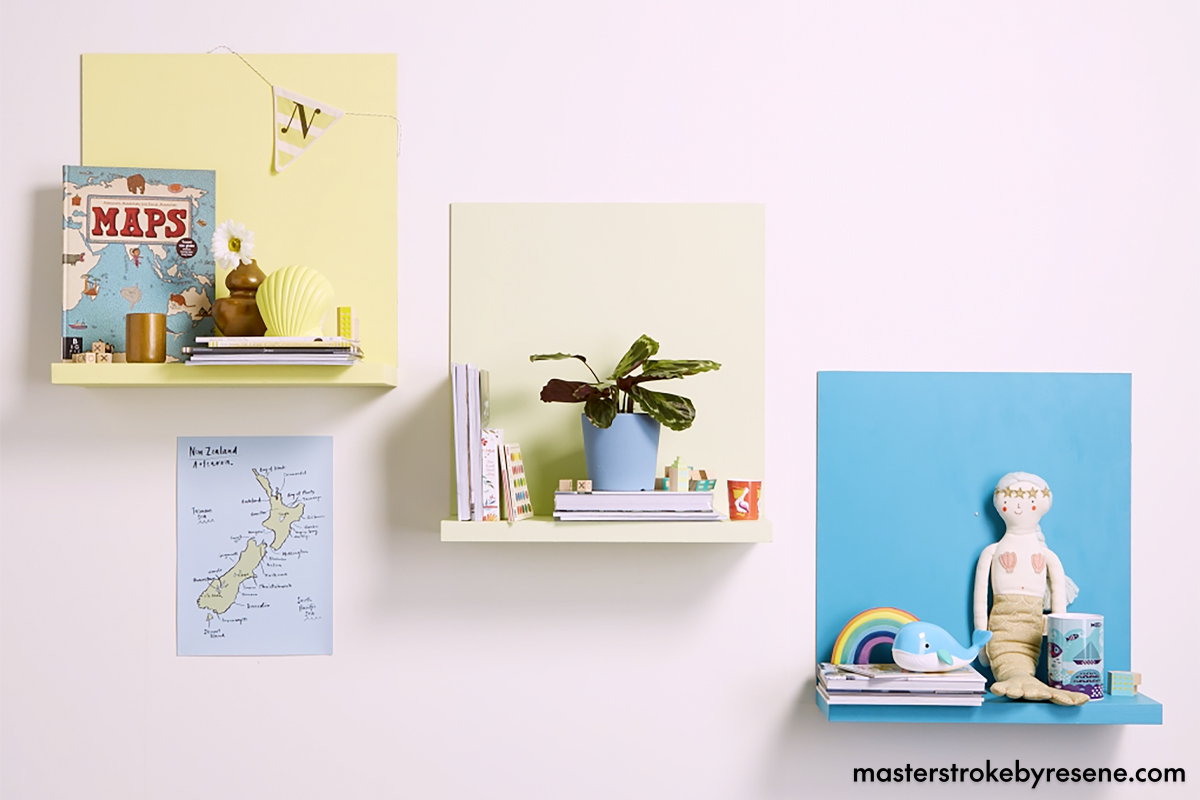
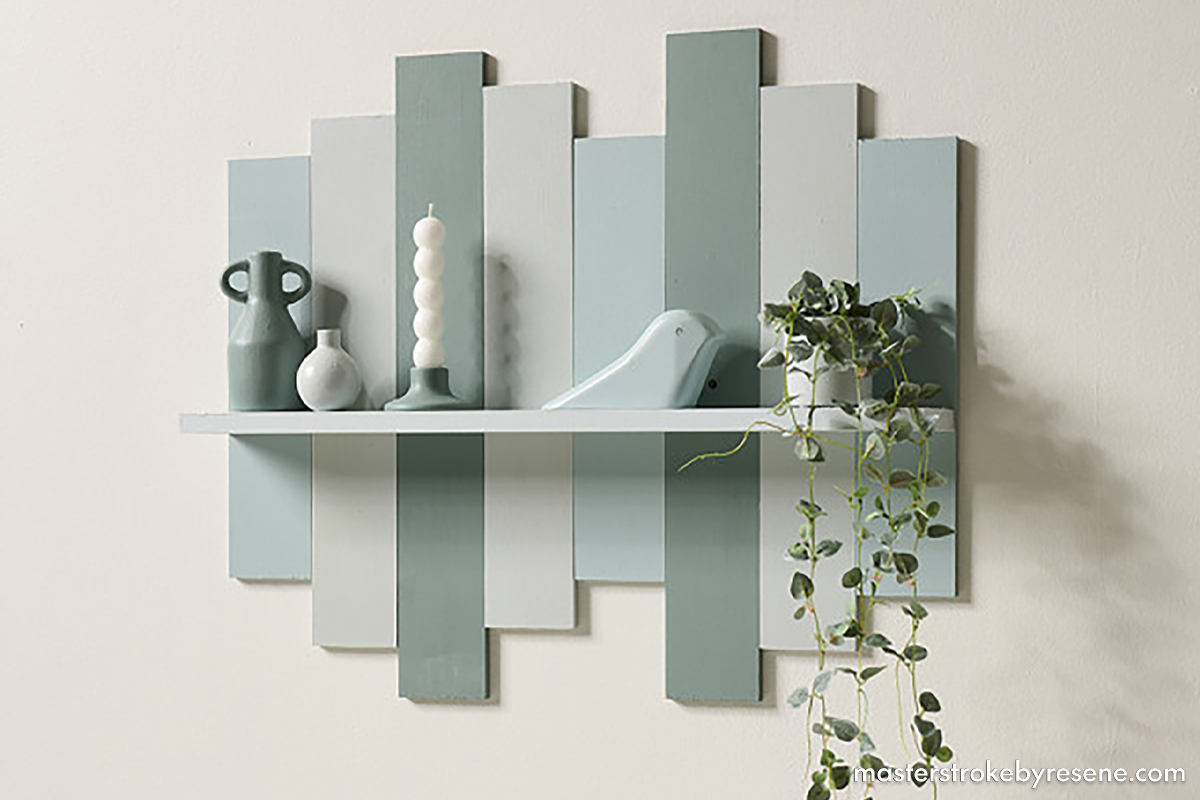
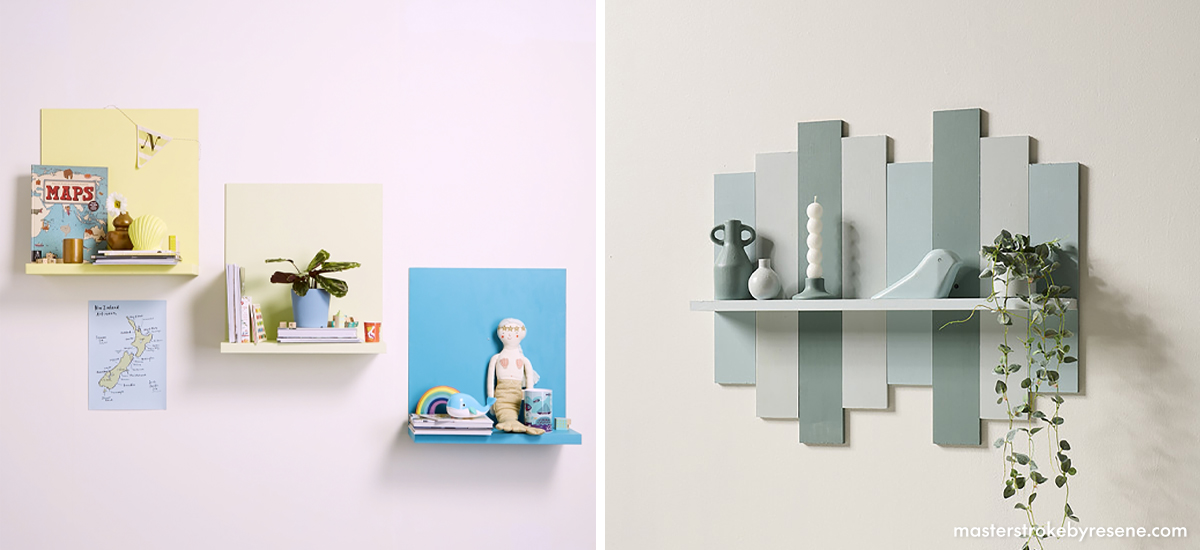
Floating shelves are not just a practical addition to your walls for storage purposes, they can add a fun pop of colour to your room, they’re simple to hang and you can customise yours to suit your home and aesthetic. They negate the need for larger pieces of furniture that can potentially clutter up your home, as well as keeping the floorspace free for easy access. 

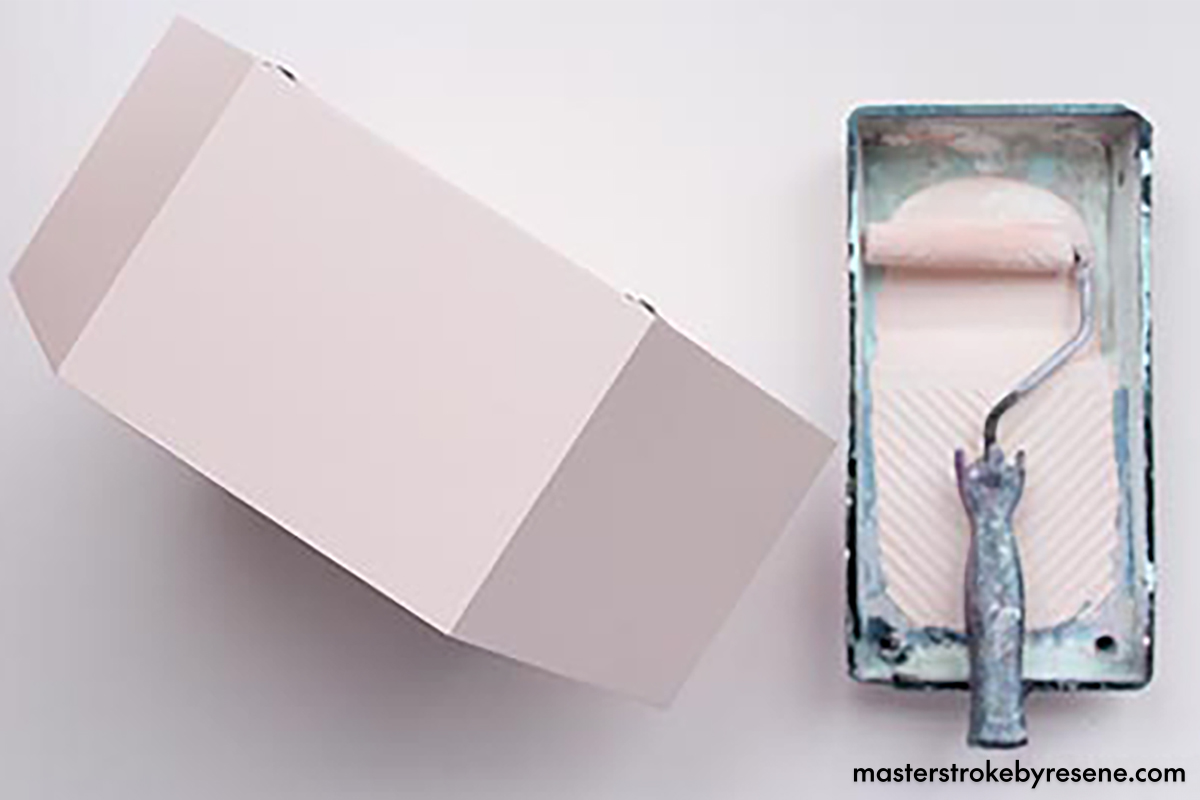
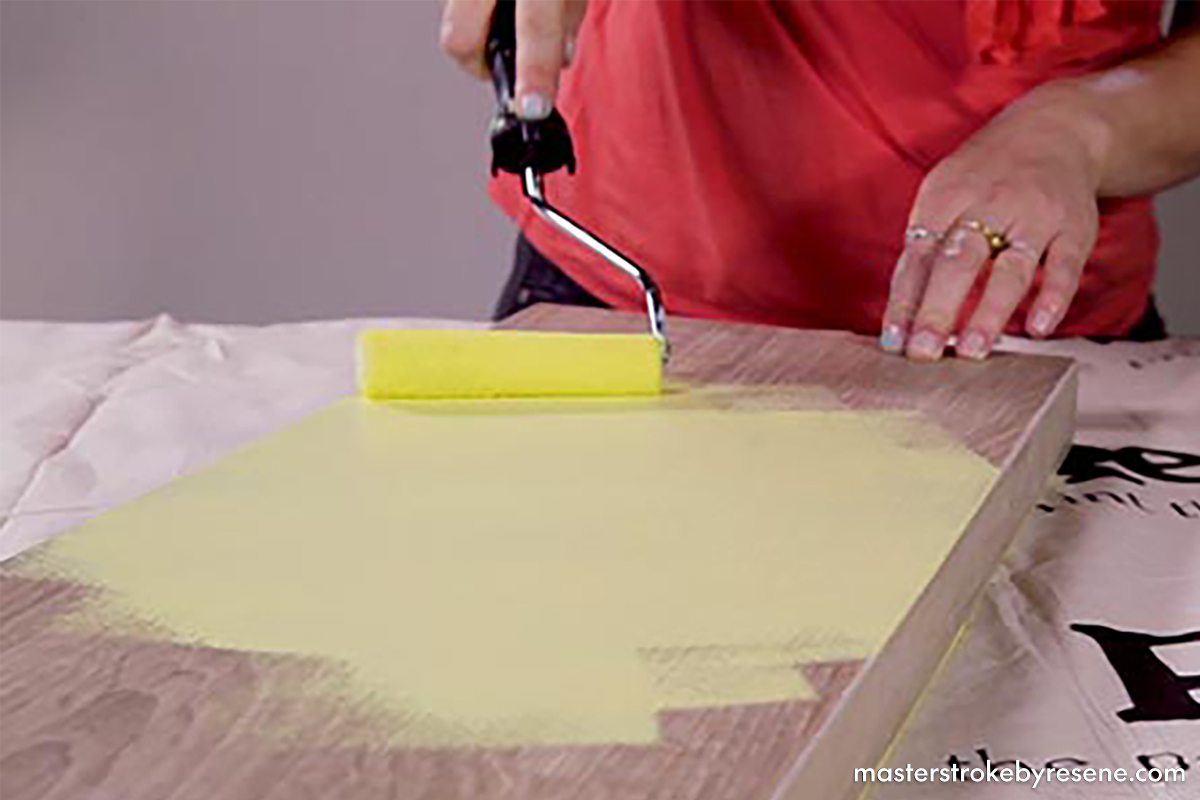
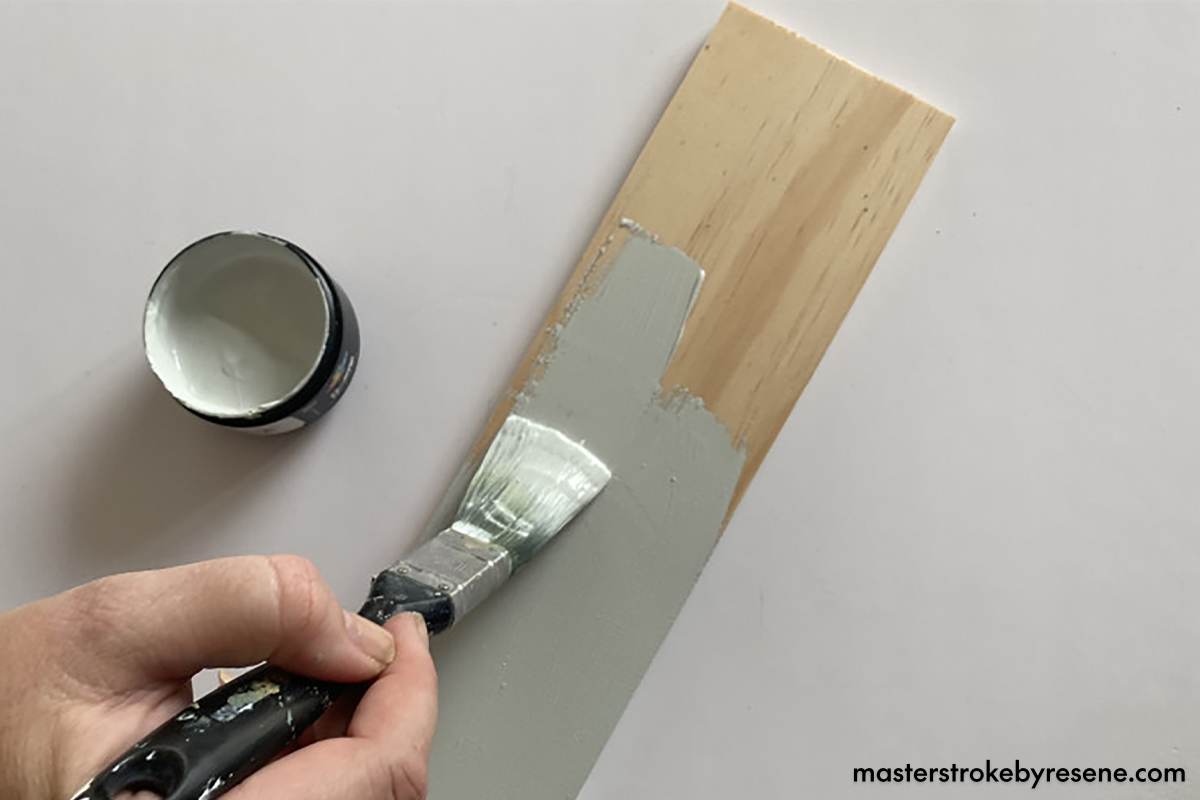
Floating shelves can be easily painted or stained with your favourite Resene colour, with Resene testpots providing the perfect amount of paint for the job. Below are some different ideas for creating floating shelves at your place, from basic through to bespoke. 
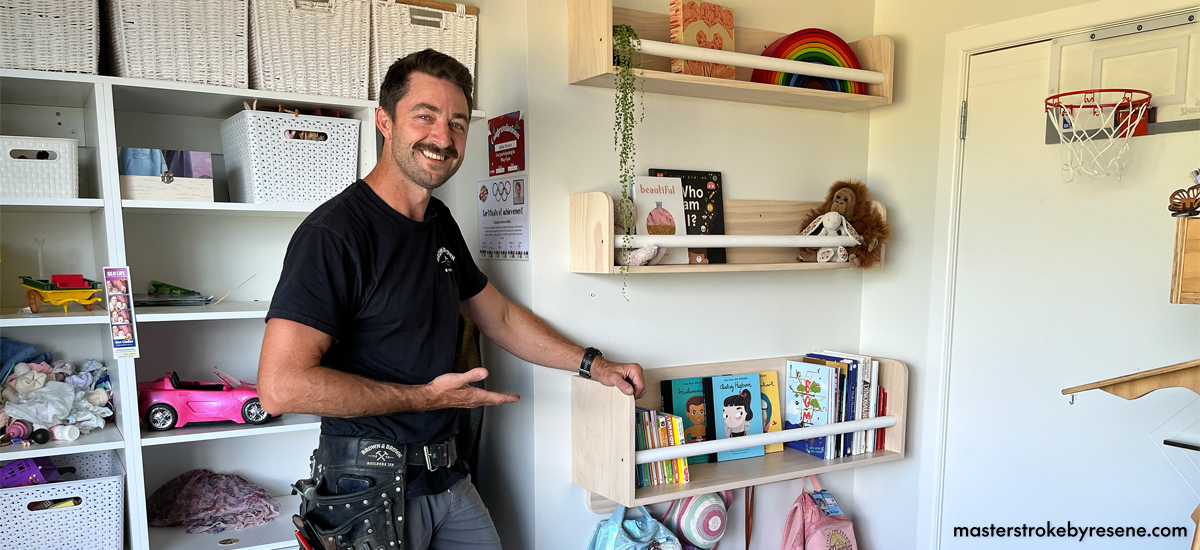
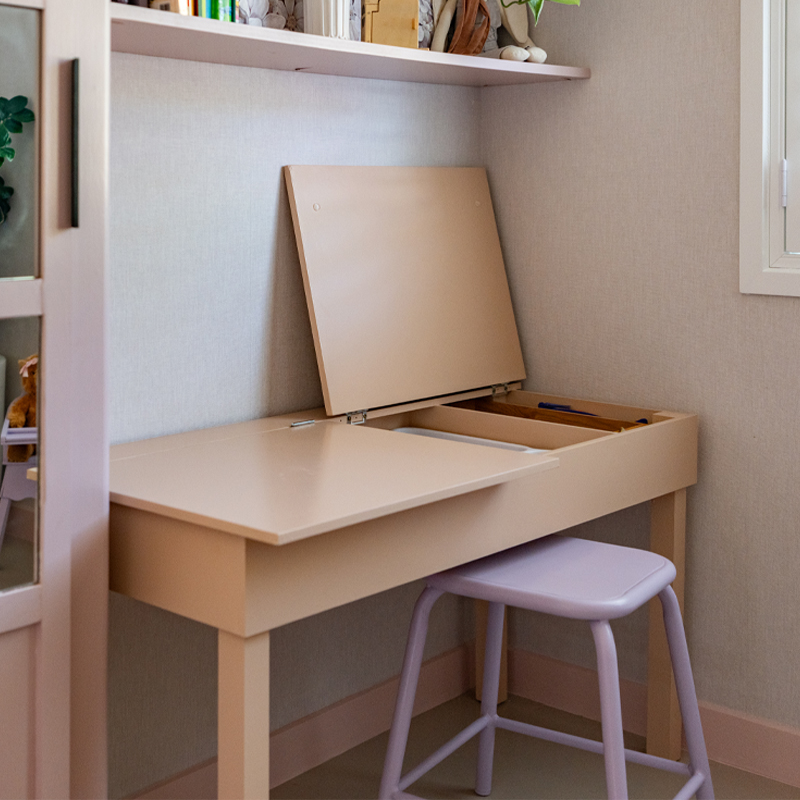
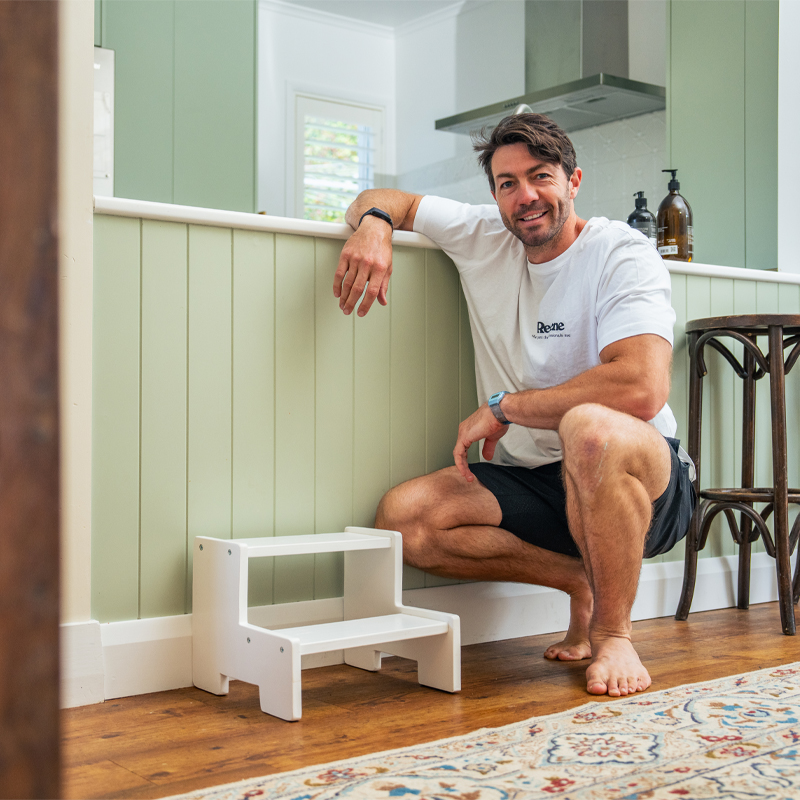
Easy organisation 

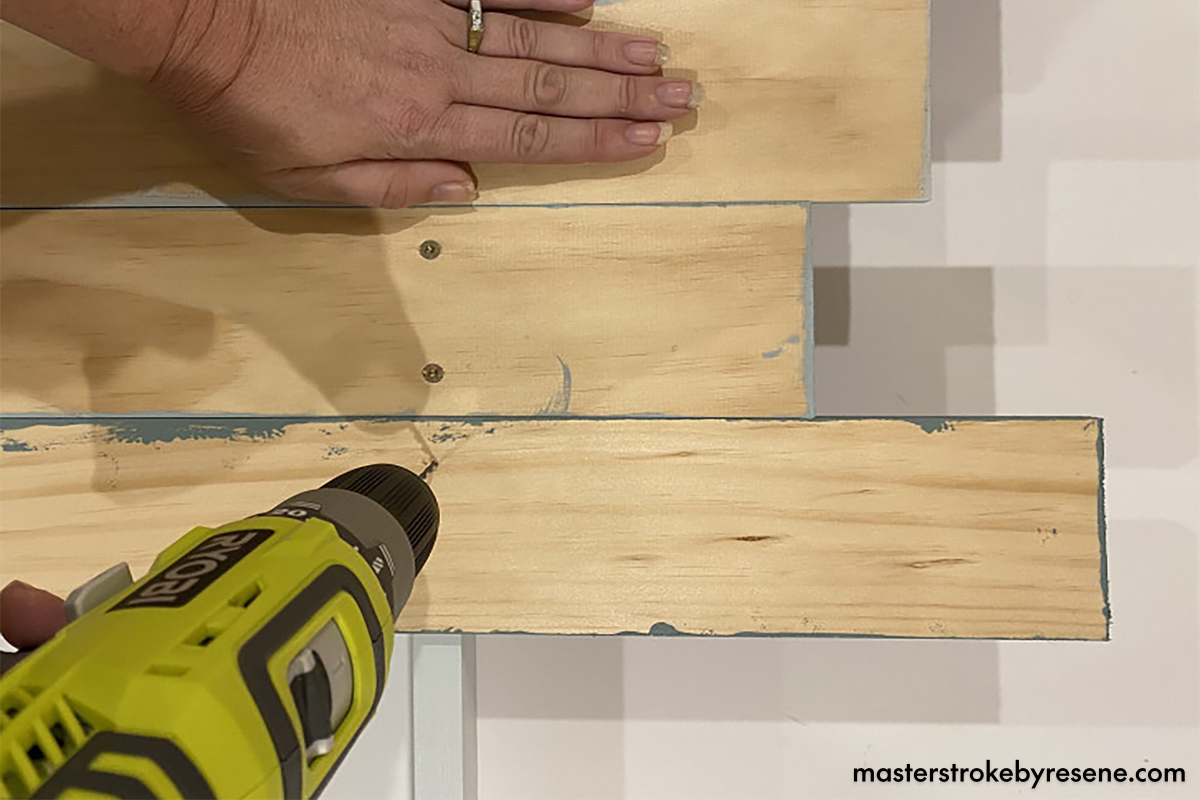
This is a great weekend project to help your children personalise and organise their space. They can use the shelves for their favourite books and soft toys, and the coat rack is ideal for hanging school bags and jackets. Having shelves and hooks at a lower height will help your kids find their things easily and encourage them to put them away each day. While builder Sean Brown has used Resene Colorwood Rock Salt and Resene Half Merino when making his shelves, you can decorate yours any way you want – get creative!

Sean Brown made these custom floating shelves for his kids to keep their belongings neat and tidy. Shelved stained in Resene Colorwood Rock Salt and dowels painted in Resene Half Merino.

Boxed beauties

These shelves are made from hexagonal wooden boxes that are painted with Resene testpots, then finished with a complementary Resene Wallpaper Collection design. 

Top tip: You can also wallpaper the outside of the wooden boxes and complement with a painted or wallpapered interior, or a combination of both. For a subtle textured wallpaper effect, choose a design from the Resene Anaglypta Wallpaper Collection and paint your favourite Resene paint on top.

  • Hexagonal wooden boxes
  • Resene testpots in your choice of colours (we used Resene Sakura and Resene Dingley)
  • 100mm roller kit
  • Painter’s tape
  • Resene testpot brush
  • Resene wallpaper of your choice (we used Resene Wallpaper Collection AT7071)
  • Pencil
  • Ruler
  • Craft knife or scissors
  • Glue
  • Appropriate hardware to hang shelves

1

Paint the outside

Pour your first Resene testpot colour into a paint tray, and apply two coats to the outside of the hexagonal boxes, allowing dry time between coats.

We used Resene Sakura.

2

Paint the inside

Mask the edges with painter’s tape, then apply your second Resene testpot colour to the inside of the boxes using a Resene testpot brush. Allow to dry between coats.

We used Resene Dingley.

3

Paper pop

Use a pencil to mark out the shape of both boxes onto your chosen Resene wallpaper (we used Resene Wallpaper Collection AT7071), then cut them out using scissors or a craft knife..

Glue the wallpaper shapes onto the back of the boxes.

4

Install

Attach hooks onto the back of the box and hang it up. Fill with light ornaments that complement the colour scheme.

Colourful squares

This inspired take on floating shelves is perfect for kids’ rooms. They provide plenty of extra space to stack books, toys and special trinkets. Colourful 600mm x 600mm MDF squares sit above each shelf and provide a colourful background to your child’s treasures. Have fun with these and let your child choose what colours you paint them in.

Top tip: If you get bored of the colour palette or how the shelves are arranged, it’s easy to change it up. Just remove the shelves and squares, repaint using Resene testpots and hang them in a new configuration.

1

Paint

Paint your shelves and their corresponding MDF square and leave them to dry.

2

Hang shelves

Hang the floating shelves according to instructions. Use a level to hang them straight. Have fun with how you hang them – whether it’s horizontal, stepped, or random. Make sure to leave enough room for the MDF squares on top of each shelf. You can always move them around when you want to change up the room.

3

Hang squares

Using 3M hanging strips, hang each MDF square so that it sits directly above and aligned with its corresponding shelf.

4

Display

Now your kids have heaps of space to display books, plants, toys and other treasures.

Pine perfection

Pine backboards of different lengths and colours take this DIY floating shelf to another level. You can customise your colour palette to suit your current vibe – ours has been painted in Resene Thor, Resene Sorrento, Resene Breeze and Resene Tiara.

Top tip: If you’re planning to use your shelf for books or weightier objects, use Resene Lustacryl or Resene Enamacryl as they have better block resistance than Resene testpots.

  • 1x 720mm x 90mm x 20mm pine (for shelf)
  • 2x 600mm x 90mm x 10mm pine
  • 3x 500mm x 90mm x 10mm pine
  • 3x 400mm x 90mm x 10mm pine
  • Resene testpots of your choice of colours (we used Resene Thor, Resene Sorrento, Resene Breeze and Resene Tiara)
  • Resene testpot brushes
  • 40mm wood screws

1

Paint

Paint your shelf and backboard pine pieces in your chosen Resene paint colours. Apply two to three coats, allowing the paint to dry in between coats. 

We painted our 400mm pieces in Resene Sorrento, the 500mm pieces in Resene Tiara, the 600m pieces in Resene Thor and the shelf piece in Resene Breeze.

2

Assemble

Lay your shelf on its front edge. Starting at one end, take one of your 400mm lengths of pine and screw it to the shelf from the back using 40mm wood screws. 

Repeat this process for all pieces – use the photo below as a guide for placement of the rest of the pieces.

3

Done

Use screws or 3M strips to attach the shelf to the wall depending on the weight of the things you want to place on it – screws are a better option for heavier items like books and plants.

Wall painted in Resene Rice Cake, large vase and candlestick in Resene Thor, small vase and plant pot in Resene Tiara, and bird in Resene Sorrento

About MasterStroke by Resene
MasterStroke by Resene is here to help you master your paint and decorating DIY projects. Brush up on your skills with advice, tips and ideas from our trusted experts.

Check out the latest how-to videos on our YouTube channel.