Ask an expert

Top tips for painting in winter

When painting inside during winter, plan your time accordingly and allow yourself a bit of breathing room for each step.

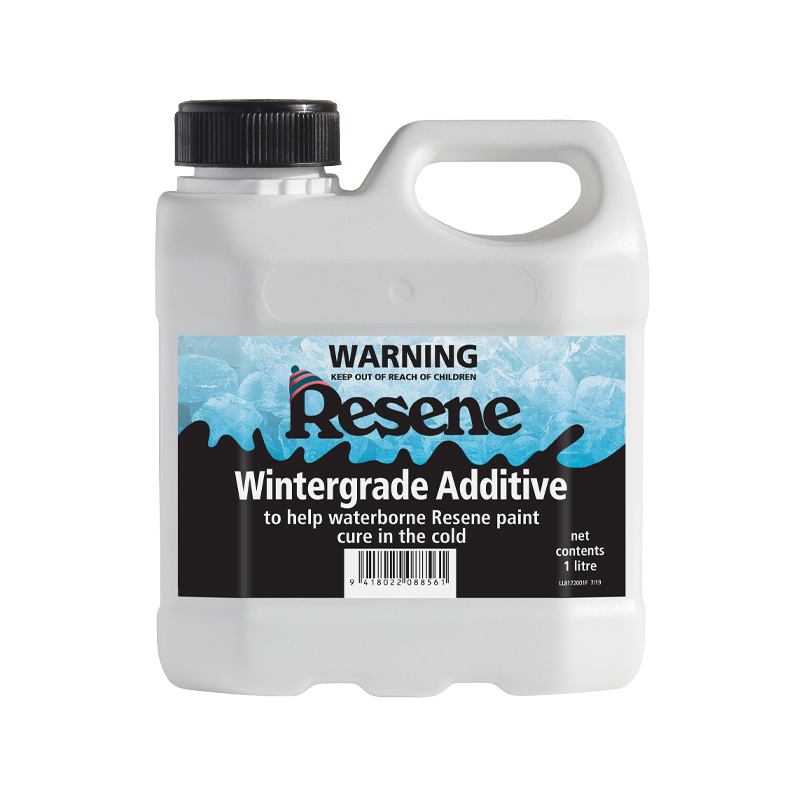
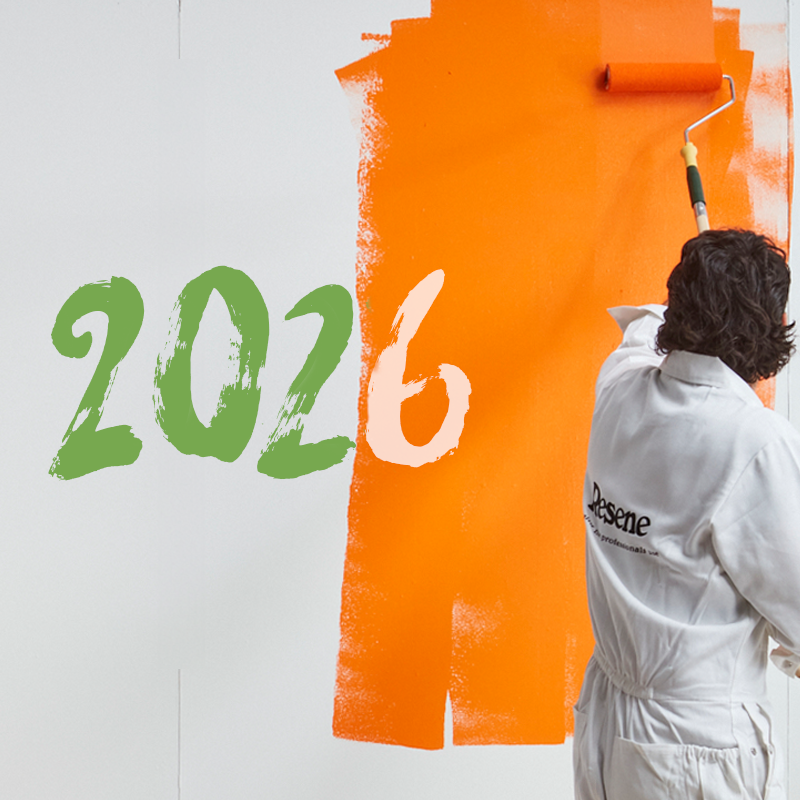
While painting in winter can be more challenging, it’s certainly very doable. This is largely in part to Resene scientists working miracles in the lab to design paint products and clever additives that can withstand the cold or wet weather conditions. As we’re often home more on colder winter evenings and weekends, there is extra time to get stuck into some painting around the house. But there are a few points that need to be considered before you begin. 

So if you have an outdoor surface just screaming out for a touch-up or a room that needs refreshing, read on for the best ways to go about it.

Take the weather with you

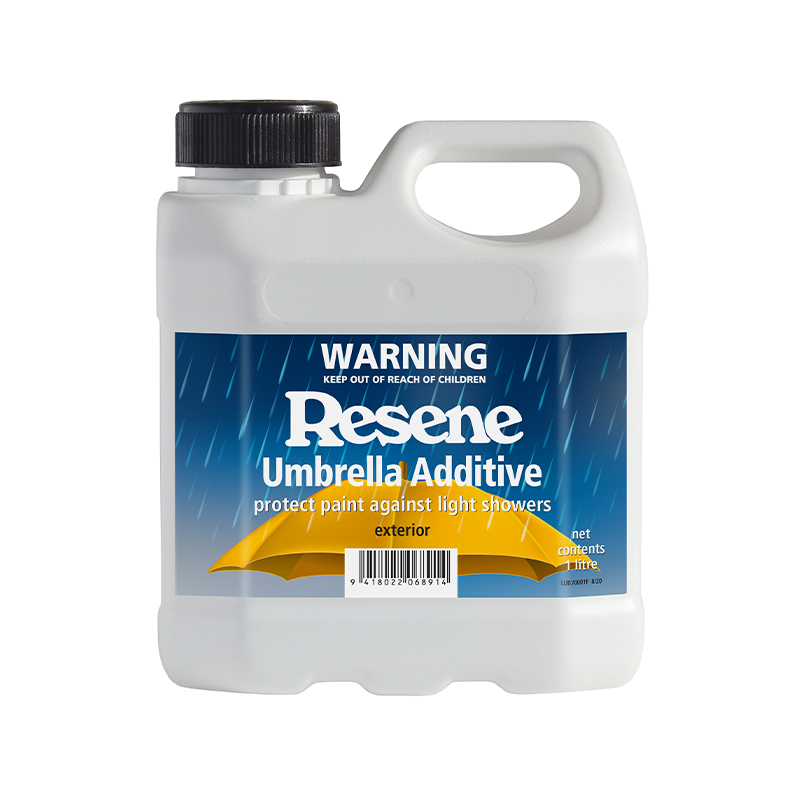
When you paint outside during winter, it’s the opposite of when you’re painting in summer. In summer you avoid the sun as the heat can affect your paintwork, whereas in winter you follow the sun around. But remember, the dew point comes a lot sooner in winter, so you’ll want to stop much earlier in the day.  In most areas, stopping early in the afternoon is a best idea.  You can then use the rest of your day to do other DIY jobs or start prepping another project. 

Just because the air might feel warm on a sunny winter’s day, it doesn’t mean your substrate is, so always feel it to get a gauge for the surface temperature before you begin. If the surface is freezing and icy, wait until it warms up a bit before painting. Remember that surfaces like concrete will take longer to warm up.

Bide your time

As they say, if the washing on the line isn’t drying, neither will your paint. Because winter days are often wet and damp, you need to consider your paint project and the timeline a little more carefully. 

Don’t try to cram too many things into one day. If you try to undertake a project in a short period you will struggle as you need to consider drying time for filler, primer and topcoat. Instead, spread out the tasks if you can: wash the walls on a Monday evening, then on Tuesday you can fill some holes and the next day you can sand them and apply some primer. Come painting day on the weekend, all you’ve got to do is concentrate on the painting. 

Solid mould

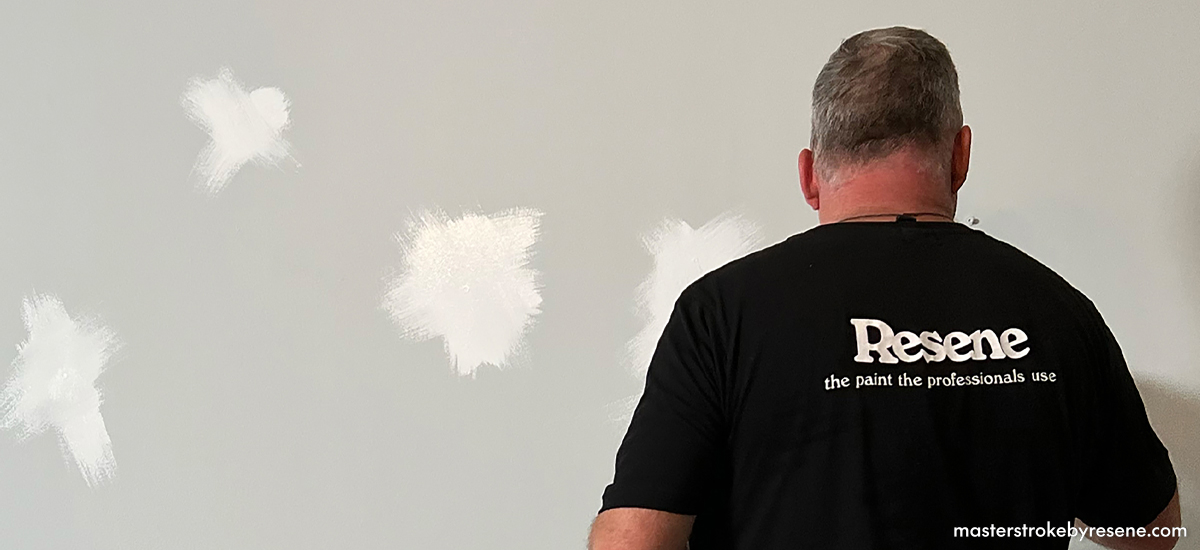
Green and black mould rears its head during winter, so before you paint any surface – inside or out – you need to treat and kill any mould that may be on it. Most exterior surfaces will have mould or moss growing on them. To treat it, simply apply Resene Moss & Mould Killer following the label instructions.

Whether painting or wallpapering, any mould needs to be treated first with Resene Moss & Mould Killer.

Temperature control

When you’re painting inside during winter, keep an eye on the temperature of the room and ensure you have good ventilation. Run a heater or heat pump before you start painting to get the house to an even, comfortable temperature of around 15-16°C.

Keep the windows open for ventilation and airflow while the paint is drying, and if you have access to a dehumidifier, get that going as well to help the drying process. 

Avoid using a gas heater as they can add moisture back into the air which will slow the painting drying process.

If in doubt, wallpaper

Winter conditions are very favourable for wallpapering, as the cooler weather gives you a little more time to play with the adhesive and you’re able to quickly and easily rectify any mistakes you might make if you’re new to hanging wallpaper. Why not think about giving your powder room or ensuite a fun facelift? Resene has a vast range of wallpaper designs available to suit all tastes and aesthetics. It’s best to view samples at your local Resene ColorShop to truly appreciate the colour, detailing and texture. Check out our wallpapering tips and tricks here.

The holy grail: Resene Wintergrade Additive 

Paint application and performance can be adversely affected in cold temperatures, but using Resene Wintergrade Additive will help your paint cure at temperatures as low as 3°C. It can be added into selected waterborne Resene paints to winterise them. 

Lower temperatures and high humidity will significantly slow down the dry time of waterborne paints. The plastic particles that make up the waterborne binder will harden in the cold meaning they can’t fuse together to form a film. This can result in cracks forming and sometimes the whole paint film drying to a powder.

Tips when using Resene Wintergrade Additive:

  • Do not apply in temperatures over 10°C – use standard Resene decorative finishes instead.
  • Do not use in non-Resene paints.
  • Do not use when rain, snow or ice is expected.
  • Although Resene Wintergrade Additive will not alter the original colour, it is recommended that you use the product consistently on the same surface.
  • Only mix what you plan to use in your current painting session.  Paint dosed with Resene Wintergrade Additive will thicken if you store it.
  • Not all Resene products are compatible with Resene Wintergrade Additive.  If in doubt, check with Resene ColorShop staff.
  • Resene WIntergrade Additive is normally used for exterior projects.  For most interior projects you can use heating to get the temperature to over 10°C and then just use normal Resene decorative paints.

Rain or shine: Resene Umbrella Additive

If the forecast is for light showers, don’t fret – Resene Umbrella Additive can be added to your paint. Once applied, a coating containing Resene Umbrella Additive quickly starts to build a protective shell that then extends throughout the whole coating. Water is able to evaporate from the topcoat allowing it to dry, while light showers simply roll off leaving the still-drying paint firmly attached to the substrate.

Tips when using Resene Umbrella Additive:

  • Only mix what you plan to use in your current painting session.
  • Paint containing Resene Umbrella Additive should be used the same day for best results.
  • Exterior painting should not be undertaken when medium or heavy rain is expected during the drying phase.
  • Not all Resene products are compatible with Resene Umbrella Additive and the dosage rate varies by product. Ensure you check the dosage requirements before you start and follow the instructions.

Important note:

If you have a cold and wet day, you can’t use Resene Wintergrade Additive and Resene Umbrella Additive at the same time. Use one or the other, not both. If you find it is cold and wet, it might be better to opt to prep an interior decorating job instead and wait for better weather conditions outside.

About MasterStroke by Resene
MasterStroke by Resene is here to help you master your paint and decorating DIY projects. Brush up on your skills with advice, tips and ideas from our trusted experts.

Check out the latest how-to videos on our YouTube channel.