Ask an expert

Learn how Resene paint is made

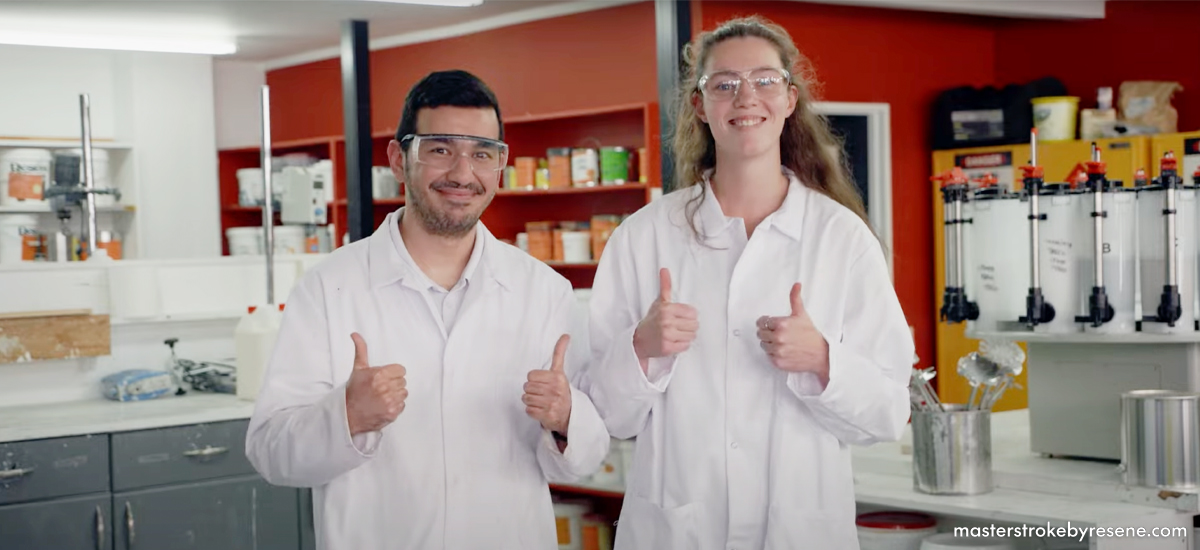
Although you probably have your firm favourite Resene colours, have you ever wondered how the paint itself is actually made? Come with us as we visit the laboratory where the magic happens – the Resene manufacturing facility in Naenae. Here meet two clever scientists, Hamid and Zoe, who show us exactly how they make a batch of waterborne paint. 

What’s the difference between waterborne and solventborne paint you may ask? Only a few decades ago most paint jobs were completed using solventborne paint, but as waterborne technology has improved, there has been a huge shift to waterborne paints.

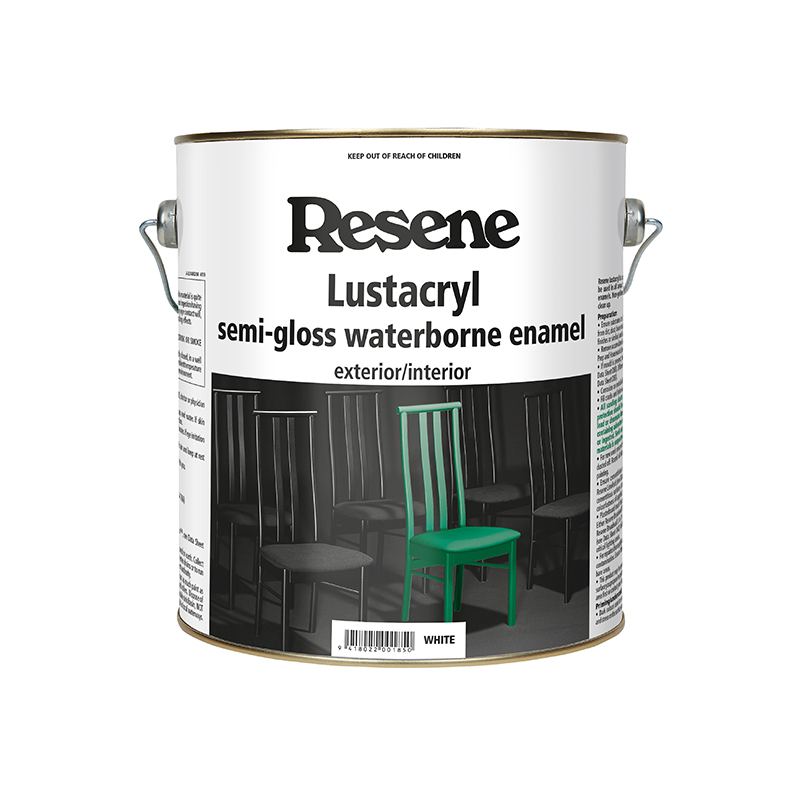
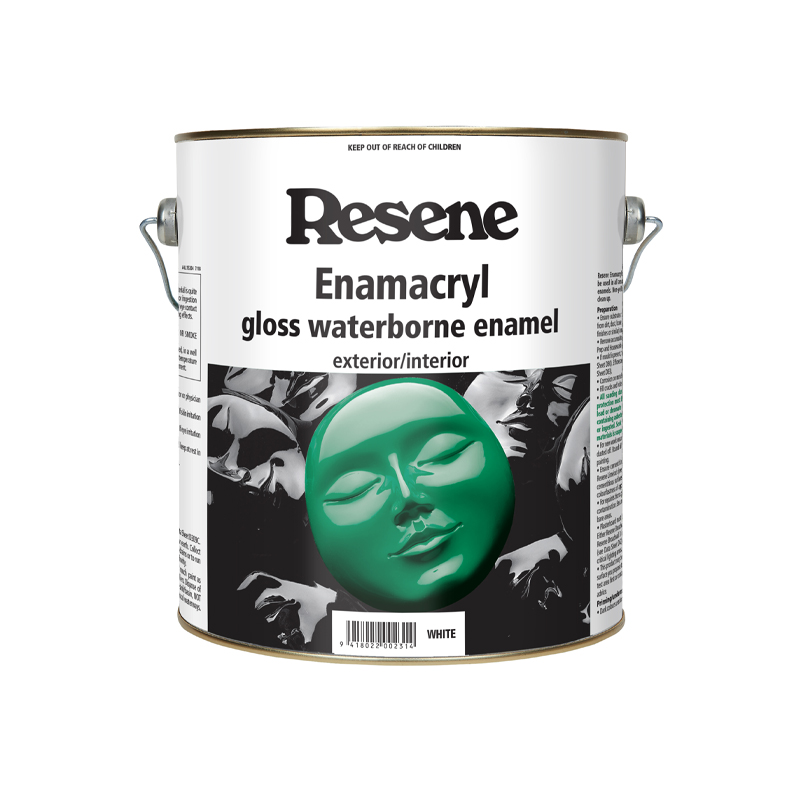
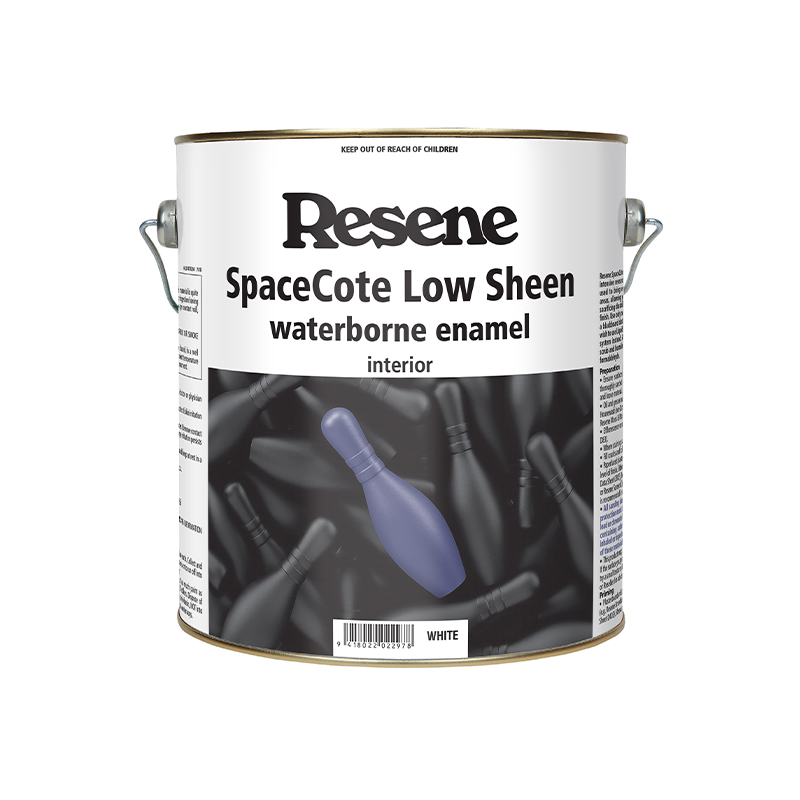
Resene made ground-breaking progress in 1996 by launching their first waterborne enamels – Resene Lustacryl semi-gloss waterborne enamel and Resene Enamacryl gloss waterborne enamel, which offer tough, durable, enamel-like finishes with all the benefits of waterborne paints, like being nonyellowing, low odour and easy to clean up in water. 

In a major breakthrough for the industry, these new generation products are suitable for everything from broadwall areas through to wet areas, trim and joinery inside and out. Recognising the trend towards lower sheen finishes on interior broadwall areas, Resene then created Resene SpaceCote Low Sheen waterborne enamel and Resene SpaceCote Flat washable wall and ceiling.

Lab work

Getting back to the science at hand – at its core, paint is a material that is applied as a liquid and dries by a variety of chemical processes to a solid. While the exact formulas and ingredient ratios are Resene trade secrets, paint typically consists of pigment, resin, solvent and additives. 
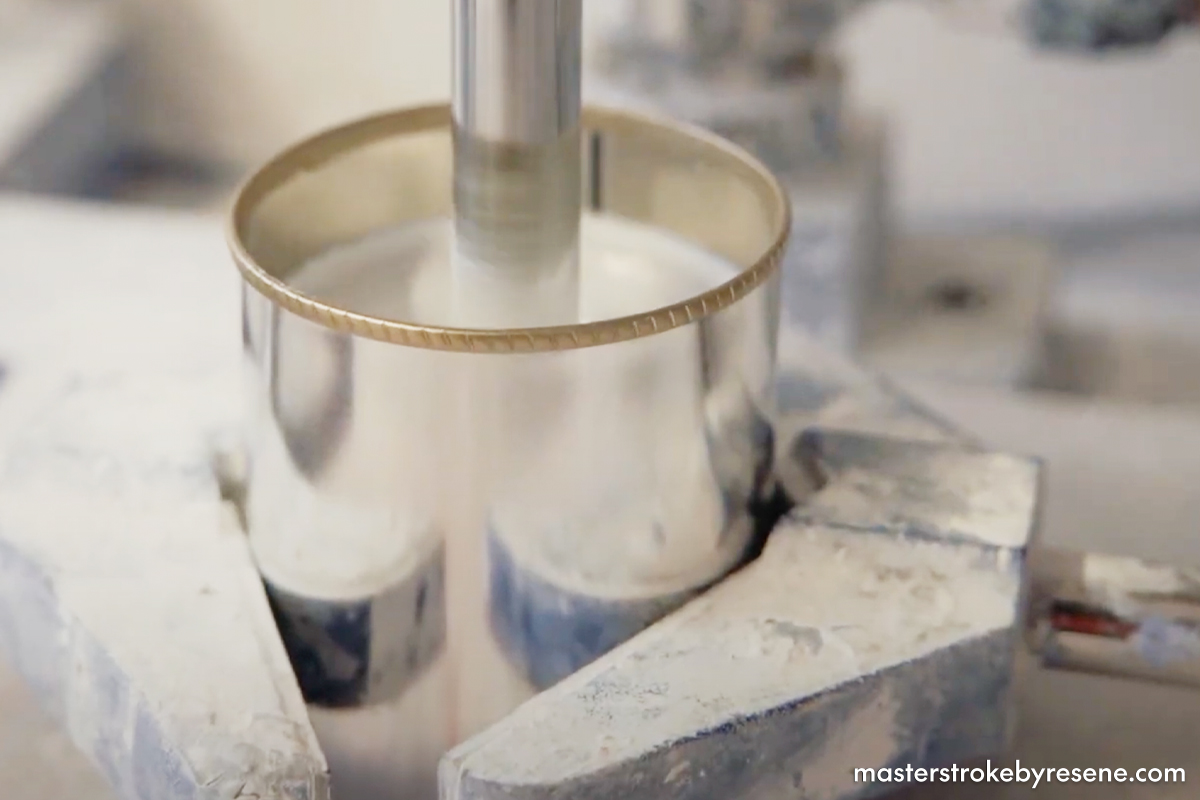
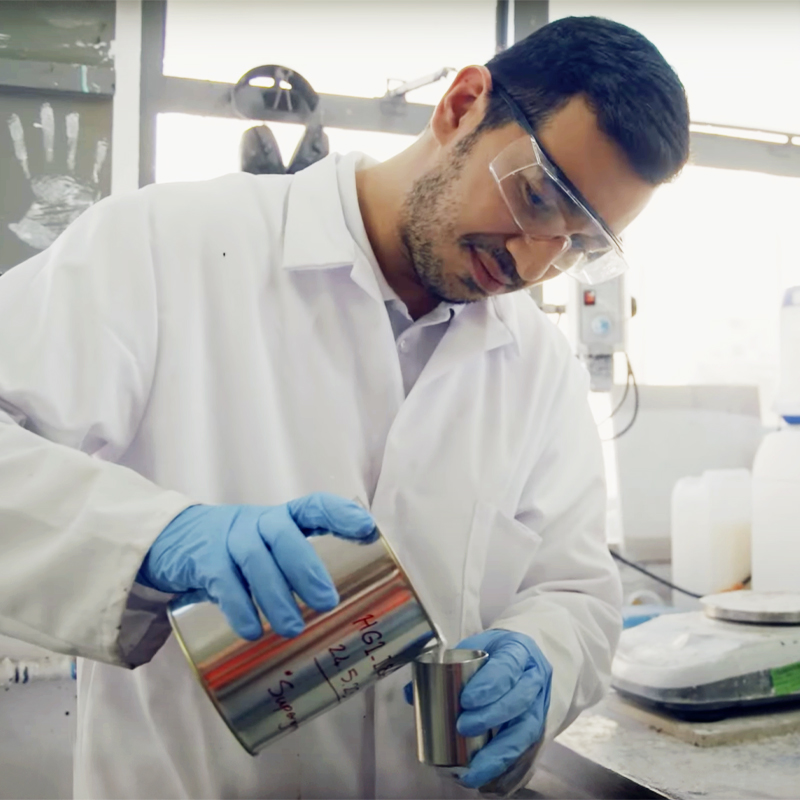
“Making the waterborne paint is a twostep process,” explains Hamid as he gets to work. “The first step consists of incorporating some special ingredients called pigments into the water.” 

While it might look like a simple process, “the incorporation of these ingredients in the water is not an easy job, because we have huge scientific background and experience, we can do it in a perfect way here,” he says. 

Pigments are one of the most important ingredients in the paint as they’re responsible for opacity and colour. These need to be dispersed into the water, but slowly, implores Hamid. As he slowly adds the powders, he increases the sheer speed of the mixer to create the perfected consistency. “When we get this doughnut shape, it means that we are doing our job perfectly.” 

Once all the powders have been added to the solution, it needs to sit for at least 15 minutes and after that, stage one of making waterborne paint – which is known in the paint game as the ‘dispersion process’ – is done. Hamid is left with a product known as the mill-base.

The dispersion process involves incorporating pigments into water slowly and precisely to create the mill-base.
The mill-base is then mixed into the resin, creating the let-down.

The perfect mix

Zoe then steps in and takes over to complete the process, which involves adding the dispersed pigments – the mill-base – into the resin, which is the main substance that holds the coating together. She gets the resin stirring, but not at the same pace as the dispersing process! This is called the ‘let-down.’  She slowly adds the mill-base to the let-down, making sure to do it slowly enough for the two to come together and fully mix. 

While these are the two main stages of making the batch of waterborne paint, the mill-base and the let-down, there are other additives that go into this combined part of the mixture.  

“The reason we make it in two parts is the mill-base needs certain properties, like Hamid showed before, so that everything can be dispersed,” Zoe explains. “The resin, which is the main thing in the let-down that it’s being added to, doesn’t need all of that and would mean that the mill-base has too much volume.” 

Once the mill-base and let-down are fully combined, and any extras have been added, that’s when the finished product is taken for testing. The completed batch (mill-base plus let-down and any final additions) is thoroughly tested by the Product Verification Laboratory. These final tests evaluate properties such as degree of dispersion, viscosity (consistency), density, hiding, tint strength and colour, application, dry time, gloss and dry film appearance.

Finally, when the testing is complete, the batch of paint is passed for canning. During canning two samples are taken; a retain sample, which is stored in case it is needed for future reference, and a Final Inspection sample. The Final Inspection sample is tested in the Resene Final Inspection Laboratory to guarantee conformance to relevant standards and specifications, such as Eco Choice. 

After this final stage of testing is complete the batch is passed for use and the stock is added to the Resene warehouse and dispatched to Resene ColorShops when they order it

We hope you enjoyed coming behind the scenes and seeing how the Resene paint on your wall gets made!

With years of experience and knowledge between them, Resene scientists Hamid and Zoe are experts in creating batches of Resene paint.

About MasterStroke by Resene
MasterStroke by Resene is here to help you master your paint and decorating DIY projects. Brush up on your skills with advice, tips and ideas from our trusted experts.

Check out the latest how-to videos on our YouTube channel.