It’s been called the ‘fifth wall’, the ceiling above your head.
But unlike other walls in our homes, ceilings often get overlooked, mainly because they’re not in our daily line of sight but also because they can be the trickiest and most awkward surfaces to paint.
But Jay Sharples, Resene Trade Representative, believes we shouldn’t be neglecting our ceilings.
“While you might not be able to see dirt and marks on ceilings as well as you can on other walls, they can get really messy with fly marks and general dirt. You’ll be amazed at how much a newly painted ceiling can refresh your home.”
The first step is prep
As with painting other surfaces, the key is to ensure you start with a clean canvas. “If you don’t clean the ceiling correctly then fly marks can bleed through the paint.”
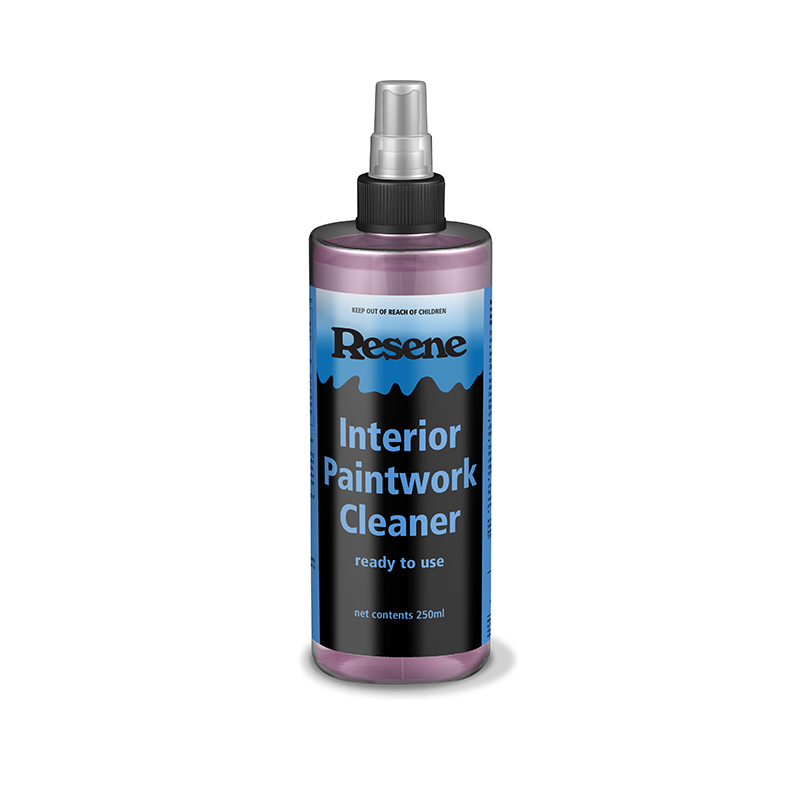
Jay suggests applying Resene Interior Paintwork Cleaner, which comes in a convenient spray format, to the ceiling before wiping it off with a lint-free cloth or old clean cotton t-shirt.
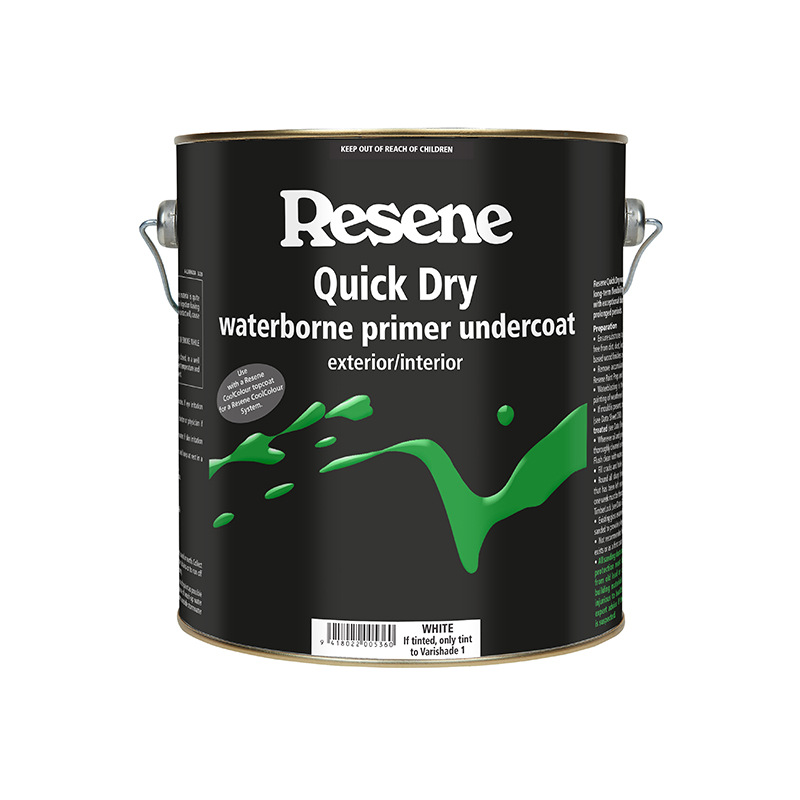
The next step depends on the paint already on the ceiling. For older spaces such as villas or in wet areas such as bathrooms, the existing paint could be a glossy oil-based paint, which will need to be sanded back. “An aged enamel paint will need a heavy sand to de-gloss the surface. I’d suggest an 80 grit sandpaper. You will then need to prime with Resene Quick Dry primer.”
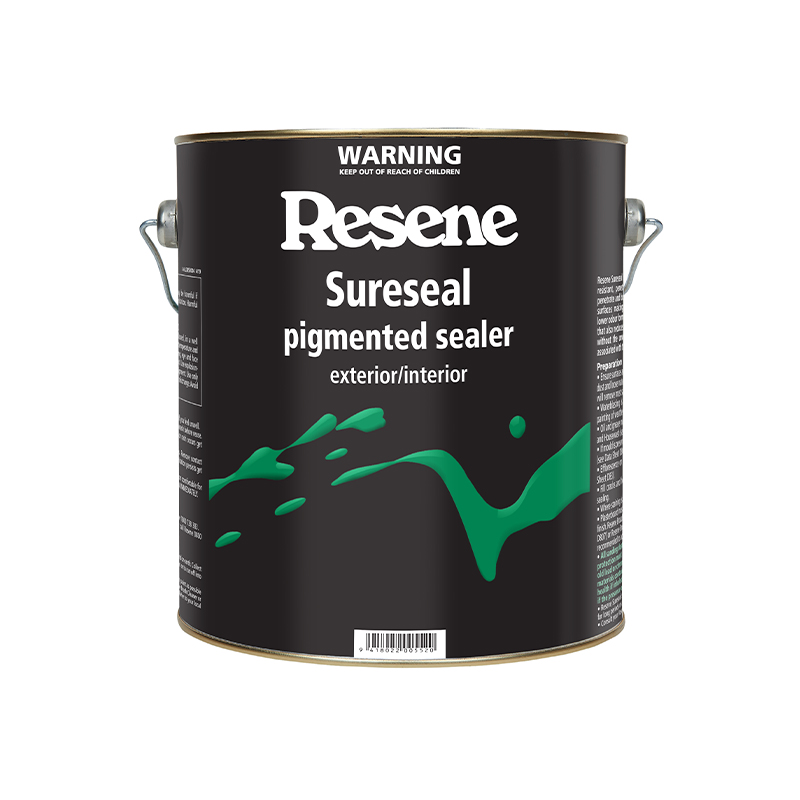
If you’re painting the ceiling in a bathroom/wet area then Jay recommends priming/sealing with Resene Sureseal.
Dry area ceilings painted in a waterborne flat paint may not need to be sanded prior to painting. “If that’s the case then make sure the ceiling is clean and dry before applying Resene Quick Dry primer, which provides a nice white undercoat, before you start painting.” Or you can apply your new waterborne topcoat directly over the old one.
Painting ceilings can be challenging both physically (reaching up can tire arms) and for surfaces, thanks to the likelihood of drips.
Jay’s advice is to work on a small section of the ceiling at a time to ensure a consistent finish. “Figure out a natural place to stop, which can sometimes be difficult with large open-plan spaces. Then cut in around the edges of the wall and any lighting with a brush before rolling on the paint.”
For best results, he recommends always using an extension pole with your roller.


