Ask an expert

10 frequently asked questions about paint rollers

While finding a good paintbrush is likely one of the first things that springs to mind when thinking about a paint project, no painter would be without their trusty roller. They make covering a large area incredibly quick and easy, and assures a very professional looking result. If you‘re a beginner, you’re definitely going to have questions about how to choose the best roller for your job, how to use it and also how to best look after it, so read on to get yourself acquainted with this essential painting tool.

How should I choose which roller to use?

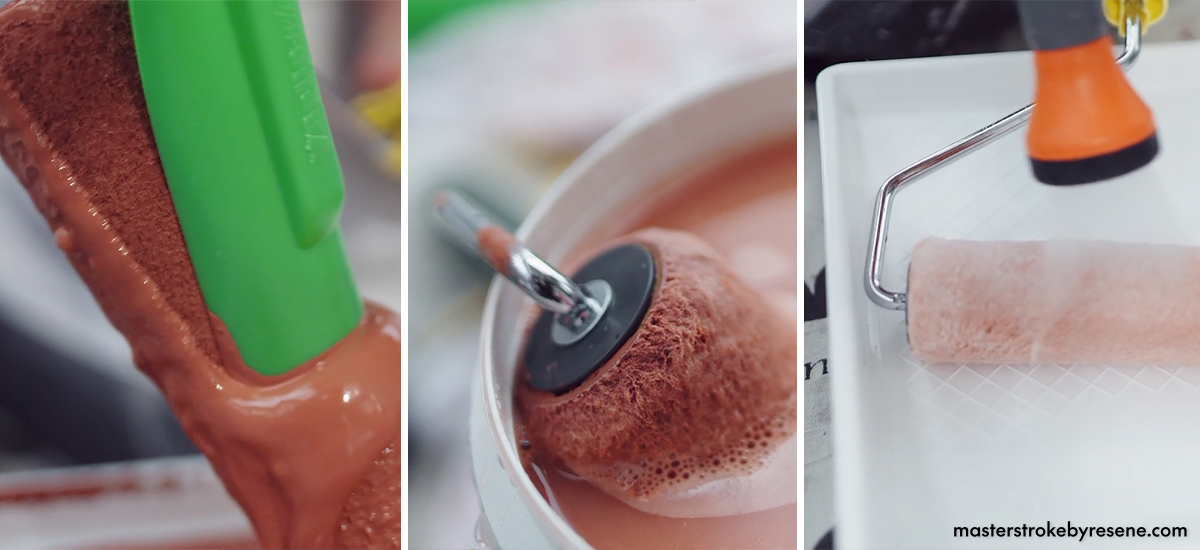
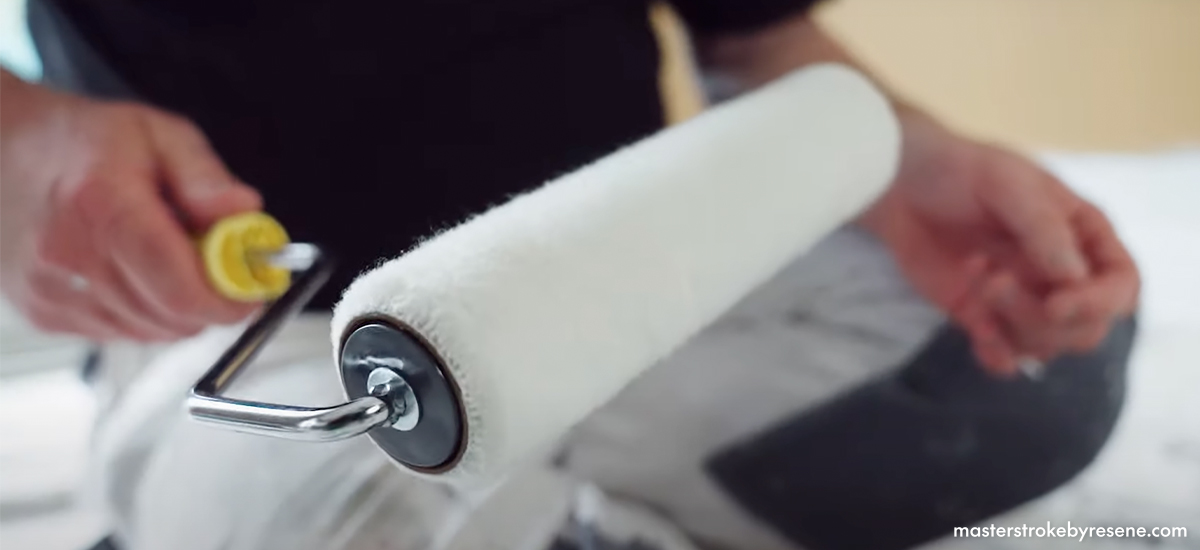
Roller sleeves may look similar, but they are not created equal. A high-quality sleeve will help you apply the correct amount of paint at the required spread rate and give you a top-notch finish. Also, as with any equipment that you invest in, if you look after it properly, it’ll last for years. 

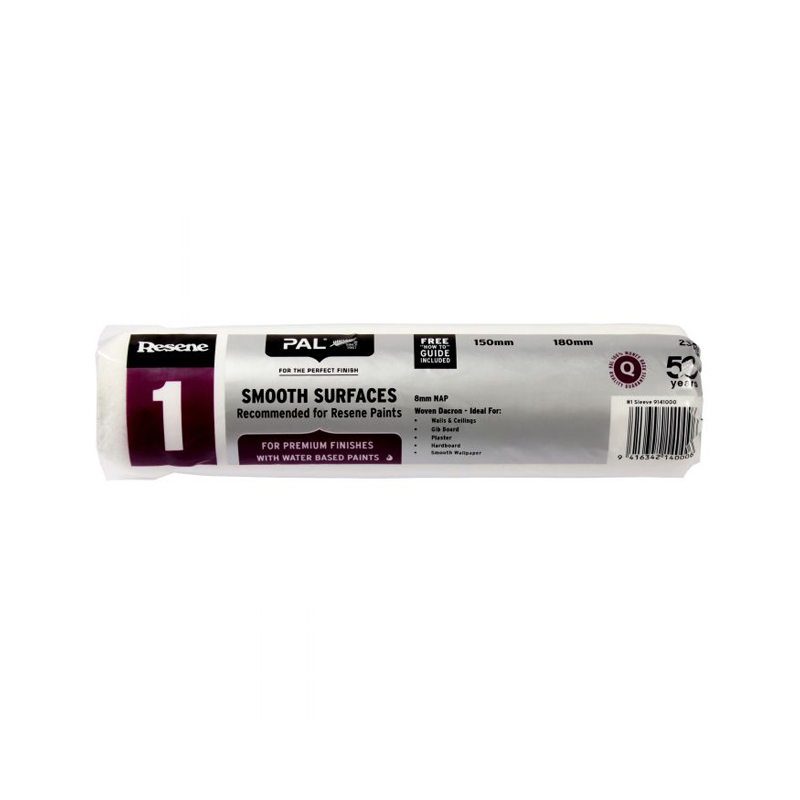
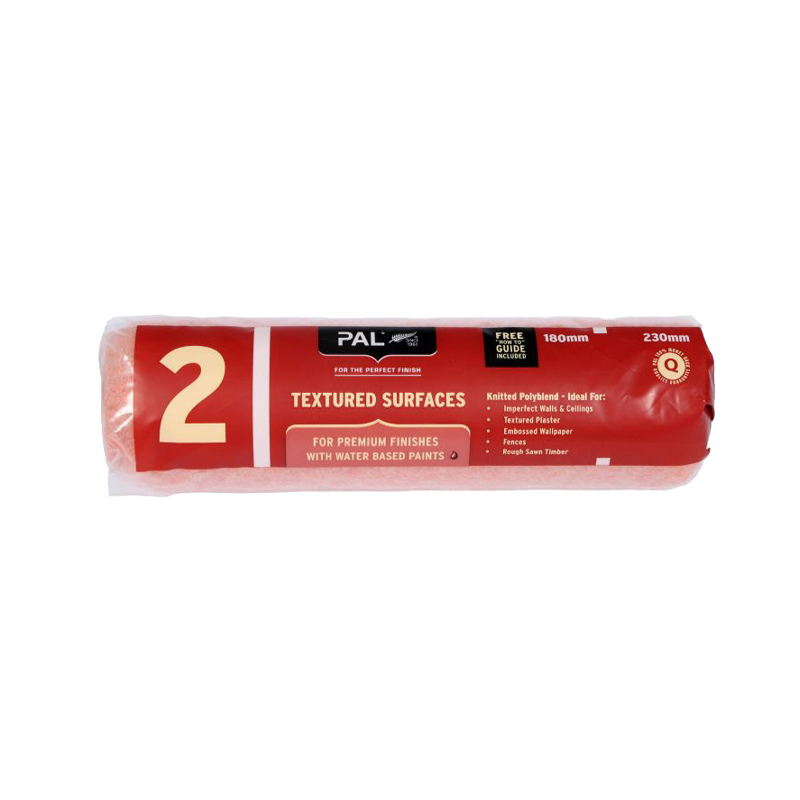
A great starting point is to check the information on the Resene roller stand, or ask staff at your local Resene ColorShop or reseller – they can recommend the best roller for the paint you are using and the surface you are painting. Resene and PAL (Paint Aids) have worked together to match rollers to specific Resene products and areas of use. A unique numbering system and in-store guides are designed to make it easier for you to select the right roller sleeve.

What size is best?

For DIYers, there are three main sleeve sizes to choose from, which have been designed for key home projects. 

  • 230mm – This is the most popular size and is used for larger areas, including most walls and ceilings.
  • 150mm – This size can also be used on walls and ceilings, but is most suited to smaller surfaces like interior doors and cupboards, as well as fencing.
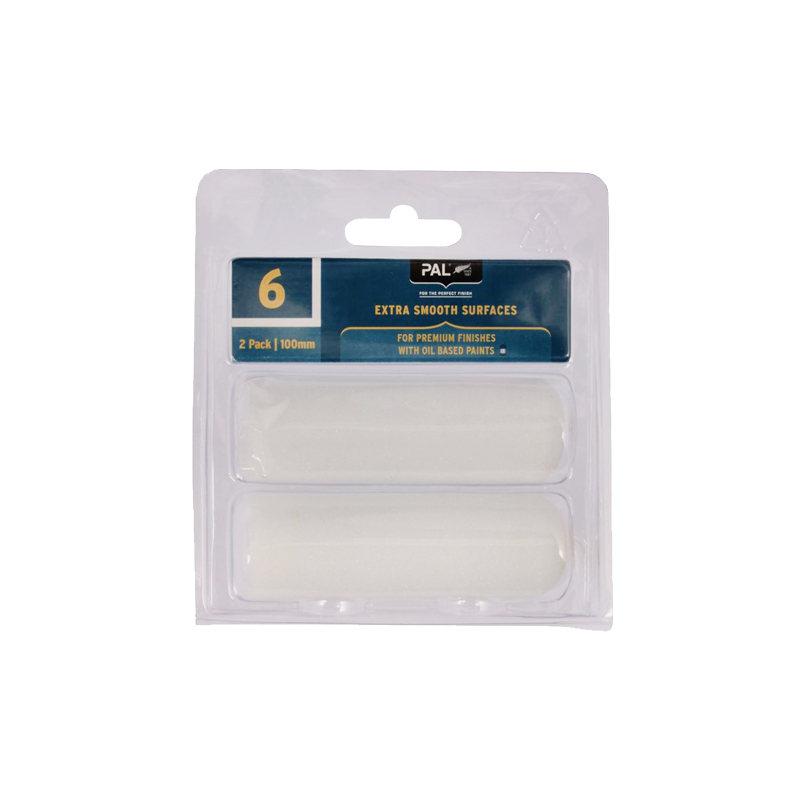
  • 100mm – These easy-reach rollers are made using the same fabric as larger sleeves, but do not hold as much paint as they have a reduced total surface area. They are designed for cupboards, doors and hard to reach areas, such as inside cupboards and shelving.

What else do I need when I’m rolling?

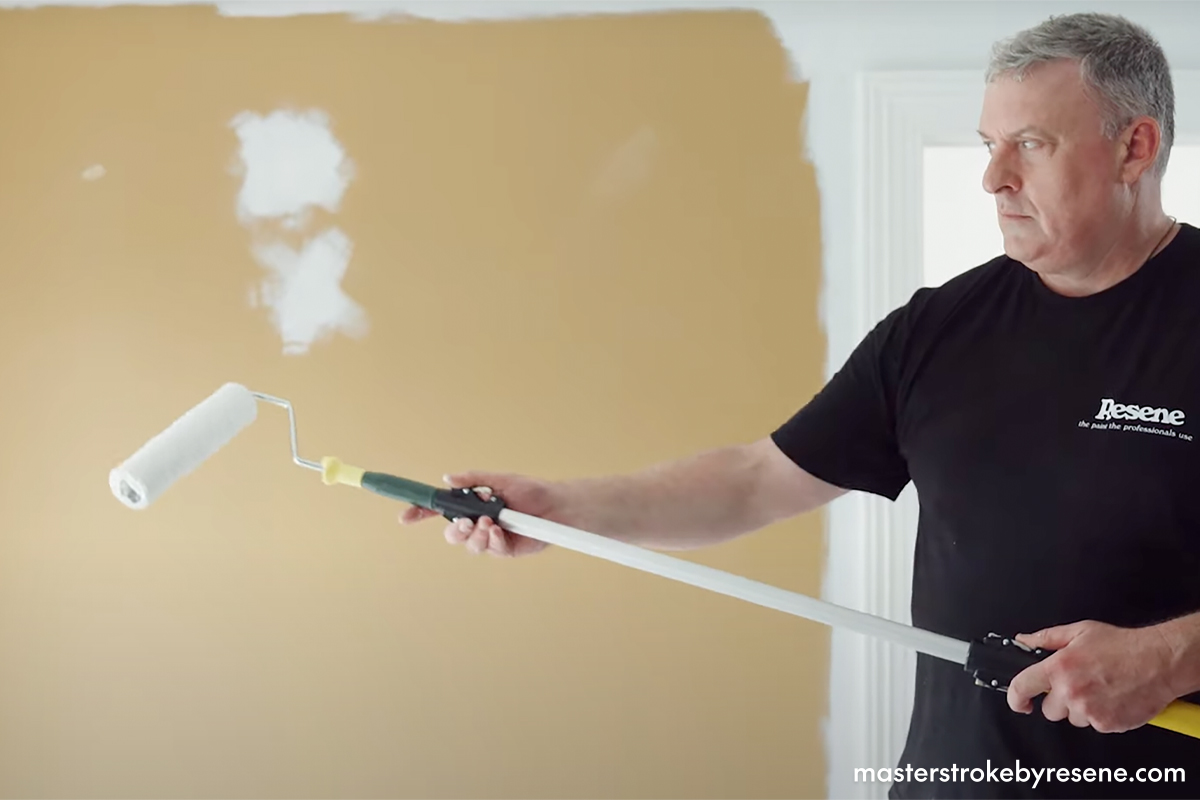
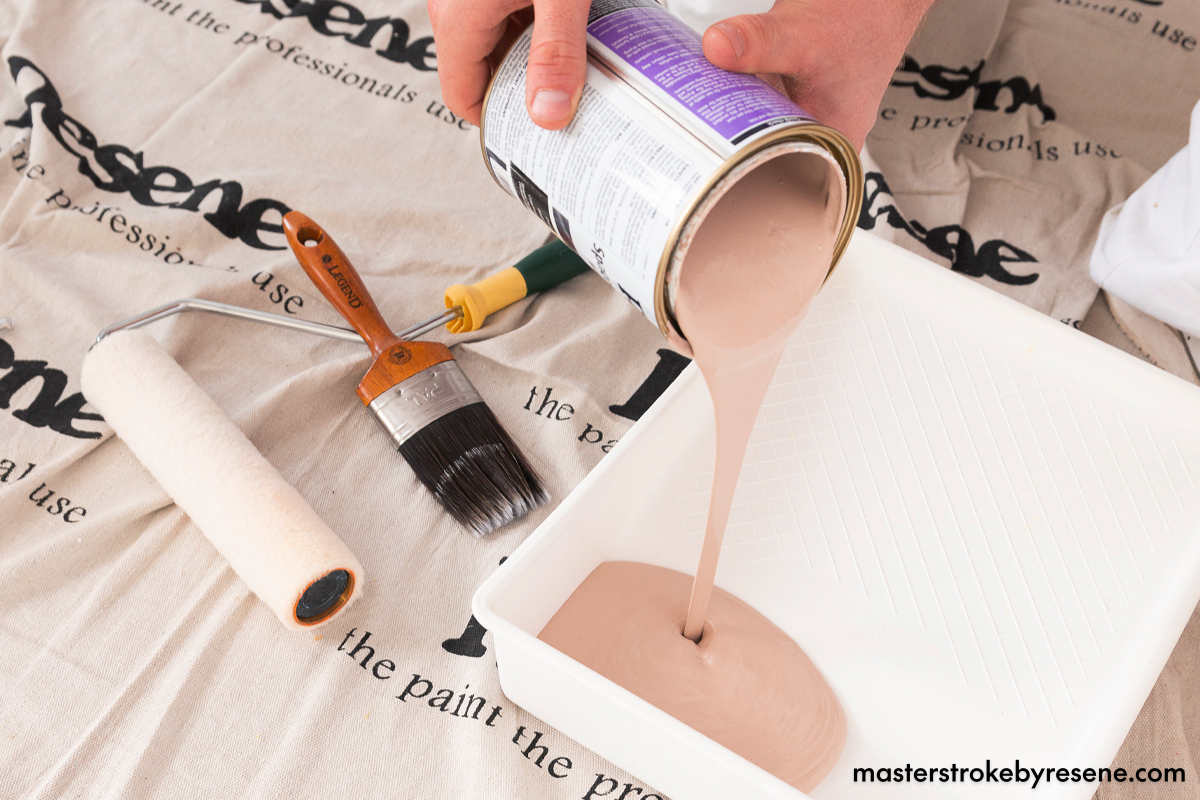
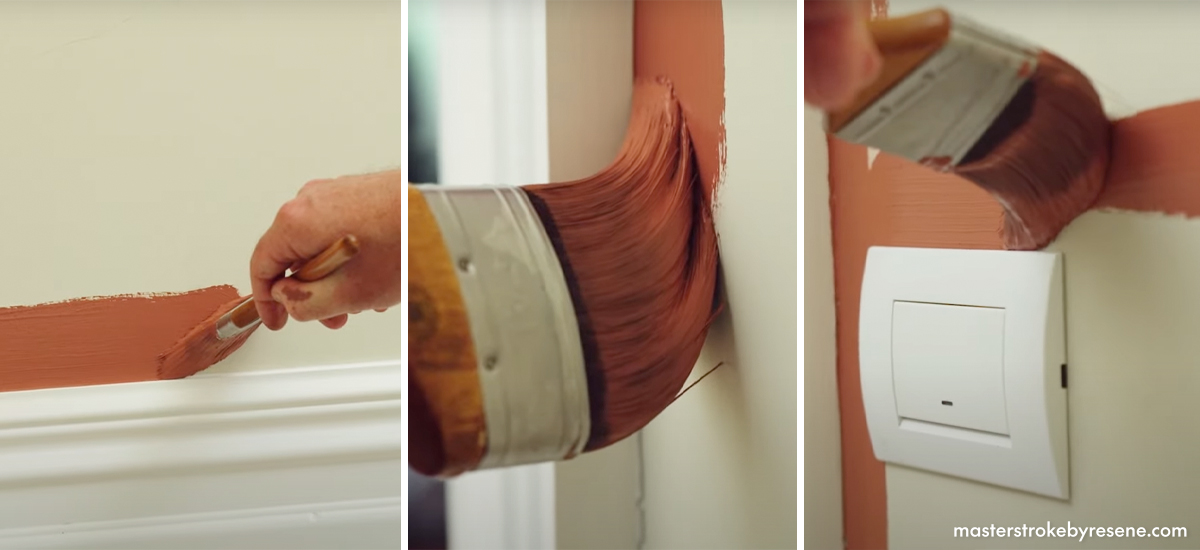
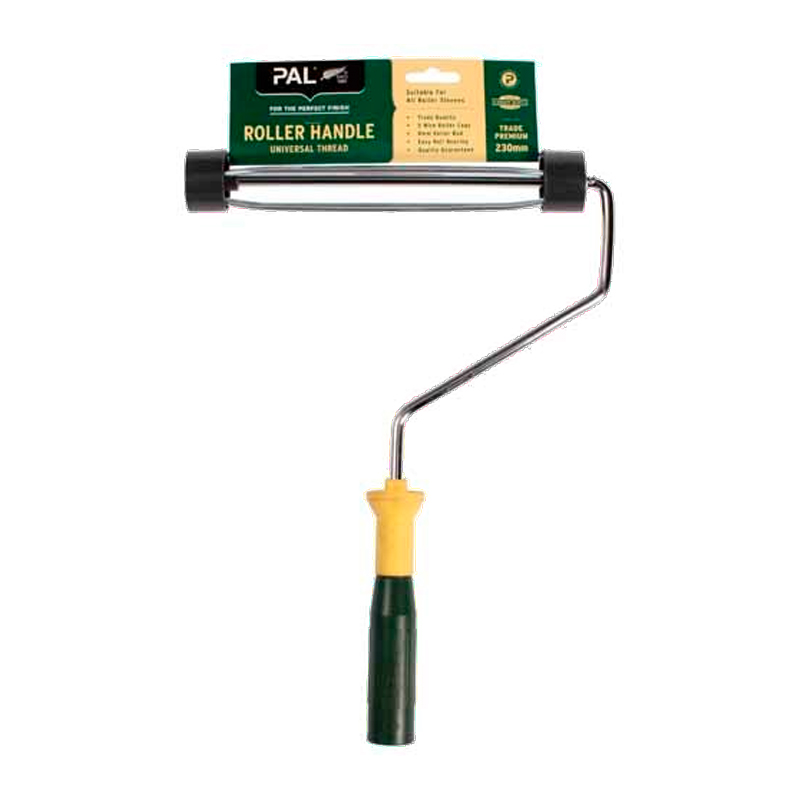
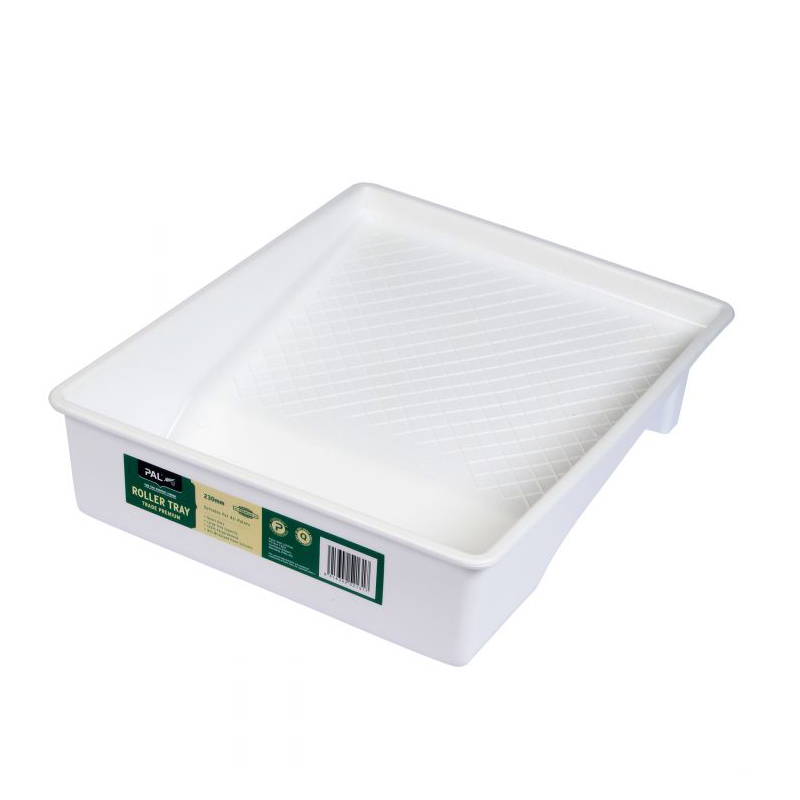
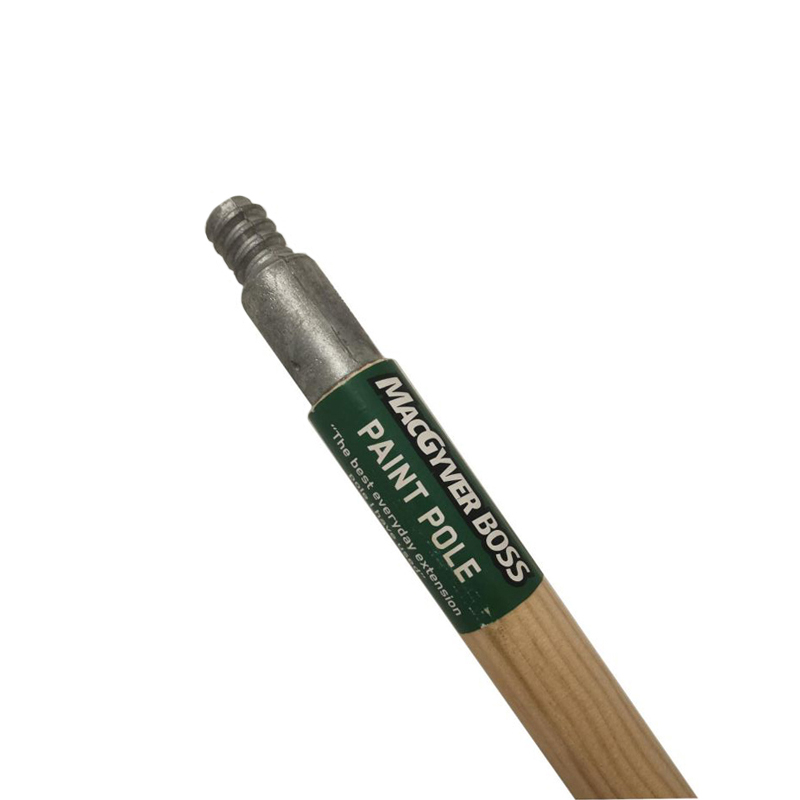
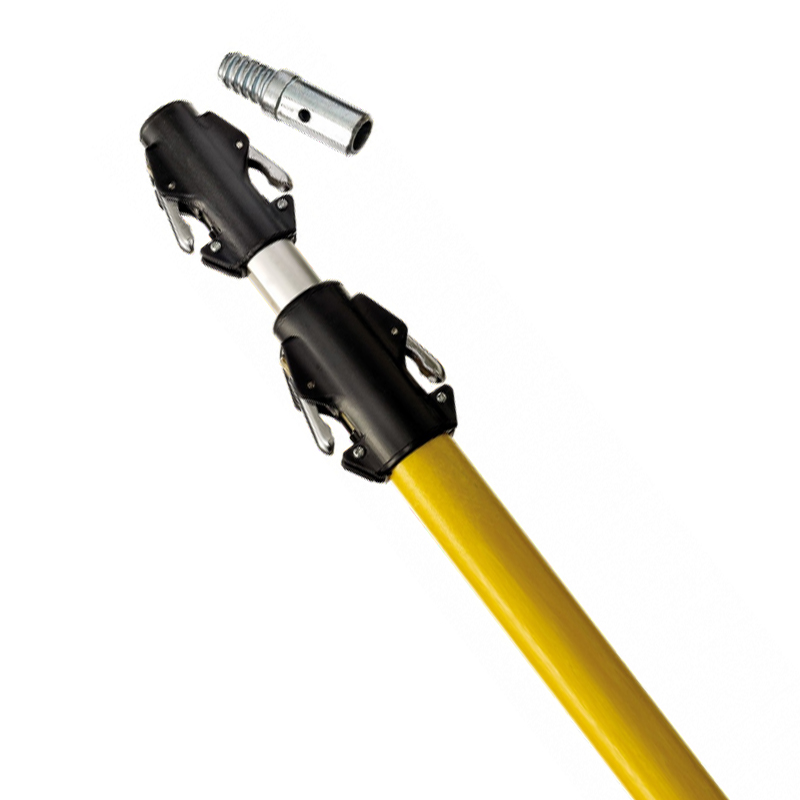
As well as the appropriate sleeve, you’ll also need a roller handle, an extension pole, a roller tray, a cutting in brush – and of course your choice of Resene paint. 

An extension pole is ideal for painting large surfaces like walls and ceilings so you’ll be able to avoid a ladder or too much stretching up and down – which you’ll likely feel in your muscles the following day! The more painting you have planned (including future projects) or the larger your current project, the better quality the extension handle you should select. A simple wooden handle will suffice for a small one-off project, however a quality extension handle will help you achieve a faster and more professional finish and last for many paint jobs.

If you already have roller sleeves and an extension pole at home, bring them in when you’re buying your paint and the Resene ColorShop staff can check they are suitable for the paint you are using and the project you have in mind.

Using an extension pole with your roller makes the job much faster and easier on the body.
Decant your chosen Resene paint into a roller tray – this will prevent any contaminants getting in the pail, and will make it much easier to evenly coat your roller sleeve. This paint colour is Resene Rascal.

Is a roller tray important?

Yes, for a few reasons. By decanting your paint into your tray, you’ll avoid contaminating all the rest of your paint with any dust, dirt or fibres from your roller sleeve. The proportions of the tray also help you load up your roller properly with paint for an even finish. Make sure the tray is clean before you begin and stir the paint well before pouring it in. Be careful not to overfill the tray, however, if you do, loading the roller is more difficult and spillages are more likely. 

What should I do before I start the job?

Rinse new rollers in water (when using waterborne paints) or turps (for solventborne paints) to remove any loose fibres or dust before use. If your roller handle has been used before, place a drop of oil on the roller handle bearings (the two plastic end caps) as it will make painting much easier. 

When using waterborne paints, lightly dampen the roller sleeve before use. Make sure you remove all excess water. It should be slightly damp rather than wet to touch.

How do I load the roller up correctly?

Use the ribbed section at the top of the paint tray to squeeze out the excess paint and ensure your roller gets an equal distribution of paint. Repeat this process several times to work the paint into the roller sleeve. This will make application easier and more consistent. Once loaded, the roller sleeve should look like a hotdog dipped in batter.

What is the process when painting a wall or ceiling?

Before you pick up your roller, you’ll need to use a paintbrush first to cut in. This is the process of painting the fiddly bits – edges, corners, around light fittings – that a roller can’t quite manage. Start with the corner and bring the line of the paint out – you can work either left to right or vice versa, depending on what is more comfortable. Begin each brushstroke about 100mm along from the end of the previous section, slightly away from the edge itself and work the paint back towards the paint’s wet edge and then back along the edge.

Cutting in is the process of using a paintbrush to paint all the fiddly edges before you begin rolling. Colour pictured is Resene Savour.

Now you’re ready to roll. With the roller loaded with paint, lay it carefully against the wall or ceiling. Roll in an upwards direction first, moving across the surface in a rough ‘W’ pattern. Aim to complete one square metre with each roller load, spreading the paint as evenly as possible. Then invert the roller and run it as close to the leading edge of the skirting board and corners as practical. Once you have covered approximately four square metres, you will need to lay-off the painted area to achieve an even consistent finish.

What is laying off?

This is the process to ensure there are no messy streaks and that your paint surface is seamless. It involves rolling over the area you painted with a very light pressure to even out the finish and redistribute any remaining wet paint on the wall. 

To lay off, make sure the roller sleeve is not fully loaded with paint. Going very lightly, lay the roller approximately 300mm above the skirting board and slowly roll up towards the scotia, getting as close as practical to it. Gently roll back towards the skirting board but pull the roller away from the wall about 200mm above the skirting board. Repeat the process, overlapping strokes by approximately a quarter to half the roller length. Adjust the roller angle to get as close as practical to the edges of corners and around door and window frames. In a room, you’d do this one wall at a time. Once this is all done, allow your paint to dry and then apply a second coat using the same techniques.

What should I do if I want to take a break?

Make sure you stop painting at a natural end point in the wall like a corner – or the end of a weatherboard if you’re painting outside. If you intend to go back to painting soon, keep the roller wet by submerging the roller head in the remaining paint in your roller tray, then put a reusable plastic bag around the entire roller tray and tie the handles together or use masking tape to seal it shut. This will prevent your roller from drying out and will keep it ready for painting, saving you from unnecessarily washing your roller and tray.  

How do I clean my roller?

Once the job is done, hold the roller by its handle on an angle and use a roller cleaner or painter’s multi tool to scrape the excess paint out of the roller sleeve and into a painting tray. Place the roller into a bucket of cold water and leave to soak for a few hours. Wash the roller under running water, pushing your fingers or the roller cleaner through the pile/nap of the roller sleeve. This process can take longer than you might think. – keep rinsing the roller until it’s completely clean. If in doubt, put it back in another bucket of clean water and leave to soak some more. 

Leave the sleeve to dry by standing it vertically on its end. If it’s going to be a long time before you reuse your roller, once it’s dry, you may want to wrap your roller sleeve in cling film or a plastic bag to prevent dust or dirt getting into the fibres. It’s important to keep roller sleeves clean, because dirty paintbrushes and rollers can contaminate paints by introducing bacteria which can cause paint to go off.

To clean your paint roller, first scrape out the excess paint, then soak in a bucket for a few hours before rinsing clean. Resene Savour is being cleaned out of this roller.

About MasterStroke by Resene
MasterStroke by Resene is here to help you master your paint and decorating DIY projects. Brush up on your skills with advice, tips and ideas from our trusted experts.

Check out the latest how-to videos on our YouTube channel.