Ask an expert

Everything you need to know about interior wood stains

Drawers and door stained with Resene Colorwood natural wood stain in Resene English Walnut and finished with Resene Aquaclear, and wall painted with Resene SpaceCote Low Sheen in Resene Carpe Noctem.

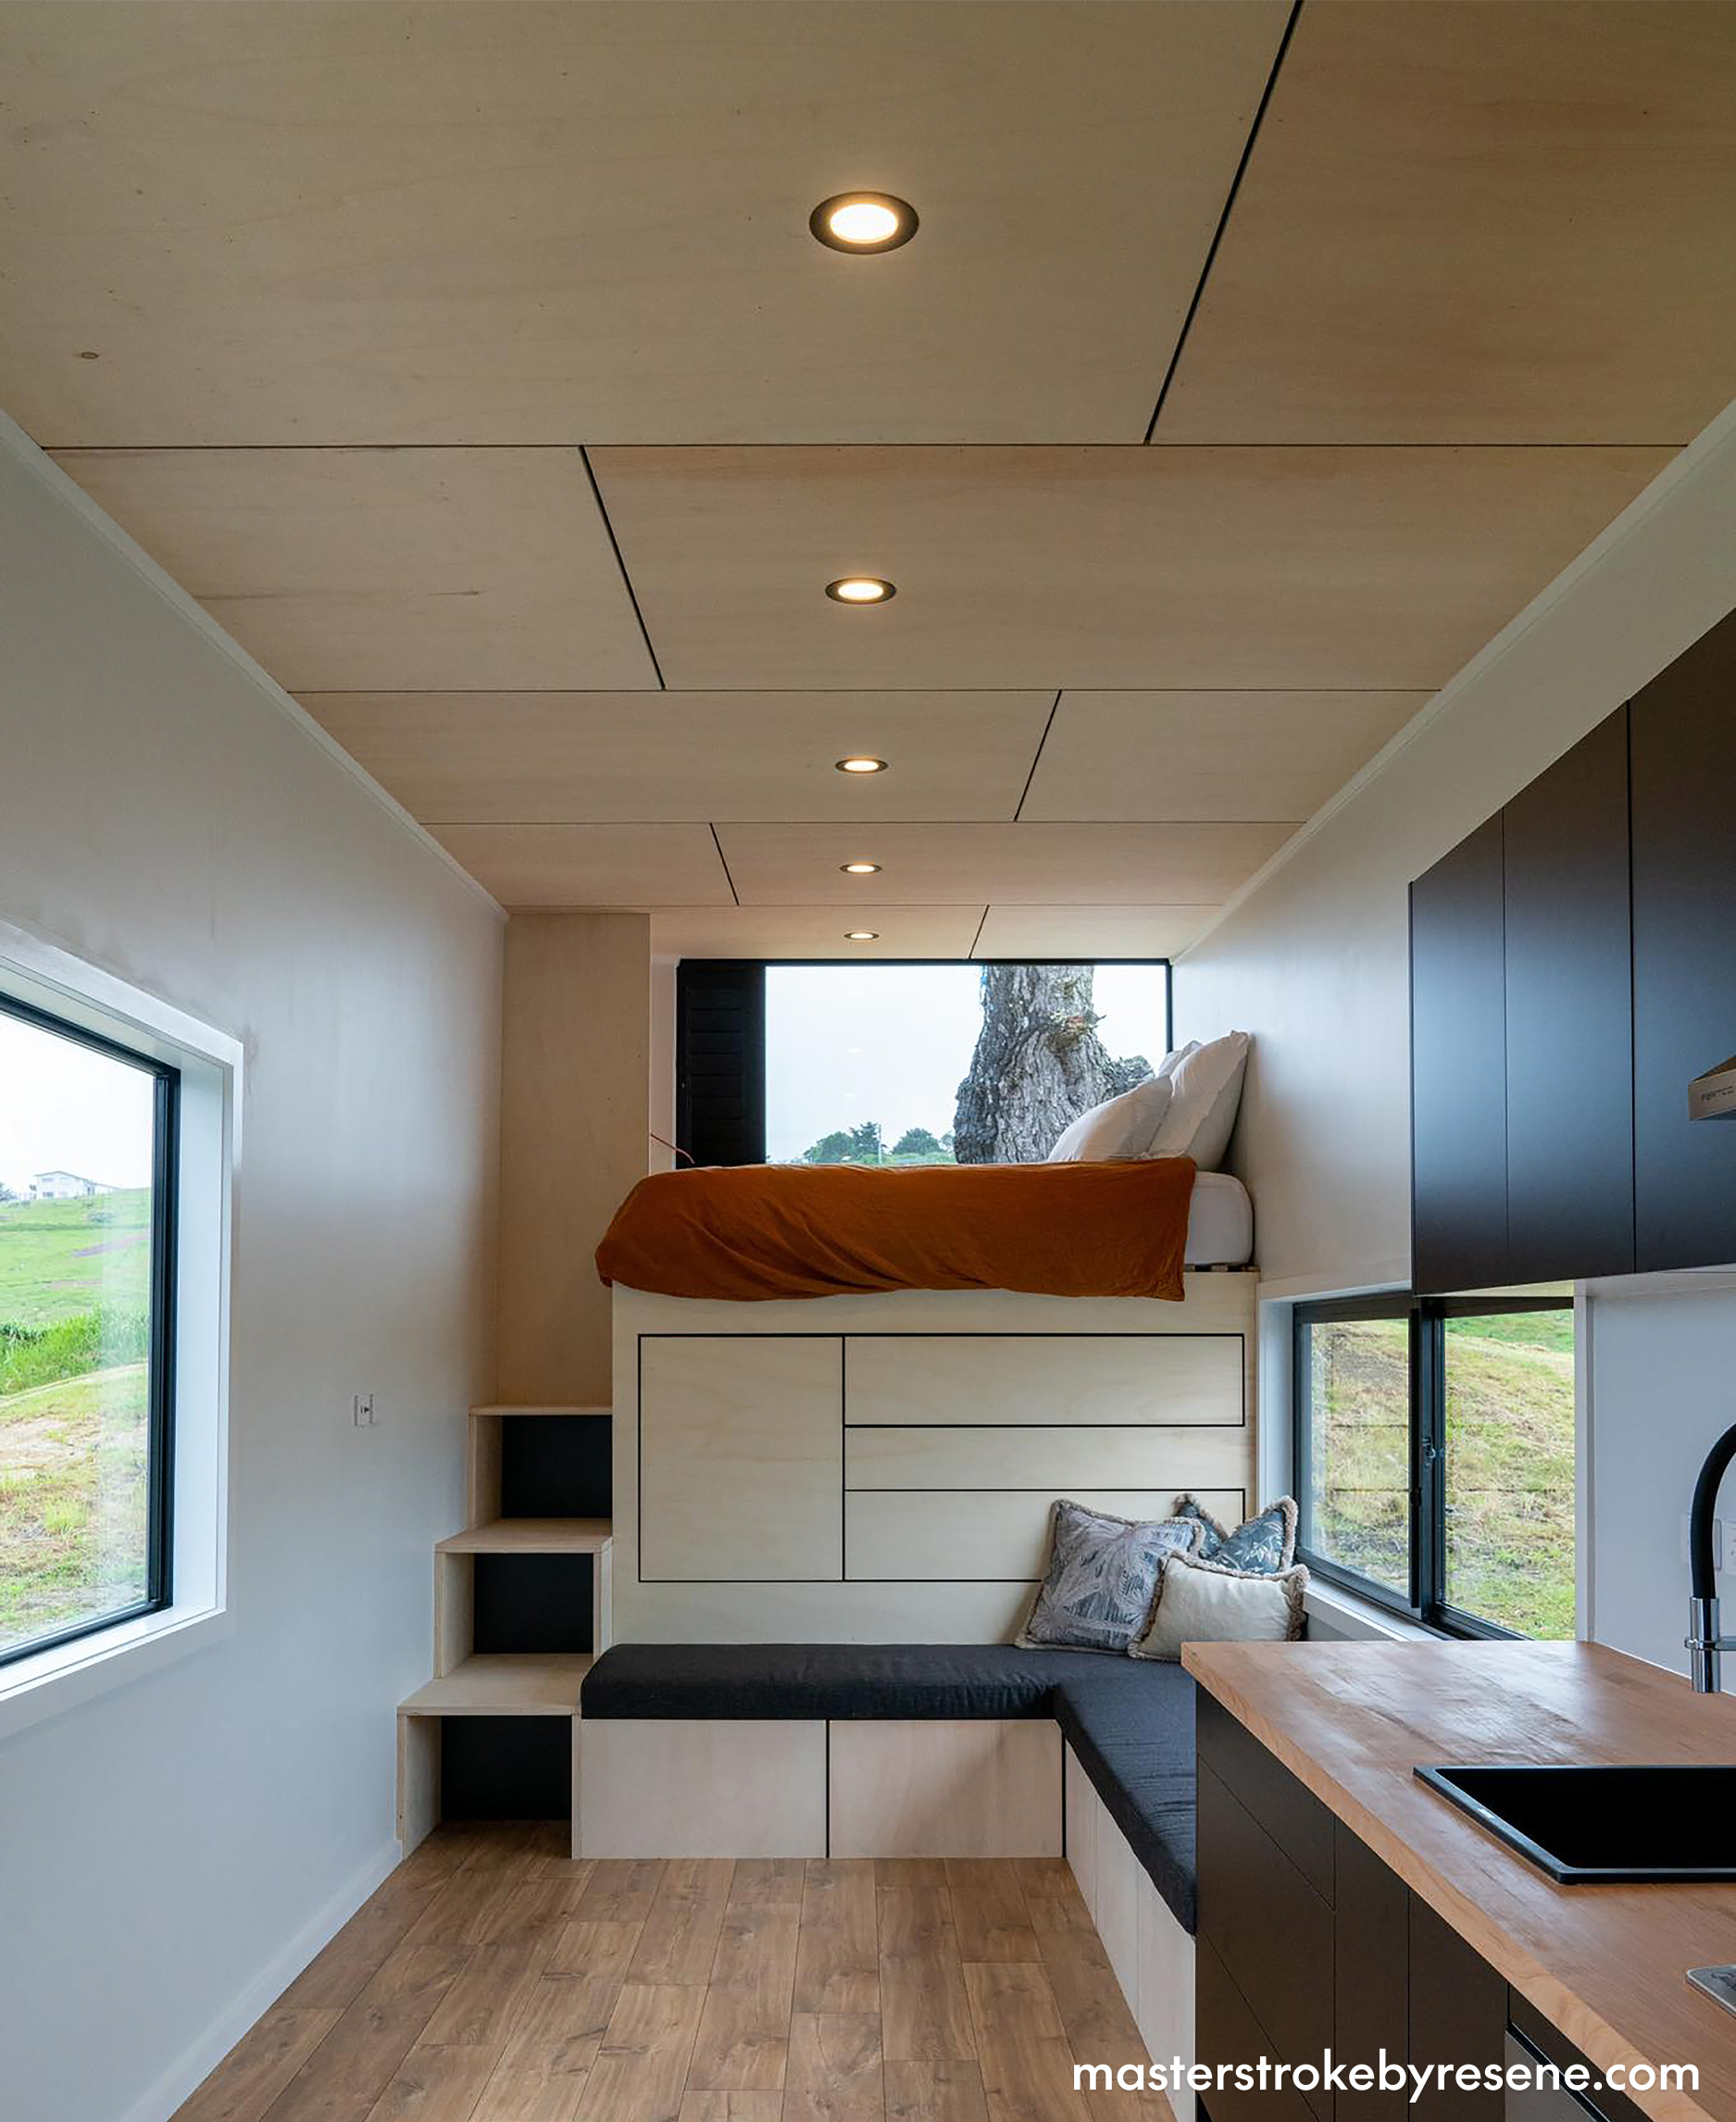
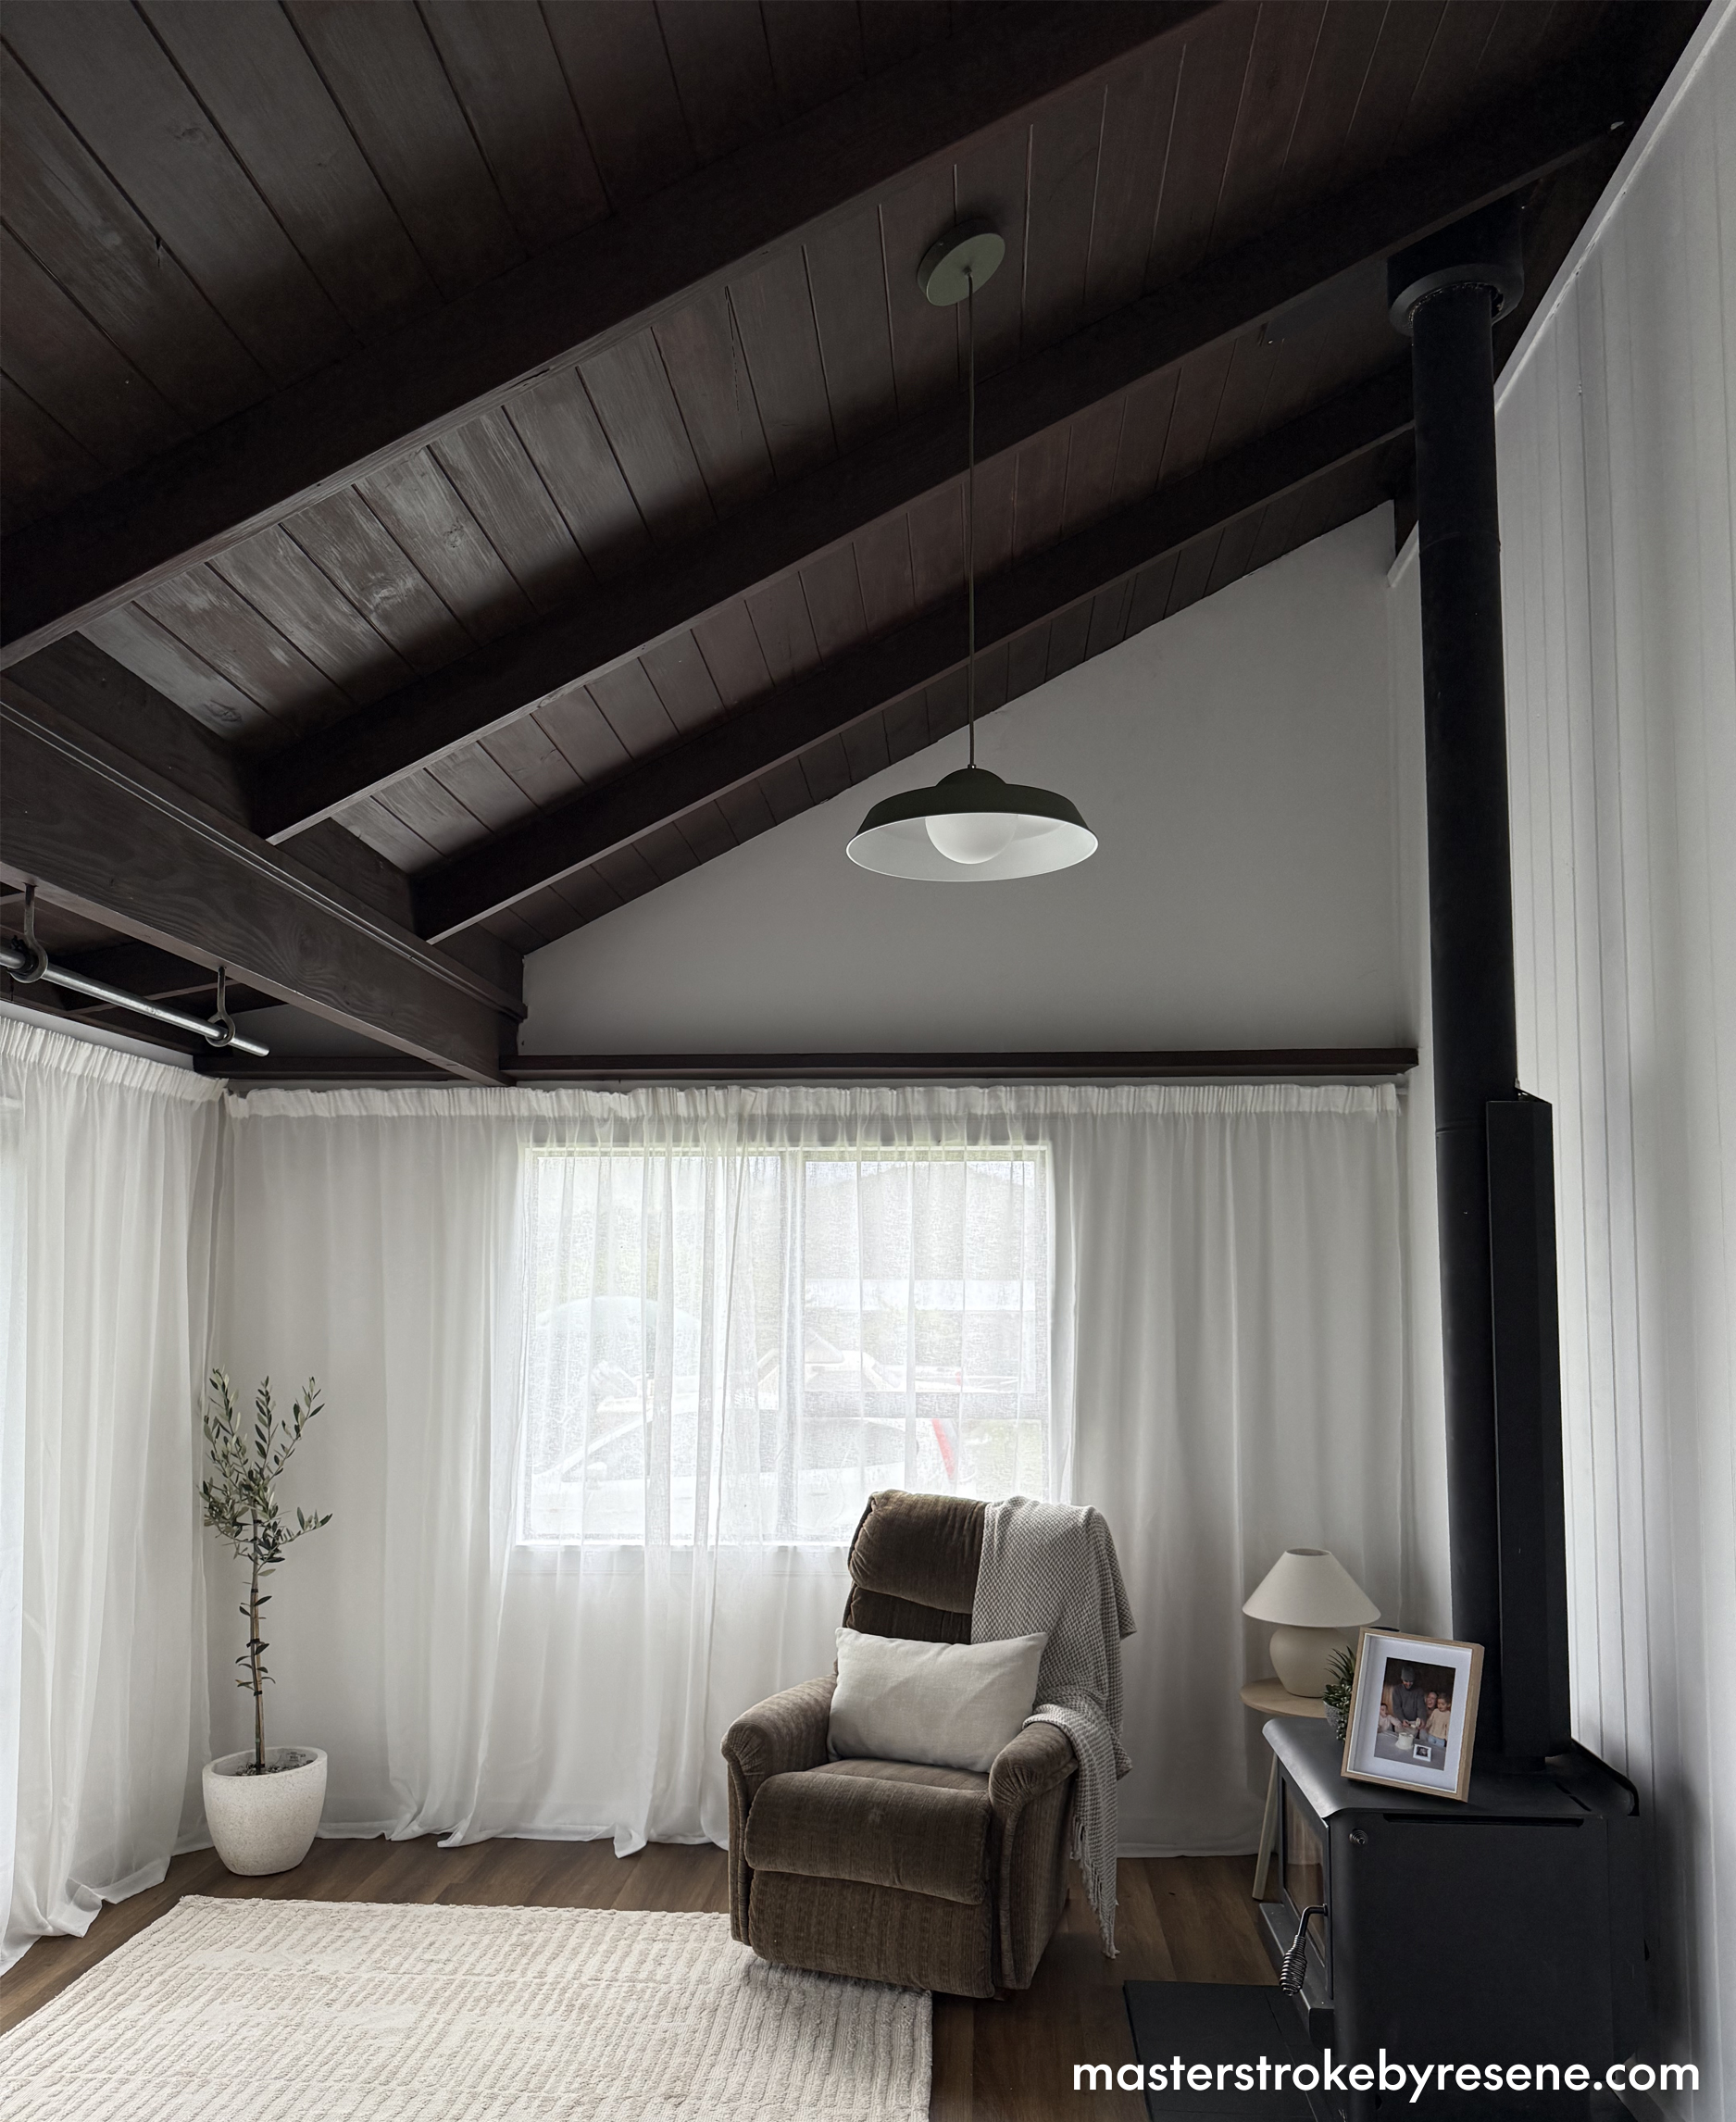
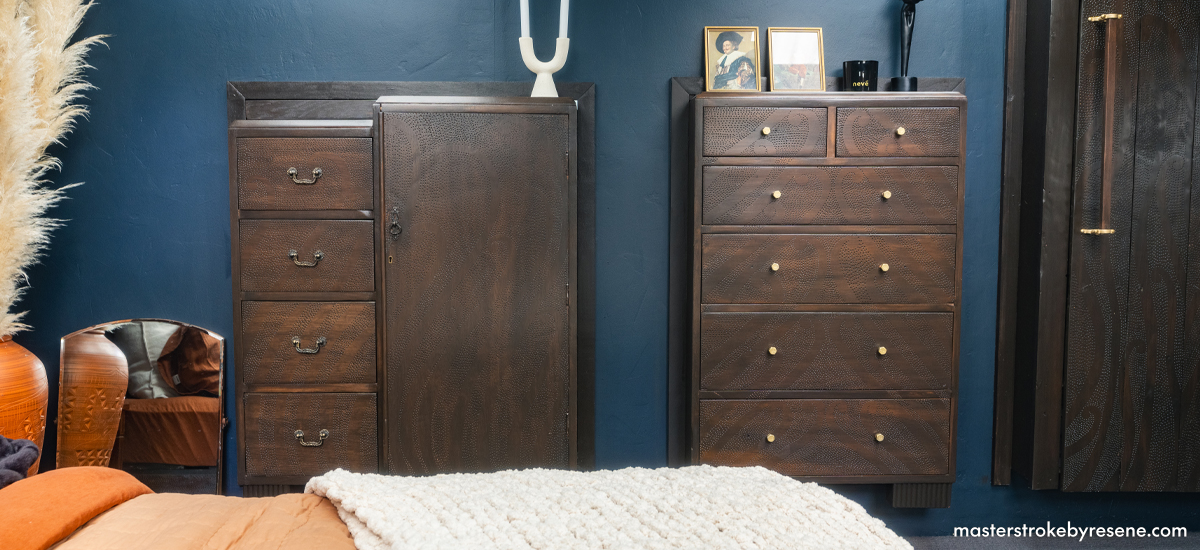
While timber has been a staple of interior design in our part of the world for many years, the popular Scandi design aesthetic has seen a major resurgence. Equal parts contemporary and comforting, the natural warmth of wood is an homage to nature and brings the outside in. Keeping your interior wood finishes looking their best comes down to the wood stains and clear finishes you choose. Whether you need to rejuvenate old timber – think the dark rimu used in the 1980s or the classic Lockwood – or maximise the natural beauty of new timber, there’s a Resene woodcare product to suit your needs. Read on to find out the answers to any burning questions you might have about interior wood stains.

Why should I stain my interior timber?

Interior stains don’t just rejuvenate and enhance interior timber by showing off the timber grain, they protect it from UV, water and mould damage, as well as everyday wear and tear. Interior timber surfaces are usually overcoated with a clear finish for further protection (some timbers can be very porous, meaning even dirty fingers can leave marks). This coating also makes the timber super easy to dust and wipe clean.  

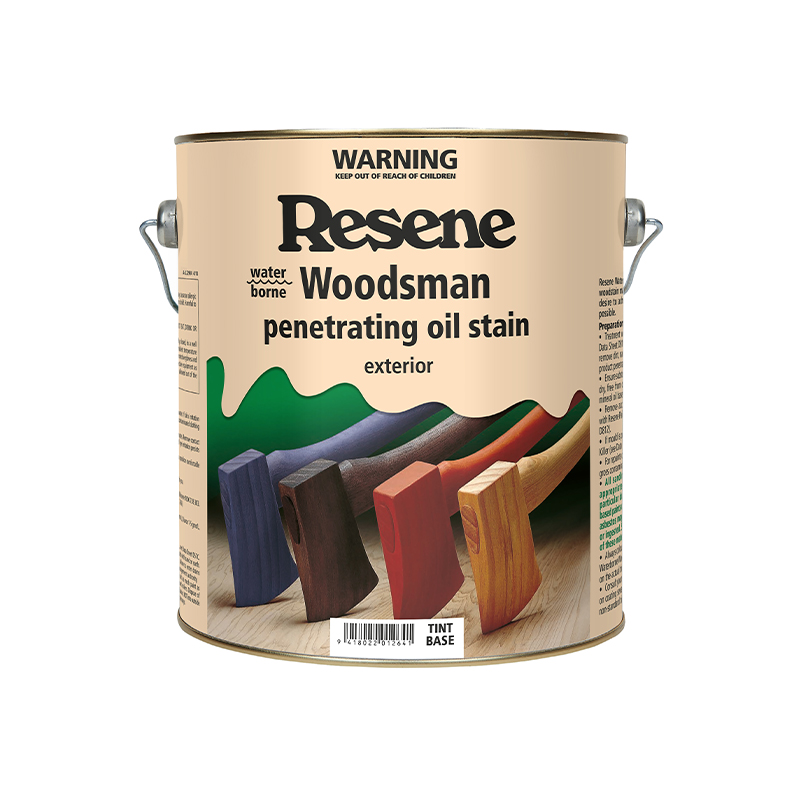
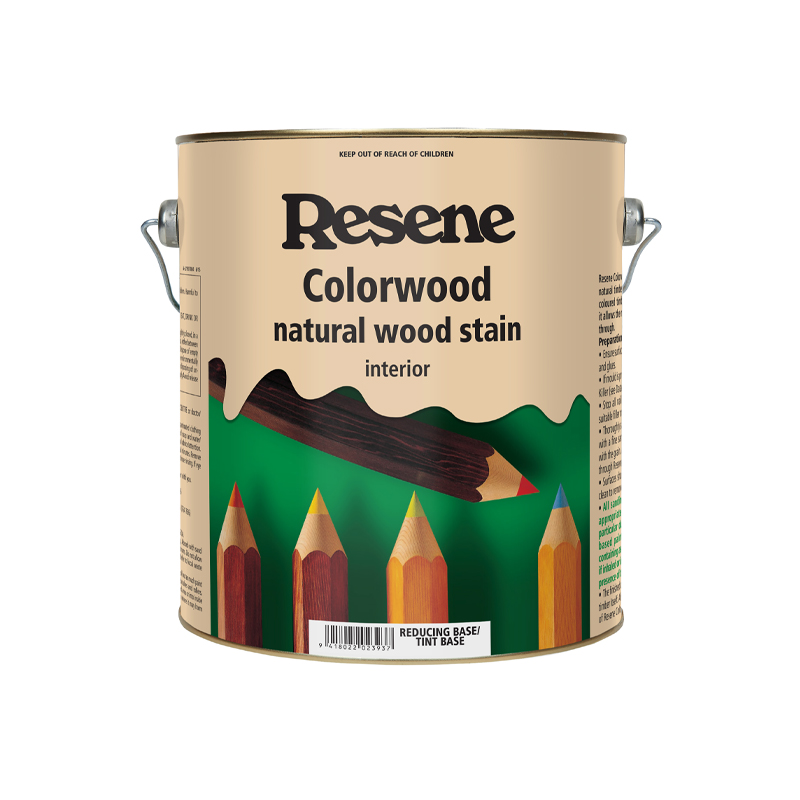
Are interior stains the same as exterior stains?

No – they are formulated differently, with weather resistance being the key difference. For exterior projects like weatherboards, decks, fences and furniture, use Resene Woodsman. For interiors, like doors, floors, feature walls, trims and joinery, use Resene Colorwood – it’s available in a range of natural shades as well as vibrant colours, it has a low odour and can be easily applied with a brush and the excess wiped off with a cloth. 

However, if you have fallen in love with a Resene Woodsman exterior stain colour, it can be created as a Resene Colorwood interior stain. Just ask your local Resene ColorShop to tint your desired colour for you.

For extra protection, Resene Colorwood is usually overcoated with Resene Aquaclear, Resene Qristal Clear polyurethane or Resene Qristal ClearFloor 1K. Rough sawn interior timber, such as beams, may be stained with Resene Colorwood without clear finishing or polyurethaning.

The warmth and practicality of plywood, which was sealed with Resene Aquaclear Natural, was the perfect choice for the ceiling, stairs and drawers in this tiny home,
Ceiling stained in Resene Colourwood Stain in Resene Bark and walls painted in Resene SpaceCote Low Sheen in Quarter Black White.

Why is it advised to apply a basecoat of Resene Colorwood before applying a clear topcoat?

Even when you’ve opted for a natural look, this is still recommended for protection purposes. While clear topcoats do protect timber, they will still always let light pass through and cannot prevent UV light from attacking the surface of the wood. The tinter in Resene Colorwood helps to block some of the UV light to provide more protection than a clear finish. 

How do I apply interior stain?

  • As Resene Colorwood is semi-transparent, any marks and stains on the timber will show through. Sand new wood following the grain to remove any surface imperfections and wipe clean before applying Resene Colorwood. 
  • Dampen the surface by spraying a light mist of clean water onto the timber to reduce absorbency. Add Resene Hot Weather Additive to your stain to slow drying, if required. 
  • Resene Colorwood should remain wet before wiping off the excess. Allow the product to stay on the surface for approximately five minutes before wiping. Ensure the stain is applied evenly – the longer the stain is left on the surface, the deeper the colour will be. Take care to avoid lap marks as these will make your finish look uneven.
  • Wipe the surface using a clean cloth to remove excess stain and have extra cloths handy to replace saturated cloths.
  • Leave Resene Colorwood to dry before overcoating with a clear Resene finish. Interior stains left uncoated have no resistance to blemished like watermarks or coffee cup stains.
Resene Colorwood Sheer Black has been used on this plywood wall to give the room a dramatic, budget-friendly backdrop. It’s cleverly contrasted with floorboards in Resene Colorwood Natural, battens in Resene All Black. Project by Laura Lynn Johnston, image by Wendy Fenwick.
Wall in Resene Bone with tongue-and-groove panelling finished in Resene Colorwood Becalm, floor in Resene Colorwood Breathe Easy, sideboard in Resene Colorwood Bask, lamp and tray in Resene Colorwood Shade, plant pot in Resene Colorwood Shore Thing, large vase in Resene Rising Tide, stool and small vase in Resene Paddock, faux coral in Resene Bone, painted book in Resene Brown Sugar and DIY artwork in Resene Rolling Stone, Resene Paddock and Resene Mine Shaft. Project by Laura Lynn Johnston, image by Bryce Carleton.

Does it matter what gloss level I choose for my clear finish?

The short answer is yes. You can vary the sheen level on different surfaces if you wish and some are more appropriate for various parts of your home. A gloss finish will be easiest to clean and best for high traffic areas, while a flat finish will give the most natural matte look.

  • Gloss: Gloss finishes make a surface appear cleaner and brighter, but they are also highly reflective, which can highlight imperfections. They are easy to clean and are ideal for heavy wear areas such as doors, joinery and flooring. Try Resene Qristal Clear Poly-Gloss or Resene Aquaclear gloss. 
  • Semi-gloss: A semi-gloss finish has a slightly reflective appearance but is more forgiving of imperfections than gloss. It is ideal for walls and woodwork which receive a lot of wear and tear. Try Resene Aquaclear semi-gloss.
  • Satin/low sheen: Satin and low sheen finishes are popular for walls. Their lower sheen level diffuses light and helps to conceal surface imperfections. Colours underneath satin or low sheen clear finishes appear muddied and darker than when overcoated with a glossier finish. Try Resene Aquaclear satin or Resene Qristal Clear Poly-Satin.
  • Flat/matte: Matte finishes diffuse the light and impart a very natural look to the surface but are not as durable as higher gloss finishes. They are usually best used on walls in lower wear and tear areas and ceilings. Try Resene Aquaclear Natural or Resene Qristal Clear Poly-Flat.

How important is preparation?

As always, extremely important! Before you apply your stain to new timber, make sure the surface is sanded to remove any imperfections. As stain is semi-transparent, any residual marks or blemishes on the surface will be visible in the finished job. Remember to always sand with the grain of the timber.

It’s also really important to make sure the area is free of dust, so giving the area a thorough dust and vacuum will help greatly. Be careful not to use old brushes or rollers with dried out paint embedded in the bristles, and always decant your stain into a paint tray or pot to avoid potential contamination of the whole container. 

As a final surface preparation step, wipe down bare timber or old varnish with a tack cloth. If you’re using satin or matt finish clear coatings, be aware that they contain flatting pigments and the contents are more likely to settle, so stir regularly during the application period. 

I love a light, whitewashed look – what can I use on my interior timber to create that vibe?

Try Resene Colorwood Whitewash (also available in light and mid greywash), which are colourwashes that sit more on the surface of the wood than a stain, but still allow the natural grain of the timber to show through. The Resene Colorwood We Speak Beach range is also an excellent solution here – the six weathered hues are inspired by the seaside and can be used individually or combined into a coastal palette.

To get more wood stain inspiration pick up a copy of the free habitat plus – wood stains book at your local Resene ColorShop or view a copy online.

About MasterStroke by Resene
MasterStroke by Resene is here to help you master your paint and decorating DIY projects. Brush up on your skills with advice, tips and ideas from our trusted experts.

Check out the latest how-to videos on our YouTube channel.